这篇文章主要介绍了使用 vue-i18n 切换中英文效果,非常不错,具有一定的参考借鉴价值,需要的朋友可以参考下
vue-i18n 仓库地址:https://github.com/kazupon/vue-i18n
兼容性:
支持 Vue.js 2.x 以上版本
安装方法:(此处只演示 npm)
npm install vue-i18n
使用方法:
1、在 main.js 中引入 vue-i18n (前提是要先引入 vue)
import VueI18n from 'vue-i18n'
Vue.use(VueI18n)
2、准备本地的翻译信息
const messages = {
 zh: {
  message: {
  hello: '好好学习,天天向上!'
  }
 },
 en: {
  message: {
  hello: 'good good study, day day up!'
  }
 }
}3、创建带有选项的 VueI18n 实例
const i18n = new VueI18n({
 locale: 'en', // 语言标识
 messages
})4、把 i18n 挂载到 vue 根实例上
const app = new Vue({
 router,
 i18n,
 ...App
}).$mount('#app')5、在 HTML 模板中使用
<p id="app">
 <h1 style="font-size: 16px; text-align: center;">{{ $t("message.hello") }}</h1>
</p>查看运行效果:

我们刚才选定的语言标识是 “en” 英语,现在改成 “zh” 中文,并查看效果
const i18n = new VueI18n({
 locale: 'zh', // 语言标识
 messages
})
这样就可以轻松实现国际化了,实际开发中,页面内容肯定是很多的,我们可以把对应语言的信息保存为不同的 json对象
const i18n = new VueI18n({
 locale: 'en', // 语言标识
 messages: {
  'zh': require('./common/lang/zh'),
  'en': require('./common/lang/en')
 }
})zh.js
// 注意:一定是 exports,不是 export,否则会报错,报错信息是下列的中的内容不是 string
module.exports = {
 message: {
  title: '运动品牌'
 },
 placeholder: {
  enter: '请输入您喜欢的品牌'
 },
 brands: {
  nike: '耐克',
  adi: '阿迪达斯',
  nb: '新百伦',
  ln: '李宁'
 }
}en.js
module.exports = {
 message: {
  title: 'Sport Brands'
 },
 placeholder: {
  enter: 'Please type in your favorite brand'
 },
 brands: {
  nike: 'Nike',
  adi: 'Adidas',
  nb: 'New Banlance',
  ln: 'LI Ning'
 }
}接下来,在HTML 模板中使用,要特别注意在 js 中的国际化写法
// HTML
<p id="app">
<p style="margin: 20px;">
<h1>{{$t("message.title")}}</h1>
<input style="width: 300px;" class="form-control" :placeholder="$t('placeholder.enter')">
<ul>
<li v-for="brand in brands">{{brand}}</li>
</ul>
</p>
</p>
// JS
data () {
return {
brands: [this.$t('brands.nike'), this.$t('brands.adi'), this.$t('brands.nb'), this.$t('brands.ln')]
}
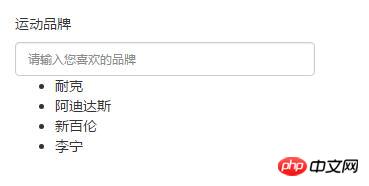
},查看编译效果:

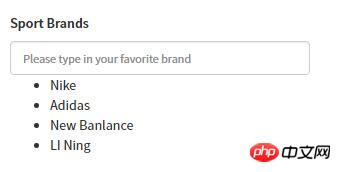
现在换成英文的:

在上面的操作中,我们都是通过手动修改 locale 的属性值来切换语言,实际上,更希望浏览器自动识别,这里可以借助于 cookie
1、新建一个 cookie.js 文件,用于读取cookie
function getCookie(name,defaultValue) {
 var arr, reg = new RegExp("(^| )" + name + "=([^;]*)(;|$)");
 if (arr = document.cookie.match(reg))
 return unescape(arr[2]);
 else
 return defaultValue;
}
export {
 getCookie
}2、在 main.js 中引入这个js,并通过 PLAY_LANG 属性来获取浏览器的语言
const i18n = new VueI18n({
 locale: getCookie('PLAY_LANG','zh'), // 语言标识
 messages: {
  'zh': require('./common/lang/zh'),
  'en': require('./common/lang/en')
 }
})这里需要注意两个极易出错的地方:
(1)、将 $t() 写成了 $()

(2)、json 中在同一个对象里有同名属性

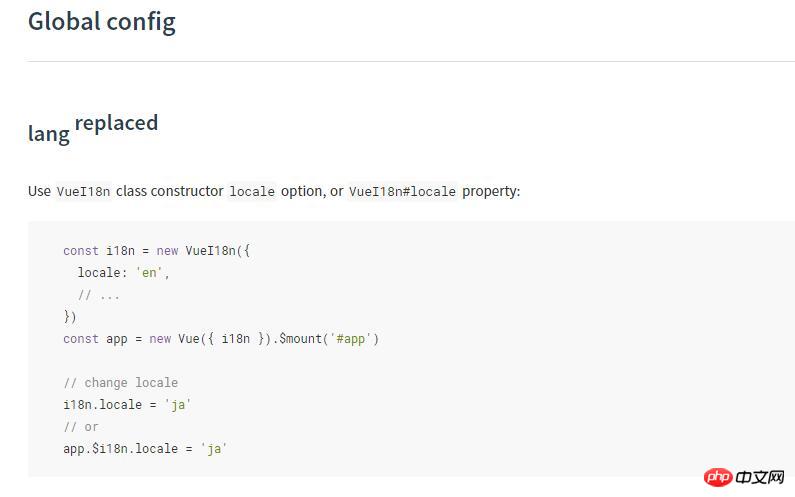
vue-i18n 提供了一个全局配置参数叫 “locale”,通过改变 locale 的值可以实现不同语种的切换

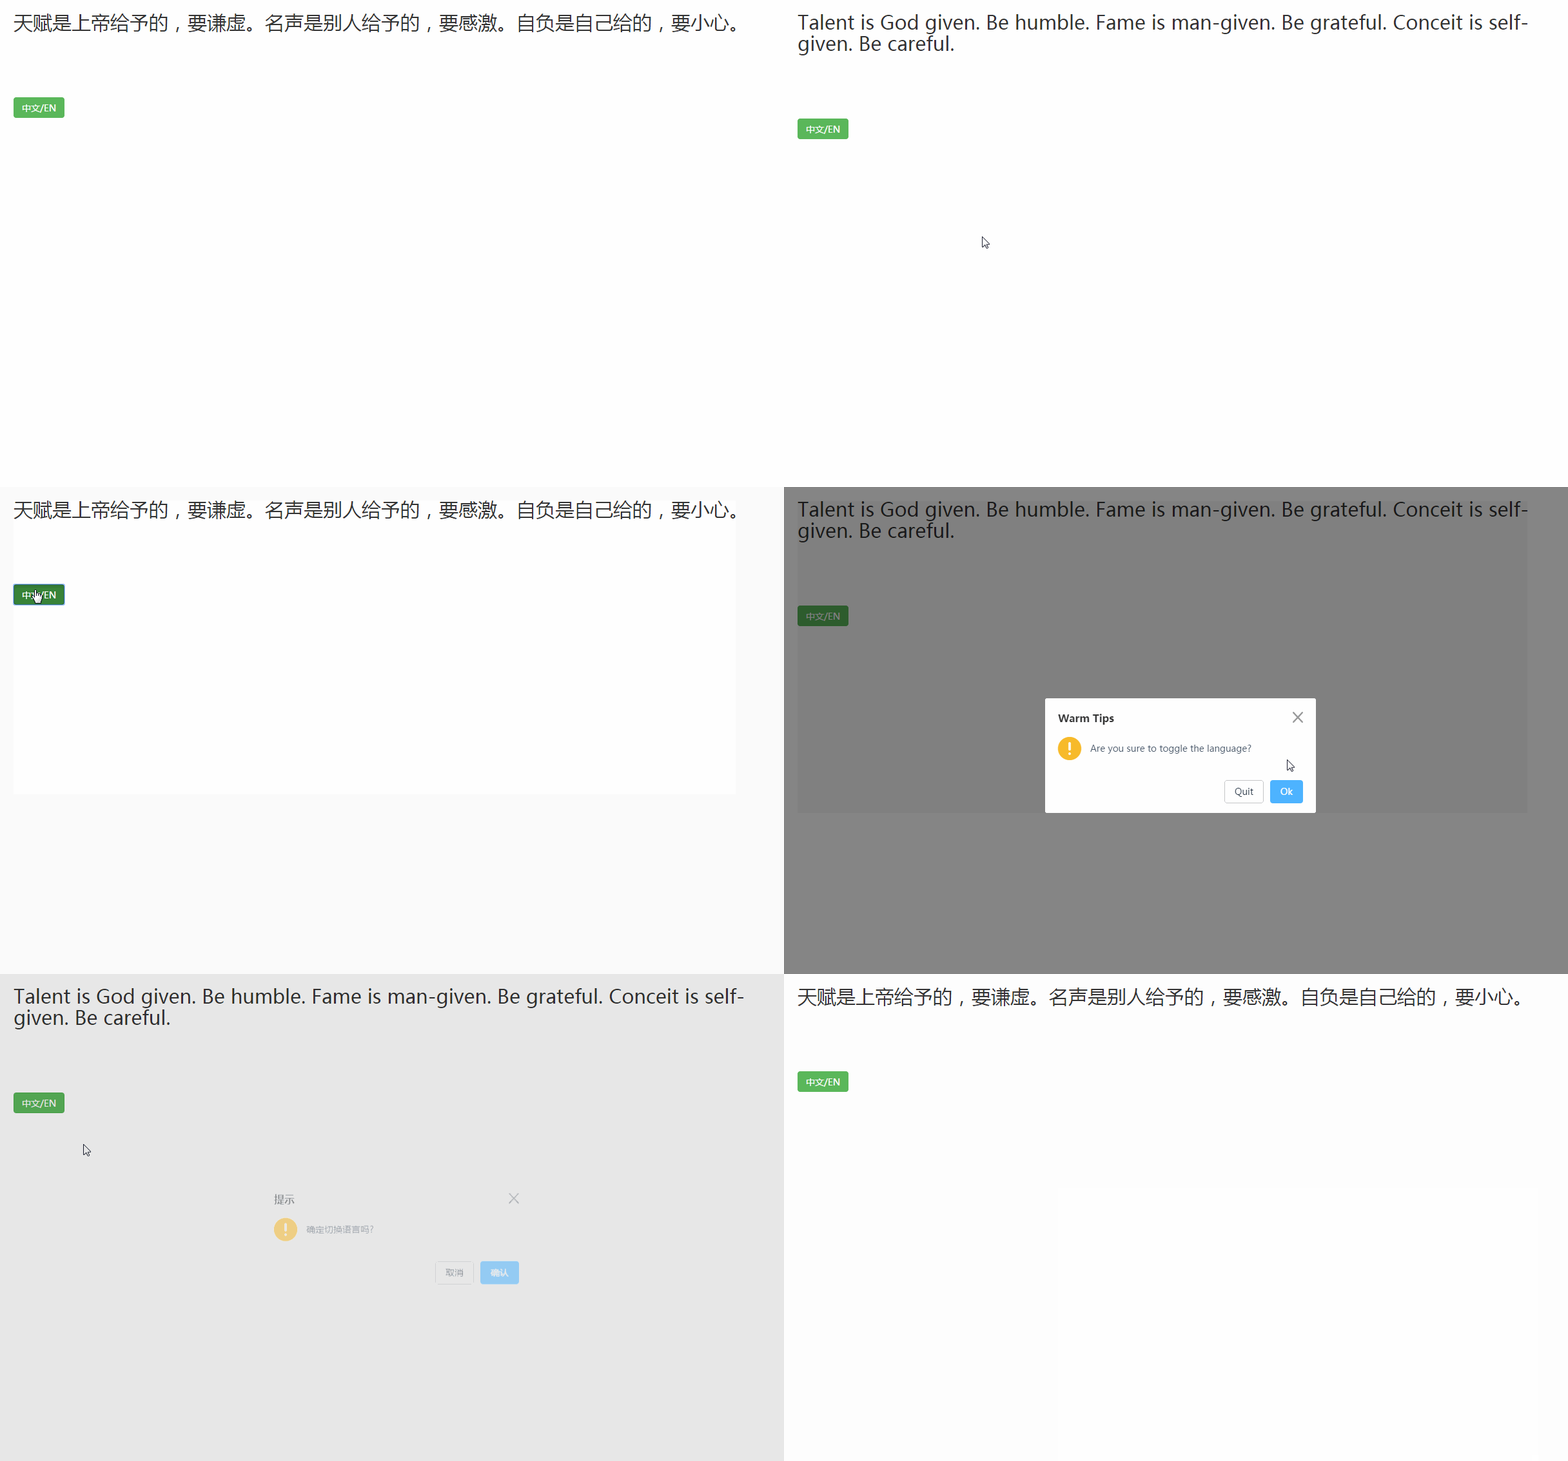
下面的案例借用了 Element UI 的弹窗样式,上面的步骤不再赘述,直接上核心代码
// template
<h2>{{$t('test')}}</h2>
<button type="button" class="btn btn-success" @click="changeLocale">中文/EN</button>
// js方法
changeLocale () {
this.$confirm(this.$t('layer.toggle'), this.$t('layer.tips'), {
confirmButtonText: this.$t('button.ok'),
cancelButtonText: this.$t('button.cancel'),
type: 'warning'
}).then(() => {
let locale = this.$i18n.locale
locale === 'zh' ? this.$i18n.locale = 'en' : this.$i18n.locale = 'zh'
}).catch(() => {
this.$message({
type: 'info',
})
})
},效果:

以上就是本文的全部内容,希望对大家的学习有所帮助,更多相关内容请关注PHP中文网!
相关推荐:
Atas ialah kandungan terperinci 使用 vue-i18n 切换中英文的效果. Untuk maklumat lanjut, sila ikut artikel berkaitan lain di laman web China PHP!


