


Selepas pemasangan tetingkap panduan pemalam selesai, kemajuan pemasangan pemalam akan muncul di penjuru kanan sebelah bawah Eclipse Selepas pemasangan pemalam selesai, mulakan semula Eclipse untuk berkuat kuasa


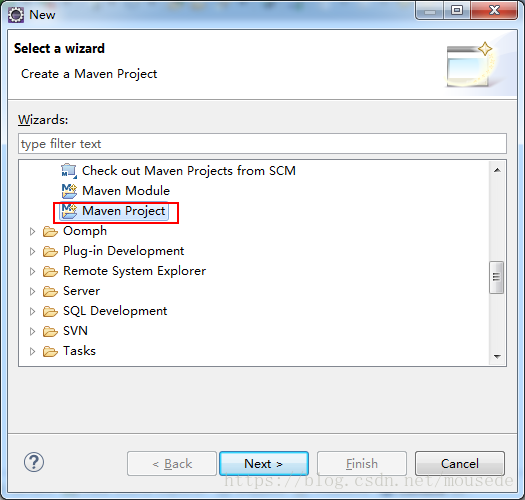


<!-- spring boot基本环境 -->
<parent>
    <groupId>org.springframework.boot</groupId>
    <artifactId>spring-boot-starter-parent</artifactId>
    <version>2.0.2.RELEASE</version>
</parent>
<!--web应用基本环境配置 -->
<dependency>
    <groupId>org.springframework.boot</groupId>
    <artifactId>spring-boot-starter-web</artifactId>
</dependency>
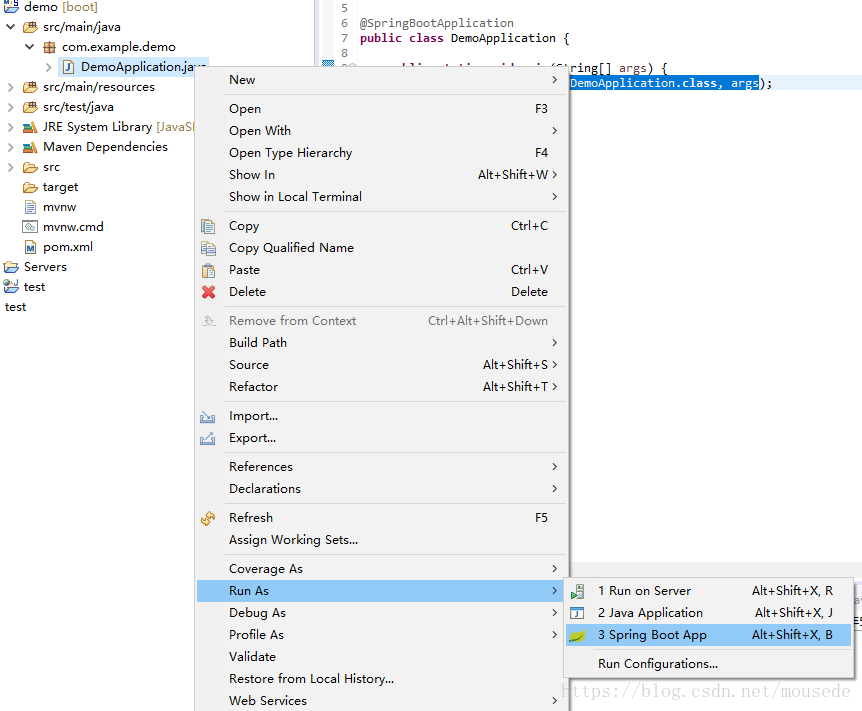
<build>
    <plugins>
    <!-- spring-boot-maven-plugin插件就是打包spring boot应用的 -->
        <plugin>
            <groupId>org.springframework.boot</groupId>
            <artifactId>spring-boot-maven-plugin</artifactId>
        </plugin>
    </plugins
</build>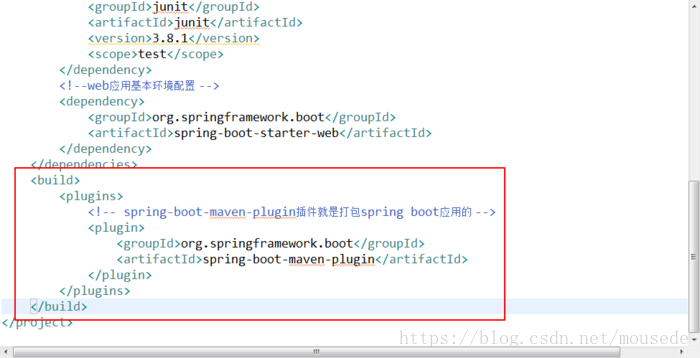
9. Cipta folder sumber dan fail application.properties
10.App.java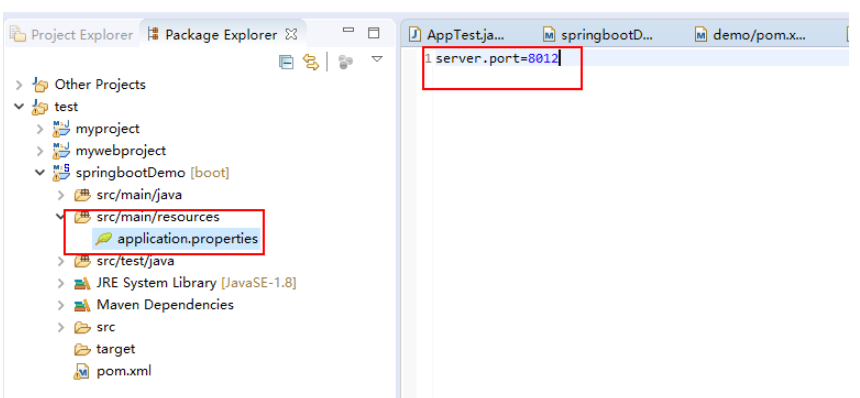
package com.springboot.springbootDemo;
import org.springframework.boot.SpringApplication;
import org.springframework.boot.autoconfigure.SpringBootApplication;
@SpringBootApplication
public class App
{
    public static void main( String[] args )
    {
        SpringApplication.run(App.class, args);
    }
}11.HelloController.java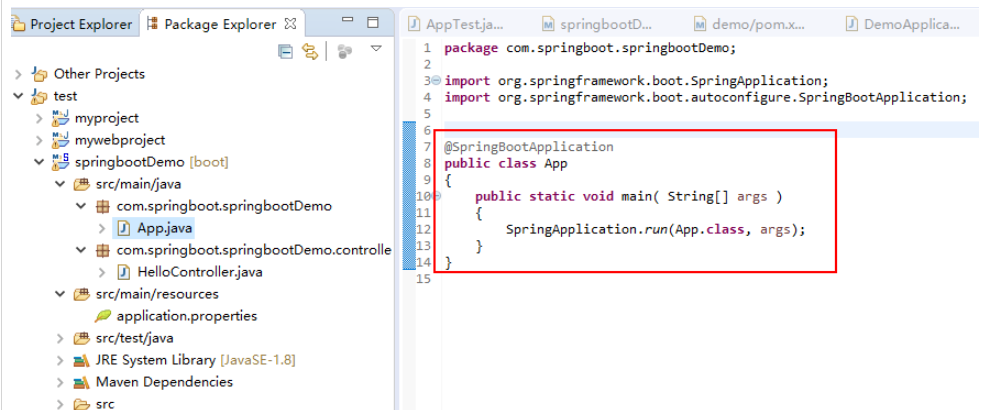
package com.springboot.springbootDemo.controller;
import org.springframework.web.bind.annotation.RequestMapping;
import org.springframework.web.bind.annotation.RestController;
@RestController
@RequestMapping("hello2")
public class HelloController {
       @RequestMapping("")
       public String hello() {
              return "helloworld2";
       }
} 12. Mulakan projek 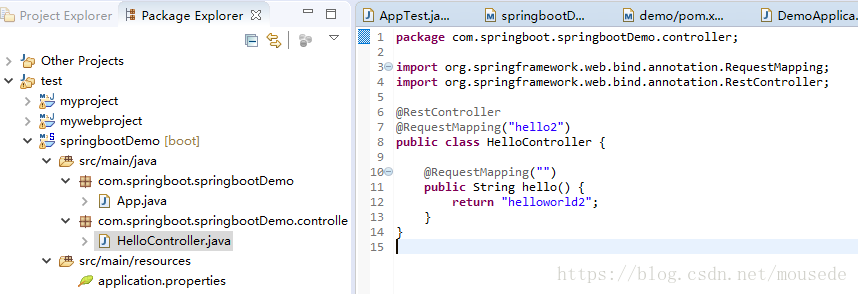
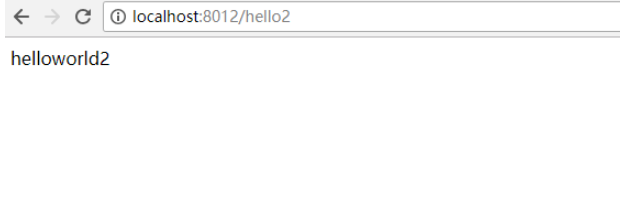
13. Akses projek (versi yang lebih rendah mungkin tidak boleh diakses, versi 2 tersedia) 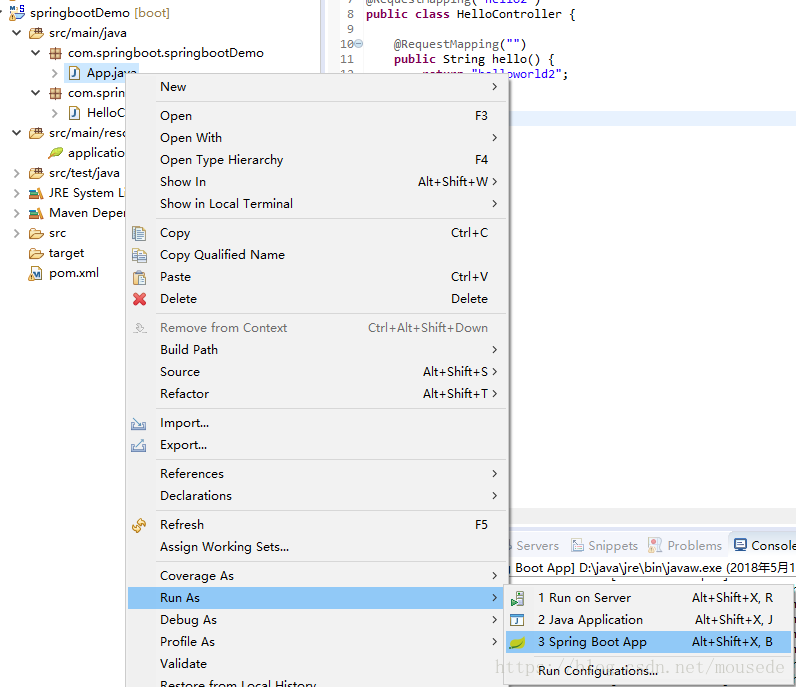
 Kaedah 3
Klik Jana Projek untuk memuat turun pakej termampat projek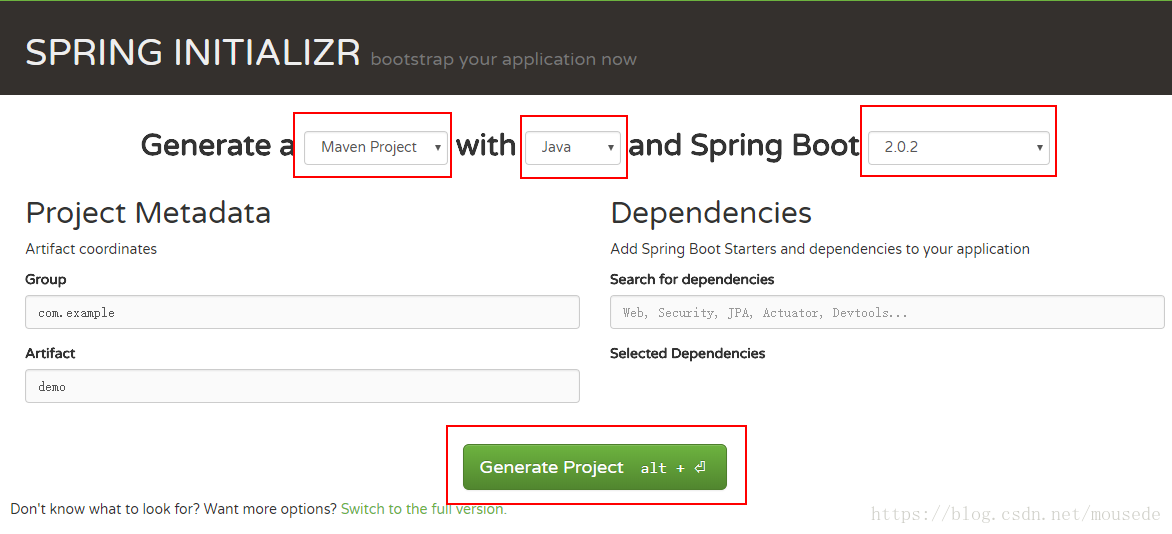
Atas ialah kandungan terperinci Apakah cara untuk mencipta projek springboot dalam eclipse. Untuk maklumat lanjut, sila ikut artikel berkaitan lain di laman web China PHP!
 tutorial gerhana
 Bagaimana untuk menetapkan bahasa Cina dalam gerhana
 Langkah membina projek SpringBoot
 Apakah perisian pengaturcaraan bahasa C?
 Apakah perbezaan antara nombor versi Eclipse?
 Apakah perbezaan antara gerhana dan idea?
 Apakah perbezaan antara j2ee dan springboot
 Bagaimana untuk membuka fail eml
 Skrin beku komputer tersekat


