

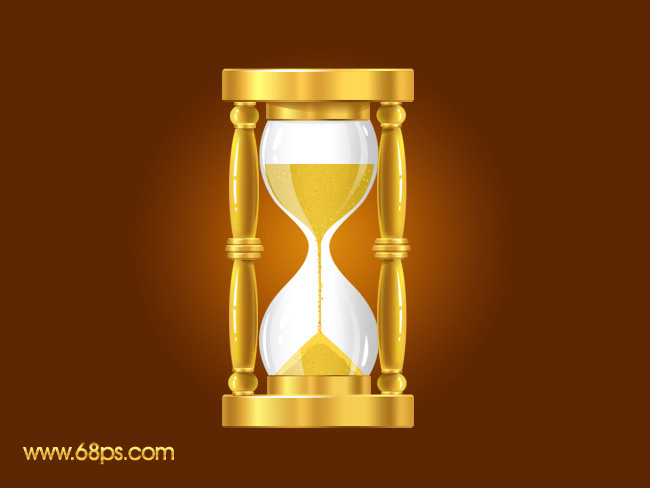
Photoshop 漂亮的黄金沙漏制作方法

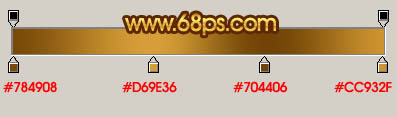
1、新建一个1024 * 768像素的文件,选择渐变工具,颜色设置如图1,拉出图2所示的径向渐变。
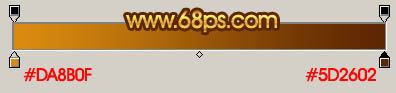
<图1>

<图2> 2、新建一个图层,用矩形选框工具拉出图3所示的选区,选择渐变工具,颜色设置如图4,拉出图5所示的线性渐变。

<图3>
<图4>

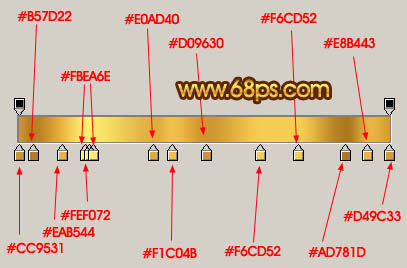
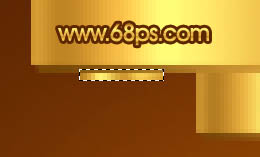
<图5> 3、新建一个图层,钢笔勾出图6所示的选区,拉上图7所示的渐变色,效果如图8。

<图6>
<图7>

<图8>
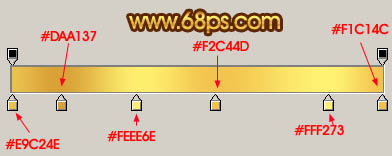
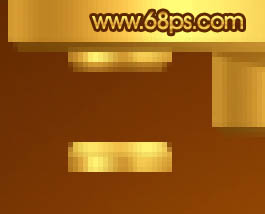
4、新建一个图层,钢笔勾出图9所示的选区,拉上图10所示的渐变色,效果如图11。

<图9>
<图10>

<图11> 5、新建一个图层,同样的做出图12所示的渐变图形。

<图12>
6、左侧较少的渐变色块的制作方法同上。制作的时候最好新建一个图层。
<图13>
<图14>
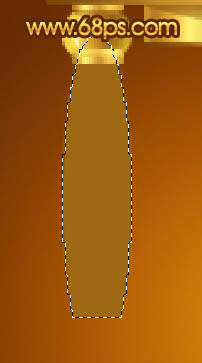
7、在背景图层上面新建一个图层,用椭圆选框工具拉出图15所示的椭圆选区,拉上渐变色后,再加上暗调和高光,效果如图16。
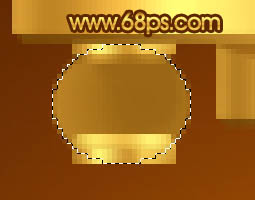
<图15>
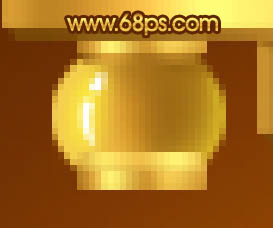
<图16> 8、在背景图层上面新建一个图层,用椭圆选框工具拉出图17所示的椭圆选区,下面一截可以用矩形选框工具截去,然后填充颜色:#9D6915,效果如下图。
<图17>

Alat AI Hot

Undresser.AI Undress
Apl berkuasa AI untuk mencipta foto bogel yang realistik

AI Clothes Remover
Alat AI dalam talian untuk mengeluarkan pakaian daripada foto.

Undress AI Tool
Gambar buka pakaian secara percuma

Clothoff.io
Penyingkiran pakaian AI

AI Hentai Generator
Menjana ai hentai secara percuma.

Artikel Panas
Alat panas

Notepad++7.3.1
Editor kod yang mudah digunakan dan percuma

SublimeText3 versi Cina
Versi Cina, sangat mudah digunakan

Hantar Studio 13.0.1
Persekitaran pembangunan bersepadu PHP yang berkuasa

Dreamweaver CS6
Alat pembangunan web visual

SublimeText3 versi Mac
Perisian penyuntingan kod peringkat Tuhan (SublimeText3)
Topik panas


 Bagaimana saya menggunakan Photoshop untuk mencipta grafik media sosial?
Mar 18, 2025 pm 01:41 PM
Bagaimana saya menggunakan Photoshop untuk mencipta grafik media sosial?
Mar 18, 2025 pm 01:41 PM
Butiran artikel menggunakan Photoshop untuk grafik media sosial, meliputi persediaan, alat reka bentuk, dan teknik pengoptimuman. Ia menekankan kecekapan dan kualiti dalam penciptaan grafik.
 Bagaimanakah saya menyediakan imej untuk kegunaan web di Photoshop (saiz fail, resolusi, ruang warna)?
Mar 13, 2025 pm 07:28 PM
Bagaimanakah saya menyediakan imej untuk kegunaan web di Photoshop (saiz fail, resolusi, ruang warna)?
Mar 13, 2025 pm 07:28 PM
Artikel membincangkan penyediaan imej untuk kegunaan web di Photoshop, memberi tumpuan kepada mengoptimumkan saiz fail, resolusi, dan ruang warna. Isu utama adalah mengimbangi kualiti imej dengan masa pemuatan cepat.
 Bagaimanakah saya menggunakan alat pemindahan kandungan dan kandungan yang menyedari kandungan Photoshop dengan berkesan?
Mar 13, 2025 pm 07:35 PM
Bagaimanakah saya menggunakan alat pemindahan kandungan dan kandungan yang menyedari kandungan Photoshop dengan berkesan?
Mar 13, 2025 pm 07:35 PM
Artikel membincangkan menggunakan alat pengisian kandungan dan memindahkan kandungan Photoshop dengan berkesan, menawarkan petua untuk memilih kawasan sumber, mengelakkan kesilapan, dan menyesuaikan tetapan untuk hasil yang optimum.
 Bagaimanakah saya menyediakan imej untuk web menggunakan Photoshop (mengoptimumkan saiz fail, resolusi)?
Mar 18, 2025 pm 01:35 PM
Bagaimanakah saya menyediakan imej untuk web menggunakan Photoshop (mengoptimumkan saiz fail, resolusi)?
Mar 18, 2025 pm 01:35 PM
Artikel membincangkan mengoptimumkan imej untuk web menggunakan Photoshop, memberi tumpuan kepada saiz fail dan resolusi. Isu utama adalah mengimbangi kualiti dan masa beban.
 Bagaimana saya menggunakan keupayaan penyuntingan video Photoshop?
Mar 18, 2025 pm 01:37 PM
Bagaimana saya menggunakan keupayaan penyuntingan video Photoshop?
Mar 18, 2025 pm 01:37 PM
Artikel ini menerangkan cara menggunakan Photoshop untuk penyuntingan video, memperincikan langkah -langkah untuk mengimport, mengedit, dan mengeksport video, dan menonjolkan ciri -ciri utama seperti panel garis masa, lapisan video, dan kesan.
 Bagaimana saya menentukur monitor saya untuk warna yang tepat di Photoshop?
Mar 13, 2025 pm 07:31 PM
Bagaimana saya menentukur monitor saya untuk warna yang tepat di Photoshop?
Mar 13, 2025 pm 07:31 PM
Artikel membincangkan pemantauan menentukur untuk warna yang tepat dalam Photoshop, alat untuk penentukuran, kesan penentukuran yang tidak wajar, dan kekerapan semula. Isu utama adalah memastikan ketepatan warna.
 Bagaimana saya membuat gif animasi di photoshop?
Mar 18, 2025 pm 01:38 PM
Bagaimana saya membuat gif animasi di photoshop?
Mar 18, 2025 pm 01:38 PM
Artikel membincangkan membuat dan mengoptimumkan GIF animasi di Photoshop, termasuk menambah bingkai kepada GIF yang sedia ada. Fokus utama adalah untuk mengimbangi kualiti dan saiz fail.
 Bagaimanakah saya menyediakan imej untuk cetak menggunakan Photoshop (resolusi, profil warna)?
Mar 18, 2025 pm 01:36 PM
Bagaimanakah saya menyediakan imej untuk cetak menggunakan Photoshop (resolusi, profil warna)?
Mar 18, 2025 pm 01:36 PM
Artikel ini membimbing untuk menyediakan imej untuk dicetak di Photoshop, memberi tumpuan kepada resolusi, profil warna, dan ketajaman. Ia berpendapat bahawa profil 300 ppi dan CMYK adalah penting untuk cetakan yang berkualiti.
