
This article brings you the detailed steps for installing mysql-server under CentOS7. It has certain reference value. Friends in need can For reference, I hope it will be helpful to you.
In Hive, the Derby database can only have one instance and cannot run on multiple terminals at the same time. This creates many restrictions. Therefore, for the storage of metadata, the open source mysql database is used, so it needs to be Install mysql related services on the master node. (Recommended course: MySQL video tutorial)
0. First, use the yum list | grep mysql command to find whether there is MySQL in the yum source. My query results are as follows;
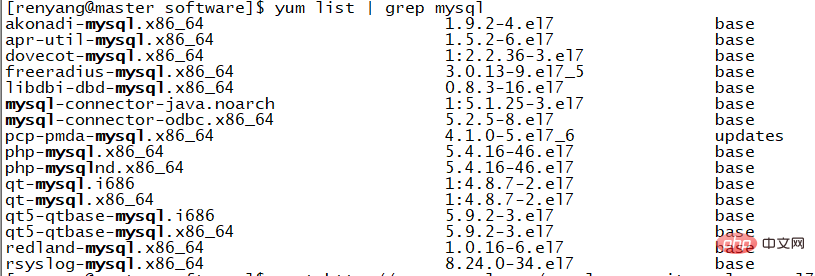
It can be seen that there is no shadow of mysql-server in short. (It is said that there is no mysql in the source of centOS7, but the same version of centOS can be directly used in Alibaba Cloud using yum install mysql -server to directly install mysql)
Therefore, you can find the installation source of mysql, as follows:
1. First download the repo source of mysql
$ wget http://repo.mysql.com/mysql-community-release-el7-5.noarch.rpm

2. Install the source package, that is, install the mysql-community-release-el7-5.noarch.rpm package
$ sudo rpm -ivh mysql-community-release-el7-5.noarch.rpm

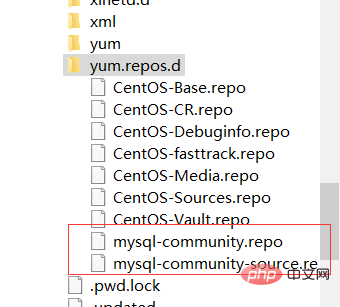
Install this package After that, you will get two mysql yum repo sources:
/etc/yum.repos.d/mysql-community.repo and
/etc/yum.repos.d/mysql-community- source.repo.
You can find it under /etc in the root directory
3. Install mysql
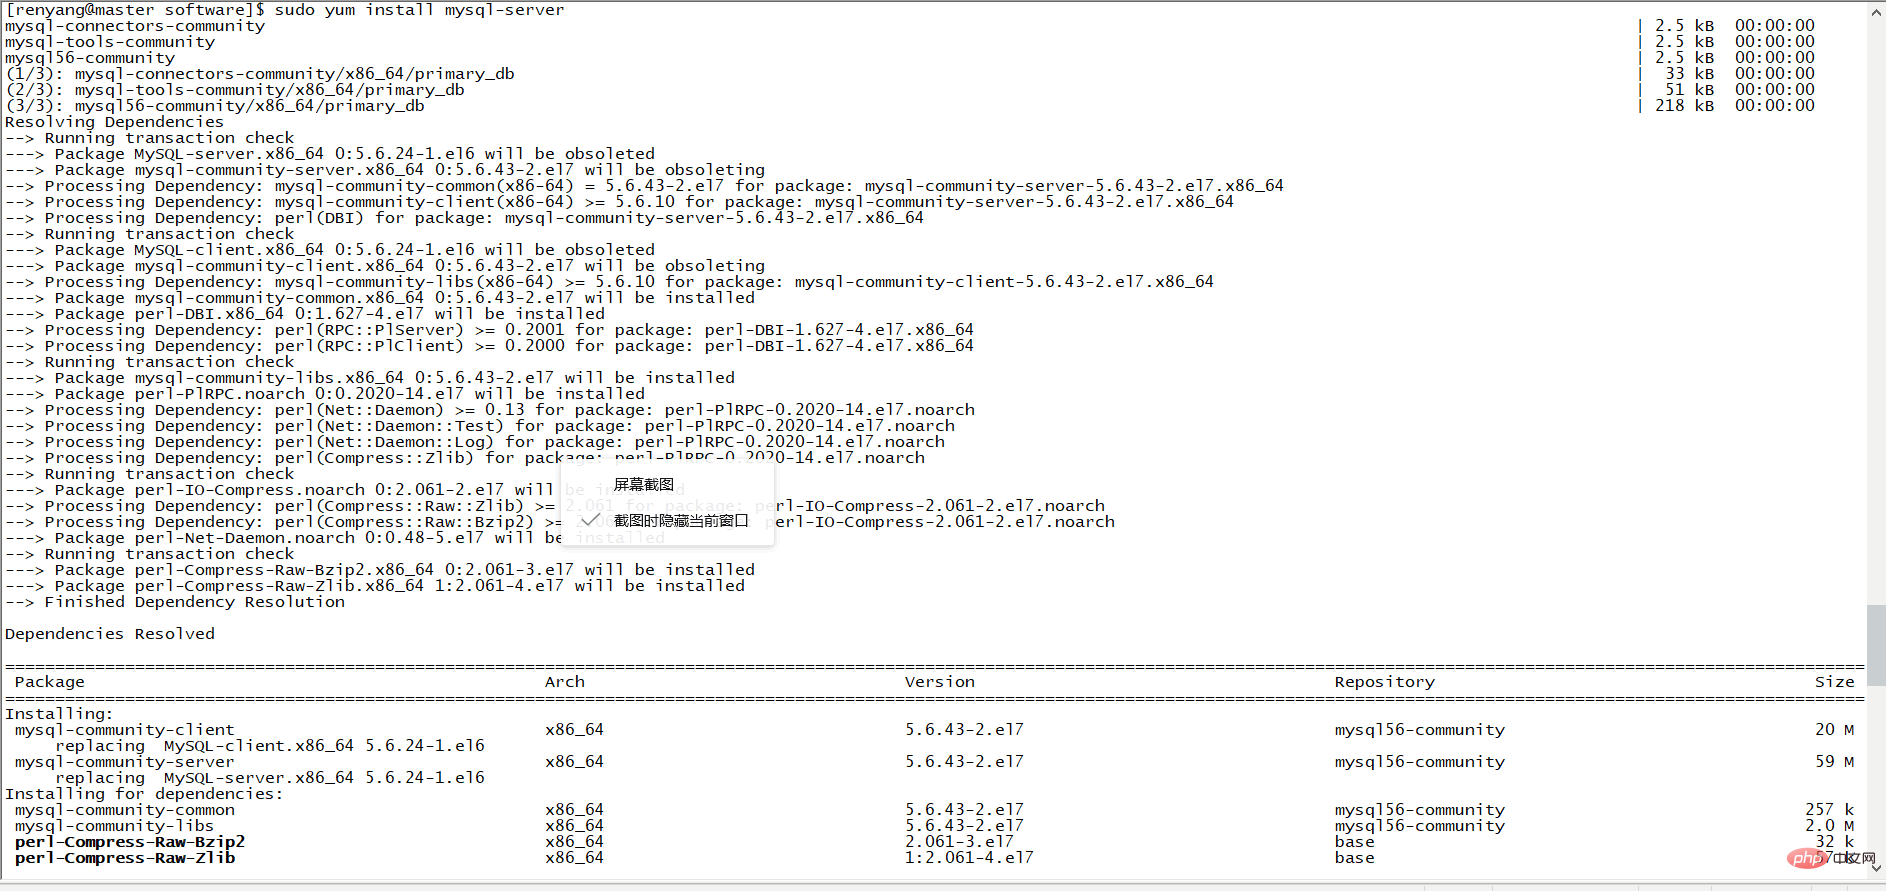
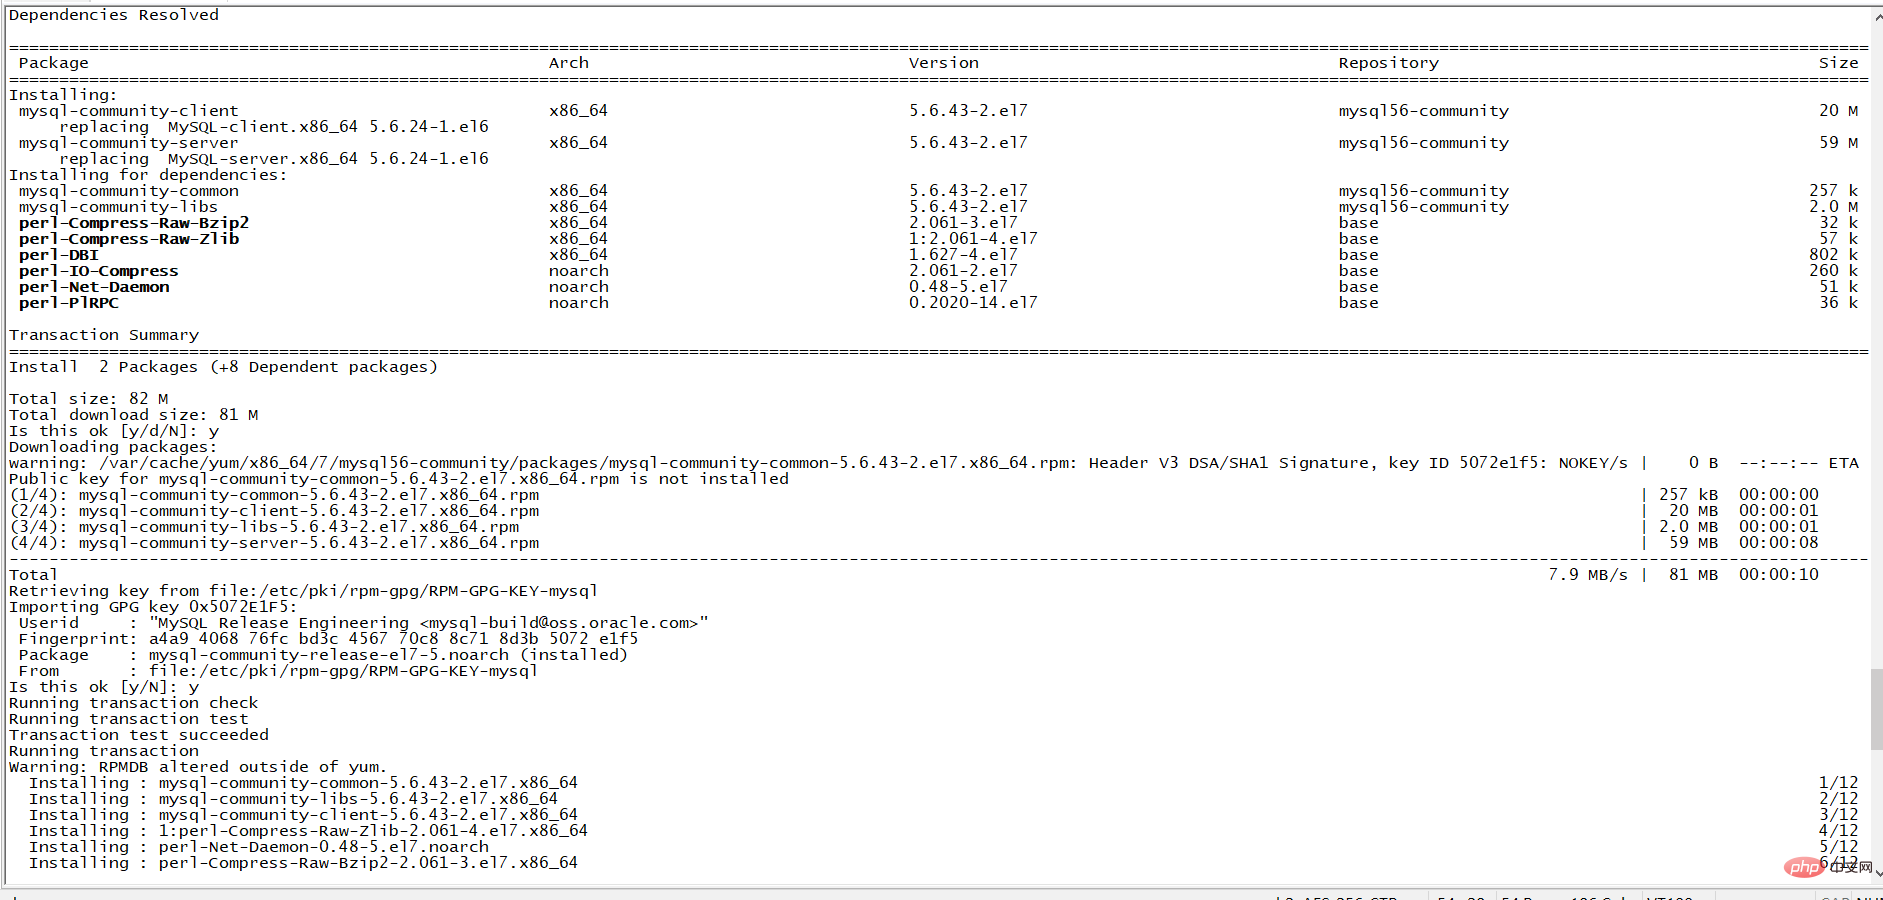
$ sudo yum install mysql-server
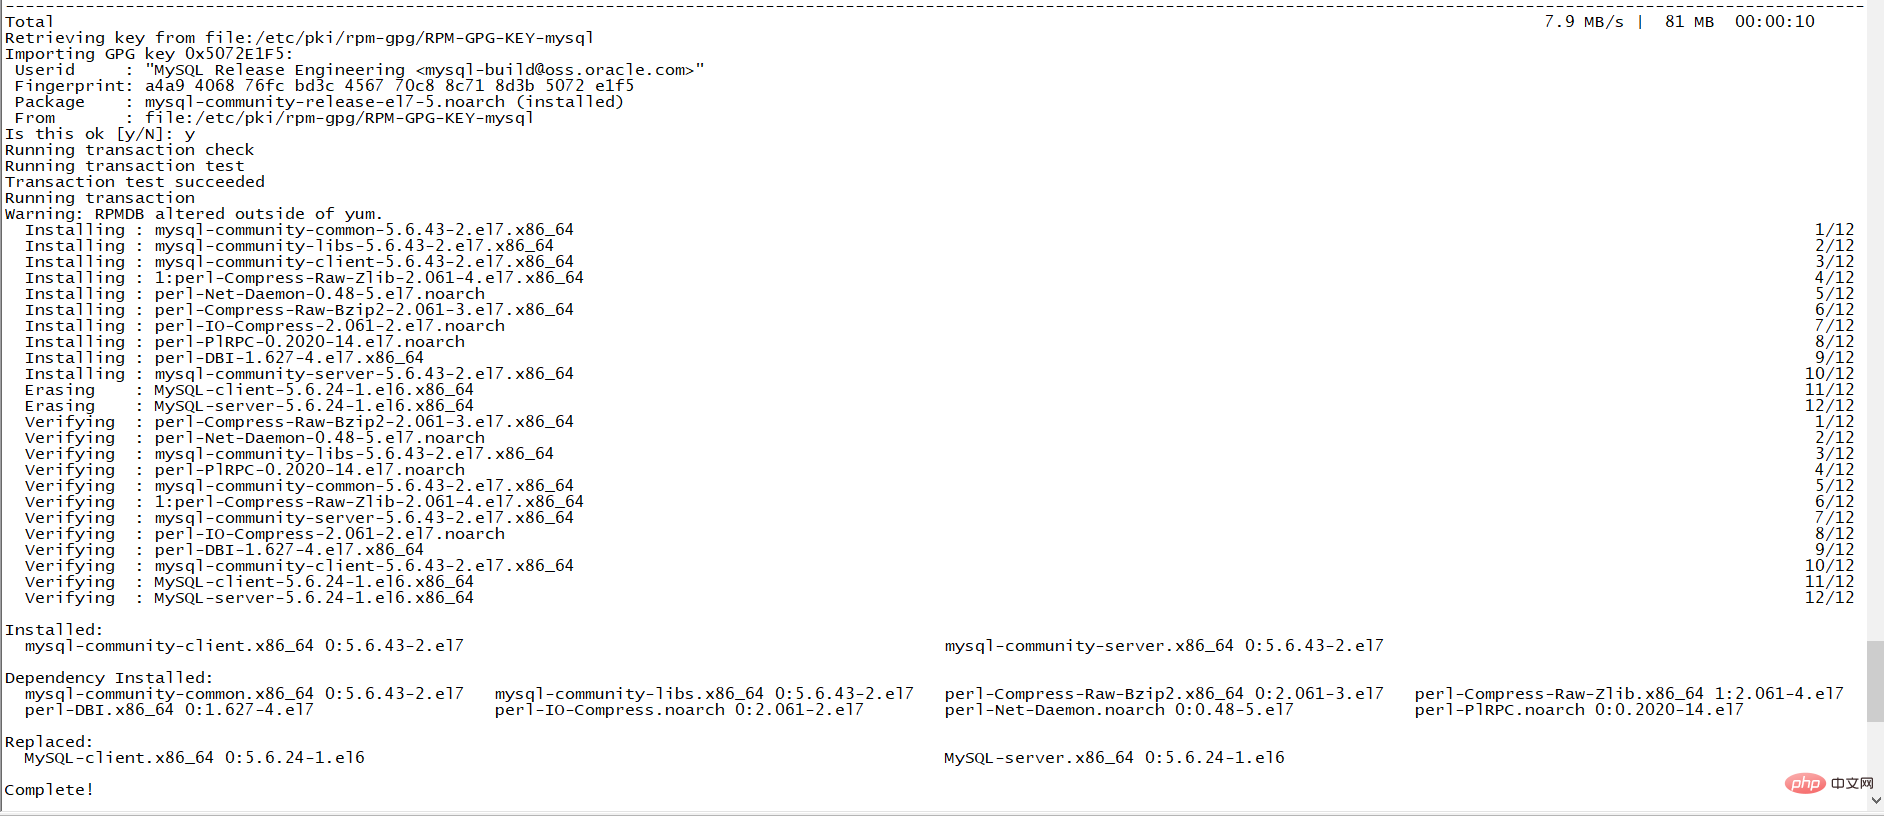
4. At this time, check whether the mysqld service is open
$ sudo service mysqld status

It can be seen that the mysql service has been started
5. Reset the mysql password
[root@master renyang]# mysqladmin -u root password '123456'
but an error will be reported:

This error means that there is a problem with the password and you cannot log in, so you should bypass password verification and reset the password. So add a line "skip-grant-tables" to the \etc\my.cnf file in the root directory to bypass password verification. As follows:

Then restart the mysql service, execute [renyang@master ~]$ systemctl restart mysqld.service
6, enter "mysql", You can enter mysql. Next, you can change the password through SQL statements in mysql. Enter the following commands in sequence
mysql> use mysql
mysql> update mysql.user set authentication_string=password('123456') where user='root';
mysql> flush privileges;
mysql> quit
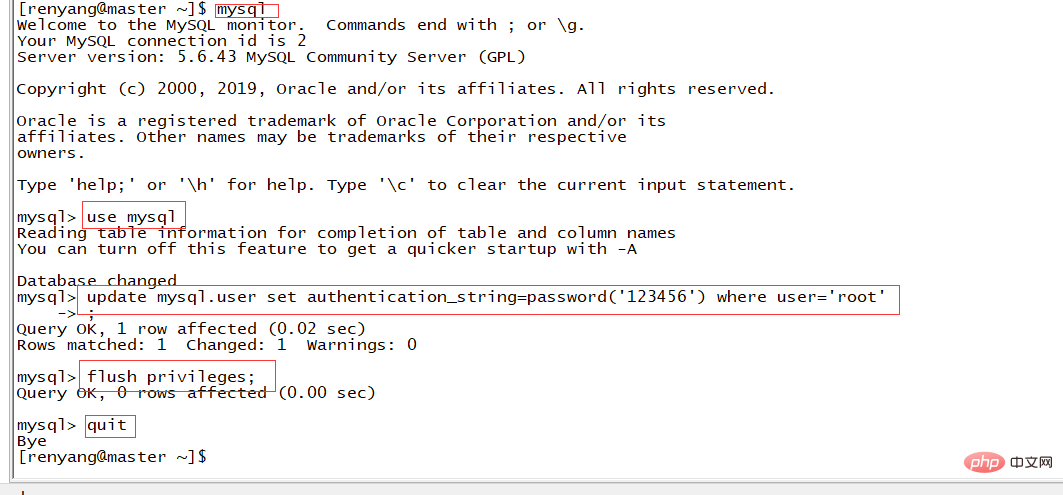
7. Re-edit my.cnf and remove the addition just added. Contents of: skip-grant-tables. Then restart MySQL: [renyang@master ~]$ systemctl restart mysqld.service
Then you can enter MySQL with the password: [renyang@master ~]$ mysql -uroot -p

The mysql database is successfully installed.
The above is the detailed content of Detailed steps to install mysql-server under CentOS7. For more information, please follow other related articles on the PHP Chinese website!