
As a coder, my art foundation is weak. We can refer to some mature web PS tutorials to improve our design capabilities. To paraphrase a sentence, "If you are familiar with three hundred Tang poems, you can recite them even if you don't know how to compose them."
The tutorials in this series come from online PS tutorials, which are all foreign and all in English. I try to translate these excellent tutorials. Due to limited translation capabilities, the details of the translation still need to be worked out. I hope that the majority of netizens will give me some advice.
Agreement:
1. The software used in this article is Photoshop CS5 version
2. The screenshots of the original tutorial are in English. Based on the re-production, I re-screened the Chinese version.
3. Some operations in the original text do not provide parameters. I measured some parameters through repeated testing, which are displayed in red text. For some incorrect parameters, the correct parameters are directly displayed in red text.
For example: (90, 22, 231, 77) , indicating that the coordinates of the upper left corner of the rectangle are (90, 22), width 231, height 77
For example: (90, 22) , indicating that the coordinates of the upper left corner of the rectangle are (90, 22). The other two parameters of the rectangle have been specified in the tutorial.
4. My own experience will be attached at the end of the tutorial. Some are optimizations of some steps in the tutorial, etc.
Step 1
step 1
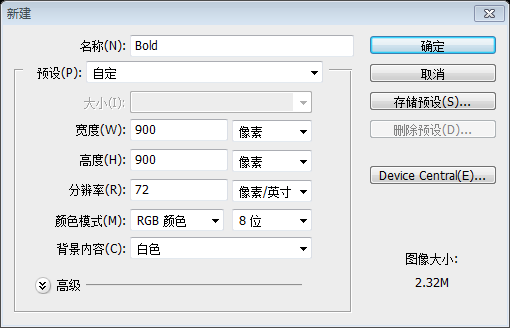
Create a new document (900X900px).
Create a new document (900*900px)
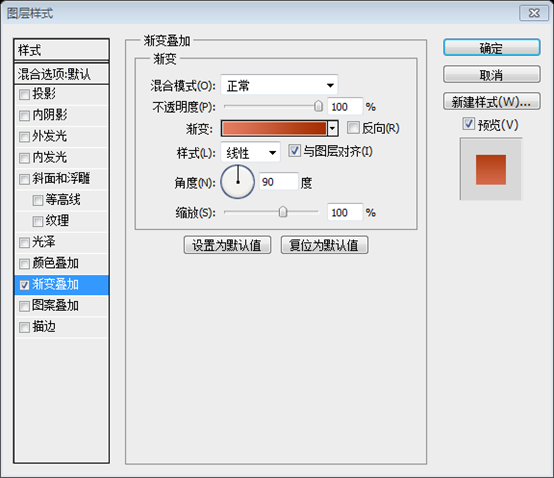
Create a new layer called ‘orange header’. Make a selection that’s 900X450px and fill it with an orange gradient:
Create a new layer orange header. Create a 900*450px selection and fill it with an orange gradient. Use Rectangle Tool It is more convenient to create a rectangle (0, 0, 900, 450), and add the gradient overlay layer style as shown below
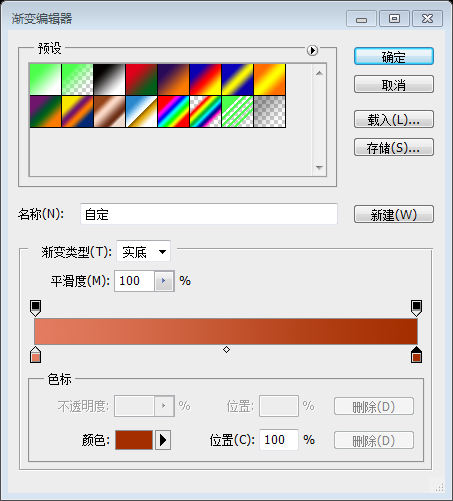
Gradient editor colors: #e37c60, #a42e00

Step 2
Step 2
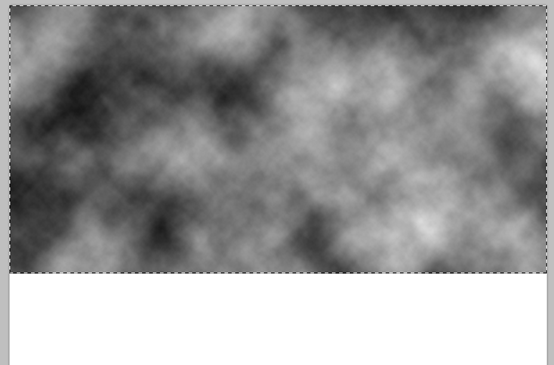
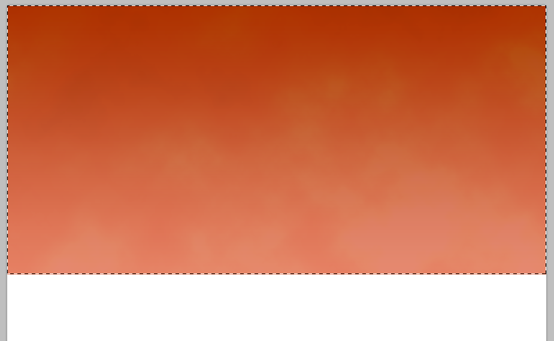
With your header selection in place create a new layer called ‘header clouds’. Go to filter>render>clouds to fill your header area with clouds. Then change your layer mode to ‘color dodge’ and reduce your opacity to 10%.
Create a new layer header clouds using the selection in your head area. (If you used the Rectangle Tool to create a rectangle before, you have to hold down the Ctrl key and click the rectangle thumbnail on the layers panel) Click: Filter> ; Rendering > Clouds, fill your head area with clouds. Then change the blending mode of your layer to Color Dodge and adjust the opacity to 10%.
Step 3
Step 3
Now download this great texture set from PSDFAN:Texture Thursday: Damage
Download the texture below now on PSDFAN
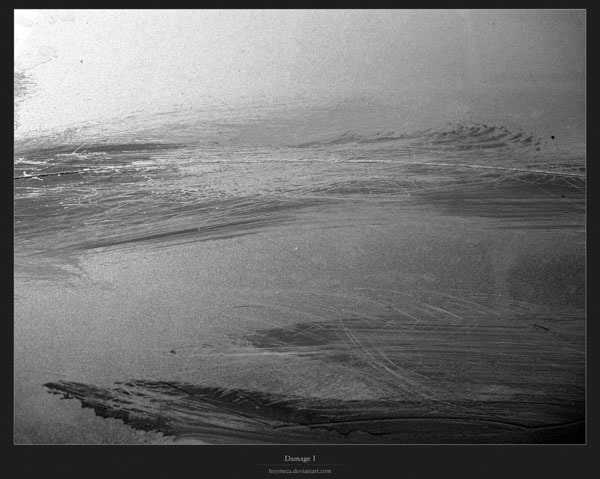
Paste one of the textures into your header selection. Call this layer ‘header texture’.
Paste one of the textures onto your head selection. Name the layer header texture
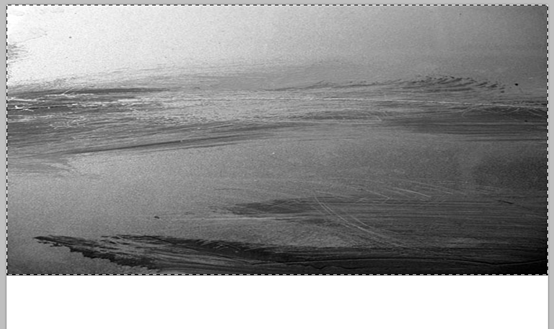
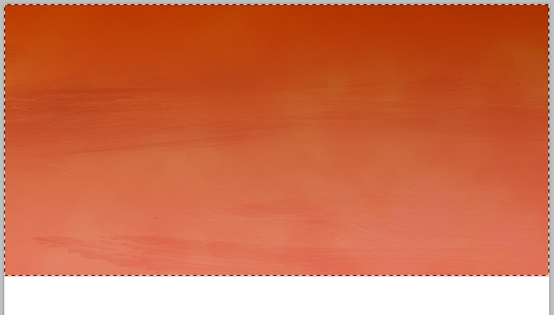
Then reduce this layer’s opacity to 20% and change the layer’s blend mode to ‘overlay’.
Then adjust the opacity of this layer to 20% and change the layer's blending options to Overlay.
Step 4
Step 4
Now use your radial gradient tool to create a white to transparent radial gradient in the right area of your header.
Now create a white to transparent radial gradient using the Radial Gradient Tool on the right side of your head area. You can also use the Ellipse tool to create an ellipse (450, 0, 450, 450), change the fill to 0, and add a radial gradient overlay as shown below

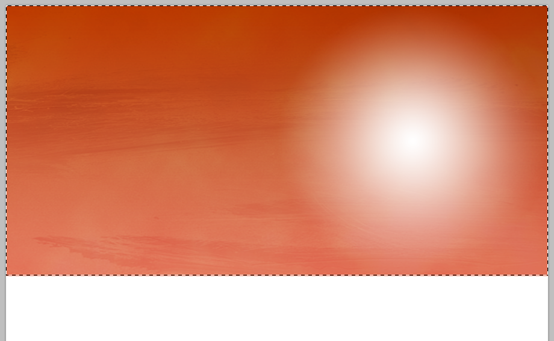
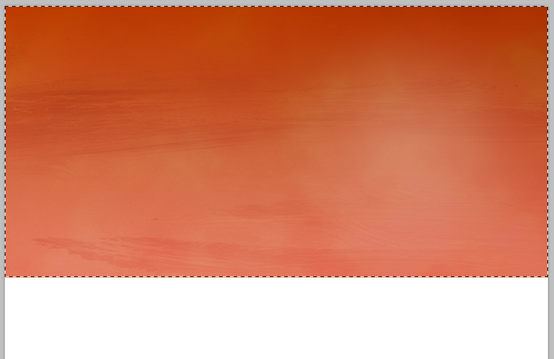
Then reduce the opacity of this layer to 20% and the layer blend mode to: ‘color dodge’.
Then adjust the opacity of the layer to 20%, and change the layer blending option to Color Dodge.
Step 5
Step 5
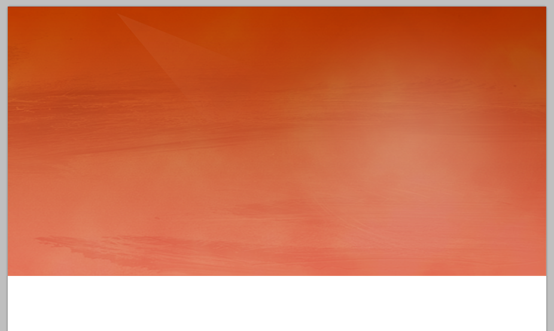
Create a new layer called ‘lighting 1′. Use your lasso tool to create a triangular shard like selection in your header. Fill this selection with a white to transparent gradient.
Create a new layer lighting1. Use the Lasso Tool to create a triangular selection over your head area. Fill this selection with a white to transparent gradient
You can also use the Polygon Tool, press Shift, draw an equilateral triangle, change the fill to 0, press Ctrl+T to transform freely, convert it into a triangle as shown below, and add a white to transparent gradient to it Overlay layer styles


On this layer, right-click and select "Convert to Smart Object", right-click again and select "Rasterize Layer".
Then reduce the opacity of this layer to 5% and the layer blend mode to: ‘color dodge’.
Then adjust the opacity of the layer to 5%, and set the layer blending option to Color Dodge,and adjust it to the appropriate position
Step 6
Step 6
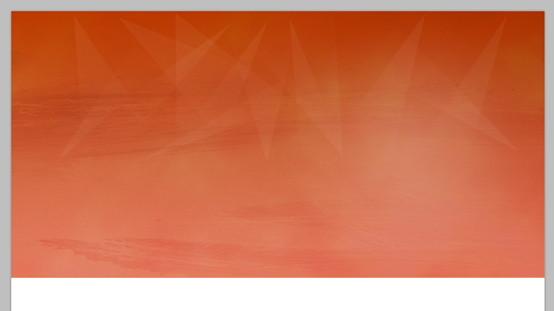
Repeat this technique to create a collection of light shards in your header.
Repeat this technique across the area of your head to create a series of arrays of light and shadow. You can directly copy the layer in step 5 and adjust it to the appropriate position and size
Step 7
Step 7
Create a new layer called ‘menu’. Create a 60px high selection at the top of your canvas. Fill it with black, and reduce the opacity of this layer to 40%.
Create a new layer menu. Create a 60px high selection (0, 0, 900, 60) at the top of your canvas. Fill it with black and adjust the opacity of this layer to 40%
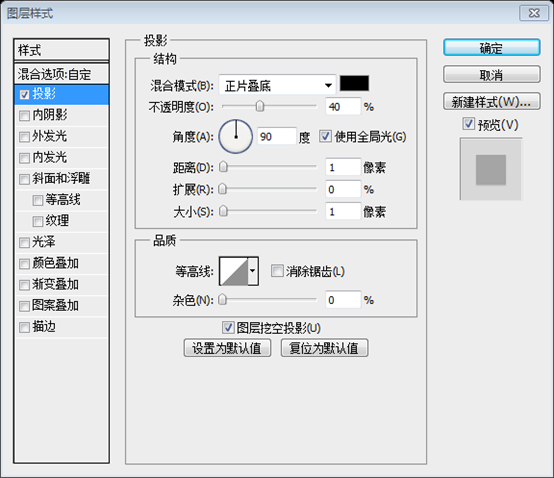
Then, to create a 1px white line under your menu apply a drop shadow (settings below):
Then, create a 1px wide white line (0, 60, 900, 1) (Opacity 40%) Below your menu, add a drop shadow as shown below.

Step 8
Step 8
Add some menu text, as well as some 1px piders between the menu items.
Add some menu text and add a 1px dividing line between each two menus (Both text and dividing lines are white, the opacity of the text is changed to 80%, and the opacity of the dividing line is changed to 40%)

Step 9
Step 9
Download this Macbook Pro vector set
Paste in your Macbook Pro vector, and position it the right half of your header.
Download this Macbook Pro vector set
Paste the Macbook Pro vector and place it to the right of your head area

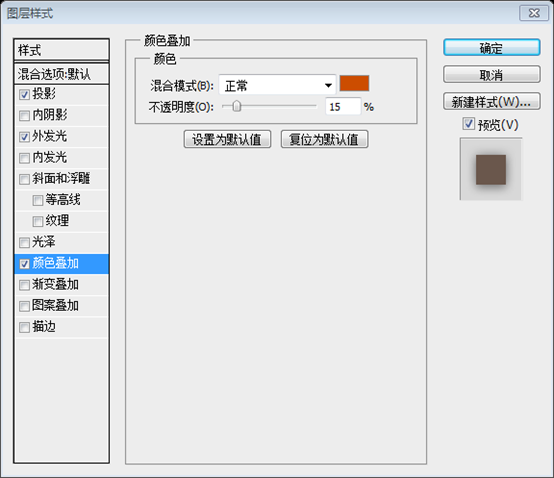
Then apply the following layer blending options to your Macbook Pro layer, including a color overlay, in order to make the laptop blend better with it’s background:
Then add a layer style to the Macbook Pro layer as shown below, including a color overlay, which looks to match the background better.

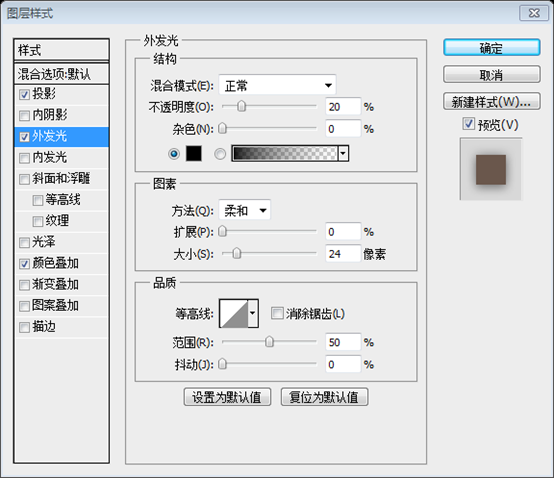
Color of color overlay: #cc4d00

Step 10
Step 10
Now create a new layer called ‘macbook shadow’. Create an oval selection beneath your Macbook Pro and fill it with black. Then apply a gaussian blur to your shape. This should give the impression of your laptop casting a downward shadow.
Now create new layer macbook shadow. Create an elliptical selection underneath your Macbook Pro and fill it with black. Then add a Gaussian blur to it. This adds a downward-shadowing feel to your laptop.

Step 11
Step 11
Write out some large header text (I used the free font Museo).
Write some big headlines (I use the free Museo) (Museo TT 700, font size: 52pt, horizontal zoom 85%)
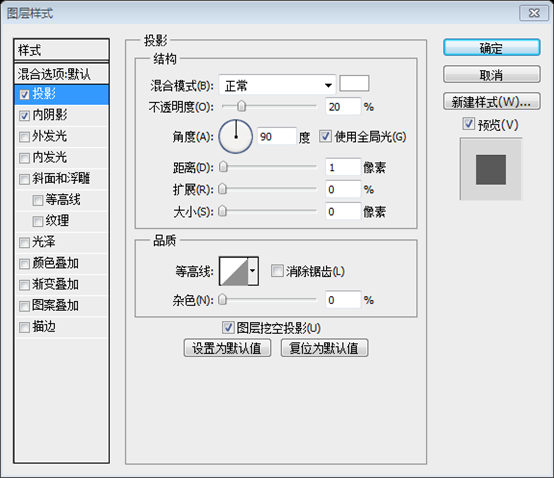
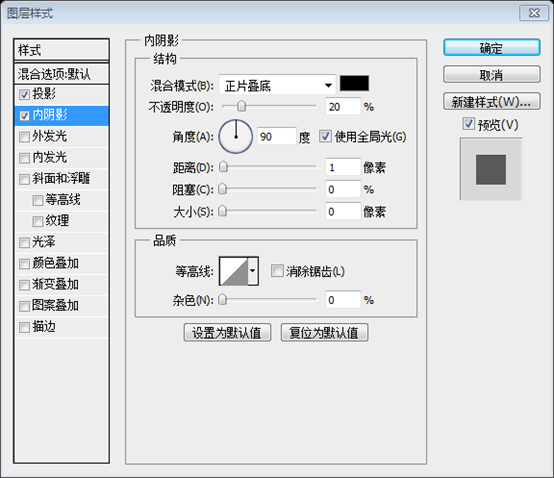
Then apply the blending options shown below:
Then add layer styles as shown below:
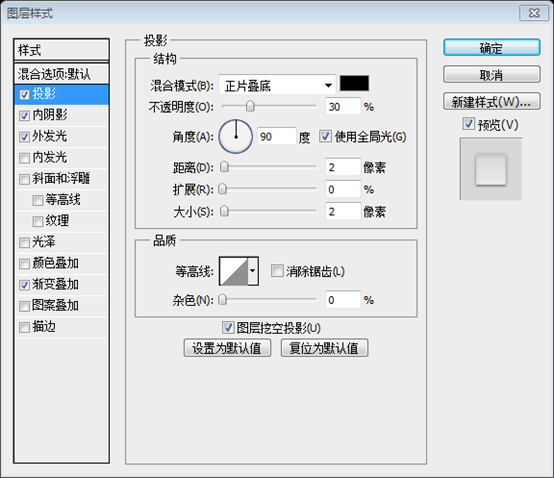
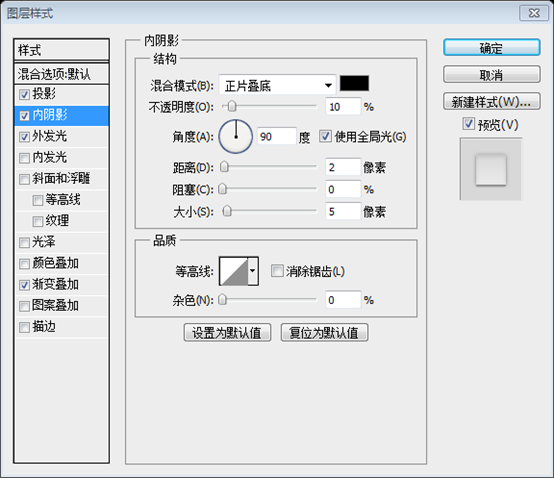
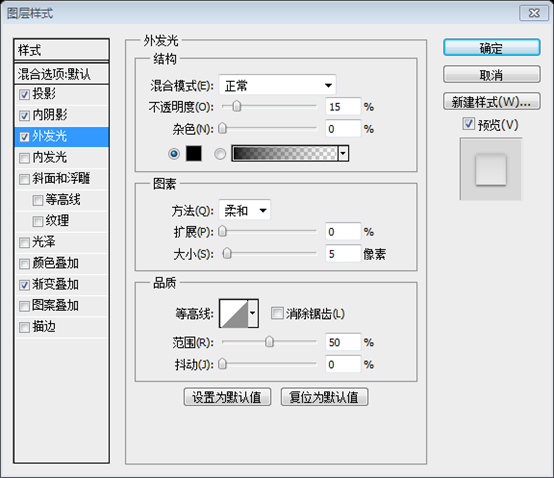
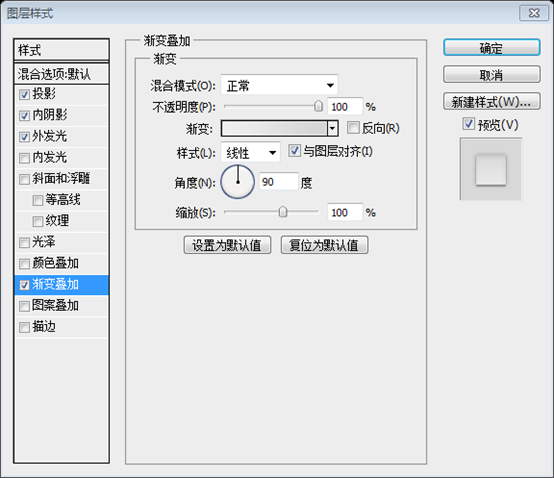
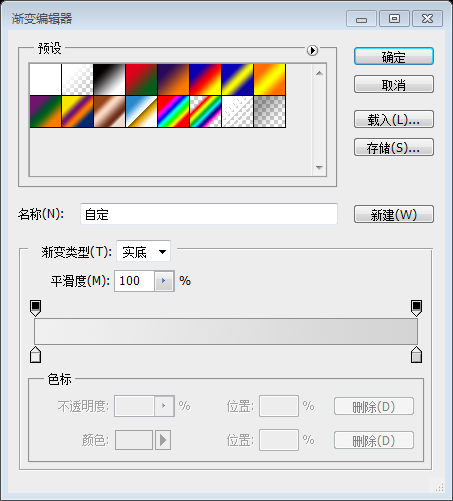
Gradient editor colors: #f0f0f0 and #d4d4d4

Step 12
Step 12
Add some more text to your header, this time using Arial as your font, and select a color that is a darker version of your header background color.
Add some text in your header area, this time using Arial and using the dark background color of your header area (#992d01)

Step 13
Step 13
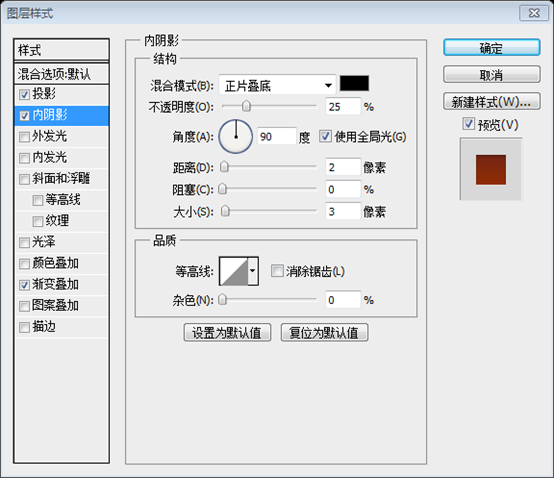
Now work on creating a form in your header section. Create a rounded rectangle shape for your form input (radius 10px), and apply the blending options shown below. This should make your form look embedded in your header background.
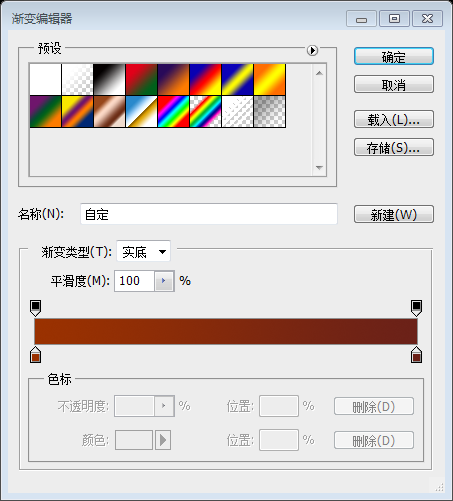
Create a form in your header area. Create a rounded rectangle (37, 361, 246, 39) (radius 10px) for your form, and then add a layer style as shown below. This makes your form appear to be embedded in the background of your header area.

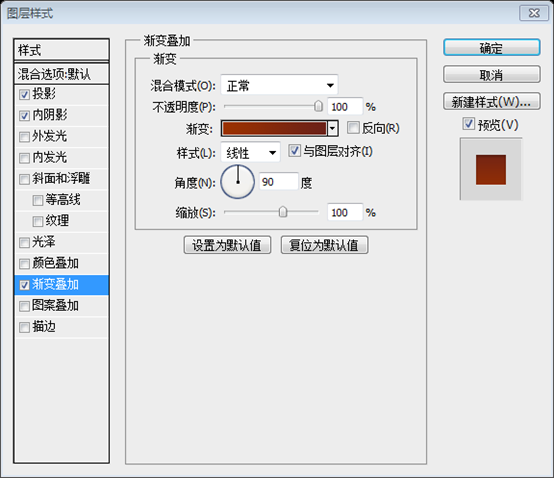
Gradient editor colors: #9a3100 and #6b2118

Step 14
Step 14
Now create a button for your form:
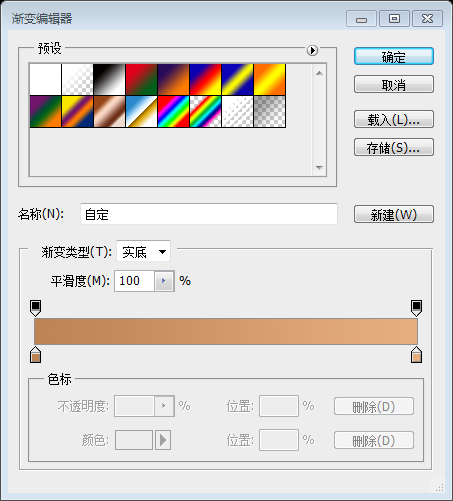
Create a button in your header area. Rounded rectangle (298, 361, 185, 39) (radius 10px), and then add a layer style as shown below.

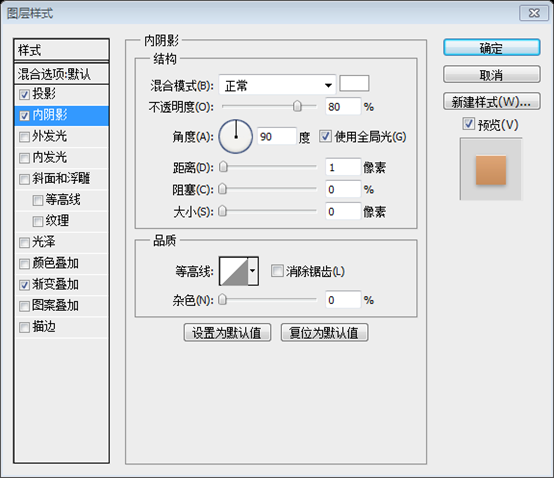
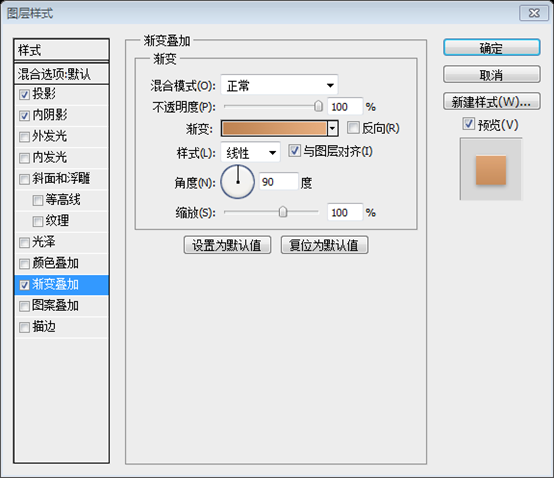
Gradient editor colors: #bf8453 and #e6ad7e

Step 15
Step 15
Add some text for your form elements:
Add some text to your form element, The color of the text on the left: #cbcbcb, the color of the text on the right: #992d01

Step 16
Step 16
Add text to the white area beneath your header, I’ve just used filler text/images as an example:
Add some text to the white area below the header area, I filled it with some text and an image to use as an example

Step 17
Step 17
Create a new layer called ‘footer’. Create a selection at the bottom of your canvas and fill it with light gray.
Create a new layer footer. Create a selection (0,800,900,100) at the bottom of your canvas and fill it with light gray (#d3d3d3)

Step 18
Step 18
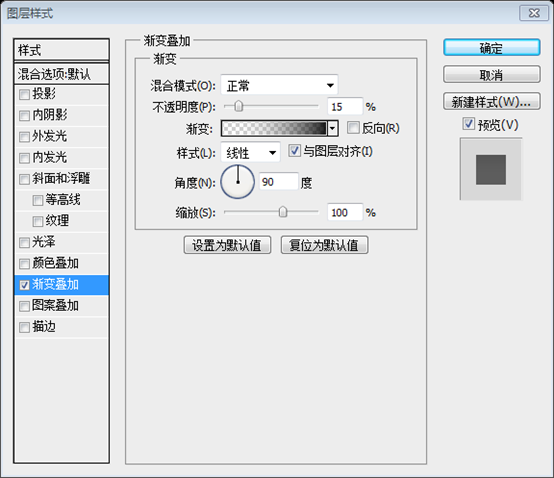
Create a new layer and create a circle in the bottom middle of your canvas. Fill it with the same light gray color as your 'footer' layer. Then merge this layer down with your 'footer' layer. Apply a gradient overlay (settings below ):
Create a new layer and create a circle (405, 770, 90, 90) at the bottom middle of your canvas. Fill the footer layer with the same light gray color. Then merge it with the footer layer. Add gradient overlay as shown below

Step 19
Step 19
To finish up, add some text to your footer, adding a subtle drop shadow:
Almost done, add some text to your footer area and add some drop shadow


And We’re Done!
The final work

Postscript:
This is a simple tutorial. But using some textures and tricks, good results are also achieved. The overall color scheme is bright orange, which is a warm color, giving people a comfortable and warm feeling.
For more PS web design tutorial XXVII - Designing a bold and vibrant portfolio related articles, please pay attention to php中文网photoshop image processing tutorial!


