
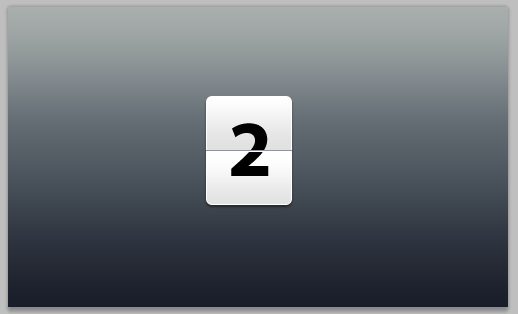
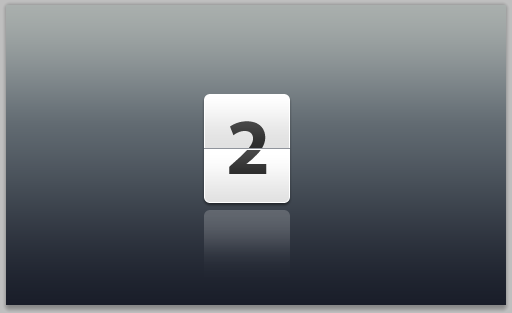
This tutorial shows how to design a countdown number card in PS, as shown in the picture below
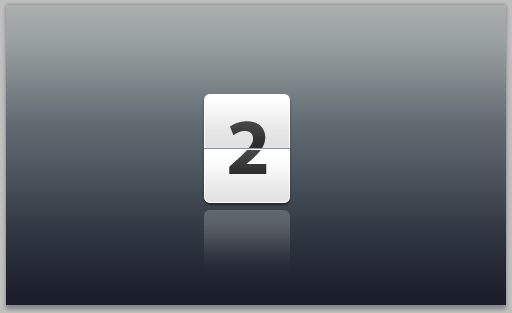
This kind of number card can currently be used on many occasions You can see it, especially on the now popular Android mobile phone system.
1. Setting up the Photoshop file
1. Configure Photoshop files
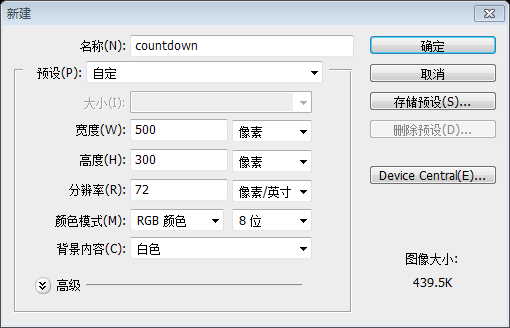
1.1. Create a new file (Ctrl + N). In the New file dialog box, set the Width and Height units to pixels (if it isn't already). Set the width to 500 and the height to 300 pixels. We're creating a graphic element for web, as mentioned above, so set the Resolution to 72 pixels/inch, color mode to RGB color , 8 bit and background contents to white.
1.1 Create a new file (Ctrl+N). On the new file window, set the width and height units to pixels (if not pixels). Set the width to 500 and the height to 300. To create image elements for use on the web page, as mentioned above, set the resolution to 72 pixels/inch and the color mode to RGB color, 8-bit. The background content is white
1.2. To unlock the layer, currently titled "background", double click on it and on appearance of a dialog window showing title as Layer 0, press ok.
1.2 Unlock the layer, the current title is "Background", double-click the layer, the title displayed on the dialog window that appears is changed to " Layer" and press OK

2. Adding color to the background (Layer)
2. Add background color (layer)
2.1. Select Layer 0 (if not already selected) and go to Layer > Layer Style > Gradient Overlay.
2.1Select "Layer" (if it is not selected), then click: Layer> Layer Style> Gradient Overlay
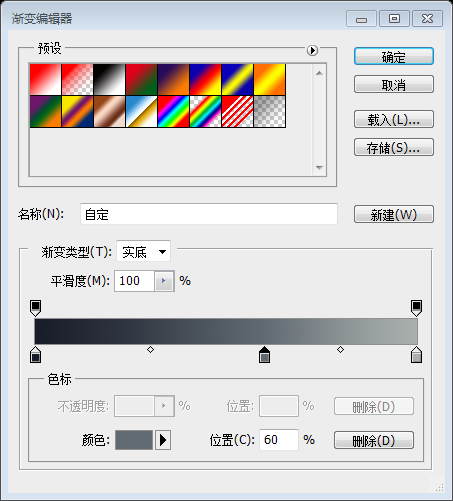
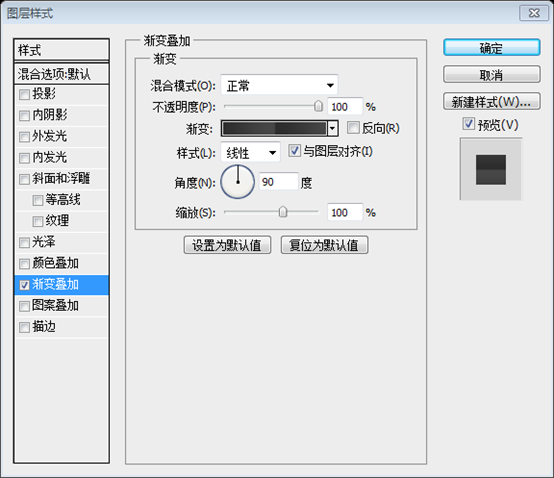
2.2. Make sure the opacity is 100%, style is linear and angle is 90 degrees. Click on the gradient and in the Gradient Editor, add color stops in this order: #191d29 at 0% location, #616a71 at 60% and #a9afab at 100% location .
2.2 Set the layer style as shown below, with 100% opacity, linear style, and angle set to 90 degrees. Click on the gradient, and in the gradient editor window, set the colors in order: #191d29 at 0%, #616a71 at 60%, and #a9afab
at 100% 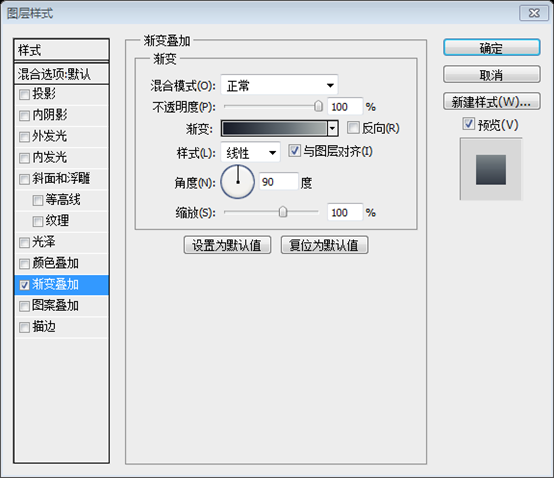
3. Adding a white box
3. Adding a white box Block
3.1. Click and hold (without releasing) the Rectangle Tool to select Rounded Rectangle Tool.
3.1 Click and hold (without releasing) the Rectangle Tool to select Rounded Rectangle Tool. Rectangle tool, select the Rounded Rectangle Tool
3.2. Choosing radius as 6 px, as shown above, create a rectangular box like the one shown below and rename it as "white-box" after double clicking the "shape 1" layer.
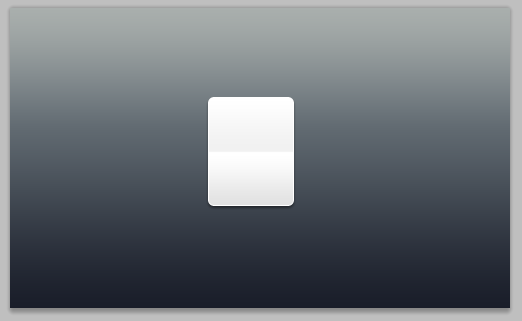
3.2 Set the radius to 6px, as shown above, create a rounded rectangle (198, 89, 86, 109) , as shown below, rename it "White Square", after double-clicking on the Shape 1 layer
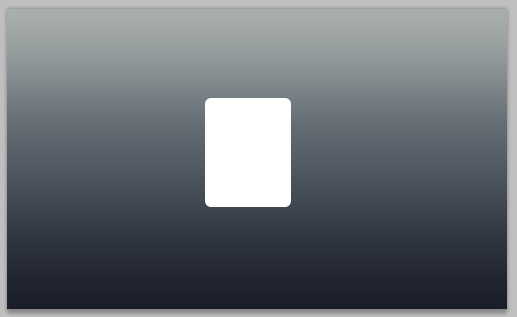
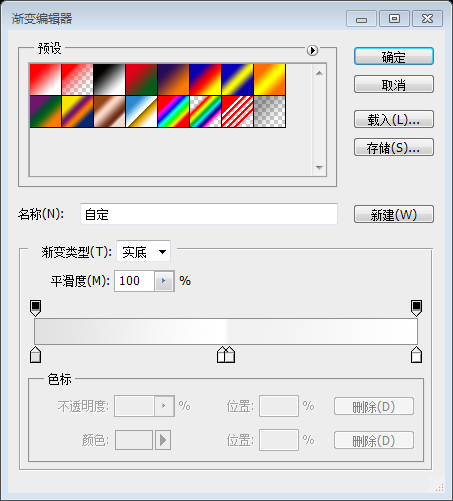
3.3. With white box as selection, go to gradient overlay (as explained in step 2.1). Again, make sure the opacity is 100%, style is linear and angle is 90 degrees. Click on the gradient and in the Gradient Editor, add color stops in this order: #e1e1e1 at 0% location, #ffffff at 49%, #e1e1e1 at 51% location and finally, #ffffff at 100% location.
3.3 Select the white square Now, set up the Gradient Overlay (like in step 2.1 before). Again, set the Opacity to 100%, the Style to Linear, and the Angle to 90 degrees. Click on the gradient, and in the gradient editor window, set the colors in order: #e1e1e1 at 0%, #ffffff at 49%, #e1e1e1 at 51%, and #e1e1e1 at 100% Set to #ffffff.
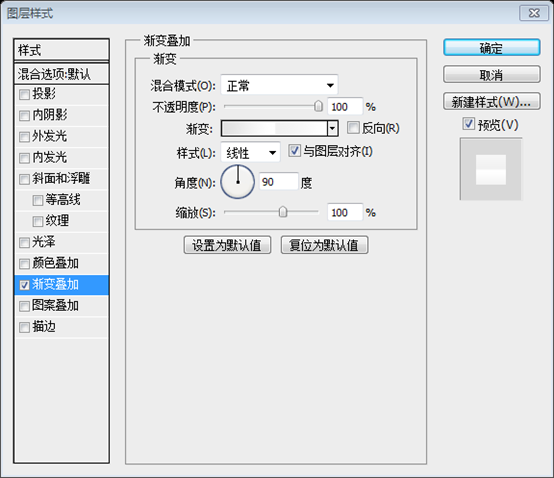
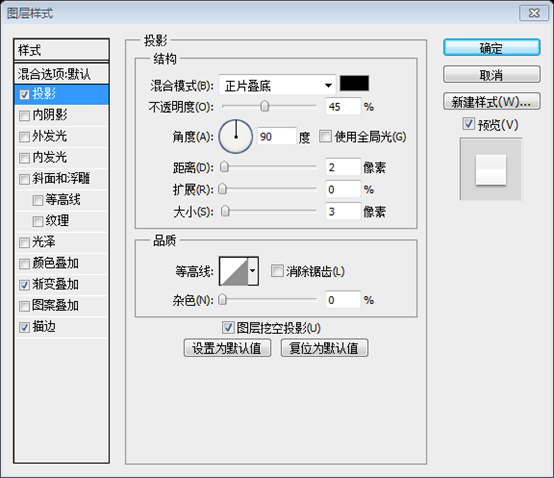
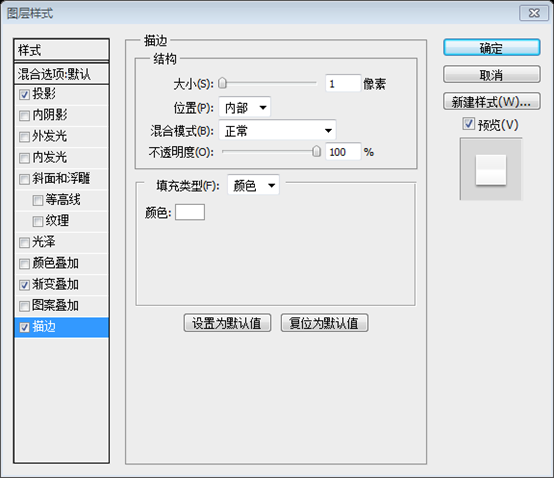
3.4. In the same box as gradient overlay, look for Drop Shadow and Stroke. We have to select them too. Drop shadow settings: Opacity - 45%, distance - 2 px, spread - 0 px and size - 3 px. Stroke settings: Size - 1 px, position - inside and color: #ffffff.
3.4在On the Gradient Overlay window, find Drop Shadow and Stroke. Set up as shown below. Drop Shadow settings: Opacity 45%, Distance 2px, Extension 0, Size 3px. Stroke settings: size 1px, position internal, color #ffffff.
#4. Adding Separators to the box
4. Adding separators to the box
4.1. Click and hold the Rounded Rectangle Tool to select Line tool.4.1Click and hold the Rounded Rectangle Tool to select the Line Tool(198, 143, 86, 1) , just touches both sides of the white rectangle, as shown in the figure below, named "Deep Line"
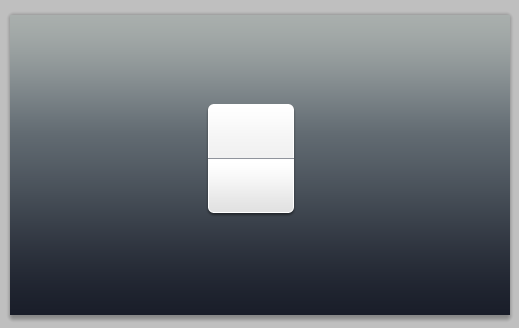
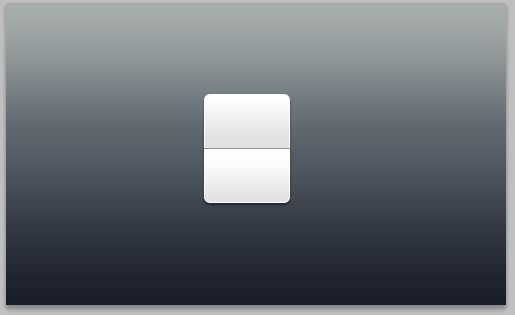
4.3. Right-click (ctrl-click in mac) "dark-sep" layer and select duplicate. Name it "white-sep". Press V on the keyboard to select Move tool, press bottom arrow to move " white-sep" downwards by 1 px and change it color to #ffffff.
5. Adding text to complete the countdown
5. Adding text to complete the countdown number plate
5.1. Press T on the keyboard to select Text tool. We have chosen "Myriad Pro bold" in 80 pt size but feel free to select your favorite font here. Select the layer "white-box" and type in a digit or a letter in vertical and horizontal middle. We have typed in a 2.
5.1 Press T on the keyboard to select the text tool. Choose the font Myriad Pro bold and the font size 80pt, or choose a font you feel comfortable with. Select the white square layer and enter a number or text in the center. The input here is 2.

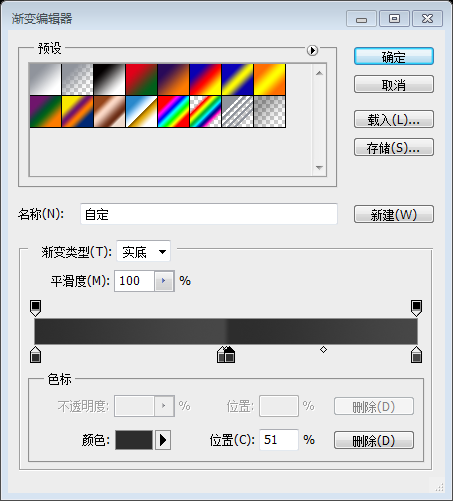
5.2. With text layer as selection, go to gradient overlay (as explained in step 2.1). Again, make sure the opacity is 100%, style is linear and angle is 90 degrees. Click on the gradient and in the Gradient Editor, add color stops in this order: #2d2d2d at 0% location, #474747 at 49 %, #2d2d2d at 51% location and finally, #474747 at 100% location.
5.2 Select the text layer and add a gradient overlay (like step 2.1 before). Again, set the Opacity to 100%, Style to Linear, and Angle to 90 degrees. Click on the gradient, and in the gradient editor window, set the colors in order: #2d2d2d at 0%, #474747 at 49%, #2d2d2d at 51%, and #2d2d2d at 100% Set to #474747.
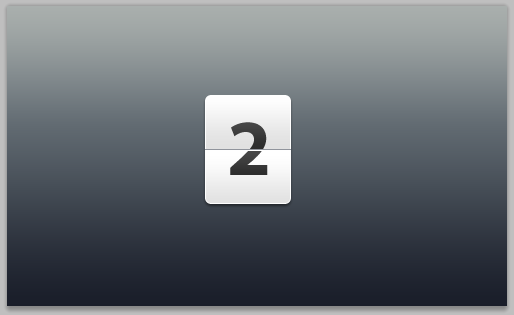
Here we have our countdown ready for usage as an element in broadcasting, collaterals or user interfaces.
The timing board has now been completed and can be used as billboard elements, collateral elements, or user interface elements.
Bonus Step - add reflection to the counter
Bonus Step: Add the reflection of the number plate
B.1. Select the layer "white-box" and duplicate this layer (step 4.3). Right click (ctrl-click in mac) and first select "rasterize layer" and then, "clear layer style" as shown below.
B.1Select the "white square" layer and copy the layer. Right-click and select "Rasterize Layer", then select "Clear Layer Style"
B.2. Press M on the keyboard to select Rectangular Marquee Tool and select the box 60% horizontally, from the bottom, like shown above. Go to Select > Modify > Feather and choose a feather radius of 20 px. We pressed "delete" 3 times to get the desired effect. You may choose as per your preference.
B.2 Press M on the keyboard to select the rectangular selection tool, and select the vertical 60% part from bottom to top, as shown above. Click: Select > Modify > Feather, select Feather Radius as 20px. Press the Delete key 3 times to get the desired effect. You can also set it according to your own ideas
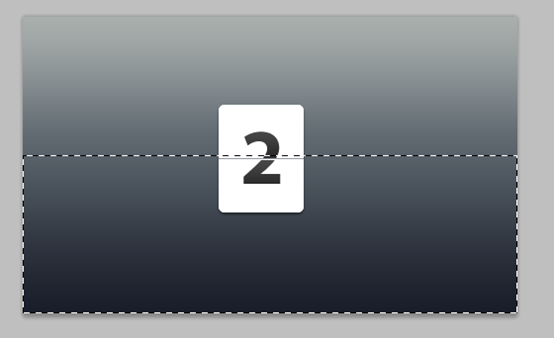
B.3. Press ctrl+d (cmd+d in mac) to deselect. Press V to go back to move tool and move the shape to the bottom of white box. Go to Edit > Transform > Flip vertical and change opacity of this layer to 20%.
B.3 Press Ctrl+D cancel selection. Press V to select the Move Tool and move it below the white square. Click: Edit > Transform > Vertical Flip (Note: This step seems to be redundant) . Set the opacity to 20%
Show us what you made!
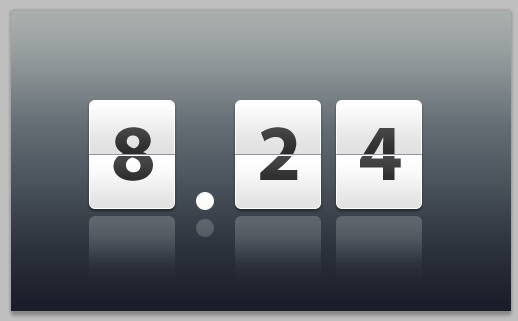
This is Another effect I made
For more PS web design tutorials - Tips: Five steps to create countdown number cards in PS, please pay attention to the PHP Chinese website for related articles!


