
In the previous article "PS Must-Learn Skills: How to Add Printing Effects to Fabrics (Picture and Text Steps)", I introduced you to a small technique for quickly adding printing to fabrics. Prints can be added to any fabric (clothing). The following article will share with you a technique of using PS to add rounded corners to pictures. It is very practical. Let’s see how to do it.
The comparison picture is as follows:

1. Open PS and import your favorite avatar image, hold down Ctrl J to copy the layer.

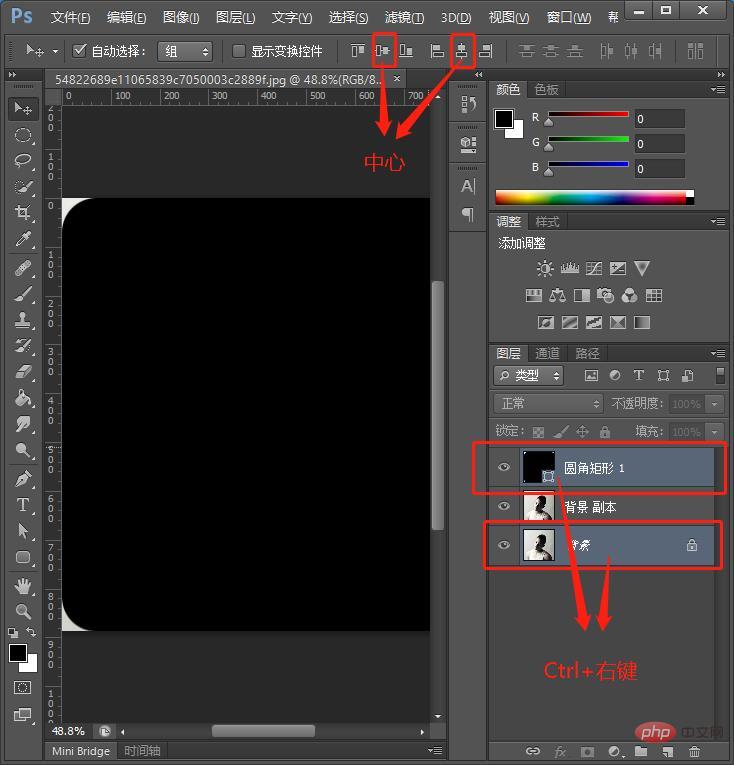
#2. Select the rounded rectangle tool, left-click the picture, and a pop-up window will pop up to set the width, height and radius of the rounded rectangle (I set the width here) The height is 887X887, the radius is 70), click OK.

3. Hold down Ctrl and left-click the "Rounded Rectangle" layer and the "Background" layer, select these two layers, click the Move tool, and perform vertical sum Horizontal center alignment operation.

4. Select the "Rounded Rectangle" layer, "Ctrl + left mouse click on the layer" to create a selection, and hold down Shift Ctrl + to select the inverse selection.
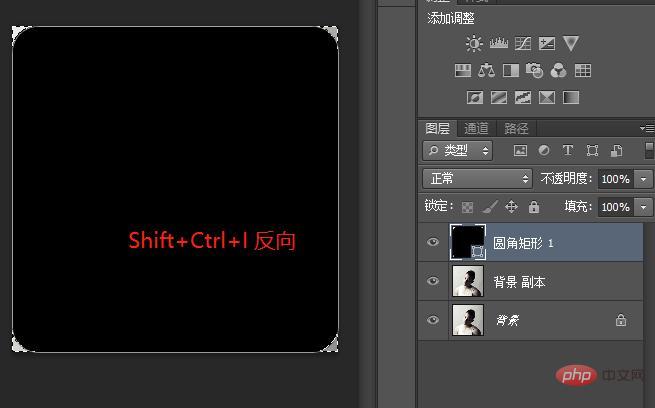
5. Remove the small eye icon in front of the "Rounded Corners" layer and "Background" layer. For the "Background Copy" layer, press and hold Delete. Delete the excess at the four corners.
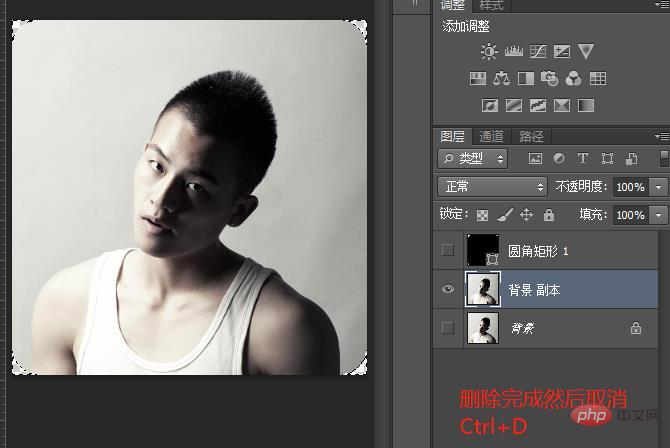
#6. After deletion is completed, hold down Ctrl D to cancel the selection.

#7. Select File in the menu bar and select "bng" for storage.
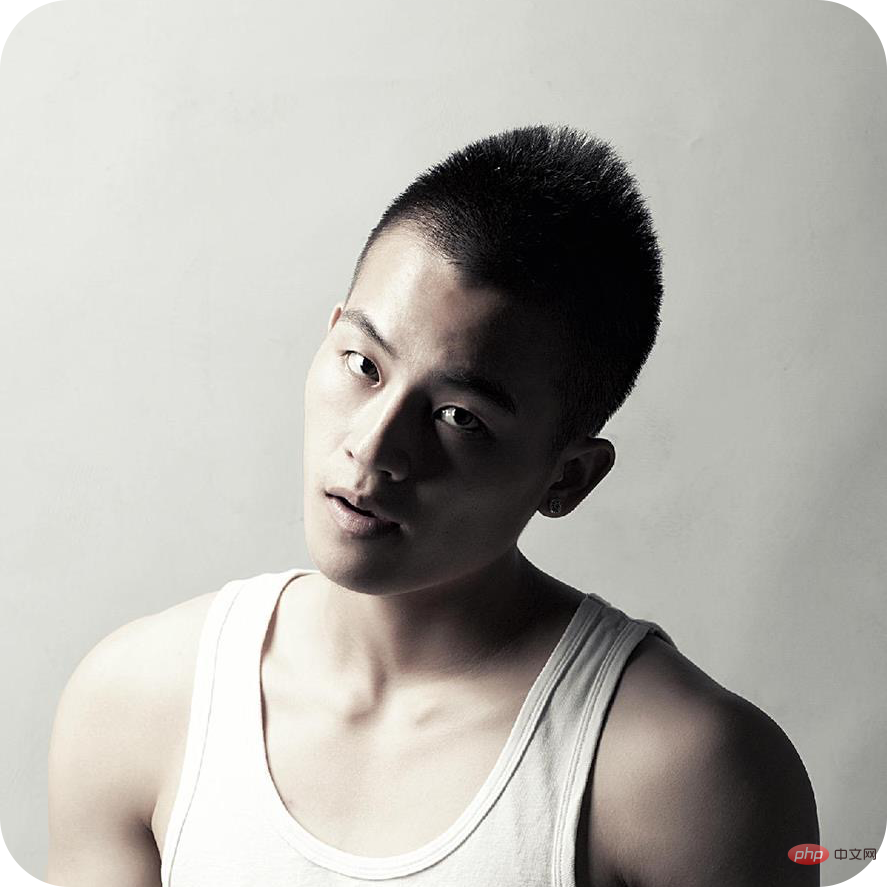
The final rendering is as follows:

Recommended learning: PS video tutorial
The above is the detailed content of Getting started with PS: How to add rounded corners to images (share some common sense). For more information, please follow other related articles on the PHP Chinese website!