
In the previous article "ps must-learn skills: how to add a protruding effect to pictures (image and text steps)", we introduced a way to quickly add a protruding effect to photos. A little trick, you can add bump to any photo. This article teaches you how to use the PS stylized bulge filter to create cool posters. Let’s try it together!
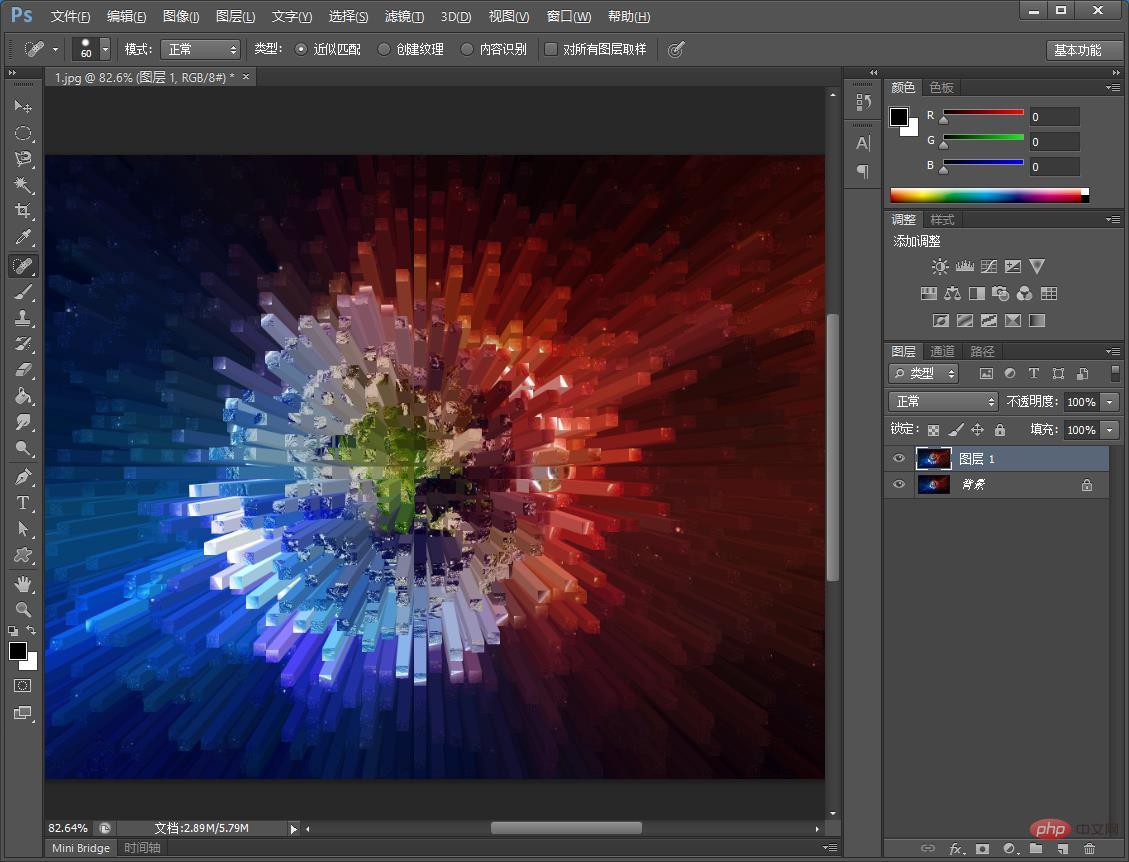
1. Open the ps software, import the photos you like, press Ctrl J to copy the selection to create the image layer.

2. Select >Filter>Stylize>Extrusion on the menu bar.

#3. The specific parameters in the pop-up window are as shown in the figure.

The rendering is as follows:

4. Right-click the layer [Convert to Smart Object].
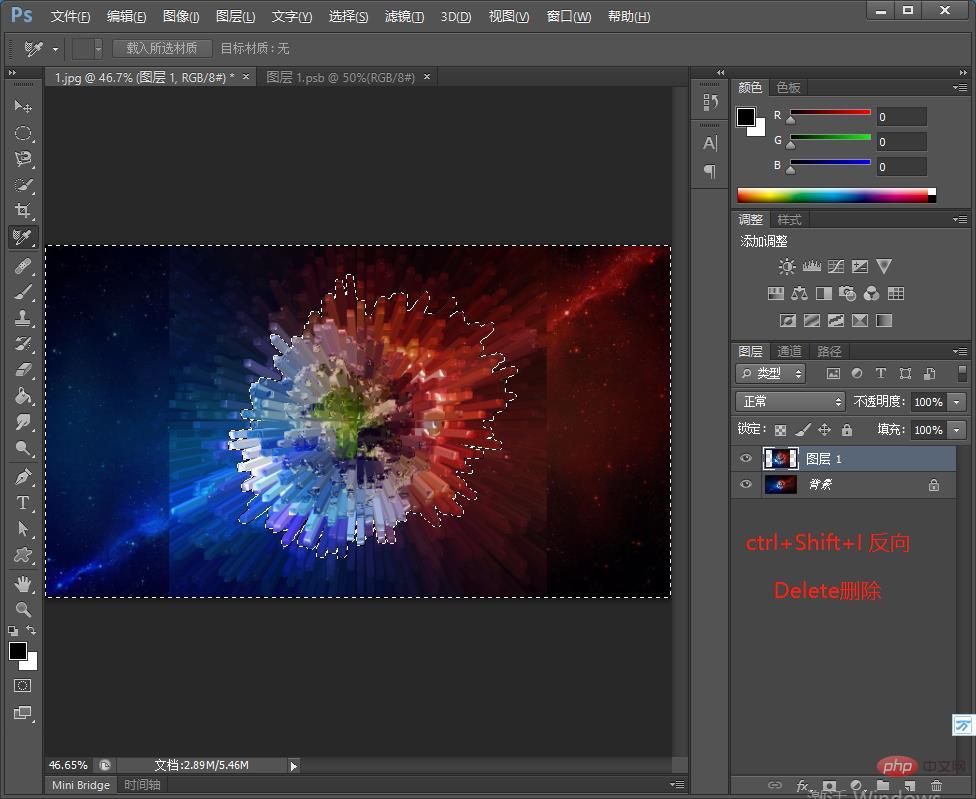
5. After selecting the square with the cropping tool, press Ctrl S to save the smart object layer, close the smart object document, and return to the document.

#6. Use the pen tool to draw a suitable shape path along the edge of the solid to create a selection.

7. Press [ctrl enter]-[Ctrl I] to invert, and click [Delete].

#7. Click the layer mask, use the brush tool, color white, and paint on the mask area.

8. Click [Image]-[Adjustment]-[Curve]-specific parameters as shown in the figure.

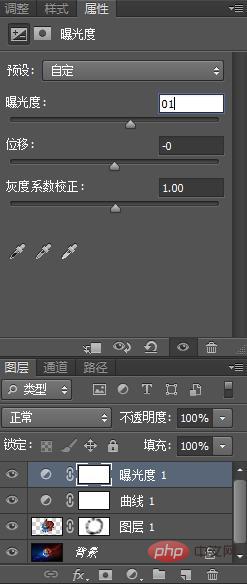
9. Click [Image]-[Adjust]-[Exposure]-the specific parameters are as shown in the figure.

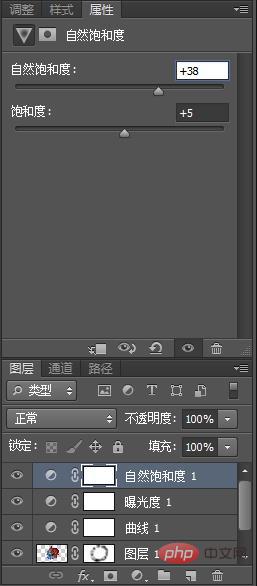
10. Click [Image]-[Adjustment]-[Natural Saturation] for specific parameters as shown in the figure.
#11. [Rectangle Tool] Draw a rectangular decoration of appropriate size, fill it with white, and place it in the appropriate position. Text materials are resized and arranged to the appropriate position on the screen. The specific effect is shown in the figure.
Recommended learning: PS video tutorial
The above is the detailed content of Teach you step by step how to use PS to create cool protruding poster effects (share). For more information, please follow other related articles on the PHP Chinese website!