Home > Web Front-end > PS Tutorial > body text

PS Beginner's Article: How to Add Perspective Effect to Pictures (Share)

奋力向前
Release: 2021-08-06 13:24:25
Original
32297 people have browsed it

In the previous article "PS Tips: How to Convert Pictures to Hand-Drawed Effects (Detailed Explanation with Pictures and Texts)", I introduced you to a little trick on how to convert pictures into hand-painted effects. Effect. The following article will introduce to you how to use PS to add perspective effects to pictures. Let’s see how to do it together.

PS Beginner's Article: How to Add Perspective Effect to Pictures (Share)

The perspective effect picture is as follows
PS Beginners Article: How to Add Perspective Effect to Pictures (Share)

How to add perspective effect to ps pictures

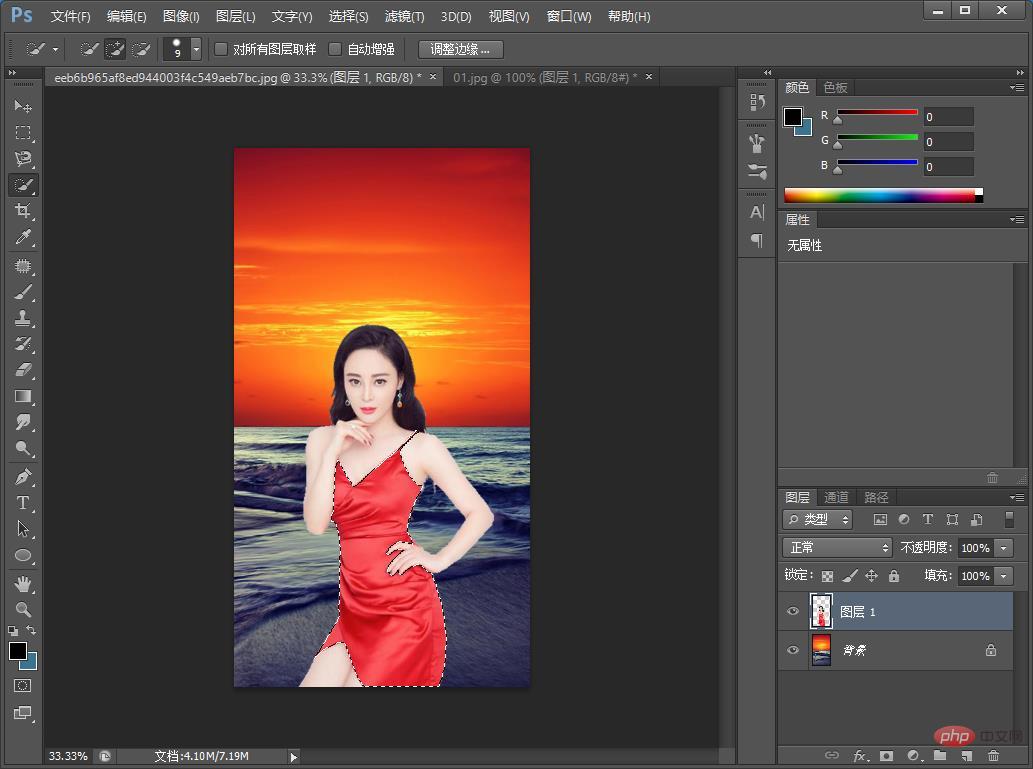
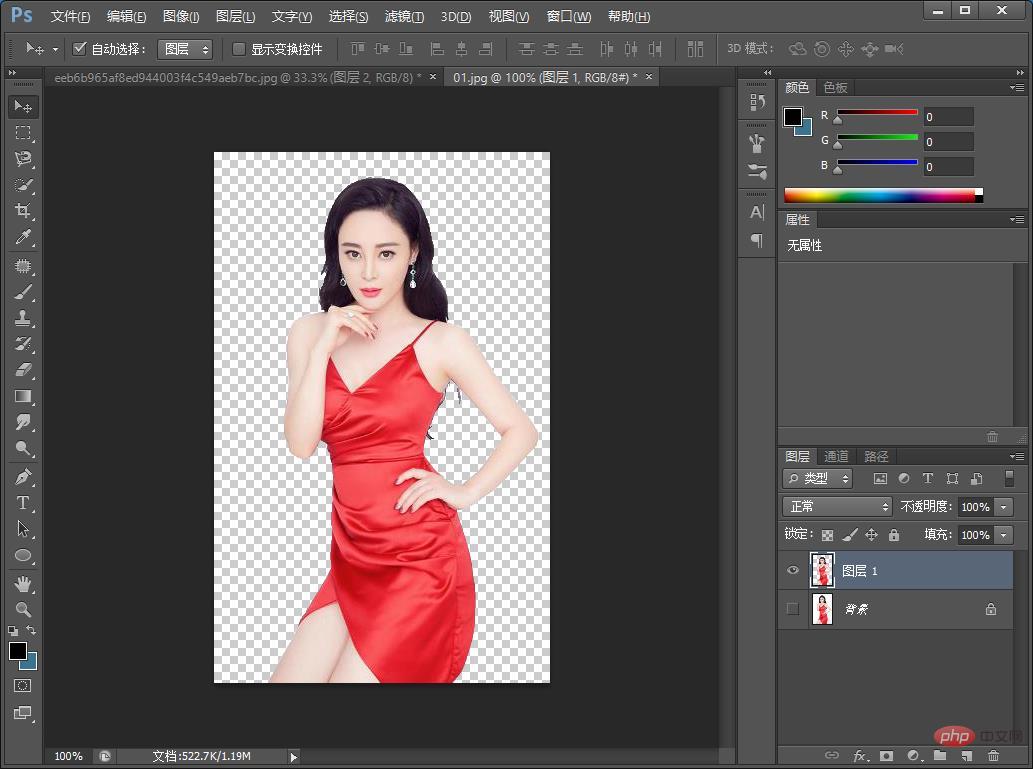
1. First open PS, import any character you want and then cut out the image.

PS Beginners Article: How to Add Perspective Effect to Pictures (Share)

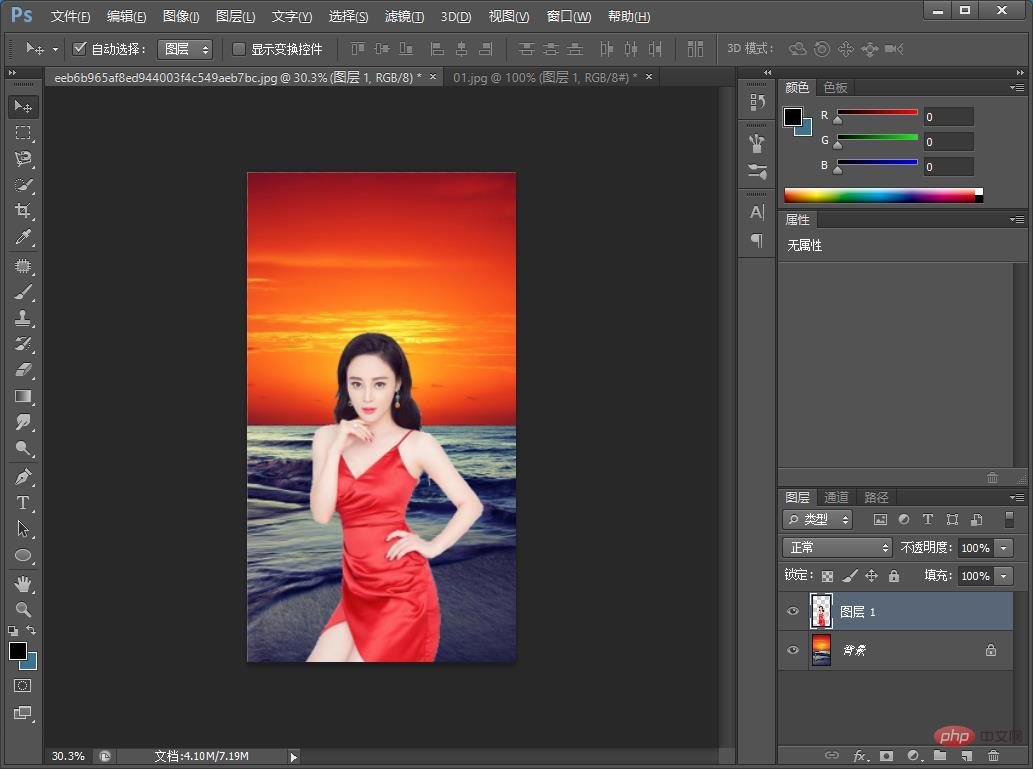
#2. Place the model image into the background and freely transform [Ctrl T] to adjust the size and position.
PS Beginners Article: How to Add Perspective Effect to Pictures (Share)

#3. Use the [Pen Tool] or [Lasso Tool] to select the area of ​​​​the clothes.

PS Beginners Article: How to Add Perspective Effect to Pictures (Share)

4. Then bring the copied clothes layer out of the selection, add a layer mask to the model’s layer, reverse [Ctrl I], and cancel the selection [ Ctrl D】
PS Beginners Article: How to Add Perspective Effect to Pictures (Share)

5. Directly change the blending mode of the layer to [Soft Light]. Since the color of the clothes is red, there is no need to remove the color.

PS Beginners Article: How to Add Perspective Effect to Pictures (Share)

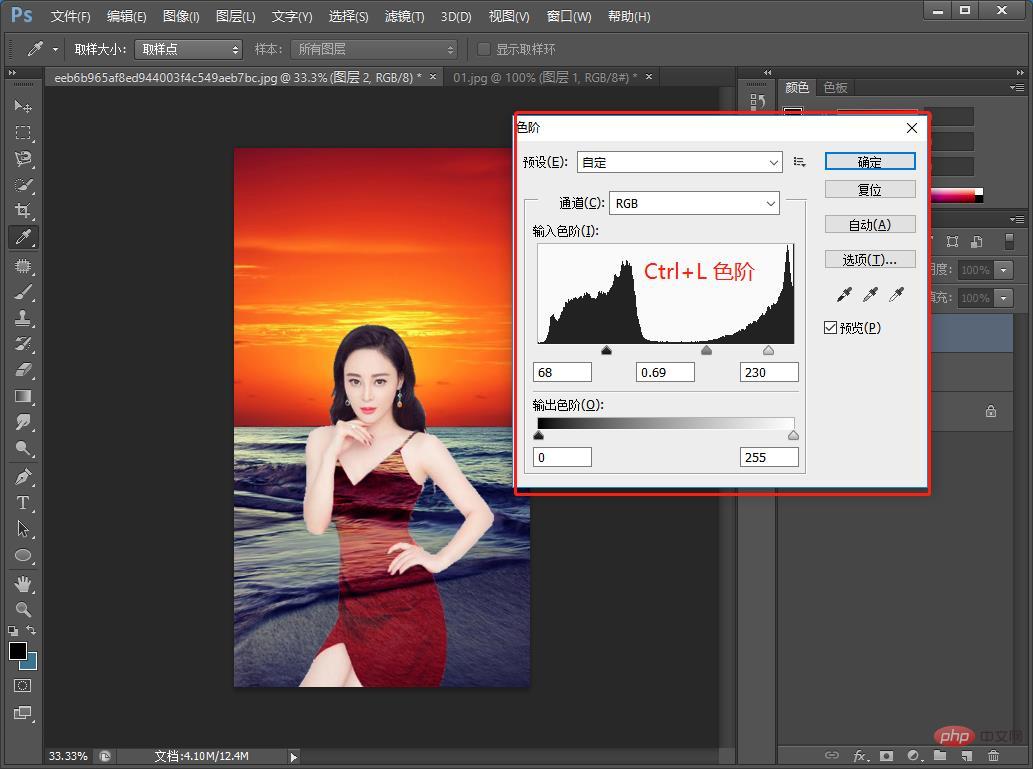
#6. You can adjust the color levels to make the picture effect more obvious, and the effect is completed.

PS Beginners Article: How to Add Perspective Effect to Pictures (Share)

Recommended learning: PS video tutorial

The above is the detailed content of PS Beginner's Article: How to Add Perspective Effect to Pictures (Share). For more information, please follow other related articles on the PHP Chinese website!

Related labels:
source:php.cn
Statement of this Website
The content of this article is voluntarily contributed by netizens, and the copyright belongs to the original author. This site does not assume corresponding legal responsibility. If you find any content suspected of plagiarism or infringement, please contact admin@php.cn
Latest Articles by Author
Popular Tutorials
More>
Latest Downloads
More>
Web Effects
Website Source Code
Website Materials
Front End Template
About us Disclaimer Sitemap
php.cn:Public welfare online PHP training,Help PHP learners grow quickly!