
In the previous article "One trick teaches you how to use PS to quickly change the hair color of characters (share)", I introduced to you how to use PS to quickly change the hair color of characters. The following article will introduce to you how to use PS to remove spots on portrait skin. Let’s see how to do it together.

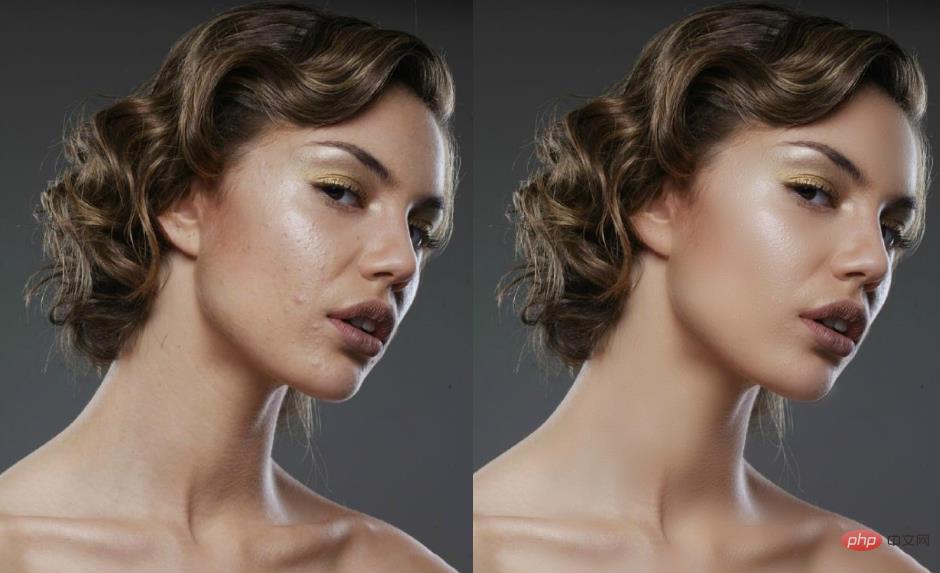
The effect of removing spots on portrait skin is as follows
1. Open ps and import portrait photos.
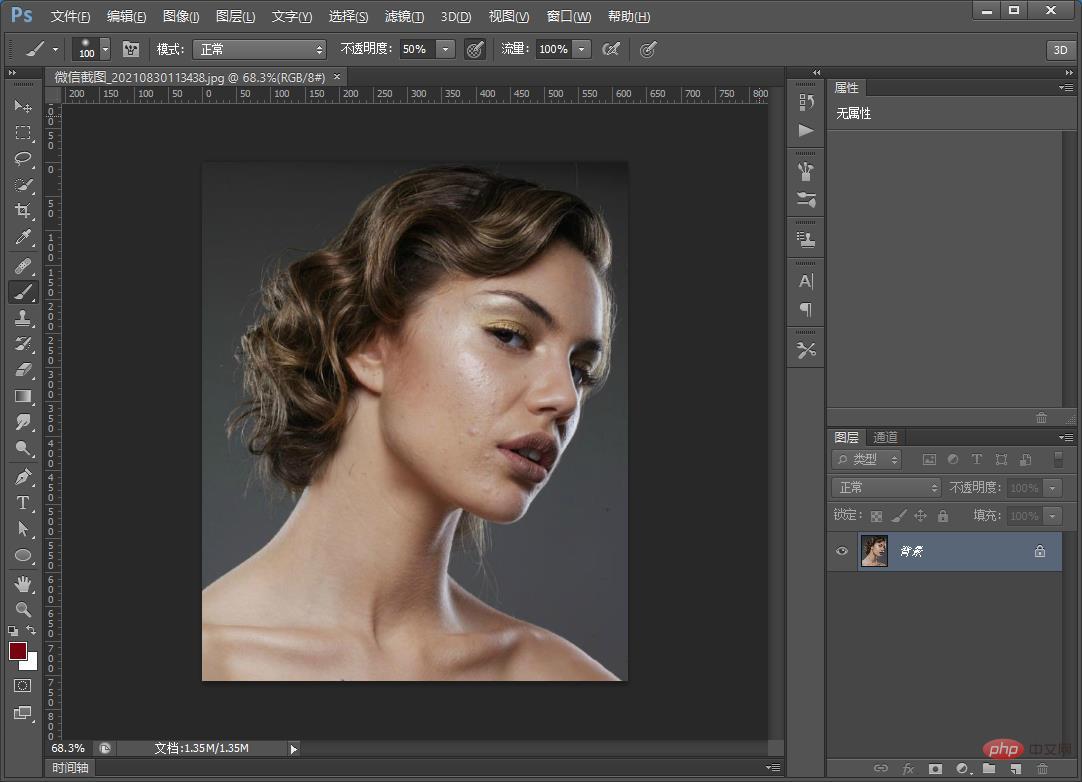
#2. Duplicate a layer.
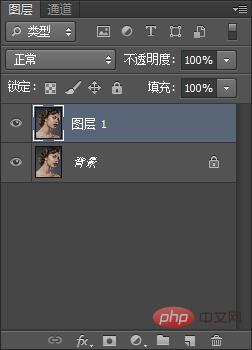
3. Press [Ctrl I] to invert the phase.
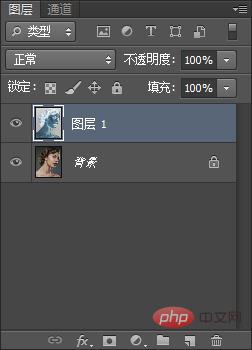
4. Change the [Layer 1] blending mode to bright light.
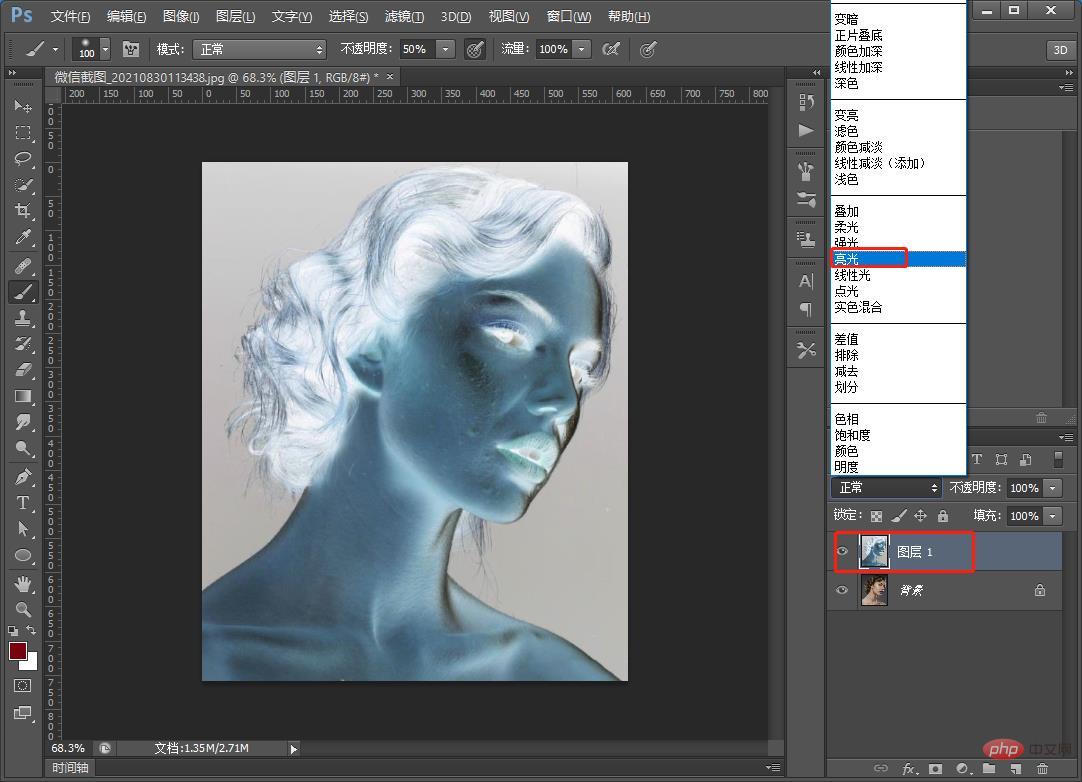
5. Find [Filter] - [Transform] - [High Contrast Preservation] on the menu
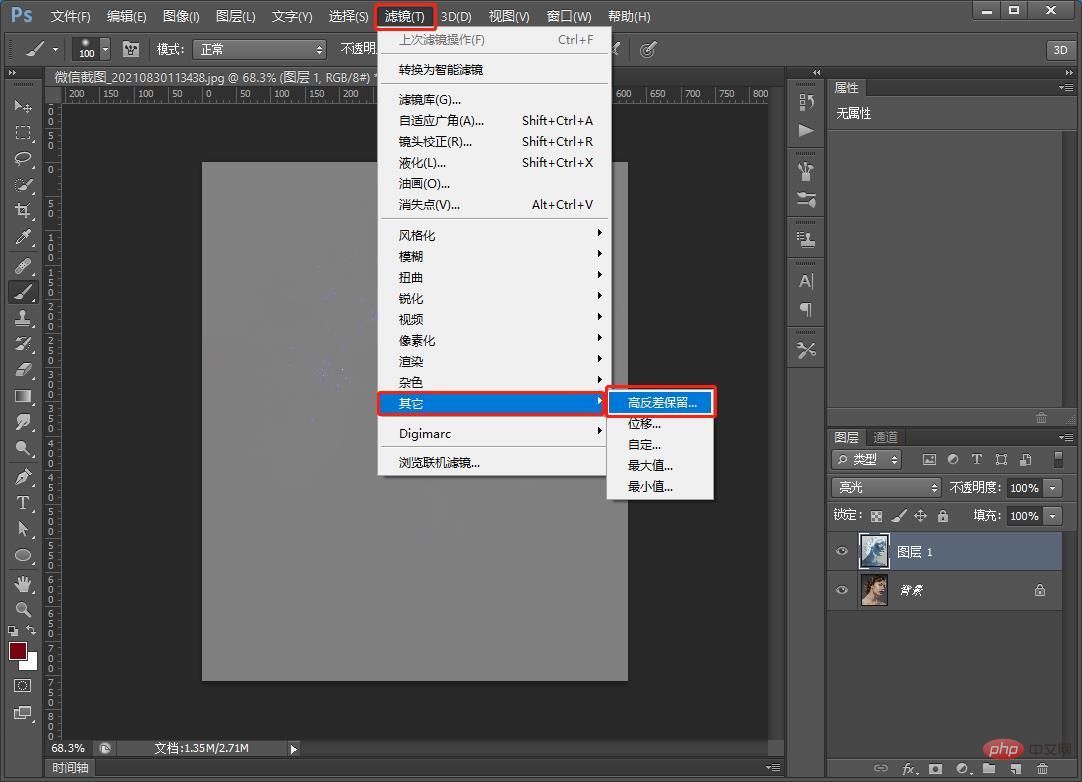
6. Keep the dialog box in high contrast and set the radius to 7 pixels.
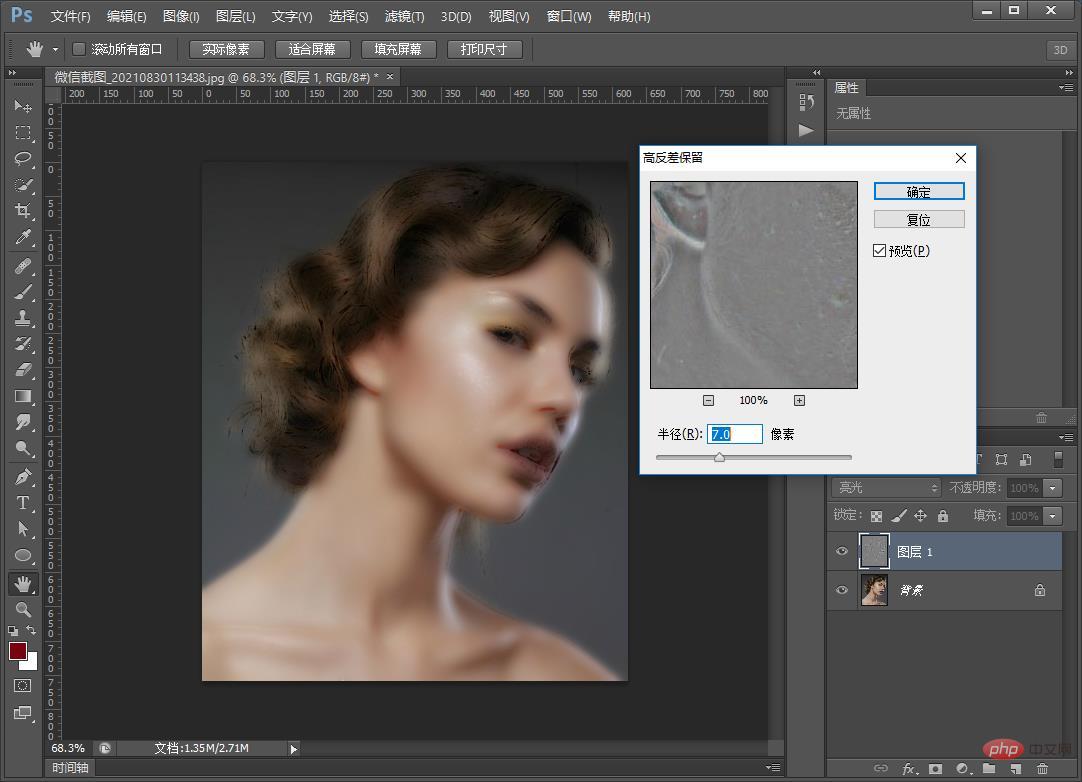
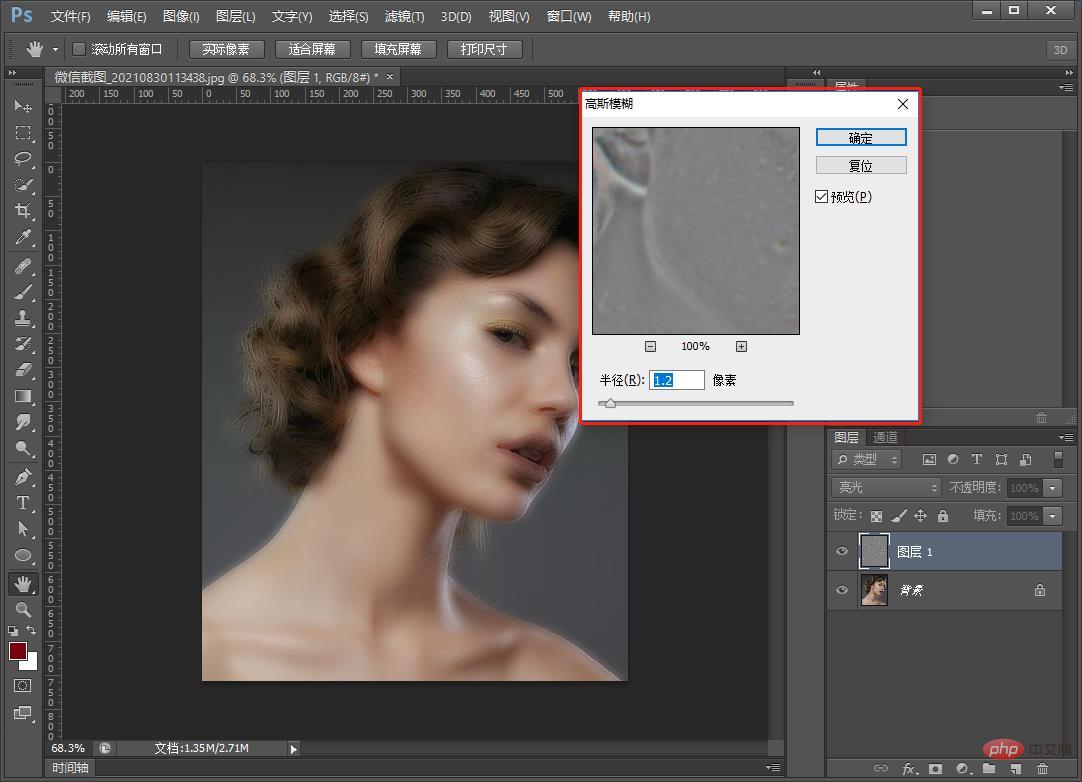
7. Then, find the [Filter]-[Blur]-[Gaussian Blur] dialog box and set the radius to 1.2 pixels. You can adjust it to the best fit.
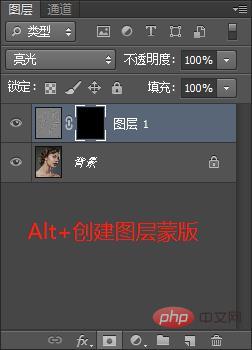
#8. Press the Alt key while creating a layer mask.
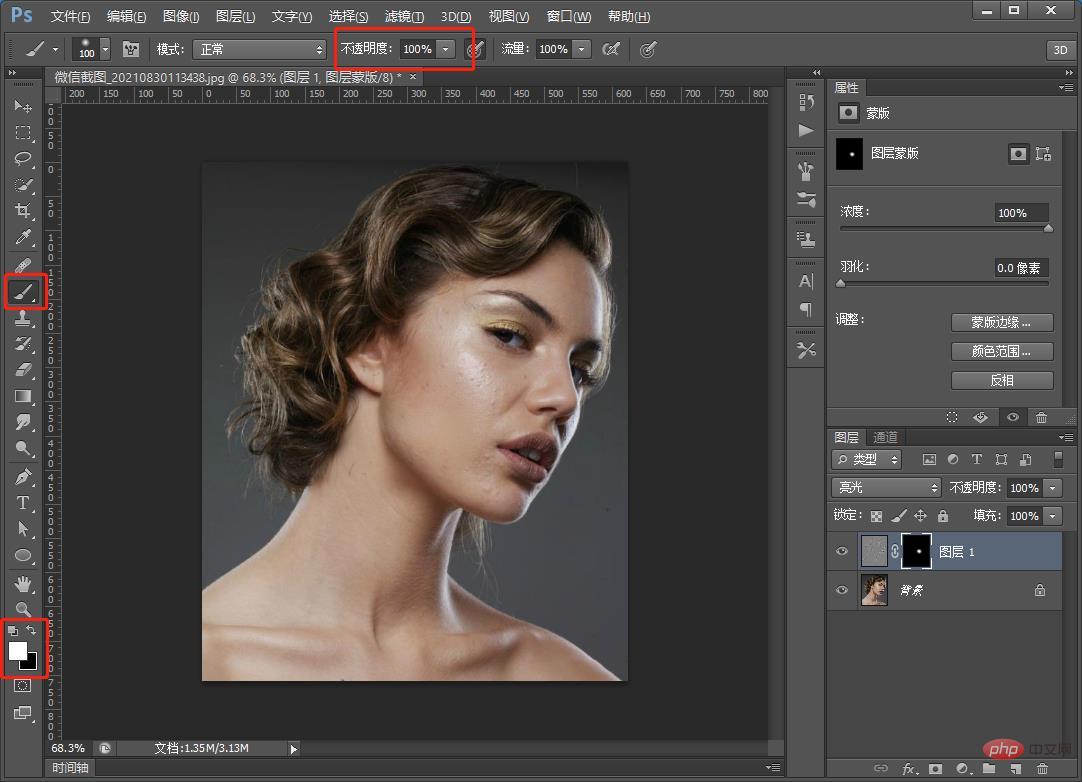
#9. After creating the layer mask, use the brush to select the soft edge with white and set the opacity to 100%.
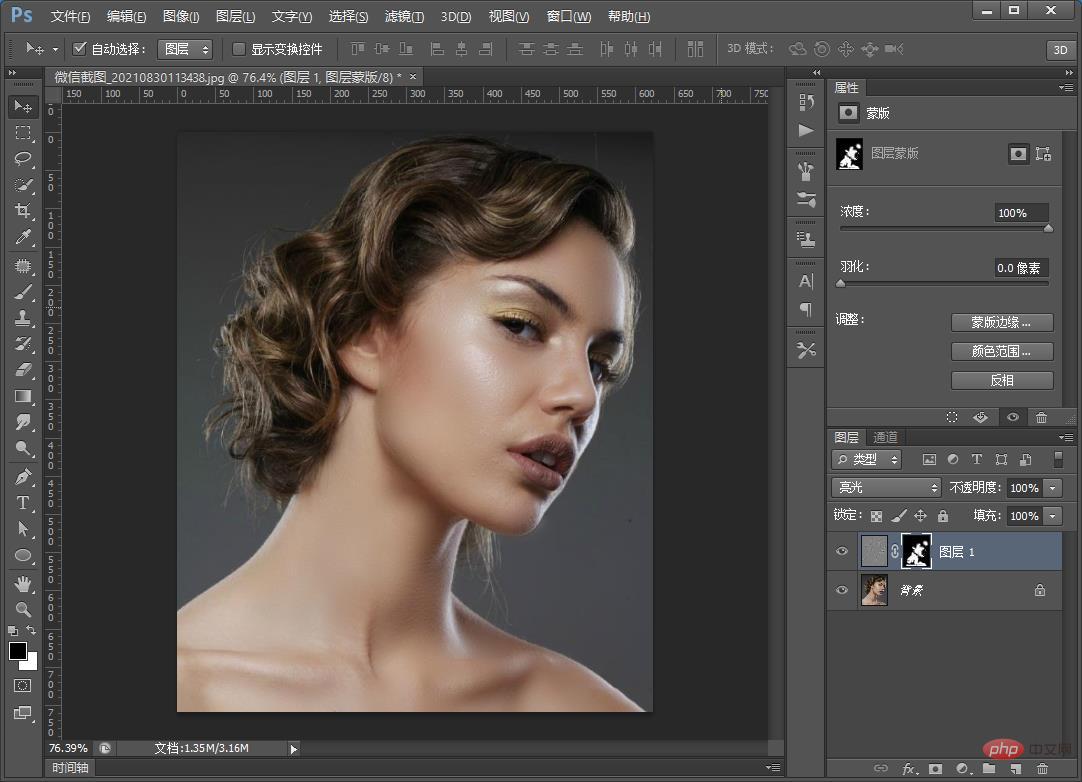
#10. You can use the left and right {} keys to adjust the stroke size to the most suitable one. Rub the position close to the facial features to complete the effect.
Recommended learning: PS video tutorial
The above is the detailed content of Photo retouching article: How to use PS to remove spots on portrait skin (skill sharing). For more information, please follow other related articles on the PHP Chinese website!