
In the previous article "Teach you how to use PS to add sticker effects to characters creative posters (share)", I introduced how to use PS to add sticker effects to characters. The following article will introduce to you how to quickly create a dreamy spot effect using PS. Let’s see how to do it together.

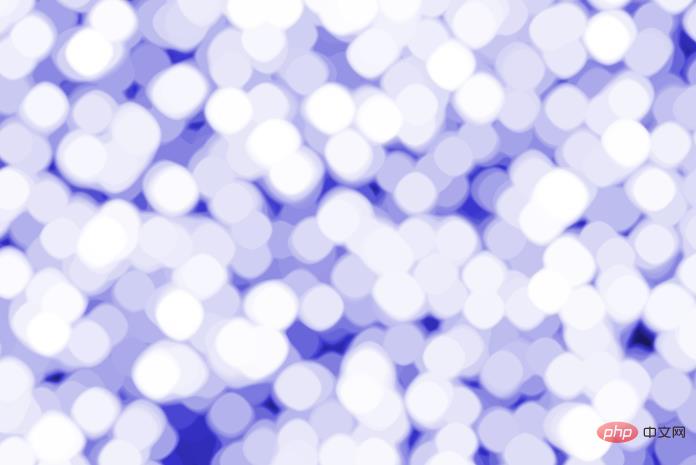
The dreamy spot effect picture is as follows
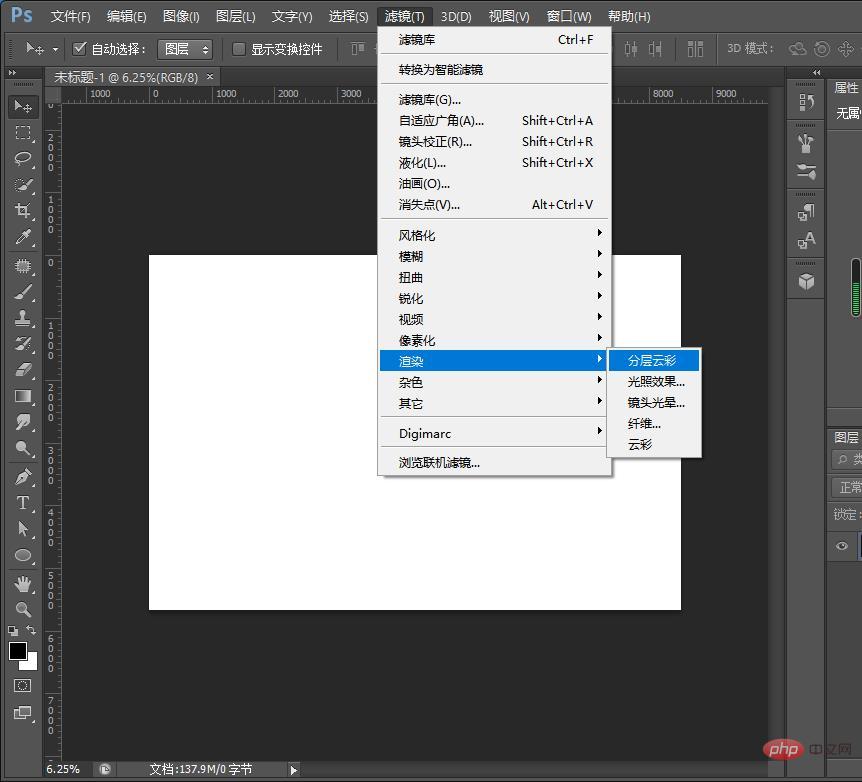
1. Open ps, create a new document, and fill it with white. The foreground and background colors are black and white by default. Click [Filter]-[Render]-[Layered Clouds] as shown below.
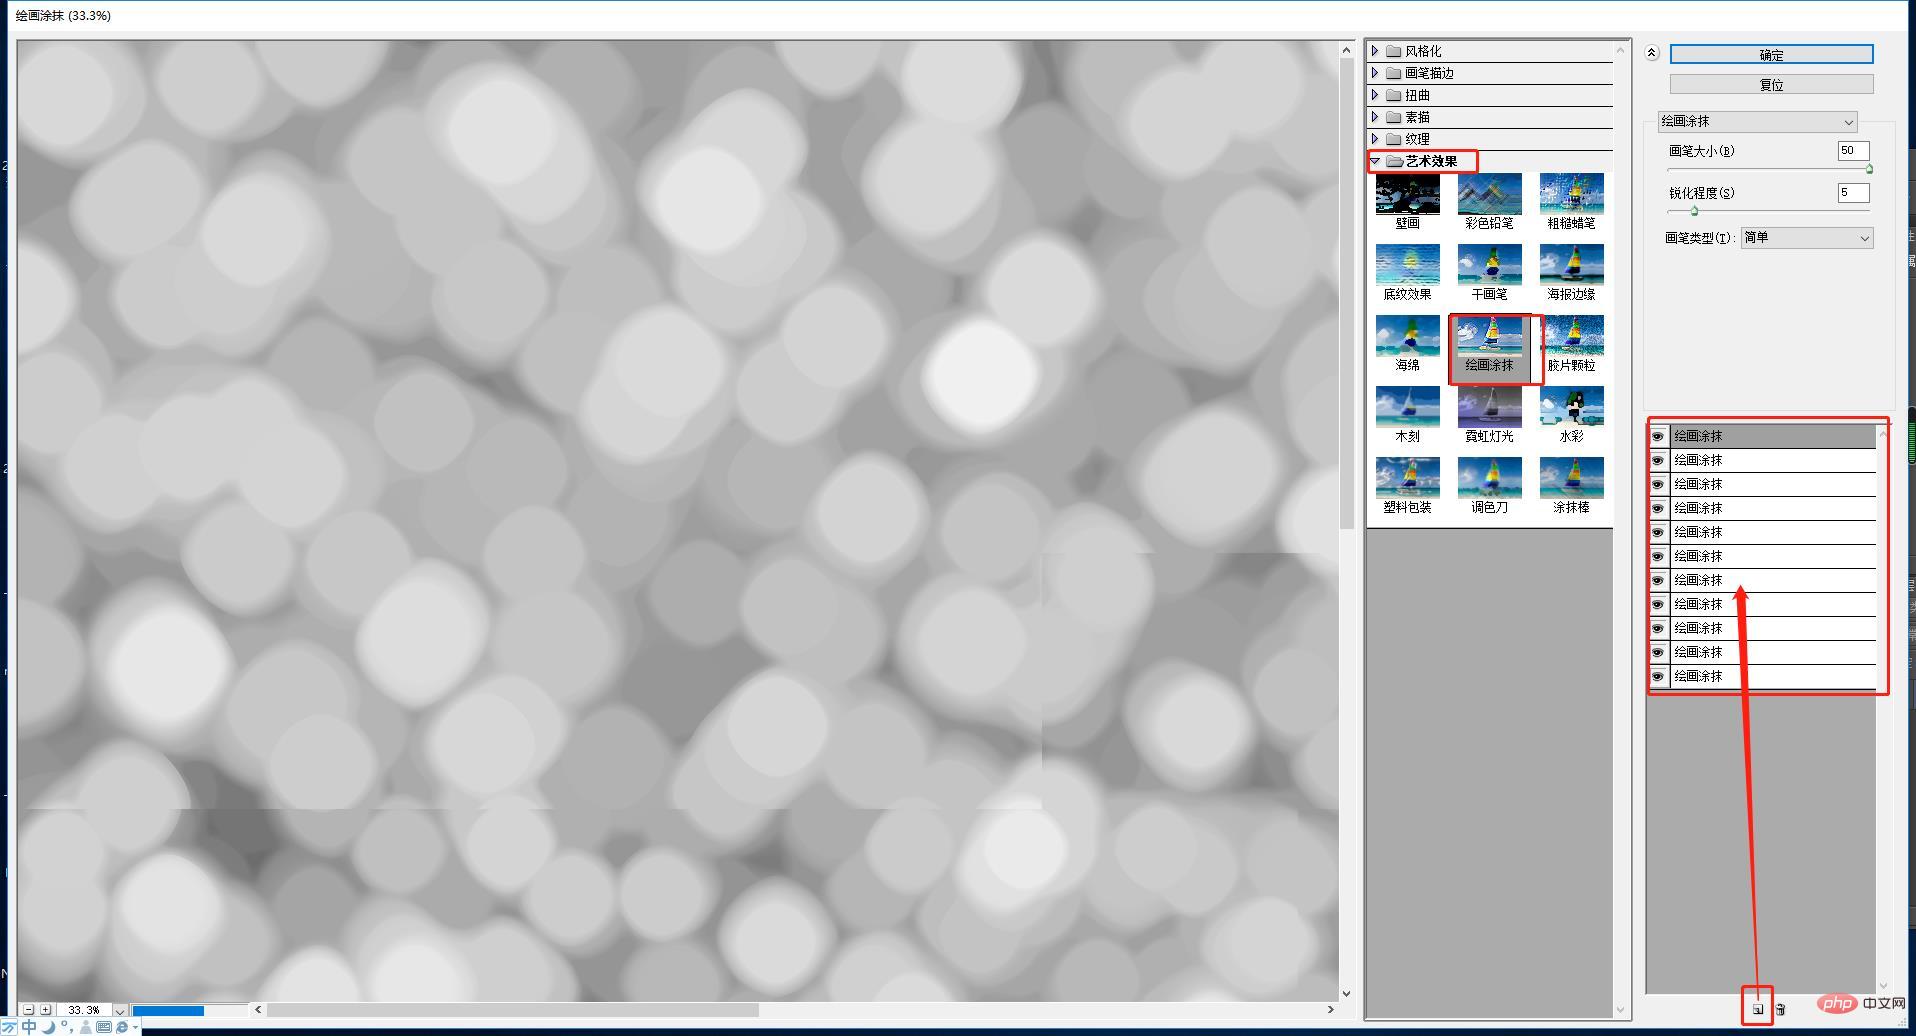
2. Click [Filter]-[Filter Library] again, select [Painting Smear] in [Art Effect], and set its parameters on the right side of the drawing board, [ Brush Size] is set to the maximum of 50, the sharpening level is set to 5, the brush type is [Simple], and click "New Effect Layer". Each time you click, the spot formed will be larger than before. After many clicks, we will get the effect, as shown below.
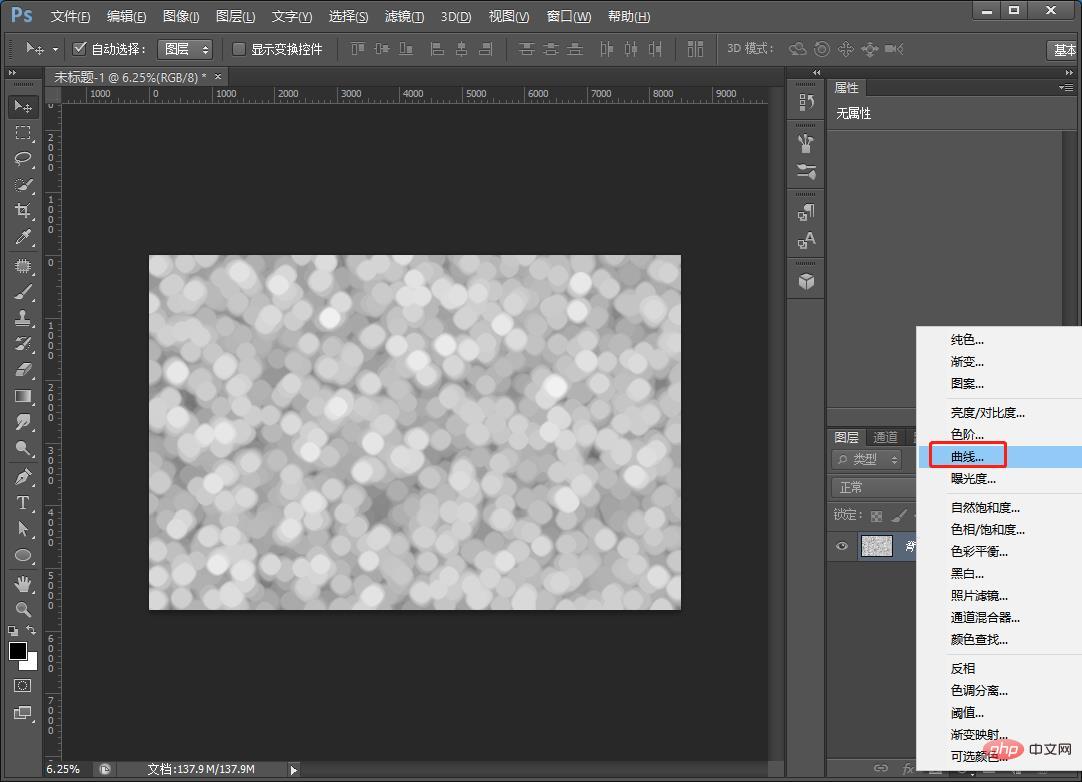
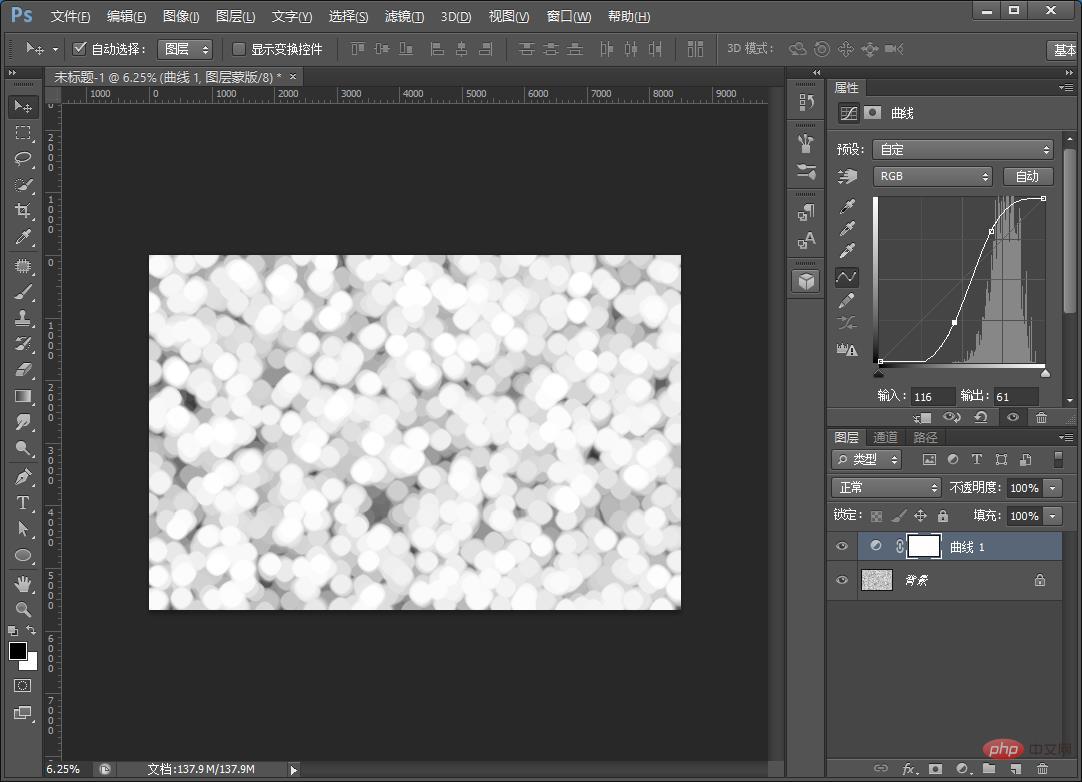
#3. Click Xiao Taiji under the layers panel to open the menu and select "Curves", as shown below.
#4. Adjust the curve, press the dark part downwards, and lift the bright parts upward to enhance the light and dark contrast of the light spot.
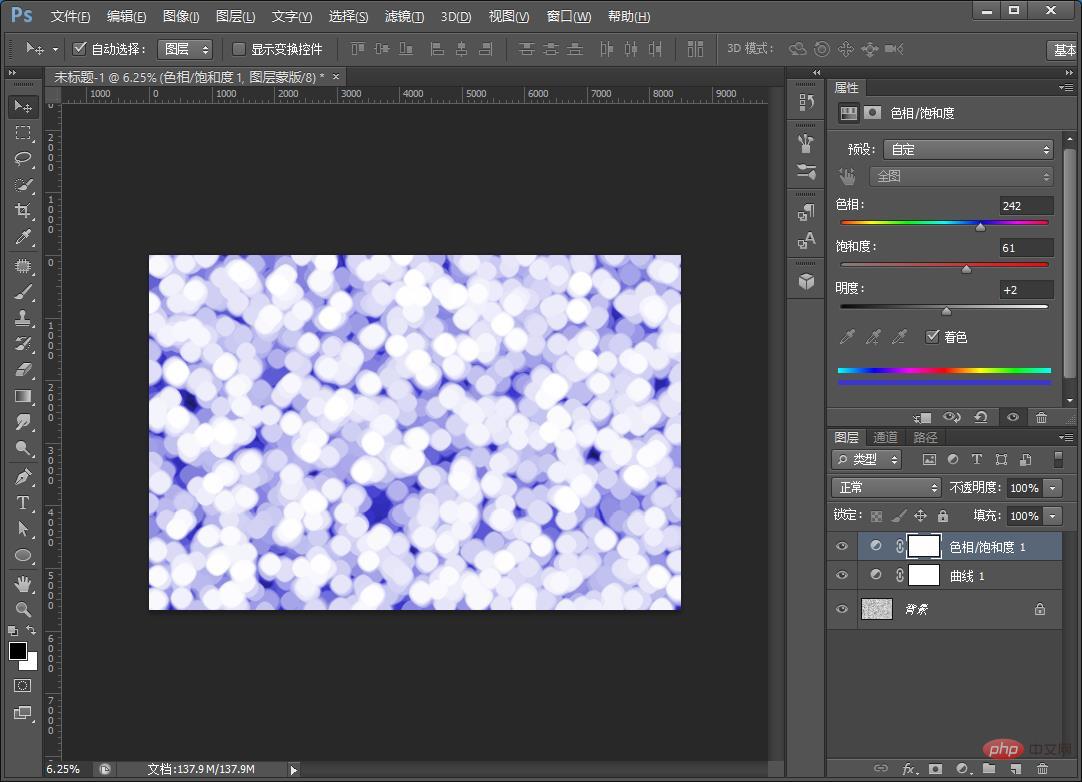
#5. Add a color to the light spot. Click Xiao Taiji again to open the menu and select the bottom of the "Hue/Saturation" panel. You must remember to check "Coloring", otherwise the black and white image will not be colored, as shown below.
Recommended learning: PS video tutorial
The above is the detailed content of PS Tips: How to quickly create a dreamy spot effect (Collection). For more information, please follow other related articles on the PHP Chinese website!