
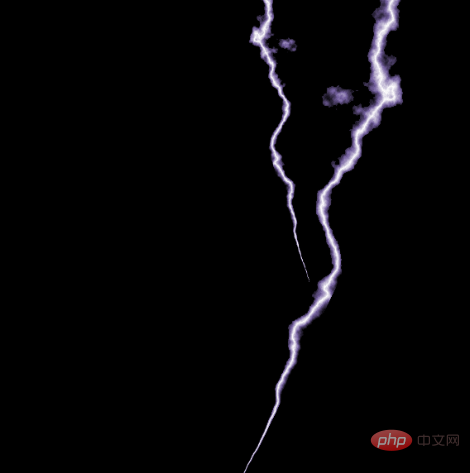
In the previous article "小白 chapter: How to use PS to add a brick wall effect to a background image (skill sharing)", I introduced you to a quick little trick, how to use PS adds a brick wall effect to the background image. The following article will introduce to you how to use PS to create lightning effects. Let’s take a look, friends.

Lightning effect
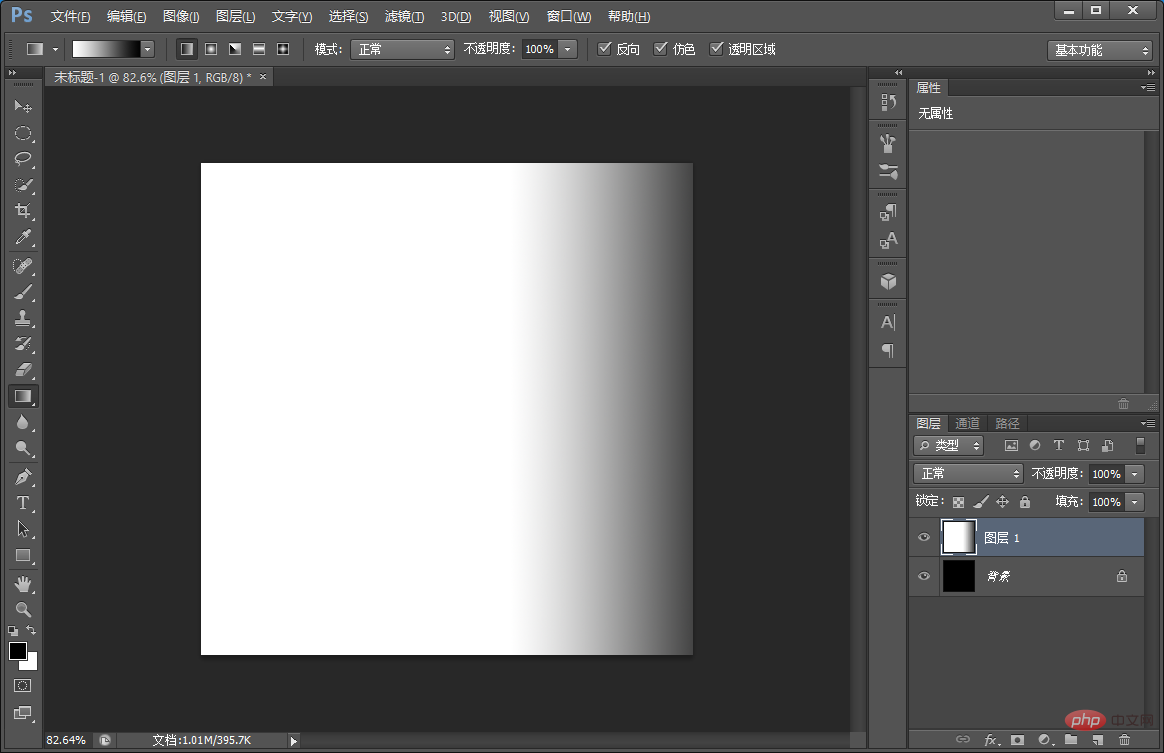
1.ps Open and create a new black layer, create a blank layer on this layer, use the Gradient Tool, and select a gradient from the foreground color to the background color.
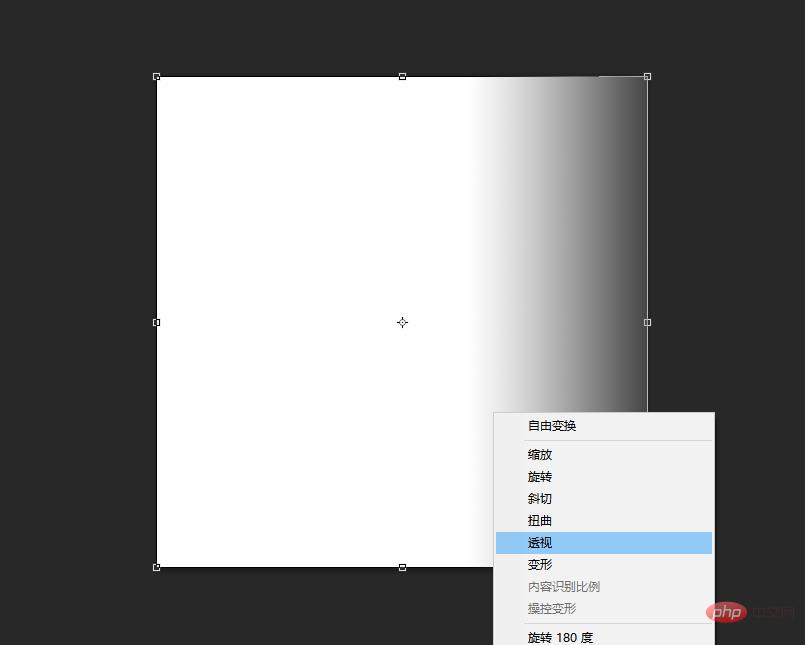
#2. Press [Ctel T] and right-click to pop up and select [Perspective]
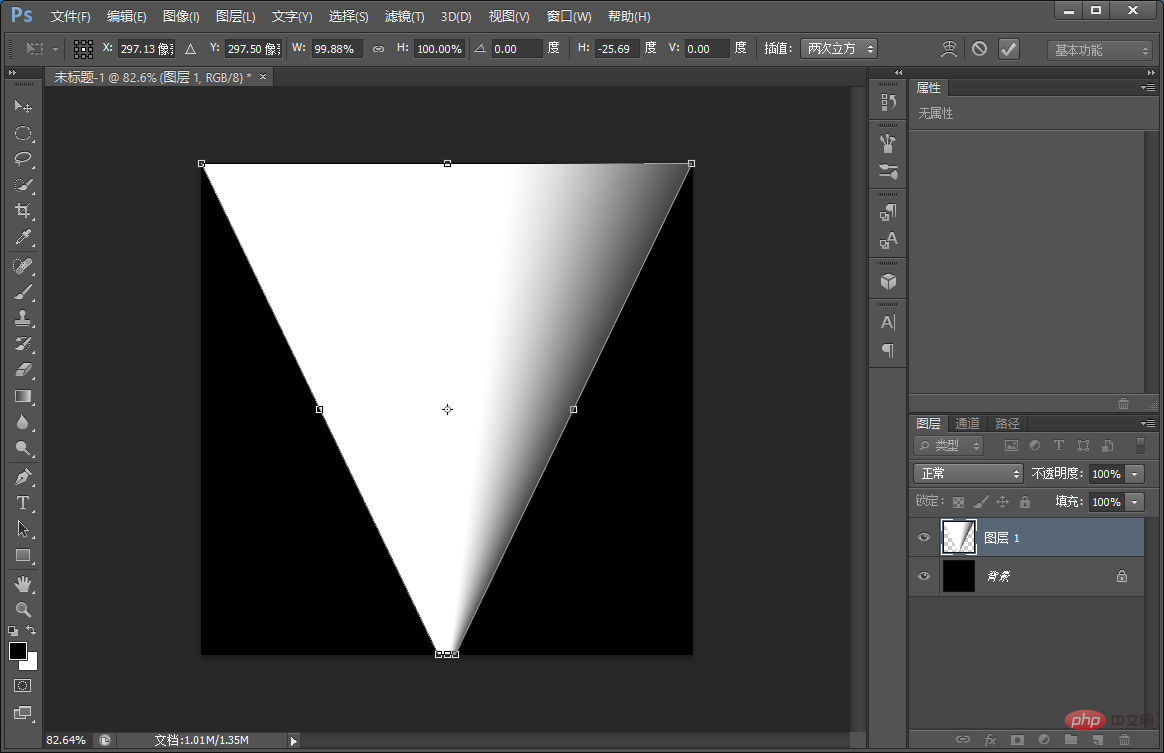
3. Press Alt and drag to middle.
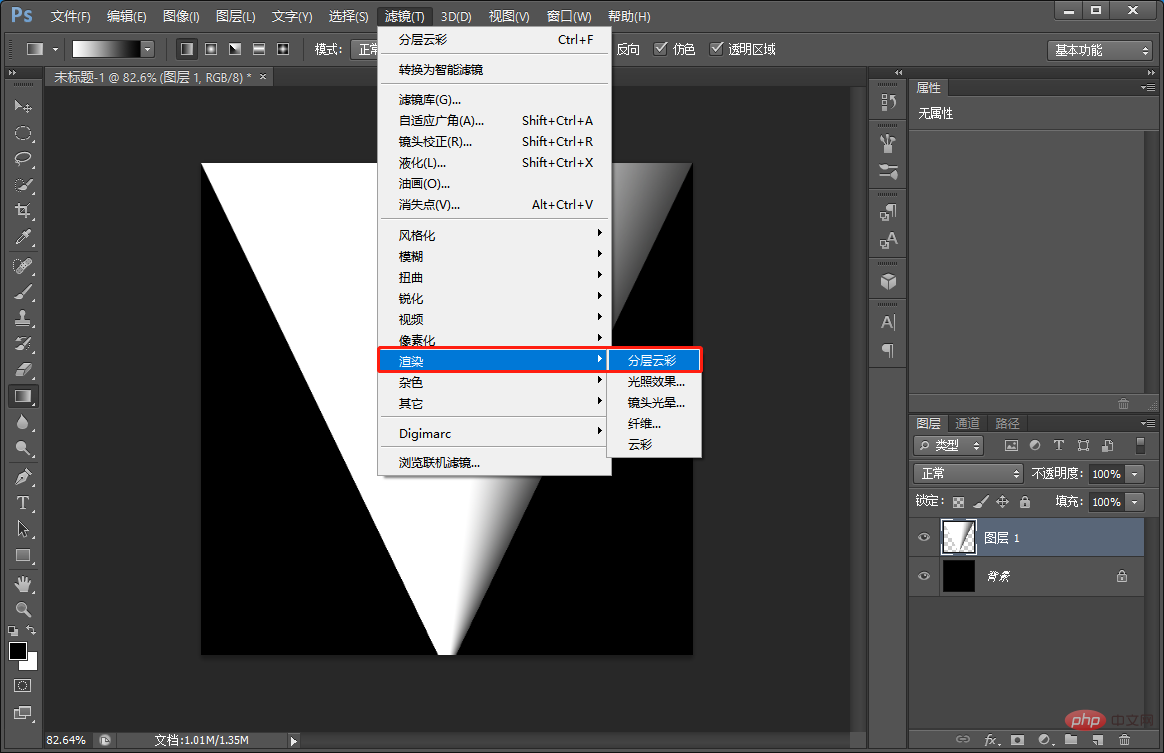
#4. Click the mouse to open the menu [Filter] and find [Layered Clouds] in [Rendering].
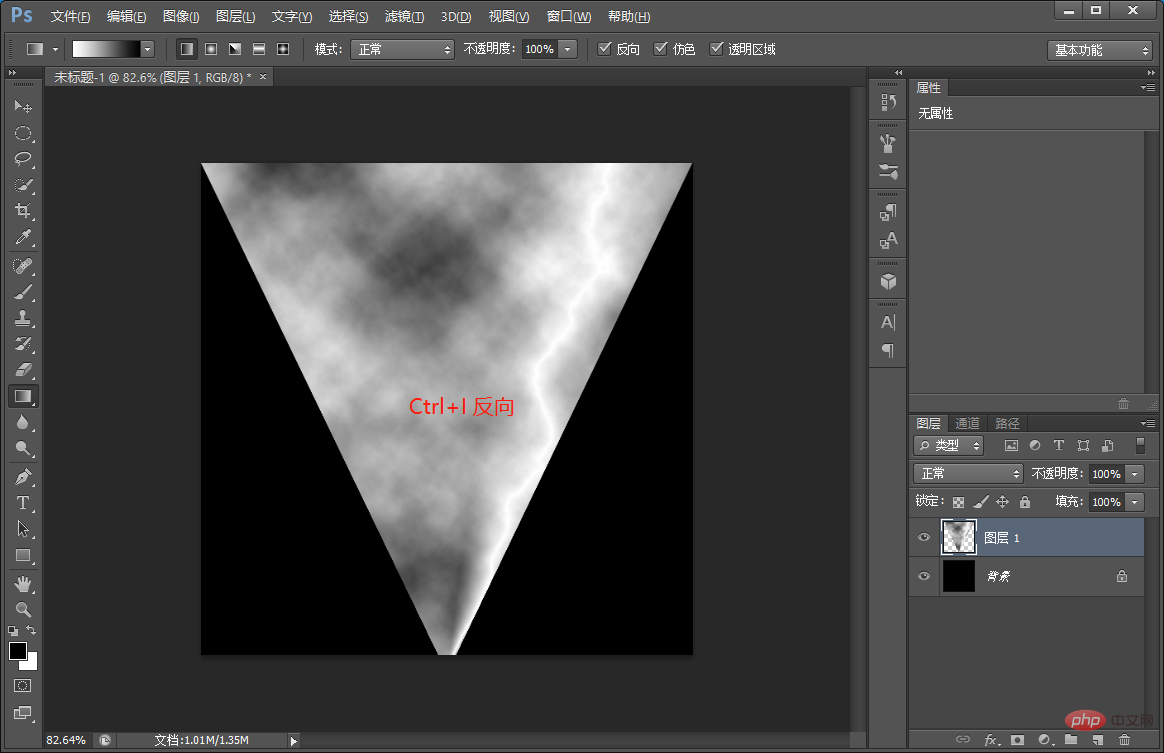
5. Invert the layered clouds and press [Ctrl I]. At this time, you can see the lightning effect in the white part.
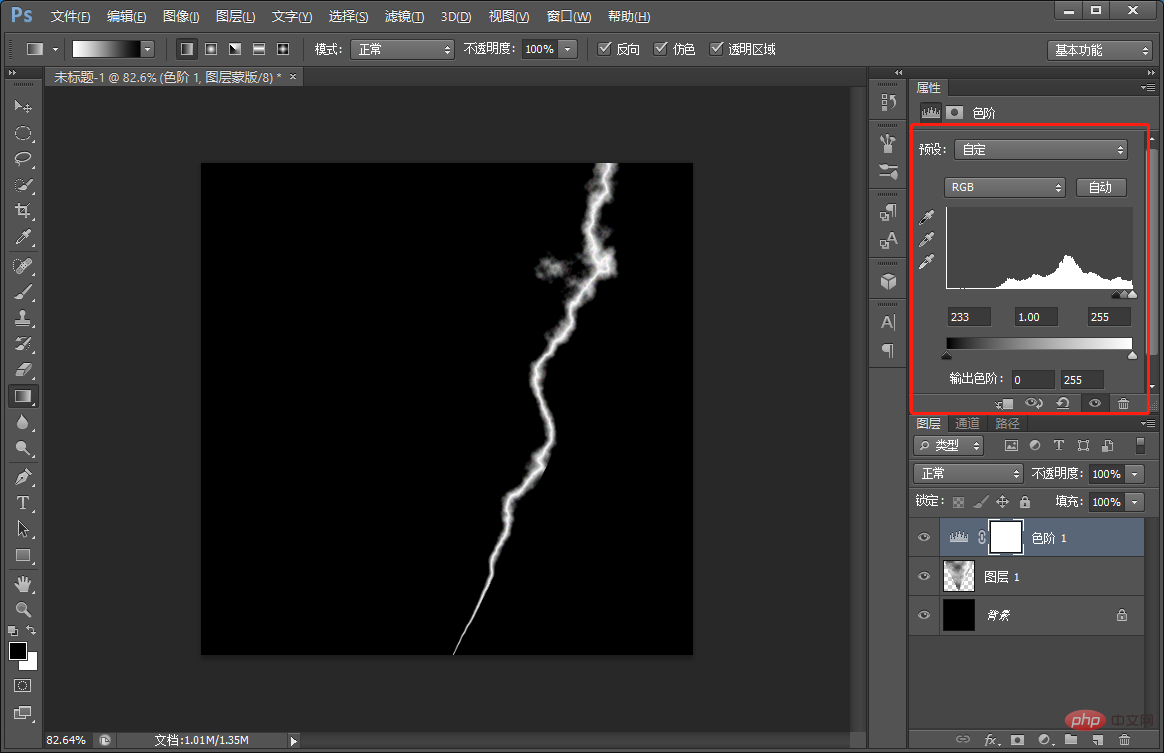
#6. Use the mouse to select the image menu, find the adjustment in the image, and select Levels to adjust the effect with obvious contrast.
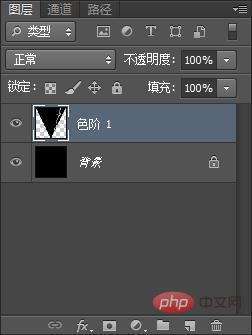
7. Merge layers.
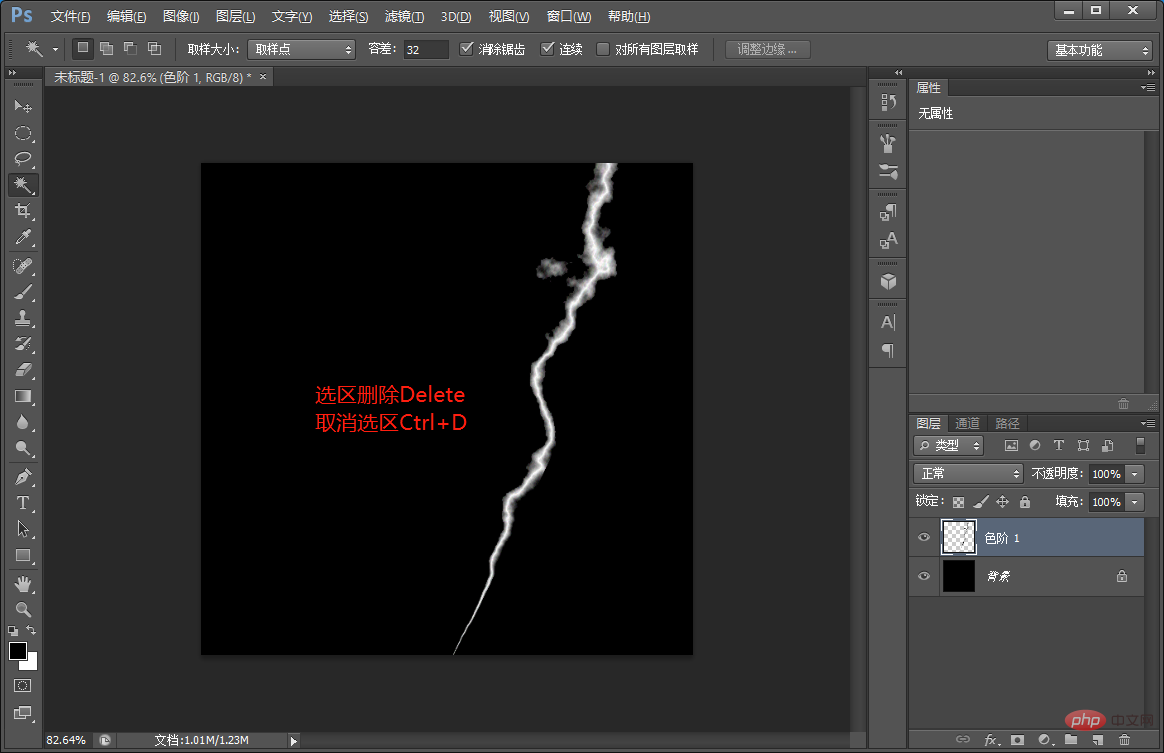
8. Use the magic wand to delete the black selection and cancel the selection [Ctrl D]
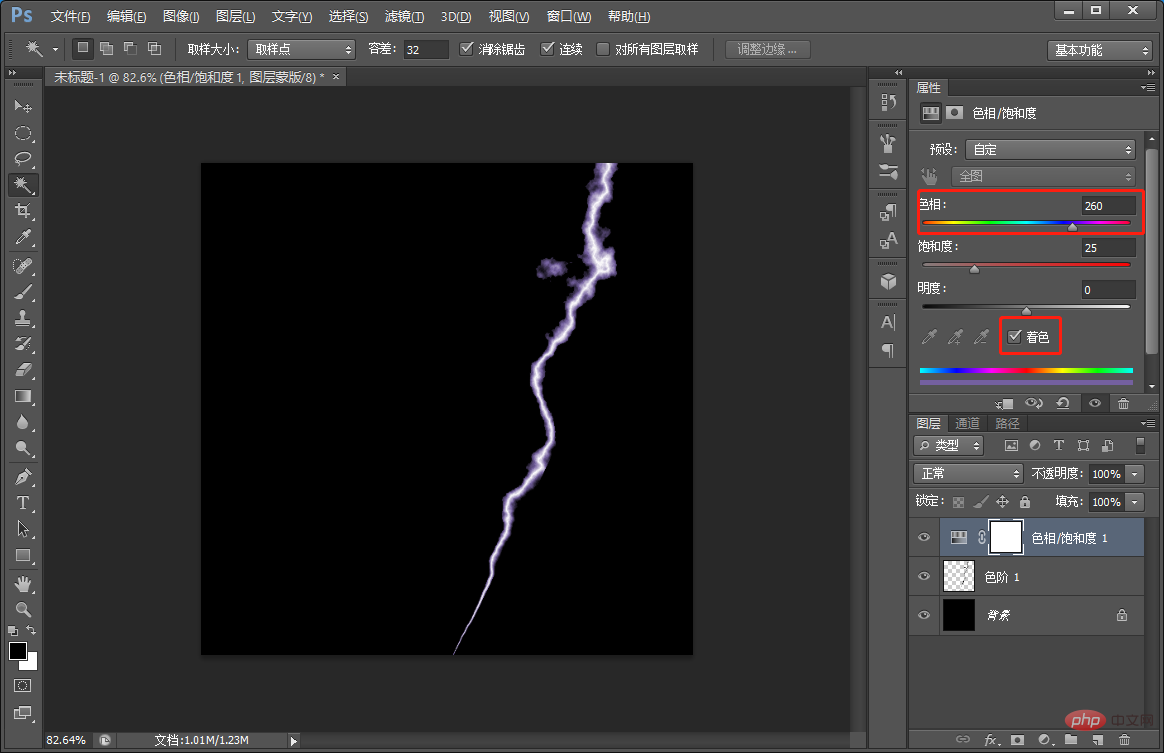
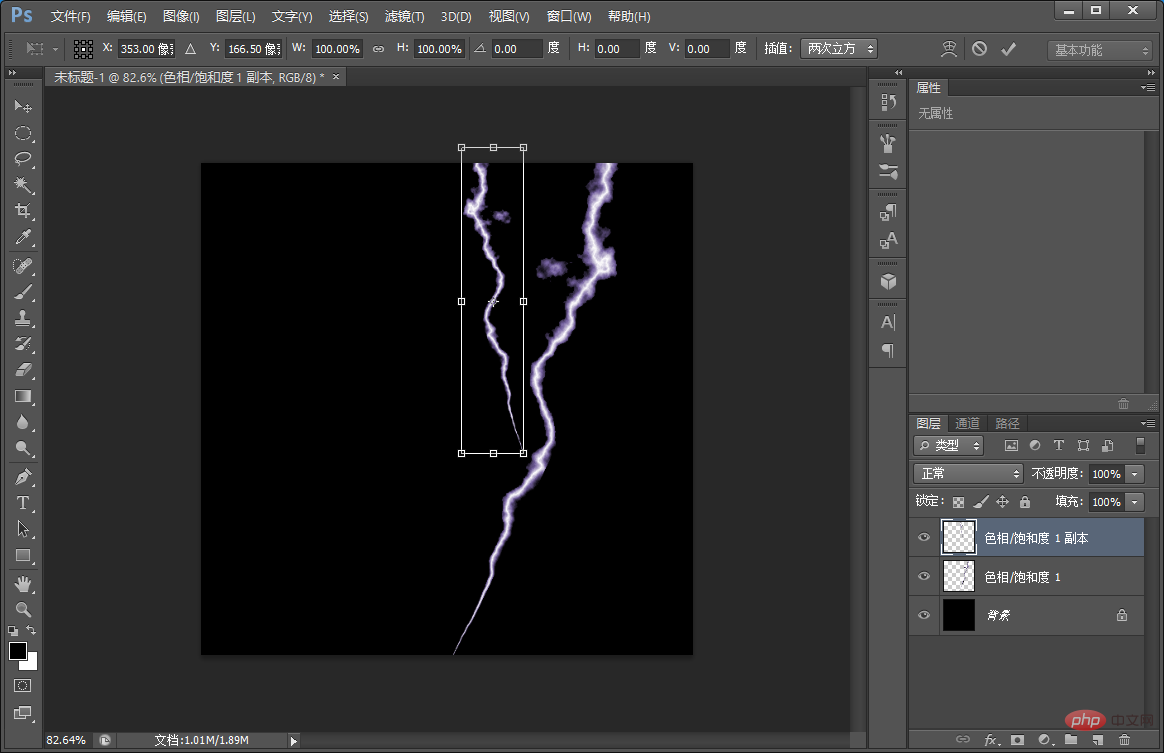
The above is the detailed content of One trick to teach you how to use PS to create lightning effects (share). For more information, please follow other related articles on the PHP Chinese website!