Home > Web Front-end > PS Tutorial > body text

photoshop制作炫丽的白色光影效果

PHP中文网
Release: 2016-06-01 14:30:55
Original
2195 people have browsed it

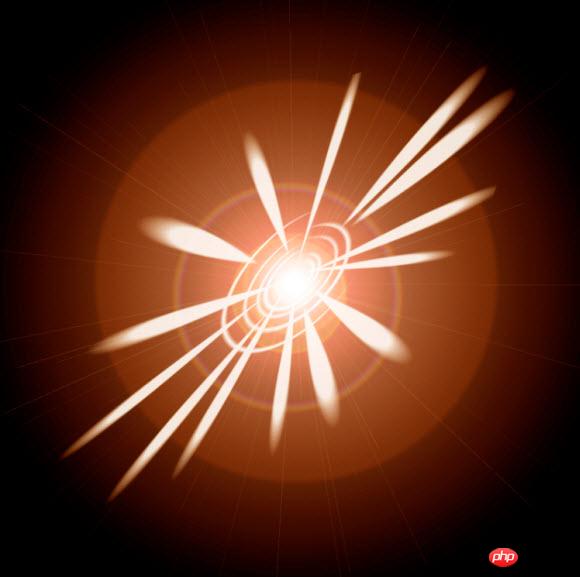
photoshop制作光影效果,步骤很简单,适合初学者学习,喜欢的朋友可以一起来制作 ps光影效果图:
photoshop制作炫丽的白色光影效果

  1、 新建文件:800*800像素,背影颜色为白色。
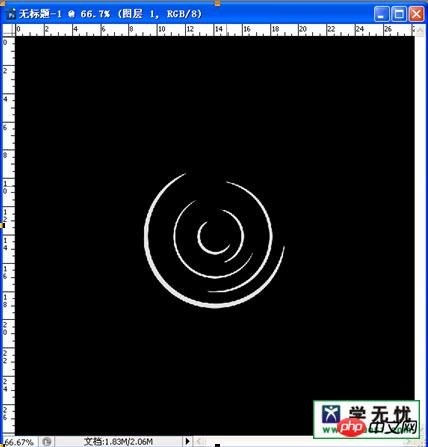
  2、 将背景层填充为黑色,新建图层“1”。设置前景色为浅灰色,参考值(#E3E3E3),选择“椭圆”工具,绘制横向椭圆形。

photoshop制作炫丽的白色光影效果

  3、 滤镜---扭曲---极坐标---平面坐标到极坐标。得到螺旋效果。

photoshop制作炫丽的白色光影效果

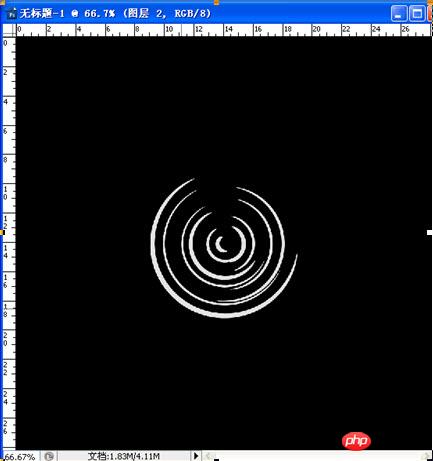
  4、 新建“图层2”,重复上面的操作,绘制椭圆并执行“极坐标”命令。

photoshop制作炫丽的白色光影效果

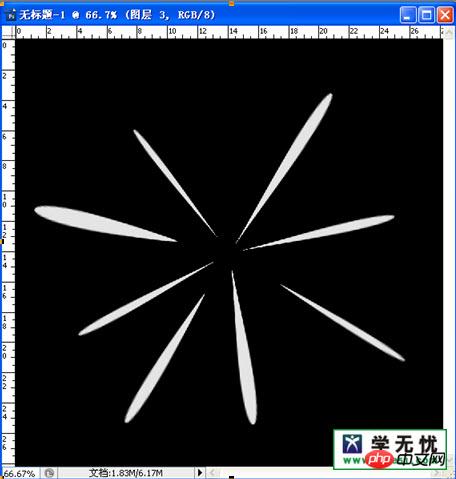
  5、 新建“图层3”,这次是绘制竖向的椭圆。(为便于观察,可以暂时隐藏“图层1”和“图层2”)

photoshop制作炫丽的白色光影效果

  6、 滤镜---扭曲---极坐标---平面坐标到极坐标。

photoshop制作炫丽的白色光影效果

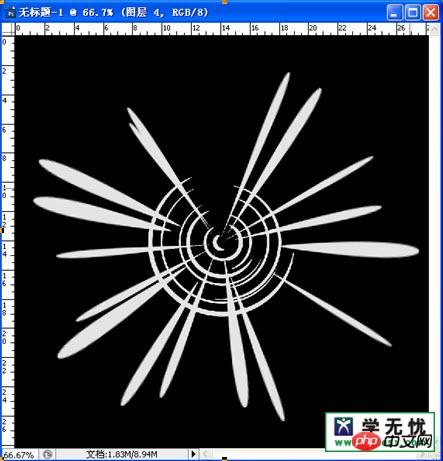
  7、 新建“图层4”,重复上面的操作,绘制竖向的椭圆并执行“极坐标”命令。再显示图层1和图层2。
photoshop制作炫丽的白色光影效果

  8、 合并图层3和图层4,滤镜---模糊---径向模糊。(100,缩放,好)

photoshop制作炫丽的白色光影效果

  9、 合并图层1和图层2,滤镜---模糊---径向模糊(32,旋转,好)
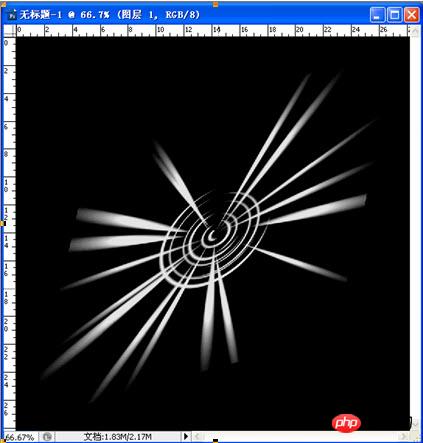
  10、 合并除背景层外的图层,CTRL+T,右击---扭曲,调节图形。得到此效果。
photoshop制作炫丽的白色光影效果

  11、 合并所有图层。
  12、 滤镜---渲染---镜头光晕。(移动光晕的中心到图形的中心,亮度122,50-300毫米变焦)
  13、 CTRL+F,重复执行“镜头光晕“命令。
  14、 图像---调整---色彩平衡(+100,+23,-72)。得到最终效果。

photoshop制作炫丽的白色光影效果
Related labels:
source:php.cn
Statement of this Website
The content of this article is voluntarily contributed by netizens, and the copyright belongs to the original author. This site does not assume corresponding legal responsibility. If you find any content suspected of plagiarism or infringement, please contact admin@php.cn
Popular Tutorials
More>
Latest Downloads
More>
Web Effects
Website Source Code
Website Materials
Front End Template