

Photosho打造绚丽的潮流光斑

效果图中的光斑不是由光束构成,而是由圆环、圆点、多边形等构成。制作的时候最好多新建一些组,不同的组放置不同的图形,然后逐层制作即可。
最终效果
1、新建一个800 * 800像素的画布,背景填充黑色,如下图。
<图1>
2、新建一个组,在组里新建一个图层,用椭圆选框工具拉出图2所示的正圆选区,选择渐变工具,颜色设置如图3,由中心向边角拉出图4所示的径向渐变。
<图2> 
<图3> 
<图4>
3、把正圆的混合模式改为“滤色”,效果如下图。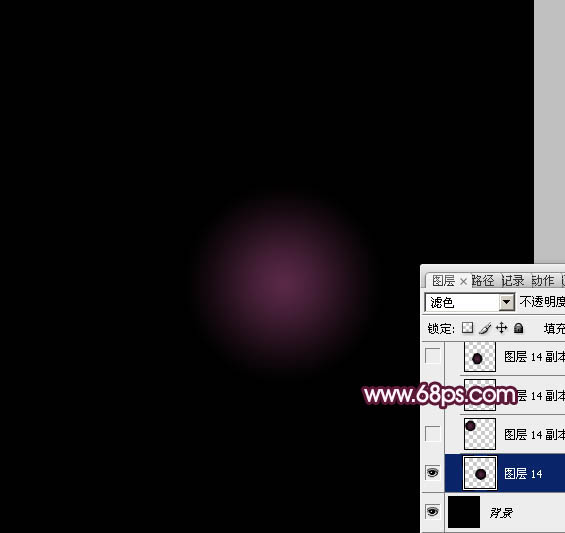
<图5>
4、把当前图层的正圆多复制一些,调整好位置及大小,单个的可以自行变形处理,过程如图6 - 8。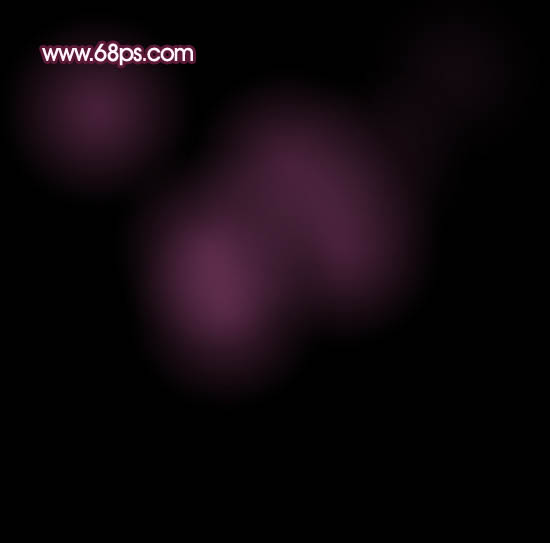
<图6> 
<图7> 
<图8>
5、下面再来制作圆环部分,需要完成的效果如下图。
<图9>
6、再新建一个800 * 800像素的画布,如图10。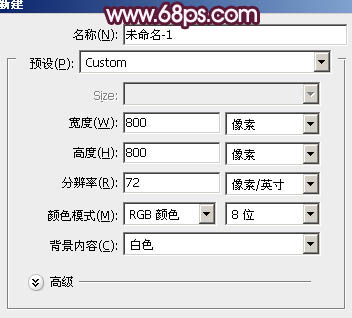
<图10>
7、新建一个图层,用矩形选框工具拉出图12所示的矩形选区,拉上图11所示的线性渐变。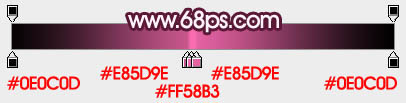
<图11> 
<图12>
8、按Ctrl + A 全选,按Ctrl + X 剪切,按Ctrl + V 粘贴。这一步把矩形放在中间位置。然后执行:滤镜 > 扭曲 > 极坐标,参数设置如图13,效果如图14。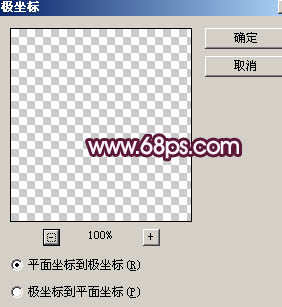
<图13> 
<图14>
9、新建一个组,把做好的圆环拖进来,混合模式改为“滤色”,可根据需要调整图层不透明度,如下图。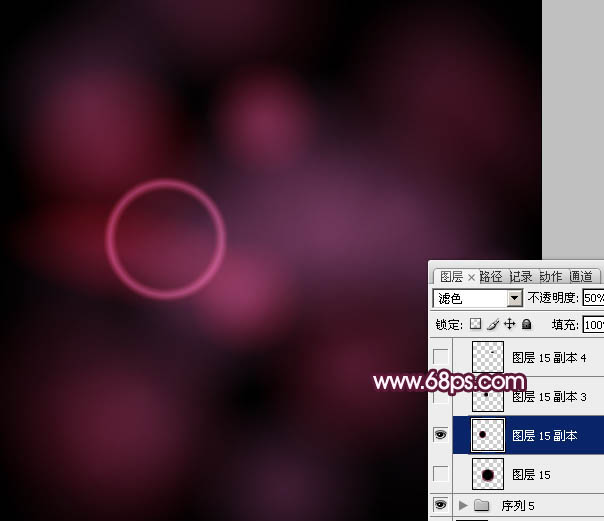
<图15>
10、做做好的圆环复制,适当调整好圆环的大小,位置及颜色。过程如图16 - 18。
<图16> 
<图17> 
<图18>
11、新建一个组,新建一个图层后,用椭圆选框工具拉出图19所示的正圆选区,拉上图20所示的径向渐变,效果如图21。
<图19> 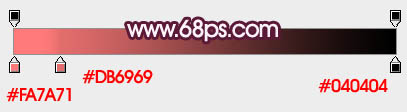
<图20> 
<图21>
12、把当前图层复制一层,按Ctrl + T 稍微缩小一点,混合模式改为“颜色减淡”,如下图。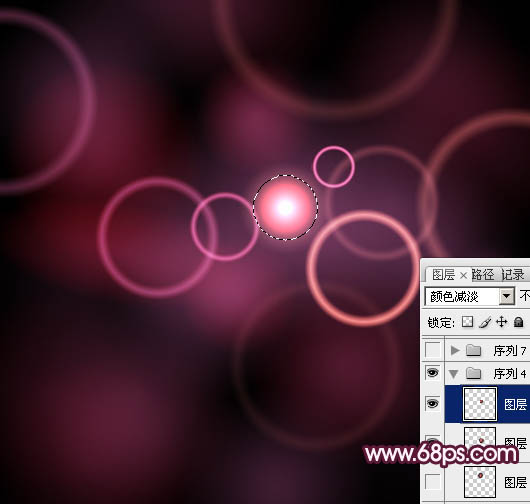
<图22>
13、新建一个组,新建图层后用椭圆选框工具拉出图23所示的选区,填充淡紫色,效果如图24。
<图23> 
<图24>
14、把线条的混合模式改为“颜色减淡”,不透明度改为:30%,然后按Ctrl + T 调整好位置和角度,如下图。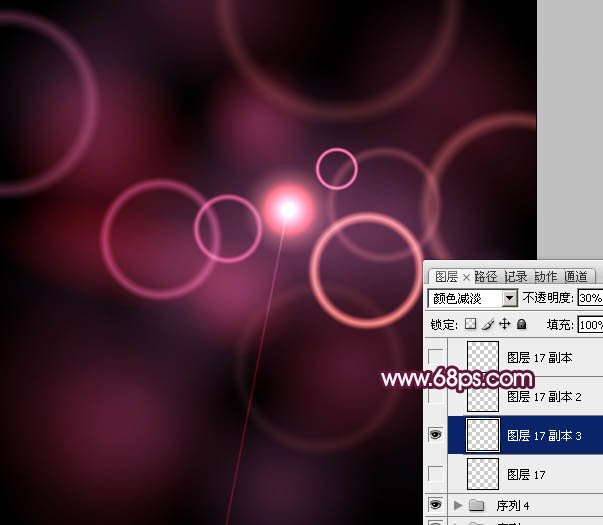
<图25>
15、然后把线条多复制几层,调整好各自位置,效果如下图。
<图26>
16、新建一个组,新建图层后用椭圆选框拉出图27所示的选区,拉上图28所示的径向渐变。
<图27>
<图28>
17、把正圆的混合模式改为“滤色”,然后多复制一些,调整好颜色和图层不透明度,效果如下图。
<图29>
18、把当前组复制一层,混合模式改为“颜色减淡”,不透明度改为:60%,效果如下图。
<图30>
19、新建一个组,新建图层后同上的方法制作一些六边形,如图31,把图层混合模式改为“叠加”,再复制及调整图层不透明度,效果如图32。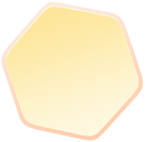
<图31> 
<图32>
20、在图层的最上面创建亮度/对比度调整图层,参数设置如图33,效果如图34。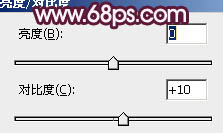
<图33> 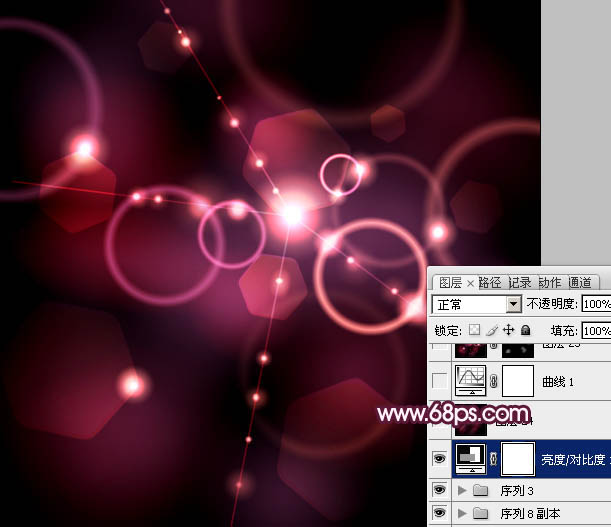
<图34>
21、再创建曲线调整图层,对RGB进行调整,参数设置如图35,确定后适当降低图层不透明度,效果如图36。
<图35> 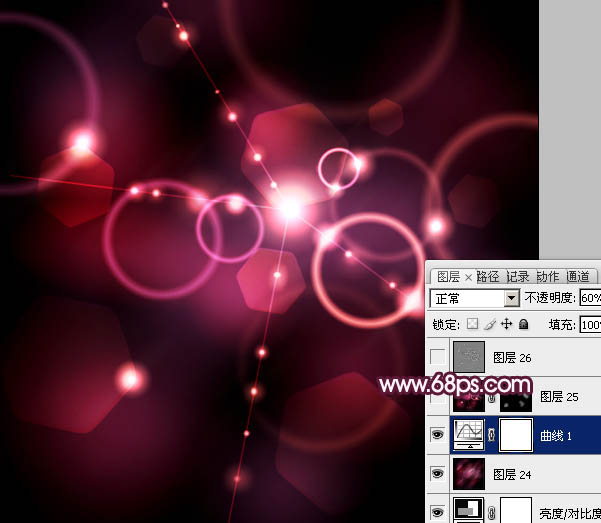
<图36>
22、新建一个图层,按Ctrl + Alt + Shift + E 盖印图层。混合模式改为“颜色减淡”,按住Alt键添加图层蒙版,用白色画笔把需要加强的部分擦出来,效果如下图。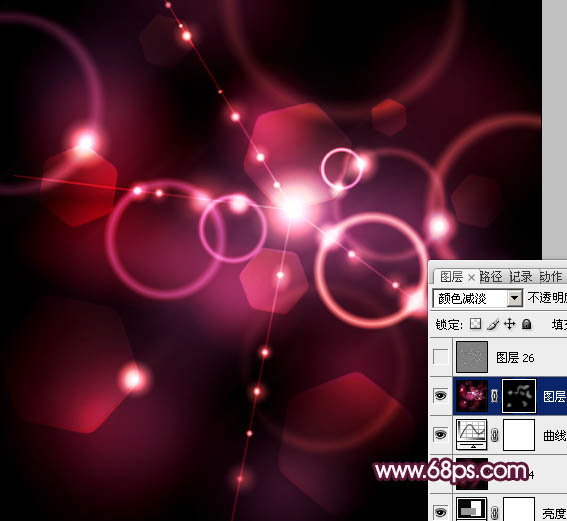
<图37>
23、新建一个图层,盖印图层。按Ctrl + Shift + U 去色。执行:滤镜 > 其它 > 高反差保留,数值默认,确定后把图层混合模式改为“柔光”,不透明度改为:60%,效果如下图。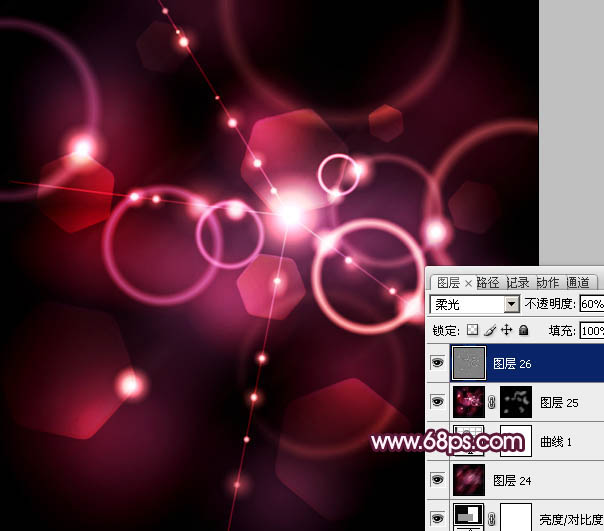
<图38>
最后调整一下细节,完成最终效果。
<图39>

Hot AI Tools

Undresser.AI Undress
AI-powered app for creating realistic nude photos

AI Clothes Remover
Online AI tool for removing clothes from photos.

Undress AI Tool
Undress images for free

Clothoff.io
AI clothes remover

Video Face Swap
Swap faces in any video effortlessly with our completely free AI face swap tool!

Hot Article
Hot Tools

Notepad++7.3.1
Easy-to-use and free code editor

SublimeText3 Chinese version
Chinese version, very easy to use

Zend Studio 13.0.1
Powerful PHP integrated development environment

Dreamweaver CS6
Visual web development tools

SublimeText3 Mac version
God-level code editing software (SublimeText3)
Hot Topics
 1666
1666
 14
1426
52
1328
25
1273
29
1255
24
14
1426
52
1328
25
1273
29
1255
24

 Advanced Photoshop Tutorial: Master Retouching & Compositing
Apr 17, 2025 am 12:10 AM
Advanced Photoshop Tutorial: Master Retouching & Compositing
Apr 17, 2025 am 12:10 AM
Photoshop's advanced photo editing and synthesis technologies include: 1. Use layers, masks and adjustment layers for basic operations; 2. Use image pixel values to achieve photo editing effects; 3. Use multiple layers and masks for complex synthesis; 4. Use "liquefaction" tools to adjust facial features; 5. Use "frequency separation" technology to perform delicate photo editing, these technologies can improve image processing level and achieve professional-level effects.
 Photoshop's Key Features: A Deep Dive
Apr 19, 2025 am 12:08 AM
Photoshop's Key Features: A Deep Dive
Apr 19, 2025 am 12:08 AM
Key features of Photoshop include layers and masks, adjustment tools, filters and effects. 1. Layers and masks allow independent editing of image parts. 2. Adjust tools such as brightness/contrast can modify image tone and brightness. 3. Filters and effects can quickly add visual effects. Mastering these features can help creative professionals achieve their creative vision.
 Using Photoshop: Creative Possibilities and Practical Uses
Apr 22, 2025 am 12:09 AM
Using Photoshop: Creative Possibilities and Practical Uses
Apr 22, 2025 am 12:09 AM
Photoshop is very practical and creative in practical applications. 1) It provides basic editing, repairing and synthesis functions, suitable for beginners and professionals. 2) Advanced features such as content recognition fill and layer style can improve image effects. 3) Mastering shortcut keys and optimizing layer structure can improve work efficiency.
 Photoshop for Designers: Creating Visual Concepts
Apr 13, 2025 am 12:09 AM
Photoshop for Designers: Creating Visual Concepts
Apr 13, 2025 am 12:09 AM
Creating visual concepts in Photoshop can be achieved through the following steps: 1. Create a new document, 2. Add a background layer, 3. Use the brush tool to draw basic shapes, 4. Adjust colors and brightness, 5. Add text and graphics, 6. Use masks for local editing, 7. Apply filter effects, these steps help designers build a complete visual work from scratch.
 Photoshop: Investigating Free Trials and Discount Options
Apr 14, 2025 am 12:06 AM
Photoshop: Investigating Free Trials and Discount Options
Apr 14, 2025 am 12:06 AM
You can get the access to Photoshop in the most economical way: 1. Experience the software features with a 7-day free trial; 2. Find student or teacher discounts, as well as seasonal promotions; 3. Use coupons on third-party websites; 4. Subscribe to Adobe CreativeCloud's monthly or annual plan.
 Photoshop and Digital Art: Painting, Illustration, and Compositing
Apr 18, 2025 am 12:01 AM
Photoshop and Digital Art: Painting, Illustration, and Compositing
Apr 18, 2025 am 12:01 AM
Photoshop's applications in digital art include painting, illustration and image synthesis. 1) Painting: Using brushes, pencils and mixing tools, the artist can create realistic effects. 2) Illustration: With vector and shape tools, artists can accurately draw complex graphics and add effects. 3) Synthesis: Using mask and layer blending mode, artists can seamlessly blend different image elements.
 Using Photoshop for Graphic Design: Branding and More
Apr 16, 2025 am 12:02 AM
Using Photoshop for Graphic Design: Branding and More
Apr 16, 2025 am 12:02 AM
The steps to using Photoshop for brand design include: 1. Use the Pen tool to draw basic shapes, 2. Add shadows and highlights through layer styles, 3. Adjust colors and details, 4. Use smart objects and actions to automatically generate different versions of the design. Photoshop helps designers create and optimize brand elements with the flexibility of layers and masks, ensuring consistency and professionalism of designs, from simple logos to complex branding guides.
 Photoshop for Photographers: Enhancing and Retouching Images
Apr 25, 2025 am 12:01 AM
Photoshop for Photographers: Enhancing and Retouching Images
Apr 25, 2025 am 12:01 AM
Enhance and retouching photos in Photoshop can be achieved by adjusting brightness and contrast, using the Repair Brush Tool. 1) Adjust brightness and contrast: Increase brightness and contrast to improve underexposed photos through the Image->Adjustments->Brightness/Contrast menu. 2) Use the Repair Brush Tool: Select HealingBrushTool in the toolbar and apply to remove miscellaneous points or scars in the image.
