Photoshop利用图层样式制作非常萌的逼真小黄鸭棒棒糖
效果图非常可爱,作者把一些卡通元素融入到棒棒糖当中,非常有趣。大致过程:先把棒棒糖分解一下;然后由底层开始制作,用图层样式配合形状工具做出大致的糖果部分;最后把自己喜欢的卡通元素加入到糖果当中,再配上一些装饰元素即可。
最终效果


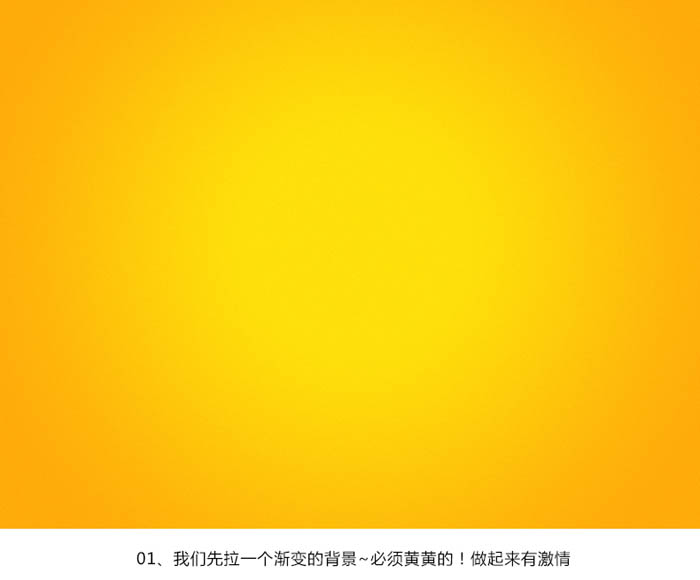
1、我们先拉一个渐变的背景,如下图。
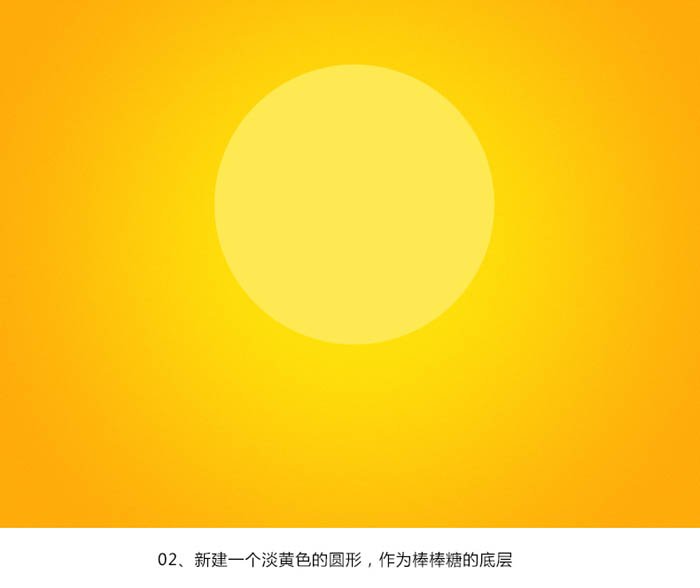
2、新建一个淡黄色的圆形,作为帮帮糖的底层。
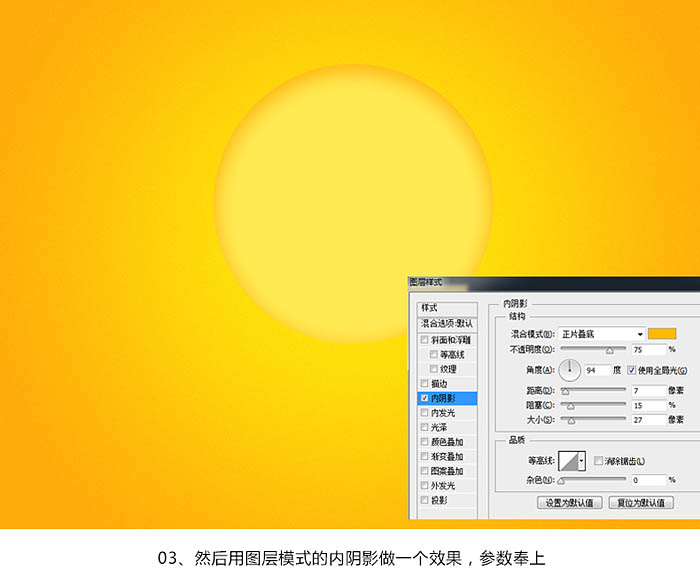
3、然后用图层模式的内阴影做一个效果,参数如下。
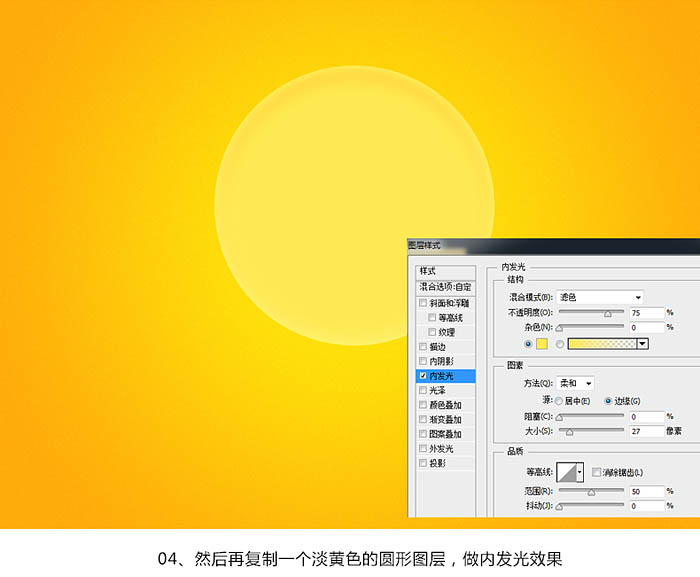
4、再复制一个蛋黄的圆形图层,做内发光效果,如下图。
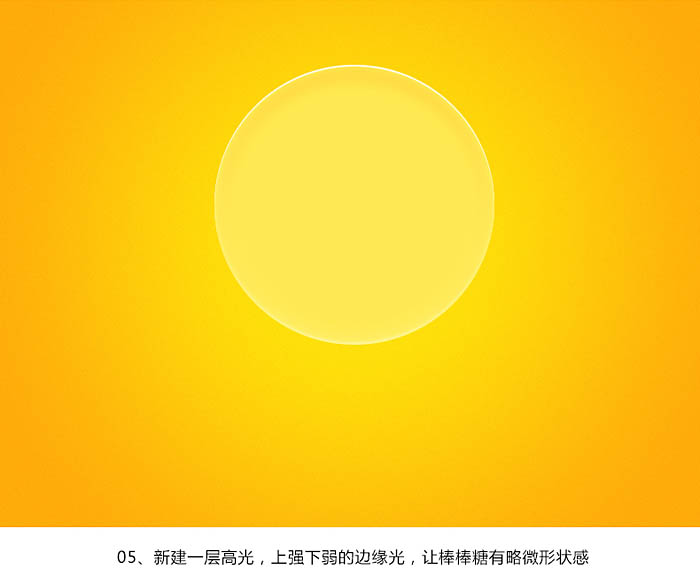
5、新建一层高光,上强下弱的边缘光,让棒棒糖有略微形状感。
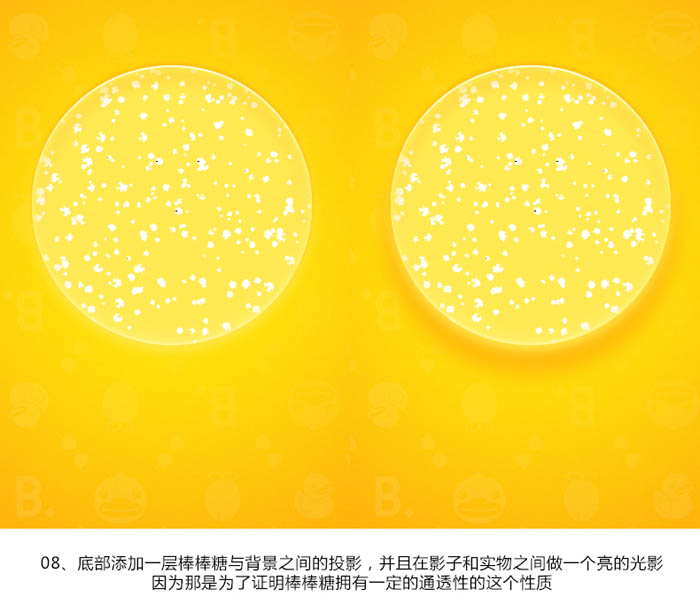
6,7、接着找一些类似雪饼的素材,贴上去,或者用笔画也可以,同时添加阴影。

8、底部添加一层棒棒糖与背景之间的投影,并且在影子和实物之间做一个亮的光影,因为那是为了证明棒棒糖拥有一定的通透性的这个性质。
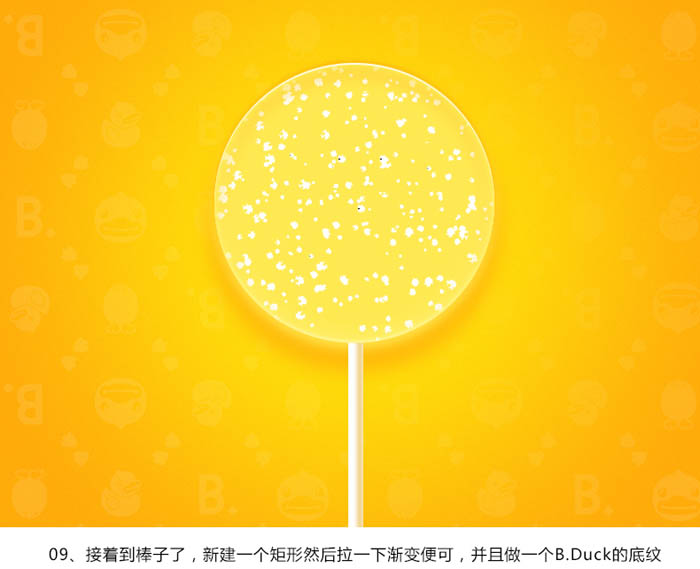
9、接着道棒子了,新建一个矩形然后拉一下渐变便可,并且做一个底纹。
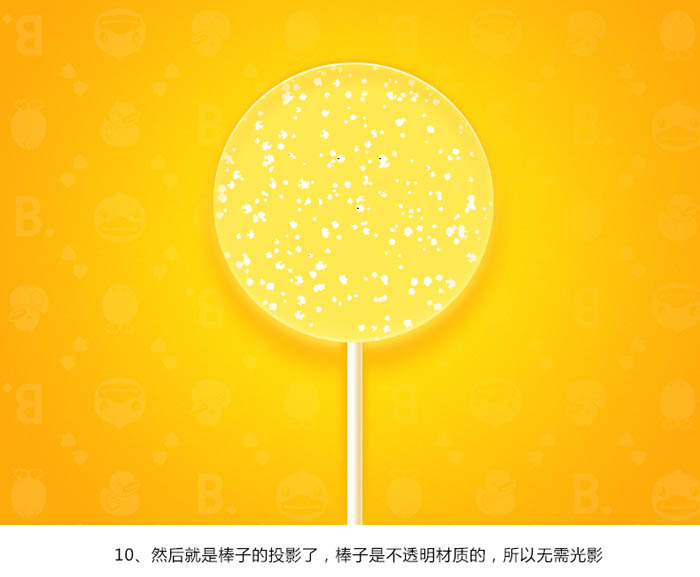
10、然后就是棒子的投影了,棒子是不透明度材质的,所以无需光影。
11、接着到糖的中心了,也是做主要图案的第一步,先建一层糖果层。
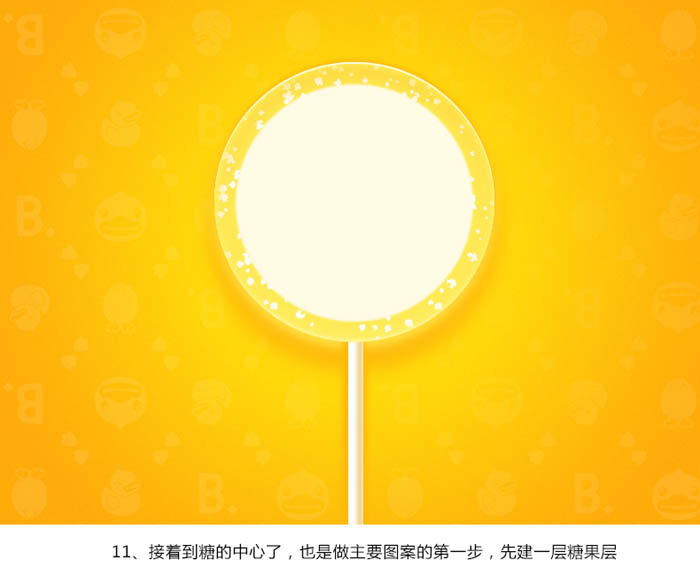
12、同样添加边缘光和投影,让糖果层有一个厚度的感觉。
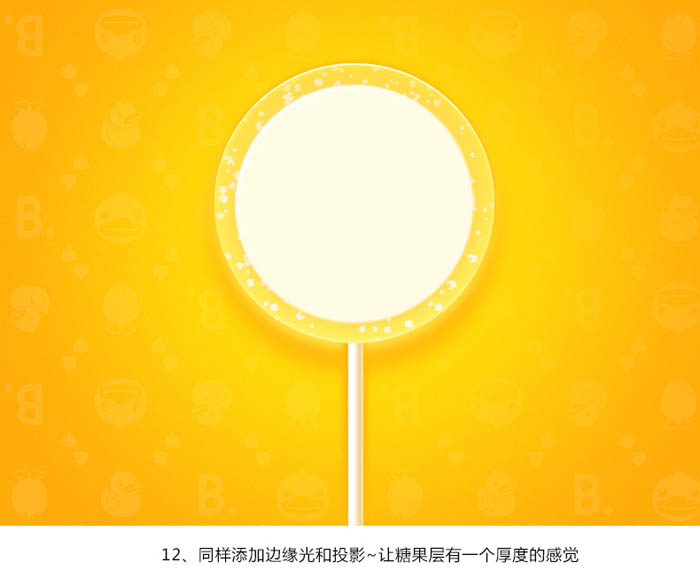
13、终于到B.Duck的部分了,我们先画出轮廓,并且选取一个通透的黄色。

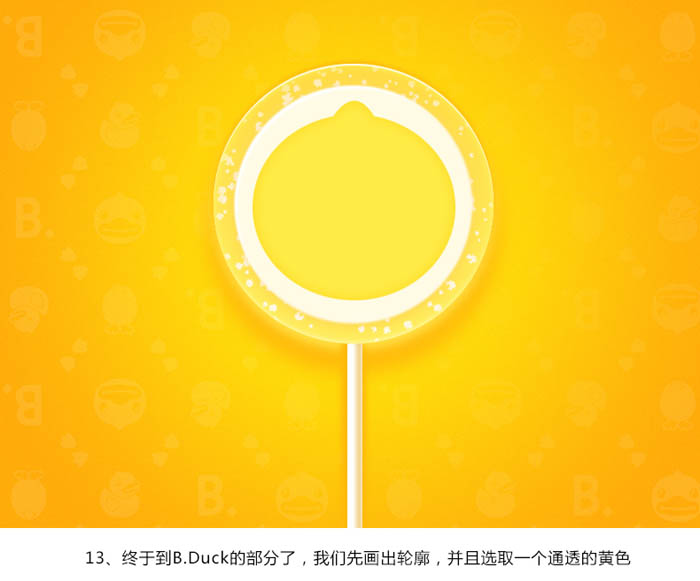
14、然后同样添加下边缘光和投影,同样让它拥有一个厚度感,体积感。
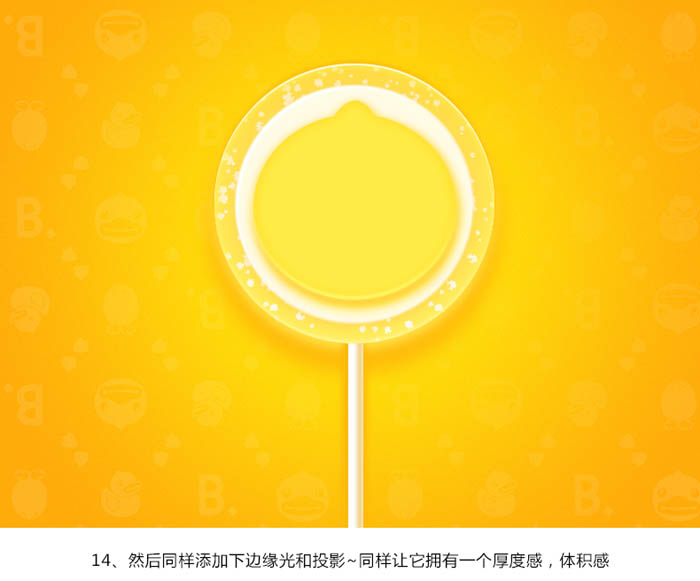
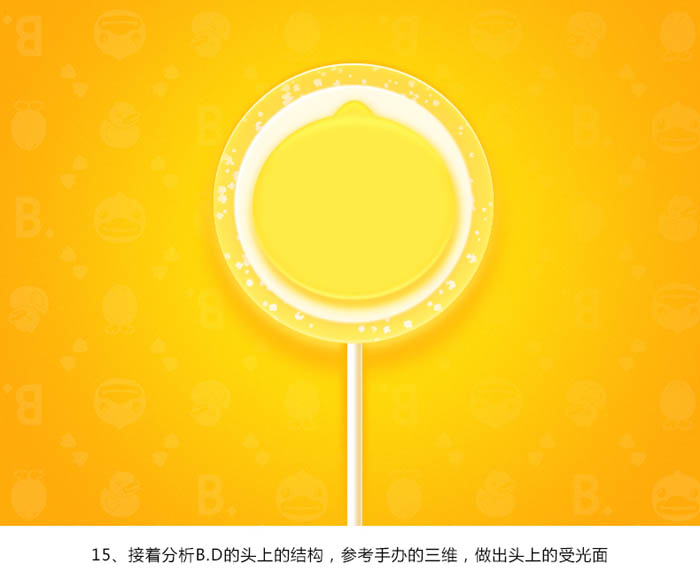
15、接着分析B.D的头上的结构,做出头上的受光面。
16、这一步画眼和嘴。

17、这一步同样给眼睛和嘴添加个投影,同样是为了体现厚度和体积感。

18、为了让B.D更加生动,我给眼睛添加了高光,同时添加了一点黄色。

19、在周围不规则的添加一些小糖。

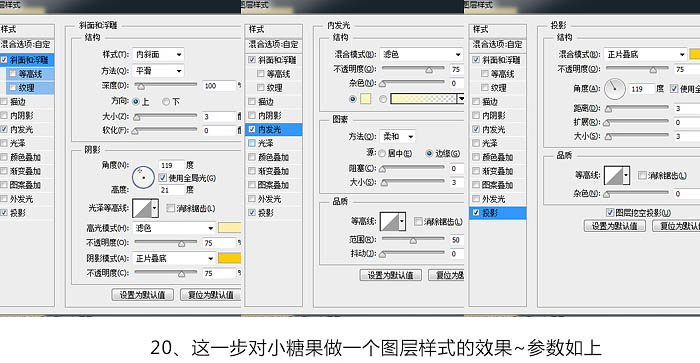
20、这一步对小糖果做一个图层样式效果,如下图。

21、当然,纯黄色略显单调了,因此可以根据自己喜好去调整颜色。

22、找一些可爱的元素,例如云,棉花之类,再加个高光源。

23、最后当然是B.Duck的字体。

最终效果:


Hot AI Tools

Undresser.AI Undress
AI-powered app for creating realistic nude photos

AI Clothes Remover
Online AI tool for removing clothes from photos.

Undress AI Tool
Undress images for free

Clothoff.io
AI clothes remover

AI Hentai Generator
Generate AI Hentai for free.

Hot Article

Hot Tools

Notepad++7.3.1
Easy-to-use and free code editor

SublimeText3 Chinese version
Chinese version, very easy to use

Zend Studio 13.0.1
Powerful PHP integrated development environment

Dreamweaver CS6
Visual web development tools

SublimeText3 Mac version
God-level code editing software (SublimeText3)

Hot Topics
 1377
1377
 52
52
 How do I use Photoshop for creating social media graphics?
Mar 18, 2025 pm 01:41 PM
The article details using Photoshop for social media graphics, covering setup, design tools, and optimization techniques. It emphasizes efficiency and quality in graphic creation.
 What is the reason why PS keeps showing loading?
Apr 06, 2025 pm 06:39 PM
PS "Loading" problems are caused by resource access or processing problems: hard disk reading speed is slow or bad: Use CrystalDiskInfo to check the hard disk health and replace the problematic hard disk. Insufficient memory: Upgrade memory to meet PS's needs for high-resolution images and complex layer processing. Graphics card drivers are outdated or corrupted: Update the drivers to optimize communication between the PS and the graphics card. File paths are too long or file names have special characters: use short paths and avoid special characters. PS's own problem: Reinstall or repair the PS installer.
 How do I prepare images for web using Photoshop (optimize file size, resolution)?
Mar 18, 2025 pm 01:35 PM
Article discusses optimizing images for web using Photoshop, focusing on file size and resolution. Main issue is balancing quality and load times.
 How do I prepare images for print using Photoshop (resolution, color profiles)?
Mar 18, 2025 pm 01:36 PM
The article guides on preparing images for print in Photoshop, focusing on resolution, color profiles, and sharpness. It argues that 300 PPI and CMYK profiles are essential for quality prints.
 How do I create animated GIFs in Photoshop?
Mar 18, 2025 pm 01:38 PM
Article discusses creating and optimizing animated GIFs in Photoshop, including adding frames to existing GIFs. Main focus is on balancing quality and file size.
 How do I use Photoshop's video editing capabilities?
Mar 18, 2025 pm 01:37 PM
The article explains how to use Photoshop for video editing, detailing steps to import, edit, and export videos, and highlighting key features like the Timeline panel, video layers, and effects.
 What are the common questions about exporting PDF on PS
Apr 06, 2025 pm 04:51 PM
Frequently Asked Questions and Solutions when Exporting PS as PDF: Font Embedding Problems: Check the "Font" option, select "Embed" or convert the font into a curve (path). Color deviation problem: convert the file into CMYK mode and adjust the color; directly exporting it with RGB requires psychological preparation for preview and color deviation. Resolution and file size issues: Choose resolution according to actual conditions, or use the compression option to optimize file size. Special effects issue: Merge (flatten) layers before exporting, or weigh the pros and cons.
 How to speed up the loading speed of PS?
Apr 06, 2025 pm 06:27 PM
Solving the problem of slow Photoshop startup requires a multi-pronged approach, including: upgrading hardware (memory, solid-state drive, CPU); uninstalling outdated or incompatible plug-ins; cleaning up system garbage and excessive background programs regularly; closing irrelevant programs with caution; avoiding opening a large number of files during startup.


