The previous tutorial talked about some technical issues that have nothing to do with the development of WeChat applet itself. Now let’s return to the topic.
This tutorial mainly explains the index page generated by default. As written in the previous tutorial, each page contains three files: .js (processing logic), .wxml (describing page content), and .wxss (configuring page style). The same is true for the index page.
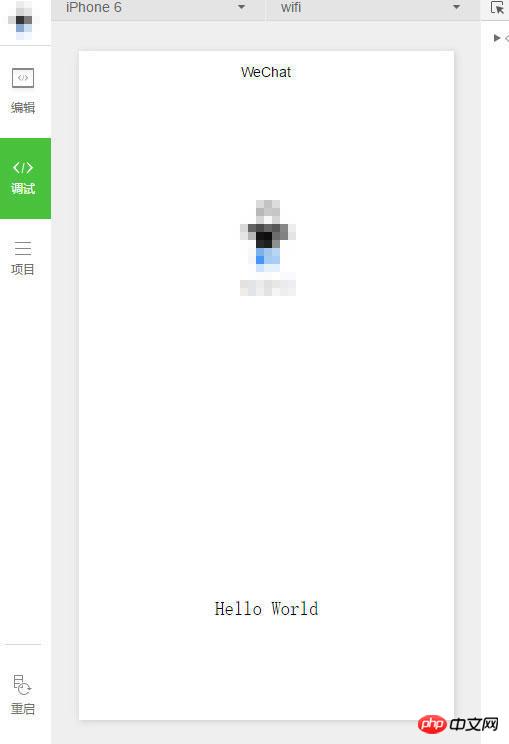
Let’s take a picture before explaining

Write the picture description here
The content of the index page is not There are only one user avatar, user name, and "Hello World". First, let's take a look at the content of index.wxml
<!--index.wxml-->
<view class="container">
  <view  bindtap="bindViewTap" class="userinfo">
    <image class="userinfo-avatar" src="{{userInfo.avatarUrl}}" background-size="cover"></image>
    <text class="userinfo-nickname">{{userInfo.nickName}}</text>
  </view>
  <view class="usermotto">
    <text class="user-motto">{{motto}}</text>
  </view>
</view>The hierarchical structure of the page is relatively simple, with three view tags, one image and two A text tag, where view is the container tag, image is used to display the user's avatar, the first text is used to display the user's nickname, and the second text is "Hello World"
You can see it in the page description file Several variables are bound, namely bindtap="bindViewTap" of the second view tag, src="{{userInfo.avatarUrl}} of the image tag, and two texts The content text of the tag. So where are these variables defined? The answer is in index.js. The
//index.js
//获取应用实例
var app = getApp()
Page({
  data: {
    motto: 'Hello World',
    userInfo: {}
  },
  //事件处理函数
  bindViewTap: function() {
    wx.navigateTo({
      url: '../logs/logs'
    })
  },
  onLoad: function () {
    console.log('onLoad')
    var that = this
    //调用应用实例的方法获取全局数据
    app.getUserInfo(function(userInfo){
      //更新数据
      that.setData({
        userInfo:userInfo
      })
    })
  }
})index.js code defines the Page object, which defines the variables bound by index.wxml, where The onLoad method will be called when the page is loaded. This method will call the getUserInfo method of the app object to obtain the user information and assign it to the userInfo attribute, so that the user's avatar and nickname can be displayed on the interface. The display of "Hello World" is made by. The motto attribute is specified directly. The
Page object also defines the bindViewTap method, which navigates to the logs page by calling wx.navigateTo. More about page navigation will be explained in this example. , when the user clicks on the view area of the user's avatar and nickname, the program will display the logs page
Finally, take a brief look at index.wxss
/**index.wxss**/
.userinfo {
  display: flex;
  flex-direction: column;
  align-items: center;
}

.userinfo-avatar {
  width: 128rpx;
  height: 128rpx;
  margin: 20rpx;
  border-radius: 50%;
}

.userinfo-nickname {
  color: #aaa;
}

.usermotto {
  margin-top: 200px;
}This file defines the values used in index.wxml. The style selector is relatively simple, so I won’t explain it here
.The above is the detailed content of Basics of Mini Program Development - Index Page Analysis (5). For more information, please follow other related articles on the PHP Chinese website!


