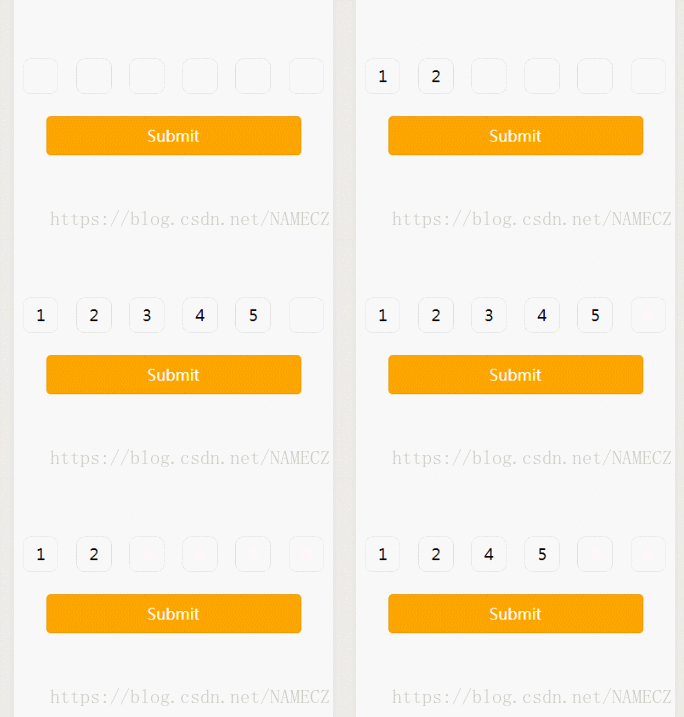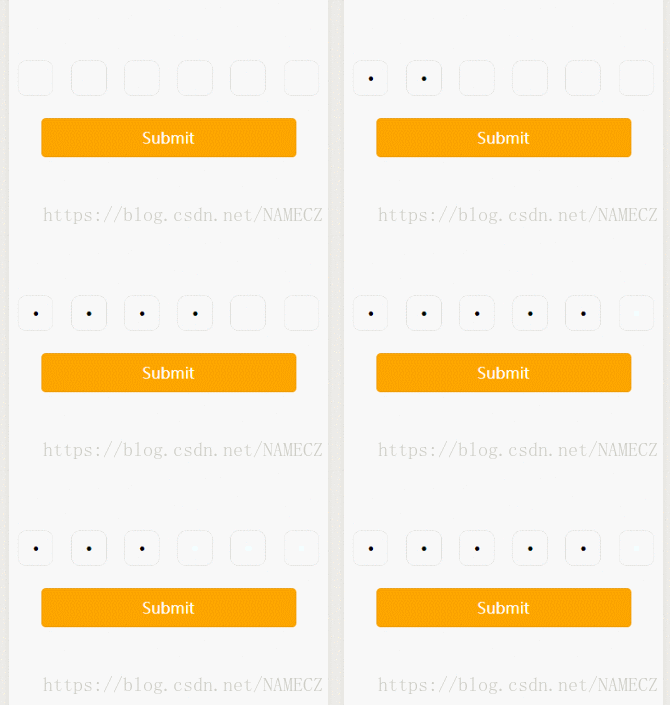
This time I will bring you how to develop the verification codepassword input box function in the WeChat applet, and how to develop the verification code password input box function in the WeChat appletNotes What are they? Here are actual cases. Let’s take a look.
When making a small program, I made a 6-digit verification code input box. I thought it was very simple, but I encountered various resistances while writing it, and there was very little information available online. Later, after After some thinking, I finally finalized the plan that I am most satisfied with, and I am sending it here for everyone to refer to. I hope it can help everyone!
1. The renderings are as follows:


##2. Code part
wxml:<form bindsubmit="formSubmit">
<view class='content'>
<block wx:for="{{Length}}" wx:key="item">
<input class='iptbox' value="{{Value.length>=index+1?Value[index]:''}}" disabled password='{{ispassword}}' catchtap='Tap'></input>
</block>
</view>
<input name="password" password="{{true}}" class='ipt' maxlength="{{Length}}" focus="{{isFocus}}" bindinput="Focus"></input>
<view>
<button class="btn-area" formType="submit">Submit</button>
</view>
</form>Page({
/**
* 页面的初始数据
*/
data: {
Length:6, //输入框个数
isFocus:true, //聚焦
Value:"", //输入的内容
ispassword:true, //是否密文显示 true为密文, false为明文。
},
Focus(e){
var that = this;
console.log(e.detail.value);
var inputValue = e.detail.value;
that.setData({
Value:inputValue,
})
},
Tap(){
var that = this;
that.setData({
isFocus:true,
})
},
formSubmit(e){
console.log(e.detail.value.password);
},
})content{
display: flex;
justify-content: space-around;
align-items: center;
margin-top: 200rpx;
}
iptbox{
width: 80rpx;
height: 80rpx;
border:1rpx solid #ddd;
border-radius: 20rpx;
display: flex;
justify-content: center;
align-items: center;
text-align: center;
}
ipt{
width: 0;
height: 0;
}
btn-area{
width: 80%;
background-color: orange;
color:white;
}3. Ideas:
1. Place an input box, hide its text and position, and set the style of the payment input box (form)2. When the input box is clicked When setting the input box to the focused state, arouse the keyboard, click on the blank space, lose focus, and set it to the lost focus style. Because the width and height of the input box are 0, the input box and cursor will not be displayed, thus hiding it.
3. Limit the maximum number of words in the input box and monitor the status of the input box. Use the length of the input box value as the rendering condition for the content of the input box (table)
4. When the submit button is clicked, obtain the content of the input box.
Detailed explanation of the use of JS and PHP keyword search functions
Implementation of uploading image attachments in the WeChat applet Backend code
The above is the detailed content of How to develop verification code and password input box function in WeChat applet. For more information, please follow other related articles on the PHP Chinese website!
 Mini program path acquisition
 MySQL changes root password
 How to set password in windows
 Dynamic link library initialization routine failed
 What to do if the chm file cannot be opened
 Build an Internet server
 The difference between i5 and i7
 What to do if there is no cursor when clicking on the input box


