
對許多企業家來說,付款過程感覺像是對耐心的終極考驗。正當你以為自己終於解開了這一切的時候,另一層複雜的情況卻出現了,提醒你一帆風順仍然是一個遙遠的夢想。

你也有同感嗎?檸檬 Squeezy 是您的阿斯匹靈!
這種神奇的支付藥水簡化了一切,因此您可以拋棄支付的麻煩,專注於有趣的事情。不再需要編碼扭曲。這就像您的團隊中有一隻支付獨角獸。
好吧,想像一下運行您的 SaaS 業務,不需要稅務合規方面的博士學位,也不需要源源不斷的阿斯匹靈來解決付款問題。 LemonSqueezy 簡化了一切,從支付和訂閱到全球稅務合規和詐欺預防。
此外,它還為您提供多貨幣支援和可容納各種數位產品的店面。這就像擁有一個精通技術的業務合作夥伴來處理所有無聊的事情,這樣您就可以專注於您最擅長的事情 - 創造!非常適合數位創作者、企業家以及任何喜歡點擊按鈕而不是編碼解決方案的人。
在我們深入討論之前,我只想說,您可以在我的 GitHub 儲存庫中找到完整的程式碼,並在我的 Instagram 上觀看演示。現在,關於 GitHub 上的這個項目,它有兩種付款方式:一是經典的一次性付款;二是傳統的一次性付款。第二,時下流行的訂閱模式。
但對於本教程,我們將全力以赴一次性付款。哦,對於我的例子,我使用每月房屋清潔服務作為案例研究。這可能聽起來有點荒謬,但是嘿,這都是我們編碼練習的一部分! ?
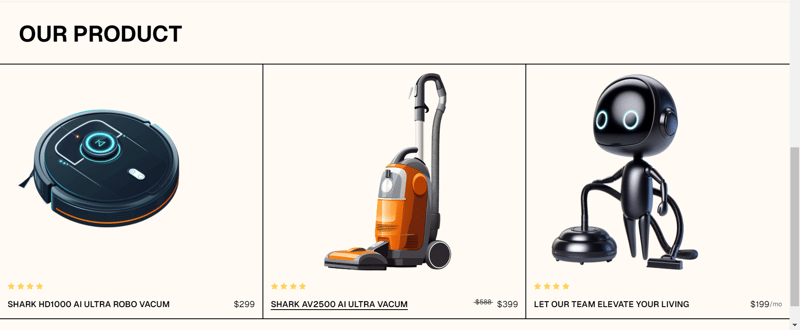
為了開始,您應該在 Lemon Squeezy 中建立一個商店以及一些產品和變體。
確保您已開啟測試模式。發布商店後,它將關閉;檢查左下角。
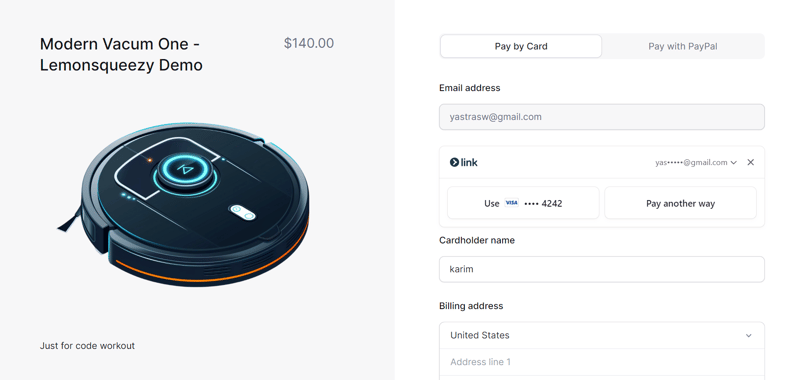
這是我的產品的樣子
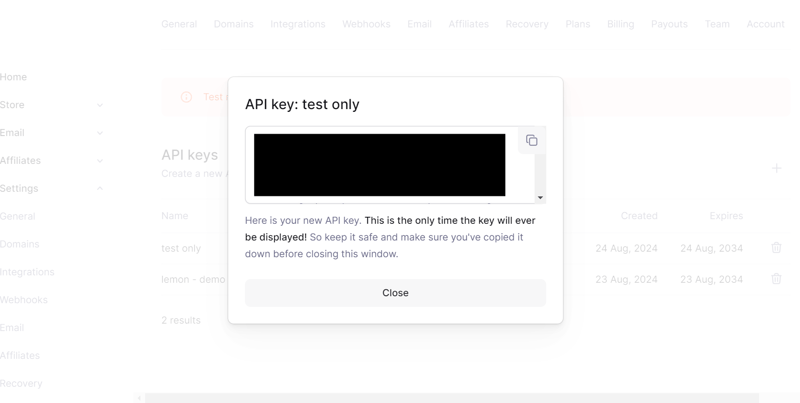
接下來,讓我們在 https://app.lemonsqueezy.com/settings/api 產生一個 API 金鑰來連接到我們的商店:
將其作為環境變數新增至您的 Next.js 專案:
LEMONSQUEEZY_API_KEY="[YOUR API KEY]"
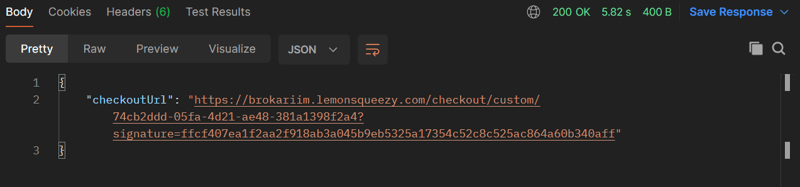
接下來,建立一個API路由來處理支付過程,在這部分,我們想要的最終結果是獲得一個checkoutUrl,稍後我們將其傳遞到前端部分。
export const dynamic = "force-dynamic";

export async function POST(req: NextRequest) {
  try {

    const reqData = await req.json();

    if (!reqData.productId) {
      console.error("Product ID is missing");
      return NextResponse.json({ message: "Product ID is required" }, { status: 400 });
    }


    const response = await lemonSqueezyApiInstance.post("/checkouts", {
      data: {
        type: "checkouts",
        attributes: {
          checkout_data: {
            custom: {
              user_id: "123",
            },
          },
        },
        relationships: {
          store: {
            data: {
              type: "stores",
              id: process.env.LEMON_SQUEEZY_STORE_ID?.toString(),
            },
          },
          variant: {
            data: {
              type: "variants",
              id: reqData.productId.toString(),
            },
          },
        },
      },
    });

    const checkoutUrl = response.data.data.attributes.url;
    console.log(response.data);
    return NextResponse.json({ checkoutUrl });
  } catch (error) {
    console.error("Error in POST /api/lemonsqueezy:", error);
    return NextResponse.json({ message: "An error occured" }, { status: 500 });
  }
}
這是此程式碼的簡單解釋:

const checkoutUrl = response.data.data.attributes.url;
回傳 NextResponse.json({ checkoutUrl });
為了確保我們的 API 正常運作,我們需要對其進行測試。我為此使用了一個名為 Postman 的工具。在開始之前,我們需要產品的variantId,您可以在LemonSqueezy 儀表板中找到它。
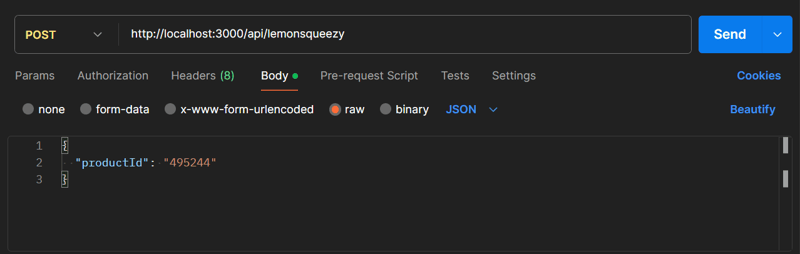
如果一切正常,您應該會收到包含 checkoutUrl 的回應
Now that we've laid the groundwork, our next step is time to make the frontend look good, I am a huge fan of TailwindCSS so i make the pricing card with them
the code is availale here
Next lets set up an async function that calls the API route we just created. The function will send a POST request with the productId and, in return, get the checkout URL. Once you have the URL, open it in a new tab to send the user to the payment page.
 const buyProcut1 = async () => {
    try {
      const response = await axios.post("../api/lemonsqueezy", {
        productId: "495244",
      });

      console.log(response.data);
      window.open(response.data.checkoutUrl, "_blank");
    } catch (error) {
      console.error(error);
      alert("Failed to buy product #1");
    }
  };
That code is about
Last but not least, we're setting up webhooks to keep track of orders. Head back to your LemonSqueezy dashboard and set up a webhook.
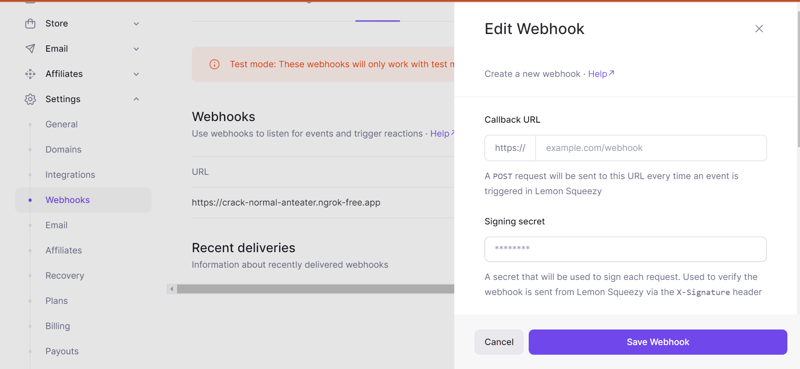
For the URL, you’ll need something publicly accessible, which is tricky during local development. This is where ngrok comes in handy.
ngrok will give you a temporary public URL that forwards to your local machine, You can check this link to setup ngrok in your device :
https://dashboard.ngrok.com/get-started/setup/
Just like before, the code to handle the webhook is already done for you. All you need to do is set it up in your route handler and enjoy the sweet
Let's stay in touch on Instagram, Twitter, and GitHub—where the real magic happens.
Thanks for sticking around! ?

以上是使用 Lemon Squeezy 輕鬆付款 | Next.js 整合變得簡單的詳細內容。更多資訊請關注PHP中文網其他相關文章!


