

使用Shopify建立自己的訂閱博客


>本教程演示了使用HTML,CSS和Liquid在Shopify上建立基於訂閱的博客。雖然Shopify的內置博客工具是基本的,並且存在諸如Ghost的專用博客平台,但Shopify為貨幣化內容提供了重要的優勢。
>為什麼要為內容博客購物?
Shopify的實力在於其強大的電子商務能力。 它擅長銷售各種產品和服務,包括訂閱,數字下載和實物商品。 與主要關注基於訂閱的內容的Ghost相比,Shopify在業務模型中提供了無與倫比的靈活性。 Shopify Basic和Ghost Pro Basic的價格均為每月29美元,但Shopify的適應性使其成為長期可擴展性和多元化的優越選擇。 Shopify的博客功能可能被認為是一個弱點,但其功能強大的液體模板引擎允許進行廣泛的自定義。 考慮使用電子商務根源的CMS,而不僅僅是電子商務平台。
本教程需要熟悉HTML,CSS以及理想情況下的液體。 Shopify帳戶(14天免費試用,不需要信用卡)。 請注意,如果沒有付費計劃,就無法刪除商店上的密碼保護。 >
步驟1:主題結構主題的文件結構結合了必需的和常用的文件。 並非所有人都會在本教程中使用,但這為將來的Shopify項目提供了堅實的基礎。 最初,這些文件可以留為空白:
使用這些命令(MACOS/Linux)創建目錄結構:>
<code>.
├── assets
├── config
│   ├── settings_data.json
│   └── settings_schema.json
├── layout
│   └── theme.liquid
├── sections
├── snippets
└── templates
    ├── 404.liquid
    ├── article.liquid
    ├── blog.liquid
    ├── cart.liquid
    ├── collection.liquid
    ├── customers
    │   ├── account.liquid
    │   ├── activate_account.liquid
    │   ├── addresses.liquid
    │   ├── login.liquid
    │   ├── order.liquid
    │   ├── register.liquid
    │   └── reset_password.liquid
    ├── gift_card.liquid
    ├── index.liquid
    ├── list-collections.liquid
    ├── page.liquid
    ├── password.liquid
    ├── product.liquid
└── search.liquid</code>mkdir -p assets snippets sections config layout templates/customers touch config/settings_data.json config/settings_schema.json layout/theme.liquid cd templates/customers touch account.liquid activate_account.liquid addresses.liquid login.liquid order.liquid register.liquid reset_password.liquid cd .. touch 404.liquid article.liquid blog.liquid cart.liquid collection.liquid gift_card.liquid index.liquid list-collections.liquid page.liquid password.liquid product.liquid search.liquid cd ..
>
步驟3:主題套件設置
 >
>
>
>>安裝:
>使用適當的OS命令(如果不同的話,請用實際命令替換):- > Windows(巧克力):
choco install themekit> - > macos(homebrew):<>
brew tap shopify/shopify; brew install themekit - linux:
curl -s https://shopify.dev/themekit.py | sudo python
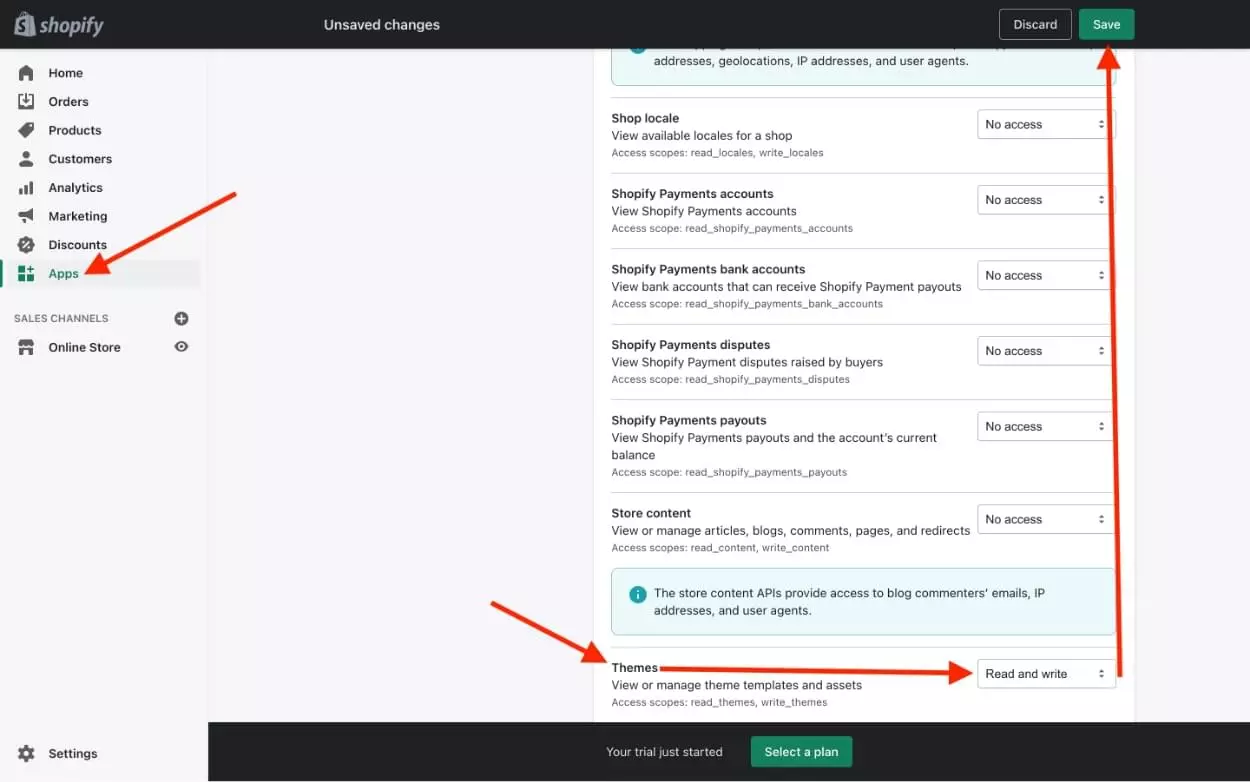
shopify應用:創建一個用於主題套件身份驗證的私人Shopify應用程序。 在Shopify管理員中,導航到Apps&gt;管理私人應用程序,啟用私人應用程序開發並創建一個新應用。 啟用“讀寫”訪問“主題”。注意應用程序的密碼。
- >
觀看更改:導航到您的主題目錄並運行以下命令(替換佔位符):
<code>. ├── assets ├── config │ ├── settings_data.json │ └── settings_schema.json ├── layout │ └── theme.liquid ├── sections ├── snippets └── templates ├── 404.liquid ├── article.liquid ├── blog.liquid ├── cart.liquid ├── collection.liquid ├── customers │ ├── account.liquid │ ├── activate_account.liquid │ ├── addresses.liquid │ ├── login.liquid │ ├── order.liquid │ ├── register.liquid │ └── reset_password.liquid ├── gift_card.liquid ├── index.liquid ├── list-collections.liquid ├── page.liquid ├── password.liquid ├── product.liquid └── search.liquid</code>登入後複製登入後複製隱藏了預覽欄,
--hidepb提供了有關編輯現場主題的警告。--allow-live>
>
是主題的包裝器;它的內容出現在每個頁面上。 從此開始:
theme.liquid
Shopify功能需要
mkdir -p assets snippets sections config layout templates/customers
touch config/settings_data.json config/settings_schema.json layout/theme.liquid
cd templates/customers
touch account.liquid activate_account.liquid addresses.liquid login.liquid order.liquid register.liquid reset_password.liquid
cd ..
touch 404.liquid article.liquid blog.liquid cart.liquid collection.liquid gift_card.liquid index.liquid list-collections.liquid page.liquid password.liquid product.liquid search.liquid
cd ..
>。
{{ content_for_header }}>{{ content_for_layout }}步驟5:文章循環(blog.liquid)
> 此代碼通過博客文章迭代,顯示鏈接到各個文章頁面的標題:
>
步驟6:文章輸出(Artif.liquid)theme open -s xxx.myshopify.com -p <password> -t <theme-id> --hidepb theme watch -s xxx.myshopify.com -p <password> -t <theme-id> --allow-live
本節顯示文章內容,除非用戶是付費訂戶。
>>在您的Shopify管理員中創建一個“產品”:
,創建授予訪問權限的產品(例如,“高級博客訪問”)。 取消選中“軌道數量”和“這是一種物理產品”。注意產品ID。-
>>訪問邏輯:
使用此液體代碼檢查購物車項目和客戶訂單歷史記錄(用您的實際產品ID替換“ product_id”): >
-
<!DOCTYPE html>
<html>
  <head>
    {{ content_for_header }}
  </head>
  <body>
    {{ content_for_layout }}
  </body>
</html>- 添加此CSS以使其模糊效果:
{% for article in blog.articles %}
  <a href="https://www.php.cn/link/4915f20d2c36611cb101e95e5c34b4e7">{{ article.title }}</a>
{% endfor %}“獲取訪問”按鈕:
{% assign accessInCart = 'n' %}
{% for item in cart.items %}
  {% if item.product.id == PRODUCT_ID %}
    {% assign accessInCart = 'y' %}
  {% endif %}
{% endfor %}

{% assign hasAccess = 'n' %}
{% if customer %}
  {% for order in customer.orders %}
    {% for line_item in order.line_items %}
      {% if line_item.product_id == PRODUCT_ID %}
        {% assign hasAccess = 'y' %}
      {% endif %}
    {% endfor %}
  {% endfor %}
{% endif %}- 記住用您的產品ID替換 >
<div {% unless hasAccess %}class="blurred"{% endunless %}>
  {{ article.content }}
</div>>
PRODUCT_ID>完成您的主題,引用Shopify的主題文檔,以獲取模板的指導,例如
>。
FAQS(縮寫):
原始文檔包括一個冗長的常見問題解答部分。 這是一個簡明的摘要:login.liquid
-
Shopify訂閱博客的
-
> 主題選擇,用戶友好的佈局,有價值的內容和SEO優化。
- 自定義: Shopify提供廣泛的主題,佈局,顏色,字體和徽標自定義選項。 SEO優化 >
- 關鍵字研究,內部/外部鏈接,移動友好型和常規內容更新。
- 受眾參與:高質量的內容,評論,社交共享和訂閱選項。 性能跟踪:
- Shopify的內置分析和Google Analytics(分析集成)。 平台集成:
- Shopify與各種第三方應用程序集成。 貨幣化:
- 產品/服務銷售,贊助的帖子,廣告和付費訂閱。 >將博客添加到現有商店:
- 輕鬆地通過Shopify Admin添加。 促銷: 社交媒體,電子郵件營銷,SEO,訪客博客和付費廣告。
- 內容類型:操作指南,評論,新聞,提示和技巧。
- 這種修訂後的響應維護圖像位置和格式,同時顯著提高了信息的清晰度和組織。 切記用您的實際shopify數據替換佔位符值。
以上是使用Shopify建立自己的訂閱博客的詳細內容。更多資訊請關注PHP中文網其他相關文章!

熱AI工具

Undresser.AI Undress
人工智慧驅動的應用程序,用於創建逼真的裸體照片

AI Clothes Remover
用於從照片中去除衣服的線上人工智慧工具。

Undress AI Tool
免費脫衣圖片

Clothoff.io
AI脫衣器

Video Face Swap
使用我們完全免費的人工智慧換臉工具,輕鬆在任何影片中換臉!

熱門文章
熱工具

記事本++7.3.1
好用且免費的程式碼編輯器

SublimeText3漢化版
中文版,非常好用

禪工作室 13.0.1
強大的PHP整合開發環境

Dreamweaver CS6
視覺化網頁開發工具

SublimeText3 Mac版
神級程式碼編輯軟體(SublimeText3)


 CNCF ARM64飛行員:影響和見解
Apr 15, 2025 am 08:27 AM
CNCF ARM64飛行員:影響和見解
Apr 15, 2025 am 08:27 AM
該試點程序是CNCF(雲本機計算基礎),安培計算,Equinix金屬和驅動的合作,簡化了CNCF GitHub項目的ARM64 CI/CD。 該計劃解決了安全問題和績效
 使用AWS ECS和LAMBDA的無服務器圖像處理管道
Apr 18, 2025 am 08:28 AM
使用AWS ECS和LAMBDA的無服務器圖像處理管道
Apr 18, 2025 am 08:28 AM
該教程通過使用AWS服務來指導您通過構建無服務器圖像處理管道。 我們將創建一個部署在ECS Fargate群集上的next.js前端,與API網關,Lambda函數,S3桶和DynamoDB進行交互。 Th
 21個開發人員新聞通訊將在2025年訂閱
Apr 24, 2025 am 08:28 AM
21個開發人員新聞通訊將在2025年訂閱
Apr 24, 2025 am 08:28 AM
與這些頂級開發人員新聞通訊有關最新技術趨勢的了解! 這個精選的清單為每個人提供了一些東西,從AI愛好者到經驗豐富的後端和前端開發人員。 選擇您的收藏夾並節省時間搜索REL
