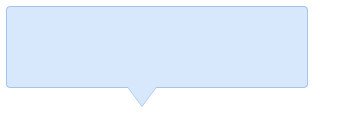
最終效果圖:

基本原理
先設定一個背景色的普通div盒子,然後使用上篇post得到的三角型圖標,把div盒子設定為相對定位模式,三角型圖標設定為絕對定位,位置相對於div盒子,調整到合適的位置。這樣就得到一個基本的tooltip,但是沒有邊框看起來總是不舒服,我們可以給div盒子設置一個邊框,這沒什麼難度,但是三角形圖標如何設置邊框呢?這裡我們透過一個取巧的方式,讓兩個不同顏色的三角形圖示疊加,並且位置錯開1px,這樣底層三角形top border被遮蓋,只露出左右border部分,疊加在一起我們就得到一個看似有邊框的三角形圖示.
step by step
1.先定義一個相對定位的盒子div:
<div class="tooltips">
  </div>
css:
.tooltips{
position:relative;
width:300px;
height:80px;
line-height:60px;
background:#D7E7FC;
border-radius:4px;
}知識我們為div盒子添加一個三角形圖示:
<div class="tooltips">
  <div class="arrow "></div>
</div>
.arrow{
  position:absolute;
  color: #D7E7FC;
  width: 0px;
  height:0px;
  line-height: 0px;
  border-width: 20px 15px 0;
  border-style: solid dashed dashed dashed;
  border-left-color: transparent;
  border-right-color: transparent;
  bottom: -20px;
  right: 50%;
}css:
.tooltips{
  position:relative;
  width:300px;
  height:80px;
  line-height:60px;
  background:#D7E7FC;
  border:1px solid #A5C4EC;
  border-radius:4px;
}
效果:
盒有了邊框效果,
盒子對於框架來說,但是還沒有被保護起來不能容忍的!
4.給「小三角穿上鬆緊帶」
前面在講解原理時我們已經說過,需要使用兩個三角形疊加的方式,首先我們定義兩個三角形的div,一個背景色和盒子的邊框顏色相同,一個背景色和盒子的背景顏色一致:<div class="tooltips"> <div class="arrow arrow-border"></div> <div class="arrow arrow-bg"></div> </div>

css定義如下:
.arrow{
  position:absolute;
  width: 0px;
  height:0px;
  line-height: 0px;
  border-width: 20px 15px 0;
  border-style: solid dashed dashed dashed;
  border-left-color: transparent;
  border-right-color: transparent;
}
.arrow-border{
  color: #A5C4EC;
  bottom: -20px;
  right: 50%;
}
.arrow-bg{
  color: #D7E7FC;
  bottom: -19px;
  right: 50%;
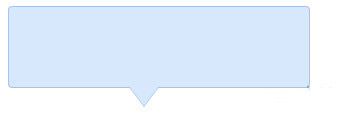
}我們來看看最終效果:
ok!大功告成,ie6下跑一下,完全相容! 更多使用css實現全相容tooltip提示框相關文章請關注PHP中文網!


