作為編碼者,美工基礎是偏弱的。我們可以參考一些成熟的網頁PS教程,提升自身的設計能力。套用一句話,「熟讀唐詩三百首,不會作詩也會吟」。
本系列的教程來自網路上的PS教程,都是國外的,全英文的。本人嘗試翻譯這些優秀的教學。因為翻譯能力有限,翻譯的細節上還有待推敲,希望廣大網友不吝賜教。
約定:
1、本文的軟體是Photoshop CS5版本
2、原教程的截圖是英文的,本人在重新製作的基礎上,重新截了中文版的圖
3、原文中有些操作沒有給定參數。本人在反覆測試的情況下測定了一些參數,以紅色的文字顯示。有些錯誤的參數,直接以紅色文字顯示正確的參數
例如:(90,22,231,77),表示矩形的左上角的座標是(90,22),寬231,高77
例如:(90,22),表示矩形的左上角的座標是(90,22),矩形的其他兩個參數教程裡已經指定
4、在教程的最後會附上本人的心得。有些是對教程中的一些步驟的最佳化等。
In this Photoshop tutorial we're going to learn how to create a web 2.0 layout, As we go through the tutorial we'll deal with so many Photoshop techniques. See of torial we'll deal with so many Photoshop techniques. See of torial we'll deal with so many Photoshop techniques. See s.m. assure you'll find easy to follow and to get done, just give it a try!
在本PS教程中,我們將學習如何創建web 2.0的佈局,隨著我們通過本教程我們會學習很多PS技巧。似乎太長了嗎?這是因為它非常詳細。我保證你照著做會發現很容易,試試看!
Step 1
To keep everything aligned we're going to use 960s Grid System (Get it from here) once downloaded open up the files by creating layer from background, right-click on the layer “Background”, then choose Layer From Background. and call it “bg”.
步驟1
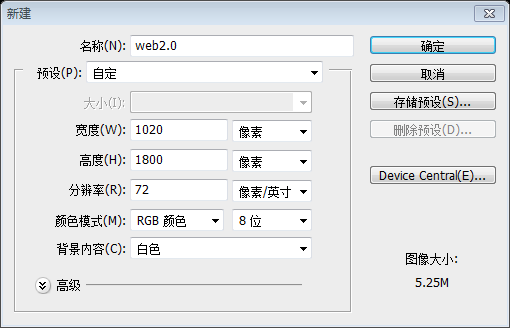
為了對齊元素,我們打算用960s Grid System(從這獲得),下載後開啟960_grid_24_col.psd文件一開始從背景建立圖層,在Background上右鍵,選擇背景圖層,命名為bg由於本翻譯不使用960s Grid System,故本步改為新建文檔,尺寸:1020px*1800px
Step 2
As we'll orderuse guides so much, weso viewto view much s.
步驟2我們需要參考線,我們需要顯示我們的標尺。為此,請點擊:視圖> 標尺
Step 3
We need to set lower borders for the header area, therefore we'll dView a new horizontal guide after 100, we'll dView a new horizontal guide 100.
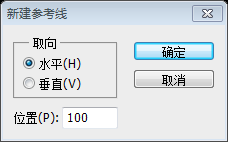
步驟3我們需要設定頭部區域的邊框,為此在100px的位置拖曳一條水平的參考線。點擊:視圖> 新建參考線,位置:100
Let's create our header. we'll start by creating a selection of 1020x100px. then click Shift+Backspace to fill it (with any color just for now).
步驟4現在創建頭部區域。我們首先創建一個1020px*100px的選區。然後按Shift+Backspace填充(用目前的前景色填滿)
建議:不太常見的做法,一般用矩形工具建立一個矩形(0,0,1020,100),差異是矩形工具會新建一個圖層
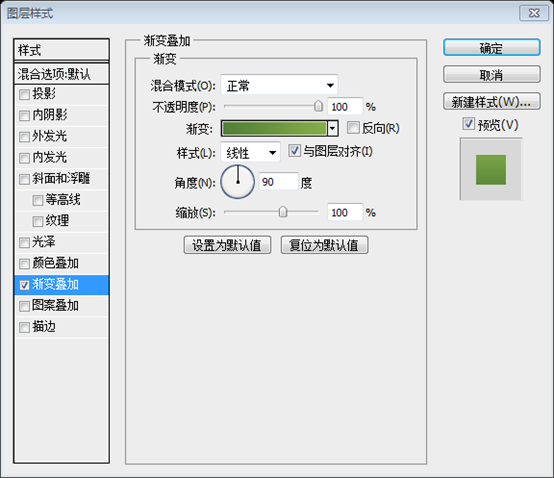
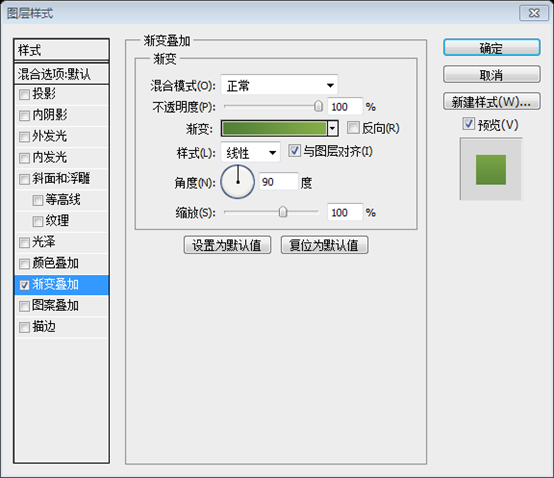
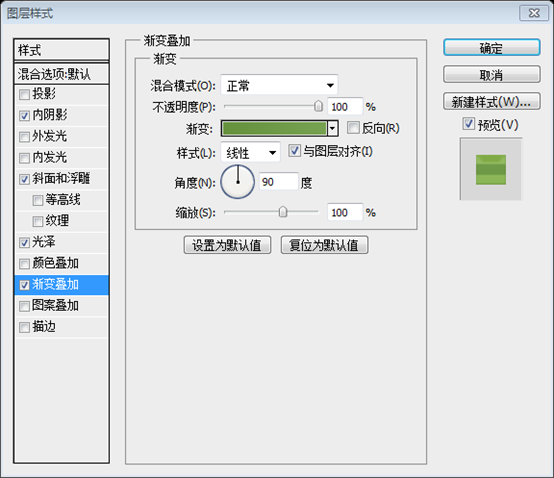
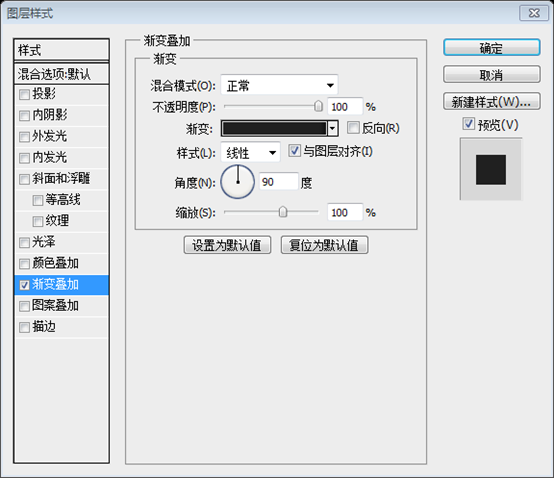
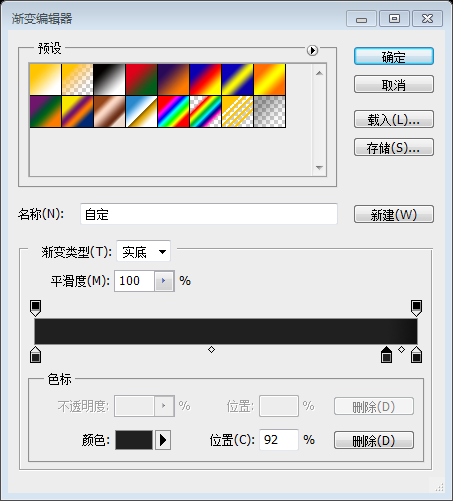
Give it a Gradient Overlay according to the following image:
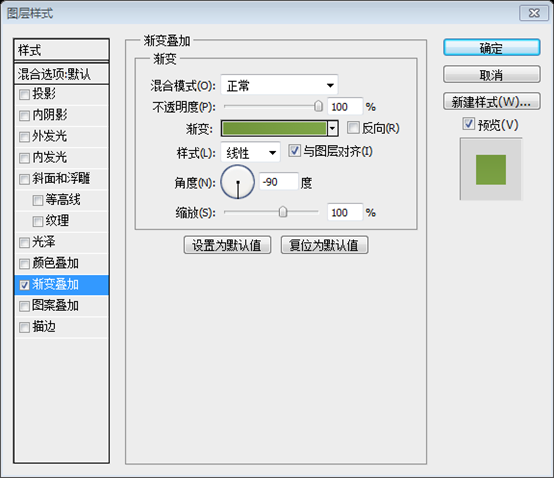
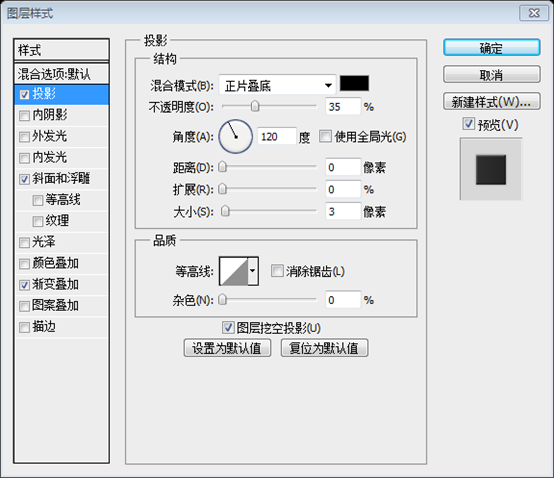
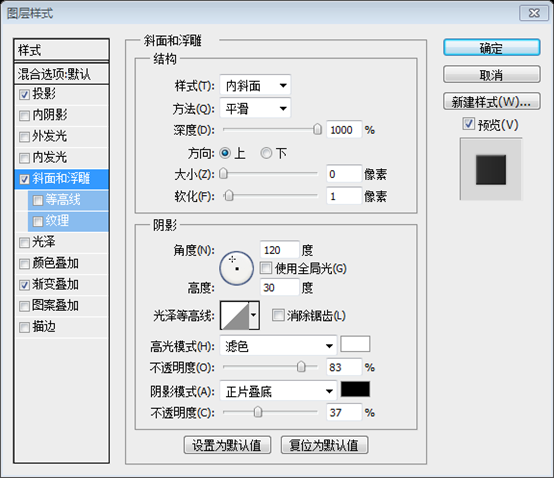
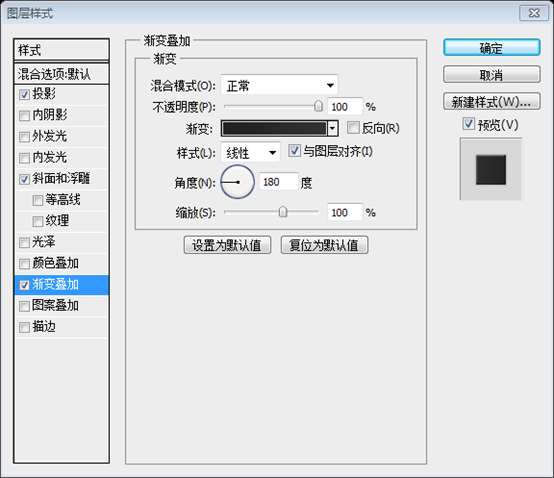
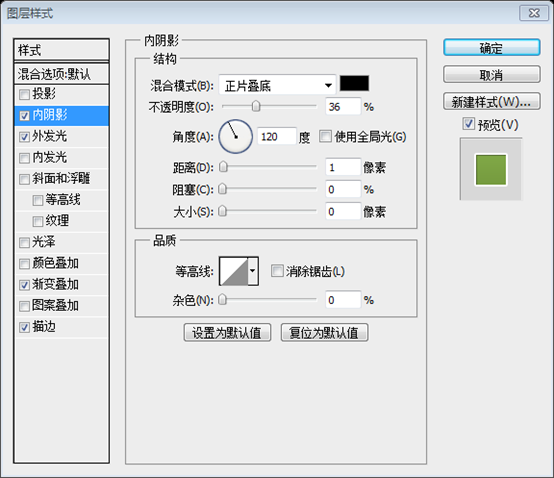
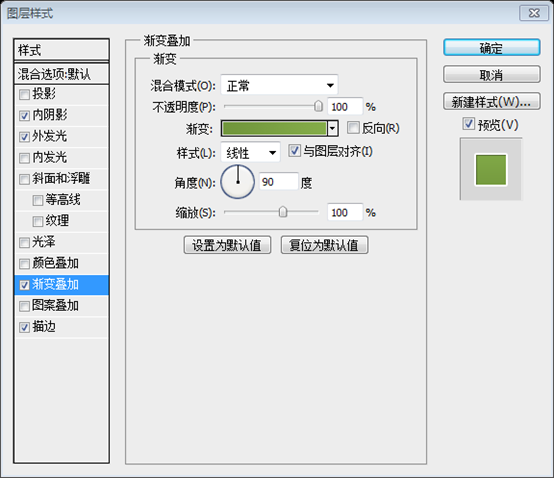
依照下圖設定矩形的漸層疊加的圖層樣式
依照下圖設定矩形的漸層疊加的圖層樣式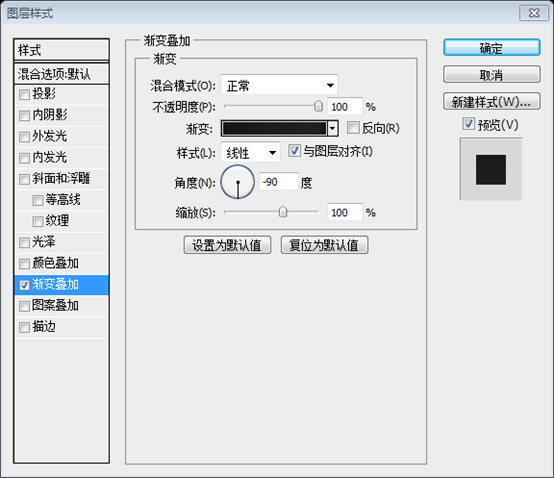
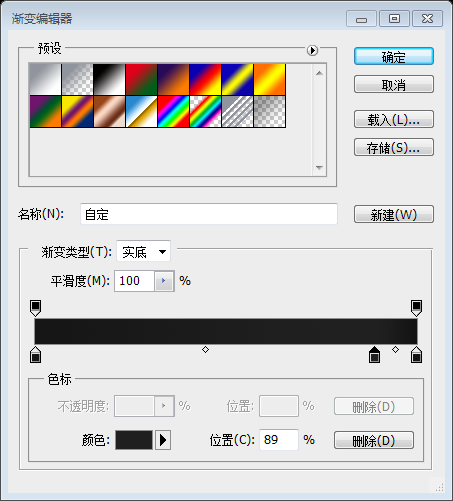
Now call this layer: “header_bg”.
命名此圖層為header_bg
Font Family
: Rockwell (get it from here)Font size: 30px
步驟5
按照下面的設定,用文字工具加入網站的標題字字體大小:
30px字體樣式:Regular
現在按照下面的設定對你的文字添加漸變疊加
To align your Web site title with the header background; Select your title layer and “header_bg” layer then click on Align vertical centers.
點選:圖層> 對齊> 垂直居中)
Step 6
Font Family
: Arial
Font size
: 20px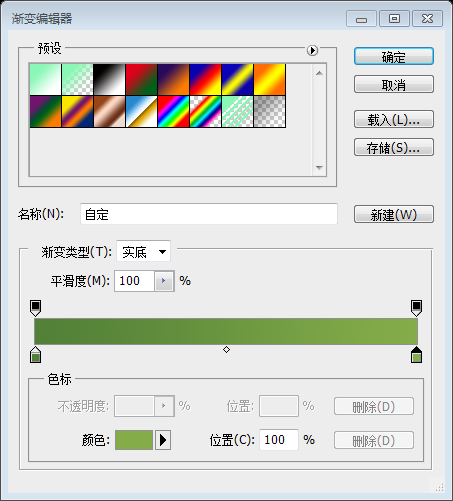
: Regulare
:Color: #ffffff

步驟6
依照下面的設定加入導覽文字:字體: Arial
ular消除鋸齒樣式:
平滑顏色:
#ffffff
Create afreate afreate 535 303 月。 ize – 5px radius, (fill it with any color for now).對懸停的連結加上一個圓角矩形
(551,33)
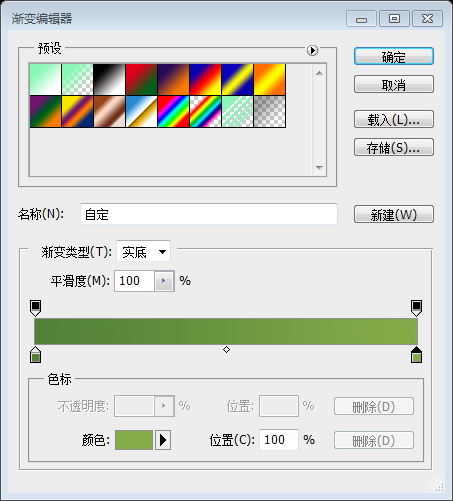
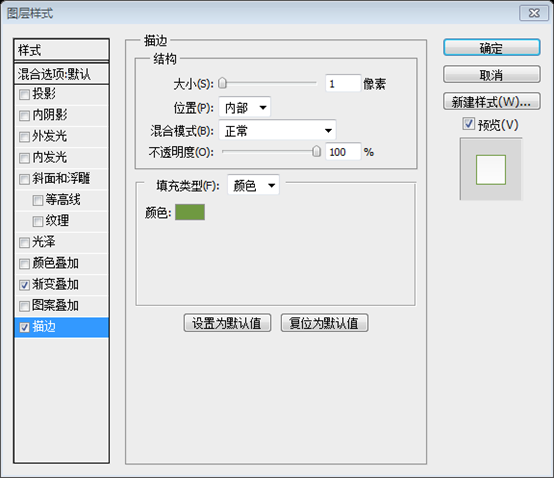
Give it a Stroke and Gradient Overlay according to the following image:依照下圖對圓角矩形設定的描邊和樣式漸層:
描邊的顏色: #9dca5d
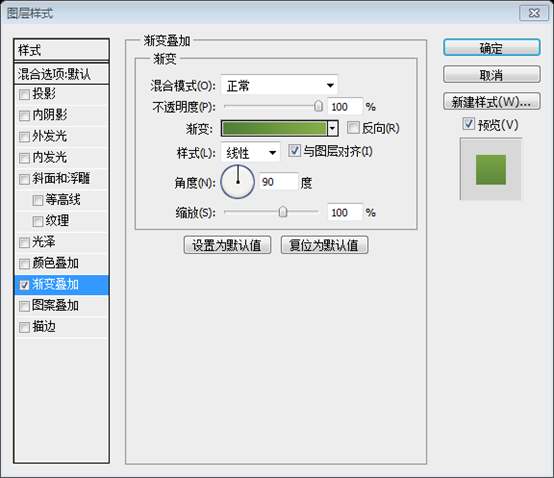
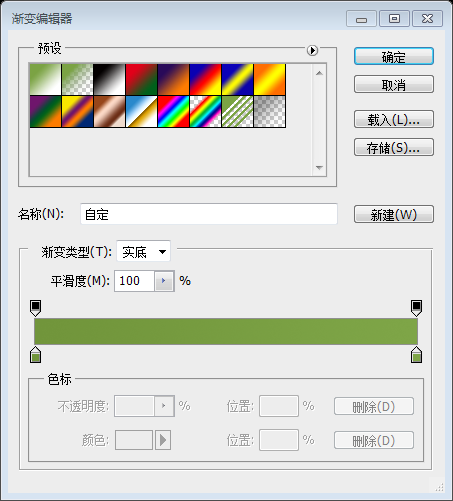
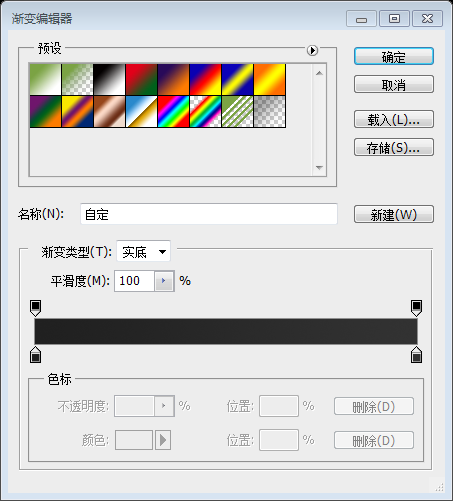
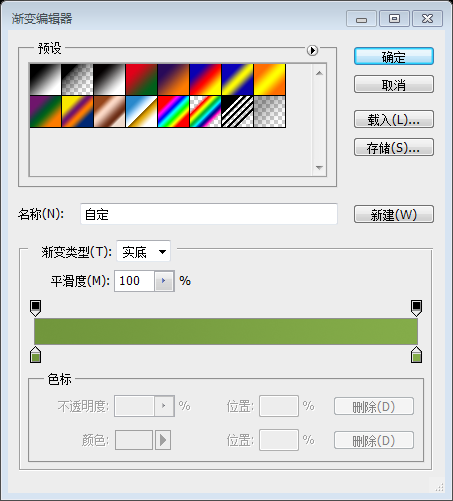
漸變編輯器的顏色:#528037,#84ac49
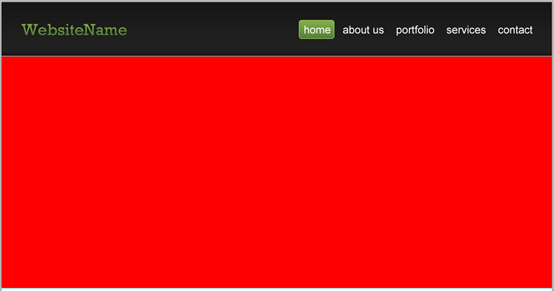
Before we move to the next step, just make sadhehe justoool we move to the next step.
在做下一步之前,要確保圖層的組織嚴密(將這些圖層歸併到header群組),這裡是我做的樣子!

Step 7
It's time to create the featured designs area。步驟7
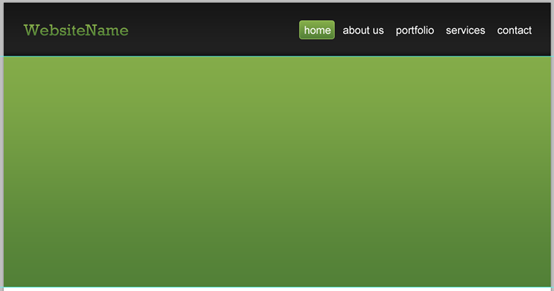
該創建特色區域了。為了設定邊框,在先前的水平參考線下方的430px處新增一條水平參考線。
Create a selection of 1020x430px as a background for the featured designs area. and fill it with any color.為特色區域增加背景,建立一個1020px*430px*430px的選區。用任意顏色填滿。建議:用長方形工具新建一個長方形(0,100,1020,430)
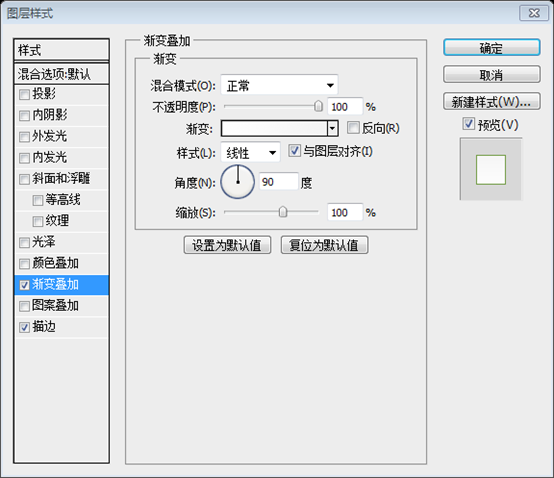
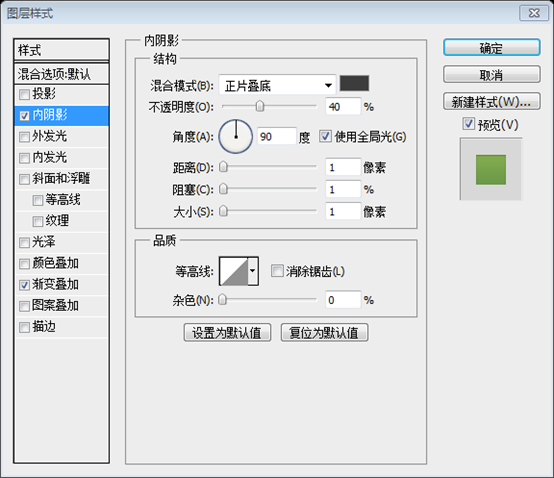
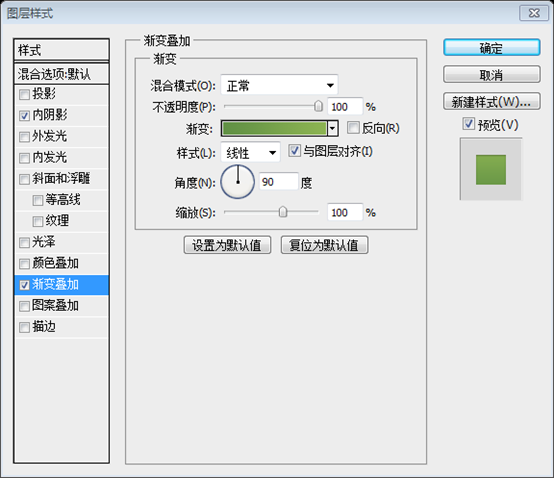
Then give it a Gradient Overlay
Then give it a Gradient Overlay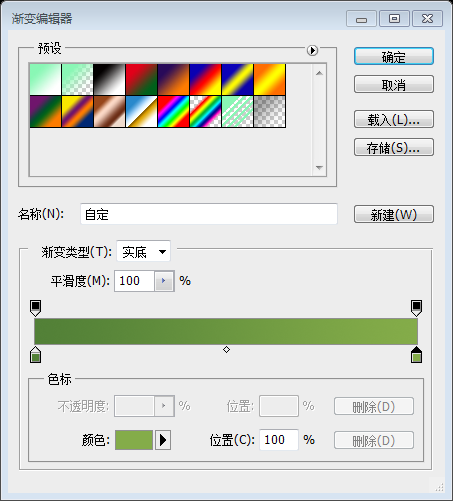
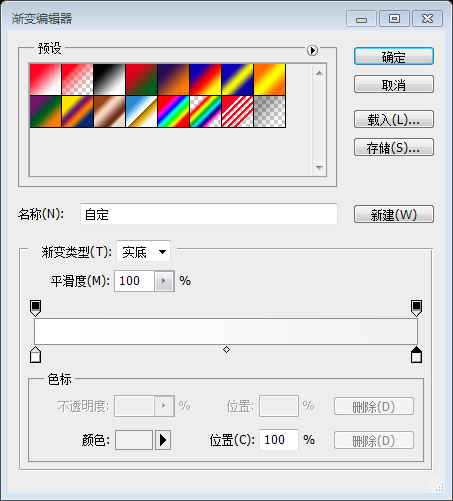
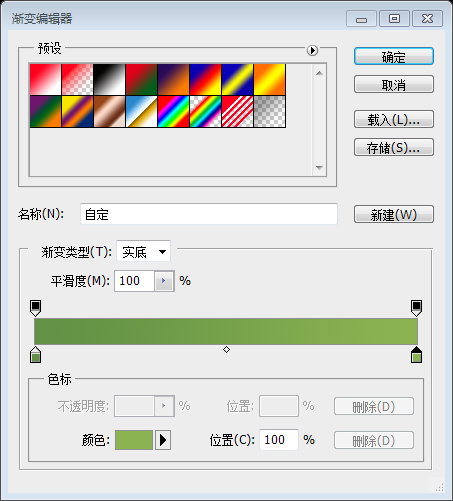
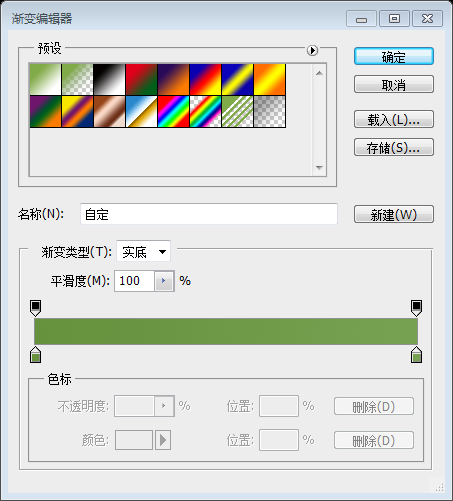
漸變編輯器的顏色:#528037,#84ac49
. 0px, fill it with any color.
現在創建亮釉效果!建立一個選取範圍1020px*120px,用任意顏色填滿。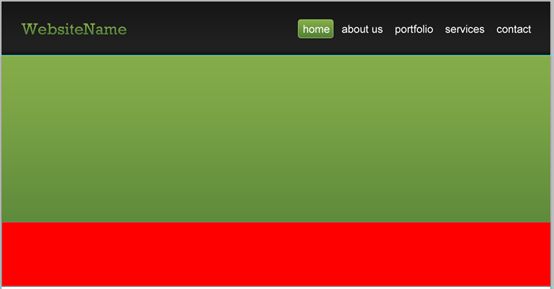
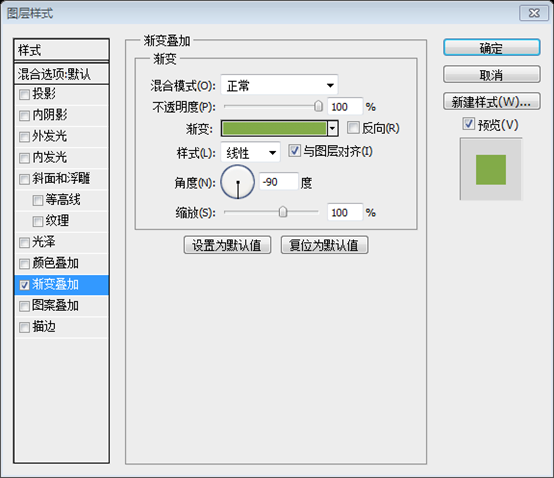
.And then add a Gradient Overlay.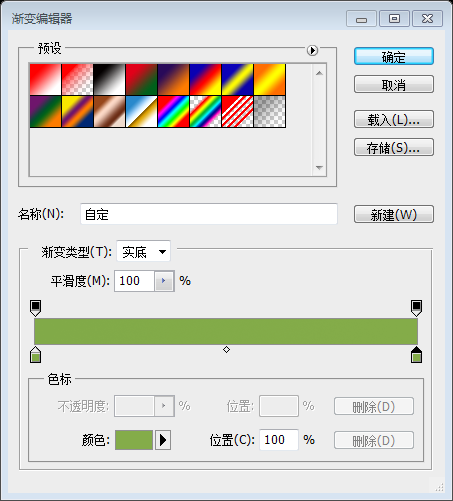
.And then add a Gradient Overlay.
below 🎜漸變編輯器的顏色: #81aa48,#84ac49🎜🎜🎜🎜🎜 🎜🎜Now reduce this layer opa🎜 🎜🎜Now reduce this layer opag🎜 🎜🎜Now reduce this layer opag🎜 🎜🎜Now reduce this layer opapercity to 40%🎜🎜Now reduce to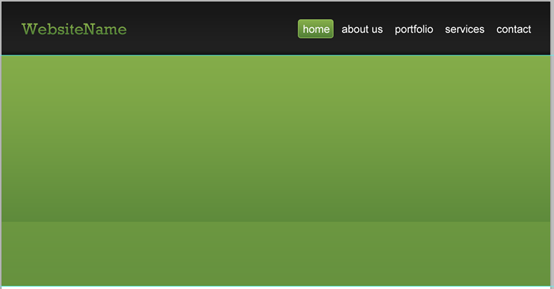
Step 8
Let’s add some touches! with the Single Row Marquee Tool create a 1px selection and align it like the follo Marquee Tool create a 1px selection and align it like the folloe!用單行選擇工具建立一個1px的選區,如下對齊
Set your foreground color to #acd86e then click on Shift+Backspace to fill it; make sure to use foreground color as a filling op.景色為#acd86e,然後按Shift+Backspace填滿選取範圍;確保填滿模式是前景色。
建議:用直線工具建立一條直線(0,100,1020,1),顏色: #acd86e。
 I guarantee you'll have perfect pixel details
我保證你會有完美的單像素元件
寫 f. names , organize them, and group them together.我們完成背景元素。一定要給他們理想的名稱,組織他們,把他們歸併成一組。Step 9
Let us be more accurate! drag two new guides according to the following image
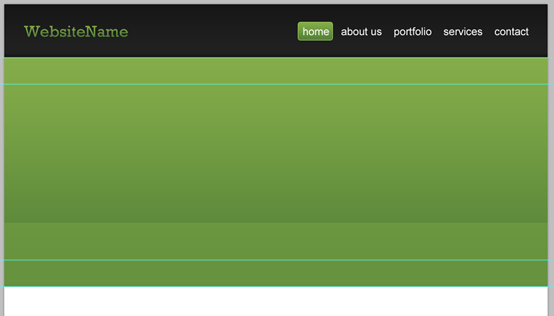
的步驟!如下圖拖曳兩條參考線(分別在先前的兩條參考線的內側50px處)
: 40px
: Regular
字體:
字體大小:
.利
#f4f4f4
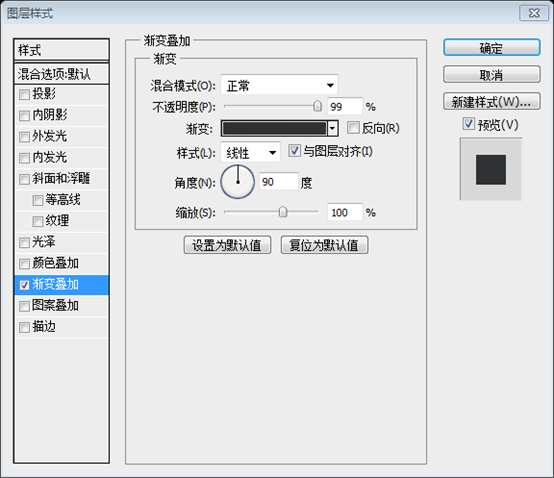
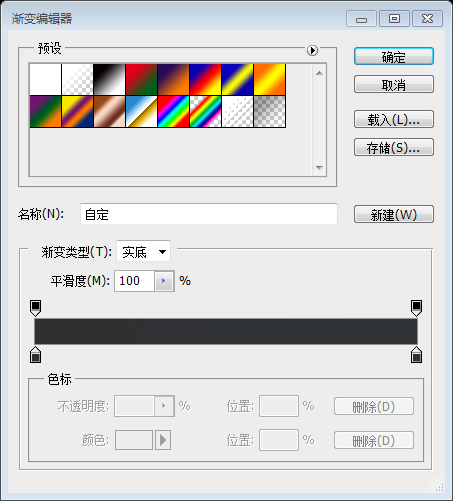
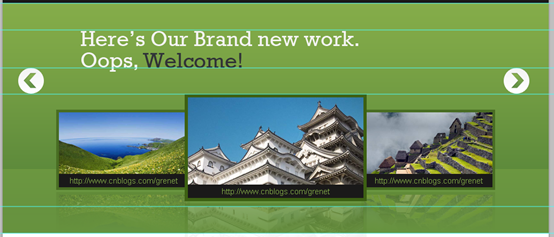
I personally have written: “Here's our brand new work. Oops Welcome!” ;) but we need to emp has the word “Wally has 集” Overlay. follow up with the image我們寫好:Here's our brand new work. Oops Welcome!。 ;)。 但我們需要以某種方式強調Welcome一詞。因此,我們會按照下圖為它添加漸變疊加。
: #2f3032,#2f3336
 Now drag twowoides holloorizon

Now drag two new holloorizon對齊,另一條在先前的參考線下方50px處),
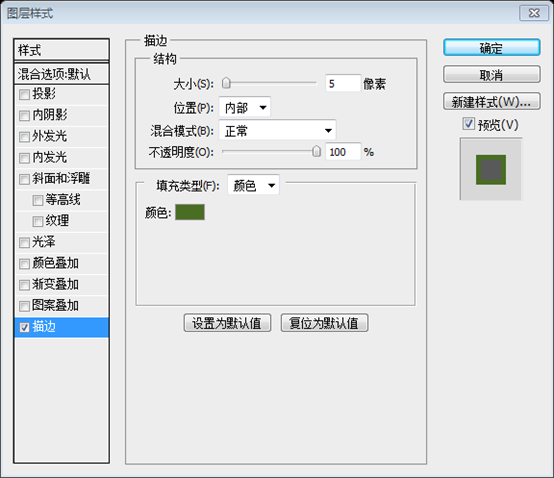
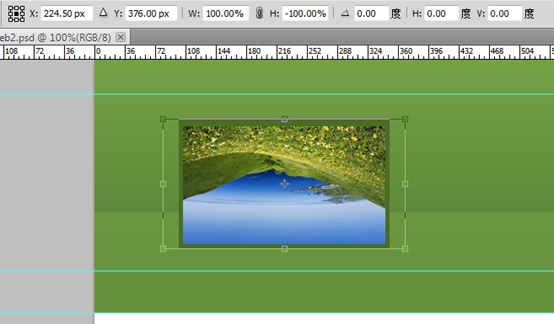
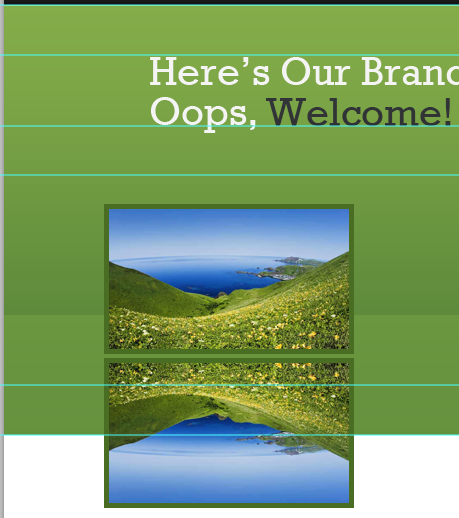
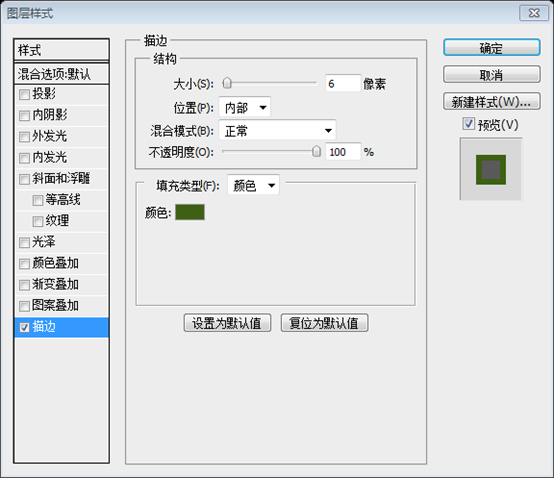
透過計算兩條參考線的位置大致是220px和270px Before we say goodbye to this step, just make sure to organize your text layers. 在和本步驟說拜拜之前,組織你的文字圖層(並歸回步驟 10 Call this layer “pic_holdholder” and 寫 ign 建立一個選區,尺寸:250px*150px(任意色填充),這將是我們的圖片區塊 命名此圖層為pic_holder,按照下圖移到合適的位置,並按照下圖移動圖加入描邊 描邊的顏色:#496d23 Let's add an image of a featured design, to do so go to File > Place and select an image. call its layer “pic”, and make sure to put it right above the layer -click on “pic” layer and choose Create Clipping Mask. 豐田While having the two duplicated layers selected, go to Edit > Free Transform, and adjust the height to: -100.0% 創建圖片層好的兩個圖層選取的時候,點選:編輯> 自由變換,調整高度為-100% While we're still selecting the two duplicated layers right-click on them to choose Convert Object; call this layer “shadow”. and make sure to place it at the bottom.在複製的兩個圖層上右鍵選擇轉換為智能對象,命名為shadow。然後移動圖層到原圖片的下方 Choose the Gradient Tool (G) and with a black, white linear gradient drag from down to top. 選擇漸變工具,選擇黑-白線性漸變,從下往上拖動(下圖紅線所示,由下往上拖曳) Step 12 We need to add a description to our image. so we'll create a selection of 240x25px, and fill 195000x25 月 190x25px, ft. background . 步驟12 需要為圖片加上一個說明文字。所以我們要創建一個選區,尺寸:240px*25px,用顏色: #1a1919填充,這作為說明文字的背景。 用長方形工具新建一個長方形(105,419)替代此步驟,顏色:#1a1919 Font size: 15px Font weight: Regular 字體: 字體大小: 顏色: #82aa48 請務必保持您的文件! Step 13 步驟13 the fWe'wing ollo five Wellso.ive color。 reference 我們在中間添加一個大的圖片,創建一個大的選區,尺寸:340px*200px,按照下圖擺放,用任意顏色填充 給它按照下圖添加一個描邊。 用長方形工具建立一個矩形(340,270),顏色任意。並依照下圖加入描邊樣式,替代此步驟
And here's what we've got!這是目前的效果 Let's create our sliding button! we'll start by creating an Ellipse of 500) 505050 月) and filling it with any color. 步驟14 要建立滑動按鈕!用橢圓選擇工具建立一個橢圓選取範圍,尺寸:50px*50px,用任意色填滿 直接用橢圓工具建立一個橢圓(28,220),尺寸:50px*50px,顏色任意。 依照下圖為此圖層加入圖層樣式 描邊的顏色: #6f9941 內陰影的顏色: #3c3c3c Step 15 按Click+Backspace用顏色#e8e8e8填滿選取範圍 經後面的步驟測算,此處應該是1020*810 長方形(0,530,1020,810),顏色: #e8e8e8 With the Single Row Marquee Tool (M) create a 1px selection, place the Single Row Marquee Tool (M) create a 1px selection, place placell. #ffffff). Now you're having perfect pixel details!用單行選擇工具創建一個1px的選區,按照下圖擺放,用白色填充 現在你建議獲得完美的單像素元件 :用直線工具畫一條水平直線(0,530,1020,1)比較簡單,顏色: #ffffff Step 16 We need to set upper borders to our content area. therefore we're going to drag a new horizontal guide after 50px. 我們需要設定內容區域的邊界。我們要在之前的水平參考線之下50px拖曳一個新的水平參考線 下載圖示:Basic Set – Pixel Mixer,並按圖片擺放 bottom of the icon, leave 20px then drag a new one. 在圖示的底部拖曳一條水平的參考線,往下20px再拖曳一條水平參考線
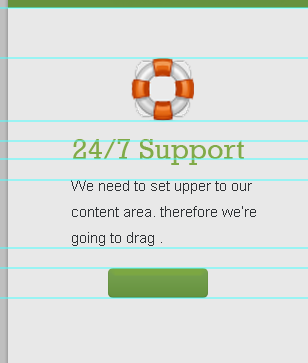
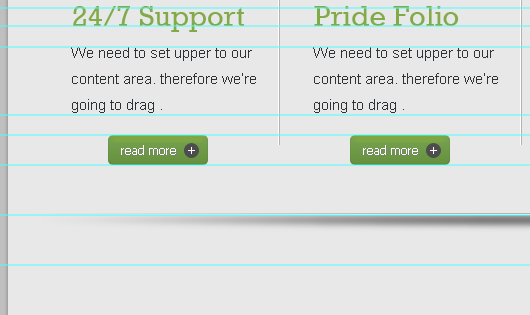
Write some text with these settings: Font weight Anti-aliasing setting 依照下面的設定加入文字: 字體: Arial 字體大小: 15px 字體樣式: Reg Drag more three guides according to the following image按照下圖拖曳3條水平參考線(一條在文字的底部,一條往下20px,一條再往下30px) Give this rectangle some layer styles. use the image below for reference. 按照下圖為這個圓角矩形添加圖層樣式 斜面和浮雕中的高 of 15x15px and fill it with this color value: #4d4d4d. 用橢圓形尺寸對齊,選擇該圖層和圓角矩形的圖層,然後點選垂直居中對齊( ) ) Type “+”, fill it with white (#it ffffff) and place it like this 輸入+,用白色顏色填充,按圖片擺放 Write the word “read more” with the following character Fontsettings: Font : Tahoma Font size Font weight: Reg Color 依照下面的設定加入文字read more: 字體: 字體大小: 無 #ffffff Give it a drop shadow. use the image below for reference給文字投影。依照下圖設定投影,投影的顏色: #7c7c7c Step 18 號s next to each. and fill them with these values: #ffffff – #b3b3b3. 步驟18 創建垂直分割線,用直線工具創建兩條緊挨著的垂直直線((270,600,1,200)和(271,600,1,200))。顏色分別是:#ffffff和#b3b3b3 Align your line like the following image 按圖排列你的直線 Step 19 Make three copies of what we’ve created in the previous two steps. and have something like this! 。完成如下圖
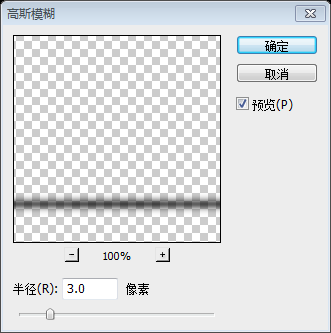
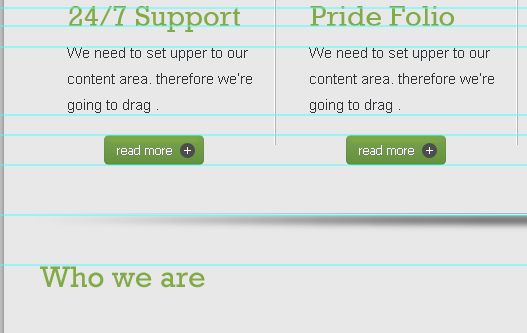
Step 20 Let's create our separator. 建立水平分隔符號在先前的水平參考線下方50px處新建一條水平參考線 With the Elliptical Marquee Tool (M) create a selection like the one below. selection. call this layer “separator_bg”. 如下圖,用橢圓選擇工具建立一個橢圓選取範圍 設定你的前景色為黑色(#000000),然後按Shift+Backspace填滿你的選取範圍。命名此圖層為separator_bg 建議:用橢圓工具建立一個橢圓(30,870,960,10),顏色: #000000 Fil > Gaussian Blur – radius: 3px. 要看起來模糊一點,點擊:濾鏡> 模糊> 高斯模糊,半徑:3px
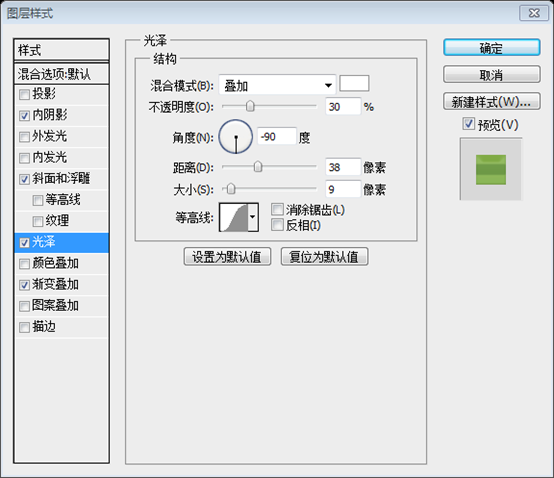
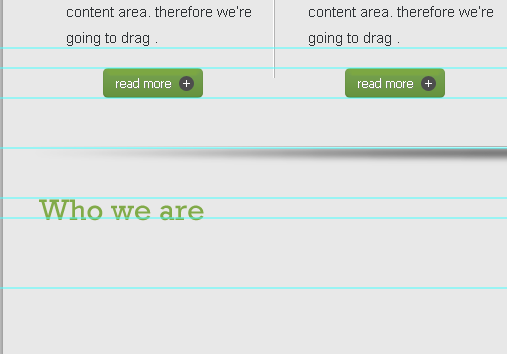
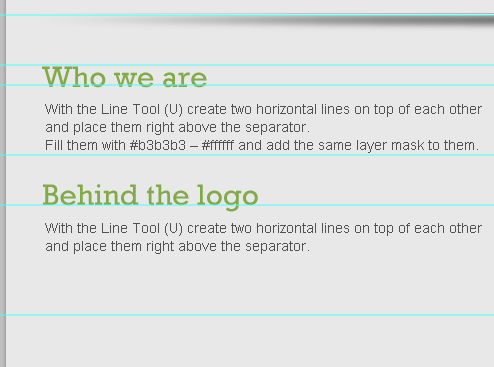
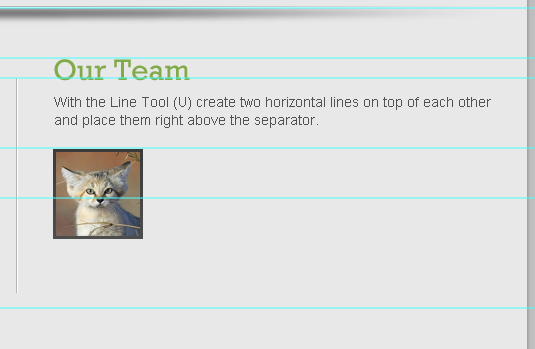
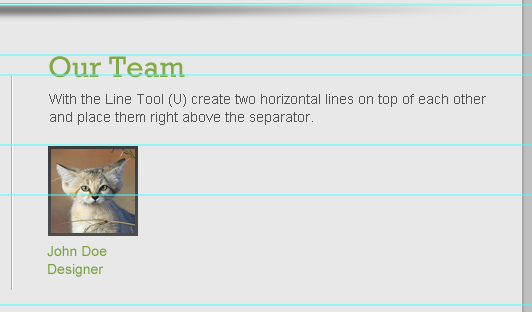
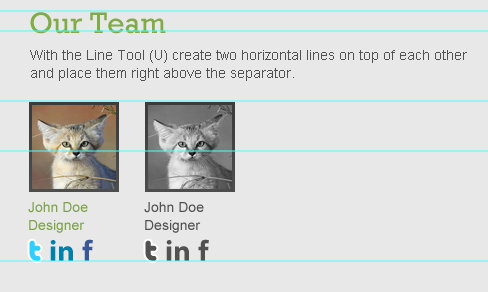
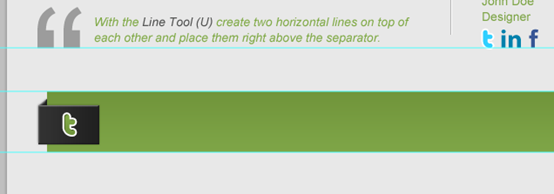
按Ctrl+D取消選區 Click on Add layer mask icon. and set your gradient editor to black, white, black.蒙板。並且設定你的漸層編輯為:黑-白-黑 線性漸層(從右向左水平拖動,拖曳的時候按Shift) Reduce the layer Opacity to 50% 調整該圖層的不透明度為50% With the Line Tool (U) create two horizontal lines on top of each other and place them right above the separator. 用直線工具創建兩條水平直線和(33 ,960,1)),在剛才的那個分隔符的正上方 We'll start working on our lower content area, by dragging a new guide after 50px. 現在要創建低位的內容一條新的水平參考線 Font weight: Regular Anti-aliasing setting: Smooth Color: #81aa48 : : Rockwell 字體大小: 30px 字體樣式: 消除鋸齒樣式: Drag two new horizontal guides according to the following image.依照下圖新建兩條水平參考線(一條下方20px處,另一條再下方70px處) Font Family: Arial Font size: 14px Font weight : #505150
字體大小: 無 #505150 Step 22 Write another title and text using the same character settings we've used in the previous step. 。文字. (如下圖,先要在倒數第二根水平參考線的下方50px處新建一條水平參考線)
Font Family Font size: 200px Font weight: Regular Color And reduce its layer's Opacity to 50% 按鍵盤上的引號輸入一個雙引號,按照下面的設定: Regular 消除鋸齒樣式:平滑 Write a word of wise or quote of yours with these character settings: : Arial
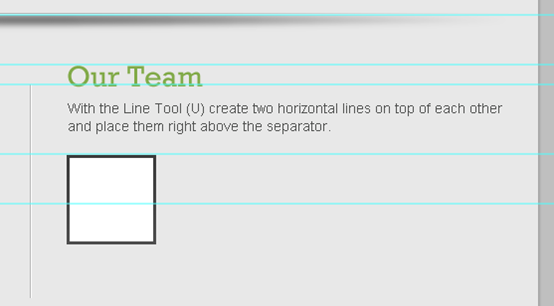
: #81aa48 字體大小: 14px 字體樣式: Italic 消除鋸齒樣式:平滑 Step 23 步驟23 ((509,940,1,215)和(510,940,1,215)) 確保你的圖層組織分明,這是我的圖層分組 yet another title like the ones on the left (Try writing something that represents the team, for example I've written “Our Team”). 在右側書寫和文字一樣的標題和文字一樣的標題 用矩形工具創建一個90px*90px的矩形(546,1011)創建一個90px*90px的矩形(546,1011) 這將是團隊成員照片的圖片塊。現在請依照下圖為它加上描邊圖層樣式 漸層編輯器的顏色: #4d4d4d,#3b3b3b er “photo1″. Make sure that the layer “photo1″ is right above “photo1_holder” layer. then right-click on “photo1″ layer and choose Create clipping mask. You should come up with something like below!!成員的照片,命名此圖層為photo1。確保photo1圖層在photo1_holder圖層的正上方。在photo1圖層上右鍵選擇建立剪貼蒙版。你的作品就應該如下圖 步驟25 @ 步驟25 : Arial Font size: 14px Font weight: Regular : #7ba344 字體: 字體大小: :鋸 顏色: We'll create the social media icons ourselves let's startves 東西ings, 簡單, sss … let光. Font Family Font size : Regular S Then Give it a Stroke according to the following image. 字體: 字體大小: 消除鋸齒樣式:平滑 顏色: size🜎 Anti-aliasing setting Color 我們創建LinkedIn!依照下面的設定輸入in字母: 字體: Myriad Pro (從這裡取得) 字體大小: 30px 字體大小: 消除鋸齒樣式: 顏色: Font weight : Color: #395796
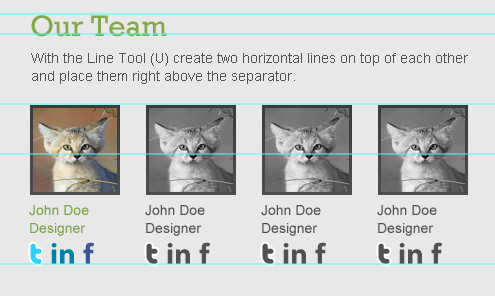
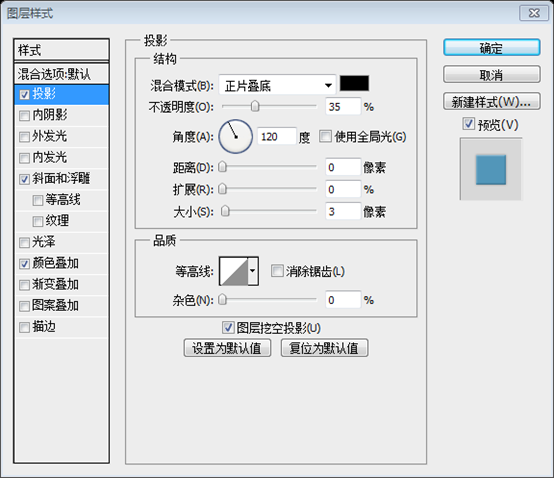
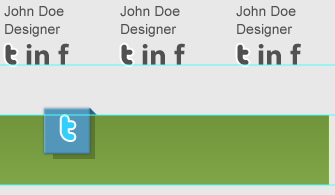
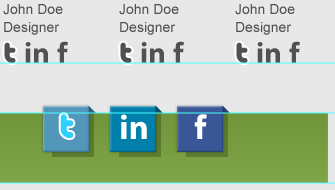
平滑 #395796 Make sure to check “Use Previous Layer to Create Clipping Mask” 創建另一個成員照片的副本。當該副本的photo圖層選取的時候,點選:圖層 > 新調整圖層 > 黑白。 確保勾選使用前一圖層創建剪貼蒙版 . So obvious the memberwill not 用同樣的方法創建另兩個副本 aligned, make four separate groups each one of them contains a member's content, and click on Distribute left edges in the control bar while having the four groups selected. 一個群組都包含成員的內容,點選圖層群組的左邊的控制按鈕選定的每個群組。 I’ve organized my layers, you? 我是這樣組織圖層的,你呢? Step 27 在開始製作社群媒體區域前,我們需要設定一些邊界,所以我們按照下新動作兩條水平參考線(一條往下50px,一條再往下70px), Create a selection of about 940x70px and align it like the image below. Fill it with any color, and then give it a Gradient Overlay. use the image below for reference. 940px*70px 用任意色填充,並按照下圖添加一個漸變疊加 漸變編輯器的顏色: #71953b,#7ea547 s. call this layer “tw_bg 」 新建一個長方形 ,尺寸:70px*45px。依照下圖擺放,並依照下圖新增圖層樣式。命名此圖為tw_bg X: 40px Call this layer “effect” and make “tw_bg” layer visible again. 隱藏tw_bg圖層以便更自由的工作 命名此圖層effect並使tw_bg再次可見 Copy layer style from “tw_bg” layer and paste it into the layer “effect”. Font Family Font size ight Font size Also give it some 1 按照下面的設定輸入t字母: 字體: Pico-Black (從這裡獲得) 字體大小: 35px 字體大小: 35px 35px 字體大小: 字體大小: 字體大小: 消除鋸齒樣式: 顏色: 然後按照下圖設定圖層樣式。 外發光的顏色: #83ab48
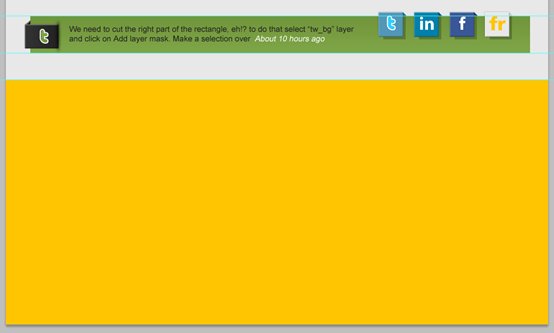
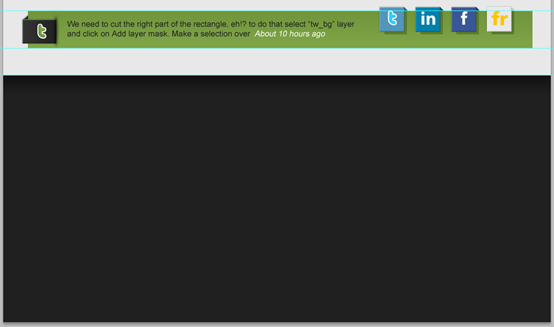
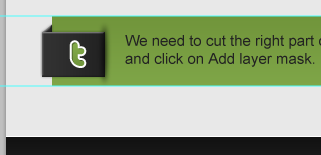
漸層編輯 Step 28 重複步驟20建立另一個分隔符號甚至複製一份。然後移到下圖位置: 這裡重複一下步驟,用橢圓工具新建一個橢圓,並添加高斯模糊,半徑為3px,調整合適的位置和大小 to cut theWe need right part of the rectangle, eh!? to do that select “tw_bg” layer and click on Add layer mask. Make a selection over the right part (that we need to cut) of the tanglegle, set toour for resground, 片語 (rectanglee, 片語 for詩. #000000) then click Shift+Backspace to fill it. Step 29 🜥 Font Family Font size . Color 按照下面的設定輸入一些文字-看起來像是Tweet: 字體: Arial 消除鋸齒樣式:平滑 顏色: #2222222 為了完美的對齊文字,當文字圖層和綠色條圖層選取的時候,點選垂直居中對齊( ) Repeat step 27 to create something like in the image below. Also create a rectangle, fill it with #334814 and reduce its layer Opacity to 40%. 。並建立一個矩形,顏色:#334814,並設定不透明度為40%
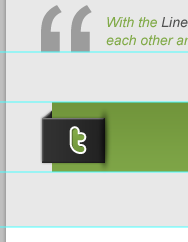
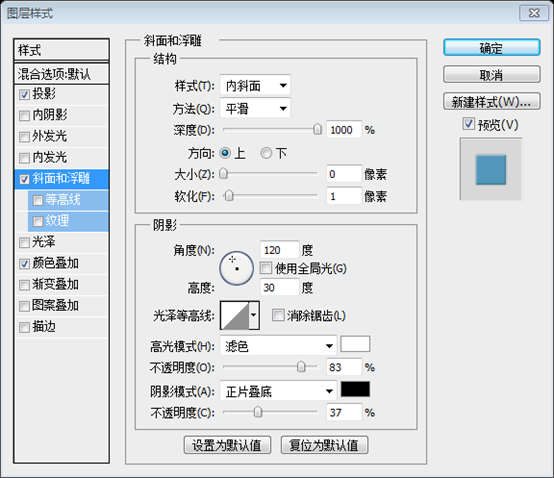
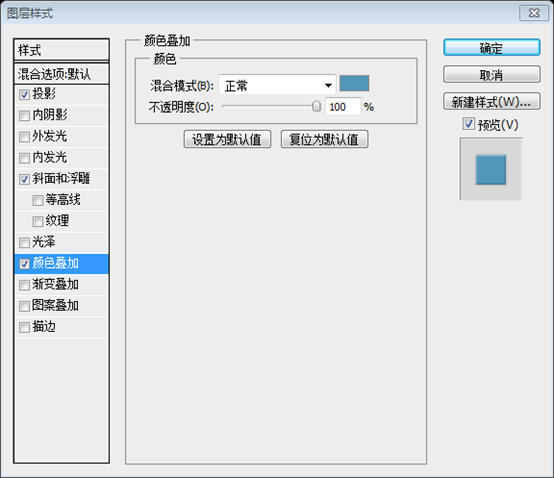
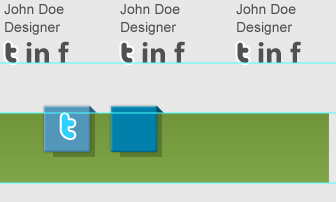
the big rectangle some layer styles according to the following image給大的長方形按照下圖加入圖層樣式 Now fill the skewed rectangle with a darker color of this value: #2a6788 (三角形陰影) : Pico-Black Font size: 35px : Smooth Color And give it a Stroke. use the image below for reference. 字體大小: 字體樣式: 消除鋸齒樣式 Step 31 Make another copy of the Twitter icon, change the Color Overlay (for the big rectangle) to: #0080ab, fill the Color Overlay (for the big rectangle) to: #0080ab, fill the Color Overlay (for the big rectangle) to: #0080ab, fill the Color Overlay (for the big rectangle) to: #0080ab, fid the Color Overlay (for the big rectangle) to: #0080ab, fid the Color Over 步驟31 (三角形陰影)的顏色為: #00526d Font Family Anti- aliasing setting Color 依照下面的設定輸入in字母:
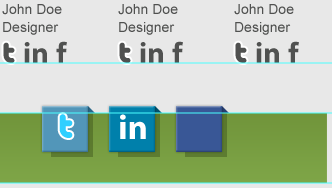
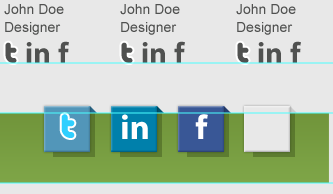
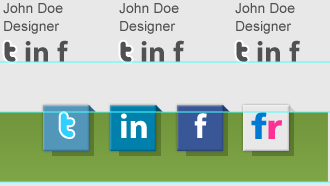
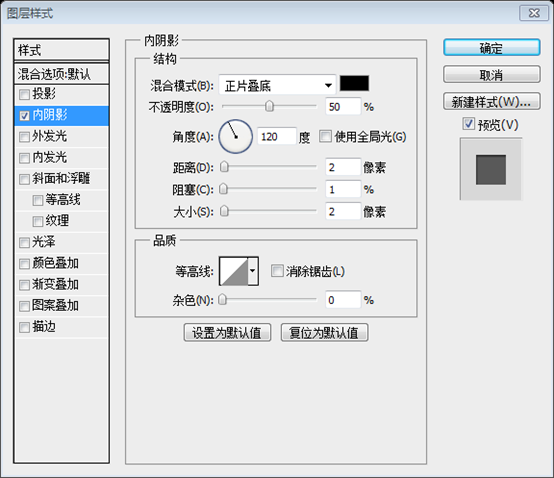
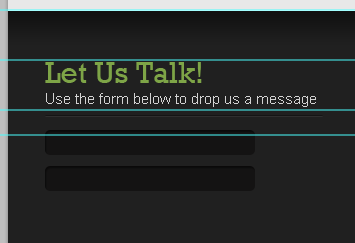
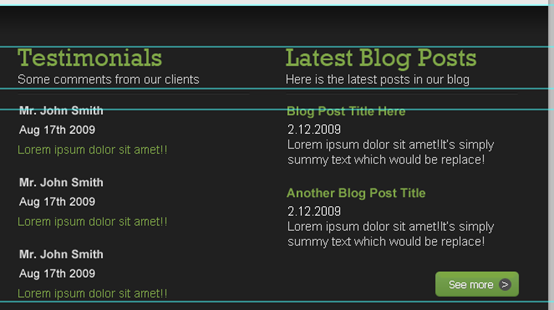
(三角形陰影)的顏色為: #263e6f Font Family: Klavika Font size: 35px Font weight: Bold Anti-aliasing setting 依照下面的設定輸入f字母: 字體: Klavika 字體大小: 字體 顏色: #ffffff (三角形陰影)的顏色為: #cdcdcd Write the wordfr” with these Font Family : 35px Font weight: B 字體: 字體樣式: Bold 消除鋸齒樣式:平滑 顏色: fff Put each of the icons in a separate group, and while selection the four of them click on Distribute left edges 把每一個圖示都歸於一個個分開的群組,並且選擇他們只要點擊左側的控制按鈕就行了 Step 32 Keep it goin'! only the footer left. Create a selection of 1020x460px and fill it with any color for now.🜎只剩下頁腳部分了。建立一個矩形選取範圍,尺寸:1020px*460px,並用任意色填滿 建議:用矩形工具建立一個矩形(0,1340,1020,460),用任意 Gradient Overlay to it. use the image below for reference. 給它按照下圖添加漸變疊加 漸變編輯器的顏色:#202020,#202020, 步驟33 按照下圖拖曳兩條新的水平參考線(一條在之前的參考線往下50px,另一條 Write a title with these character settings: Font Family : Rockwell Font size : 330p7pwe : Sharp : #7ea547 依照下面的設定加標題: 字體樣式: 消除鋸齒樣式: 顏色: Font Family : Arial Font size: 15px Font weight: Regular : #d3d3d3 按照下面的設定新增子標題文字: Arial 15px Using the Line Tool (U) create two horizoltal lines on toptop of each 5 and fcolorcill #5125125155150 . 步驟34 按照下圖拖曳兩條新的水平參考線(一條在之前的參考線往下25px,另一條再往下230px) Tool (U) create two rectangles of 210x25px – 5px radius, fill them with: #141313 and give them an Inner Shadow.用圓角矩形工具建立兩個圓角矩形 ,尺寸:210px*25px,半徑為5px,顏色: #141313,並依照下圖新增內投影的樣式 character settings: Font Family : Arial : 15px Anti-aliasing setting: None Color: #7ea547 按照下面的設定添加兩個圓角矩形內的文字: 字體: 消除鋸齒樣式: ones above, but this time its height will be: 110px. Also write some text inside it with the same character settings above. Make a copy of the button we've created in step 17. and align it like the following image image 複製步驟17中所建立的按鈕。依照下圖擺放到適當的位置 Step 35 步驟35 再加上另一個標題,就像左邊一樣 Write some text. Step 36 填充右邊的第三部分的標題和文字 We' re almost there! drag a new horizontal guide after 50px. 步驟37 我們仍在那!拖曳一條新的水平參考線,往下50px Create two horizontal lines on top of each other, and fill them with these color values: #181818 – #181218 – #1812182f32f著的水平線,並使用這些顏色值:#181818(上)–#2f2f2f(下)。 Write some copyright text with these character settings: Font : Regular
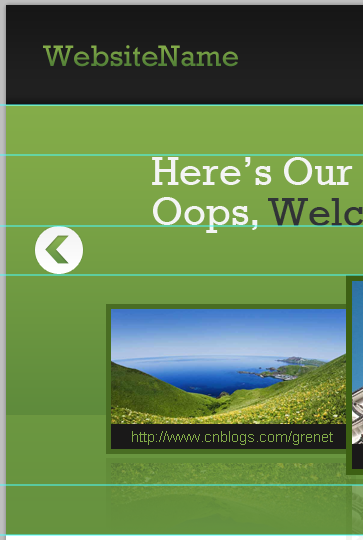
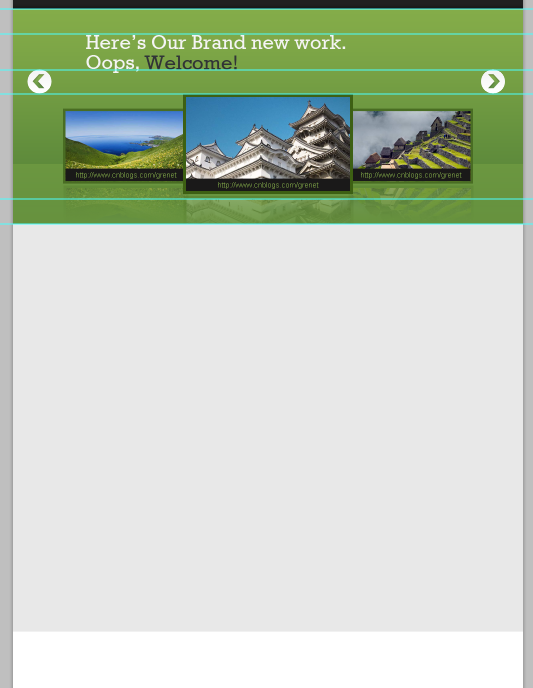
文字文字 字體大小: 15px 字體樣式: Regular 消除鋸齒樣式:無ff 無ff There we have it! we've created a professional-looking web 2.0 layout. As you can see the getniques see the getere smpleee the getn smple. 我們擁有它! 我們創建具有專業外觀的web 2.0佈局。 你可以看到這裡使用的是簡單的的技術。 但是他們得到好的結果。 後記: 1、特色區域的圖片滑動塊的製作,有種清新透徹的感覺



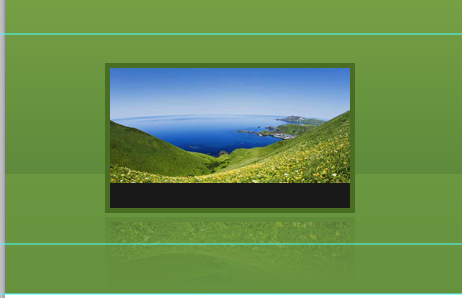
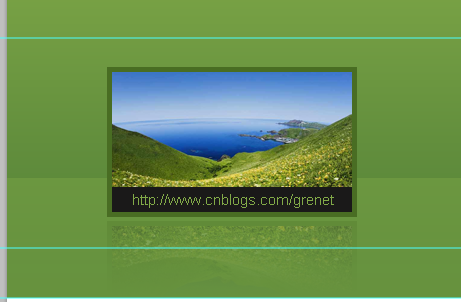
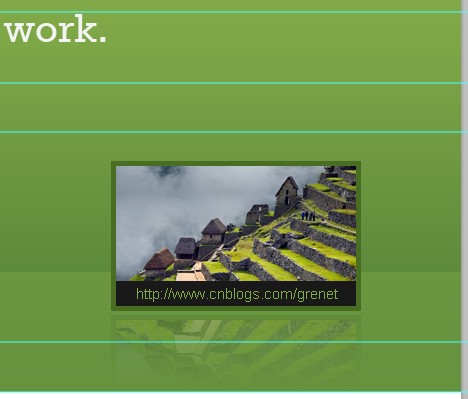
 Make sure to organize your layers and to group them. IersonMake sure to organize your layers and to group them. Ierson, have created ally.層,並合理的歸併為組。我將三張圖片的各個圖層分別歸併為3個組
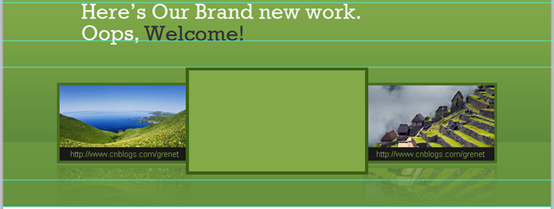 Step 14
 用自訂形狀工具建立一個箭頭,並依照下圖加入圖層樣式
 ) toi fo
 Click Shift+Backspace to fill your selection
Download this Icon set: Basolloic Set – Pixel Mixer and 
 .
. Font Family
Rockwell
字體樣式:
 : None
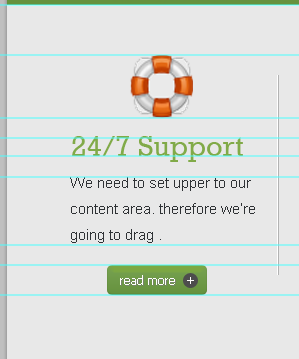
It's time to create our “read more” button. With the Rounded Rectangle Tool (U) create a rectangle of 100x30px and 5px radius. and fill it with any colors. 該是創建read more按鈕的時候了。用圓角矩形工具建立一個圓角矩形(100,790),尺寸:100px*30px,半徑為5px,用任意顏色填滿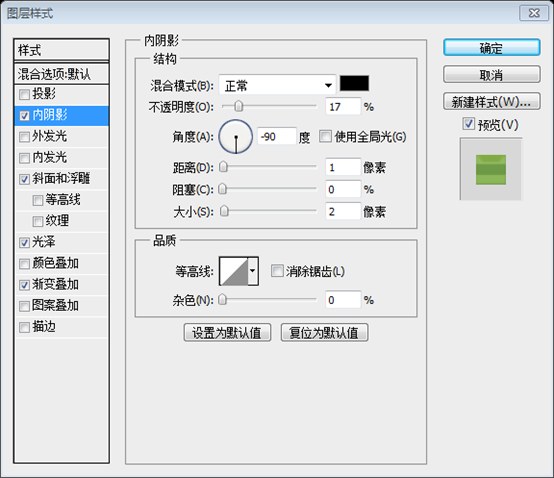
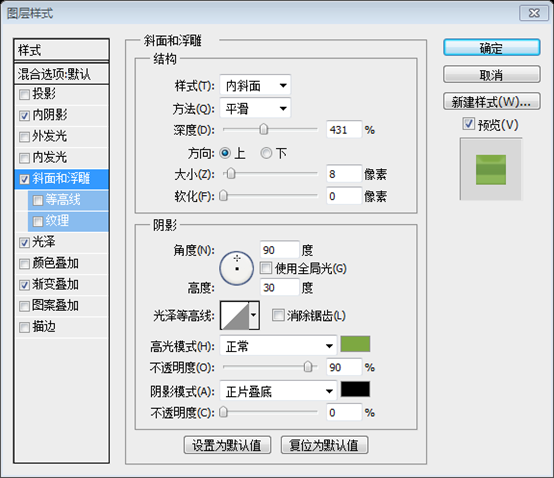
 To align it correctly select its layer and the rectangle's layer then click Align vertical centers while having both layers selected.
顏色:
 an hehemm



 With the Gradient Tool (G) drag with a linear gradient according to the following image.

Fill them with #b3b3b3 – #ffffff and add the same layer mask to them.
 Add a title with these character settings:
 : Regular
字體:
: Smooth
輸入一些心得或名言引用,按照下面的設定:
垂直的直線(#b3b3b3在#ffffff的左側)
字體大小:
: #2fcfff
Font Family: Myriad Pro (get it from here)
Facebook!? Typef” ika (get it from here )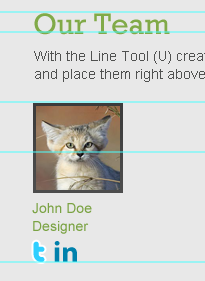
Font size
顏色:
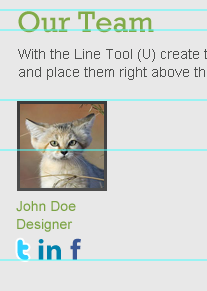
很明顯的,當滑鼠沒有移到成員上方時灰色的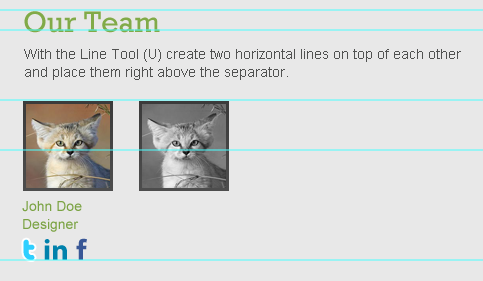

 漸變編輯器顏色:

創建另一個矩形,尺寸:10x43px,然後點擊編輯:編輯。按照下面的數字調整工具欄上的參數:
複製圖層tw_bg的圖層樣式到圖層effect
 Anti-aliasing setting
Color
 35px
35px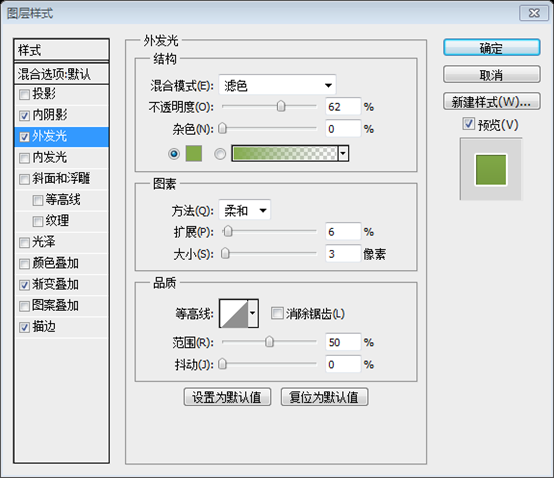
 平滑
平滑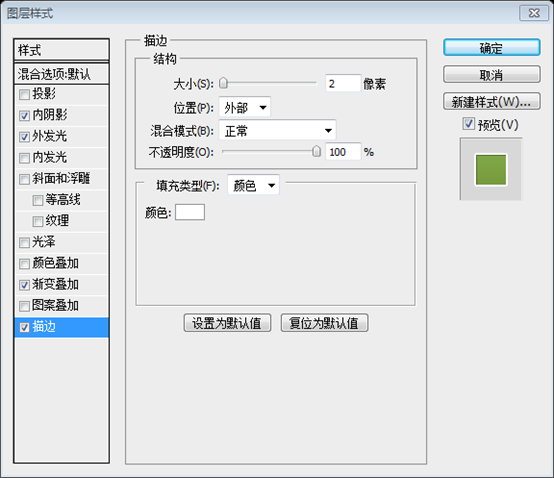
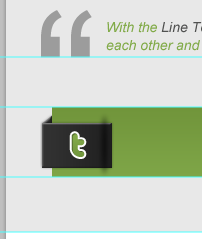
Repeat step 20 to create another separator or even copy it. then place it this way: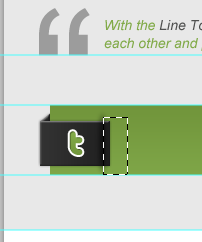
Font weight
 bar layer selected, click on Align vertical centers.
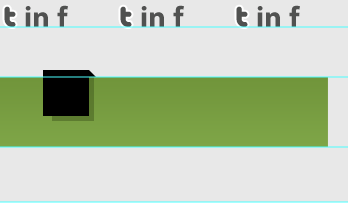
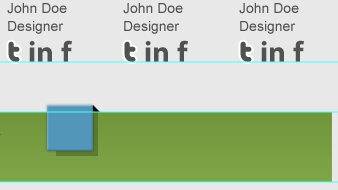
 一個深色的顏色: #2a6788
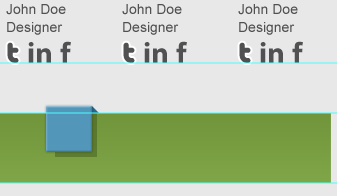
 的顏色為: #00526d
平滑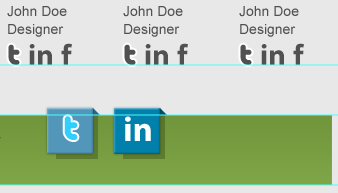
 Color
Color
 with the Single Row Marquee Tool (M) create a 1px selection and fill ffffit with whiteffool (M) 如何選擇單行工具f建立1px的選區,然後用白色填滿

er settings:
字體:
Step 34
: 15px
顏色: #7ea547
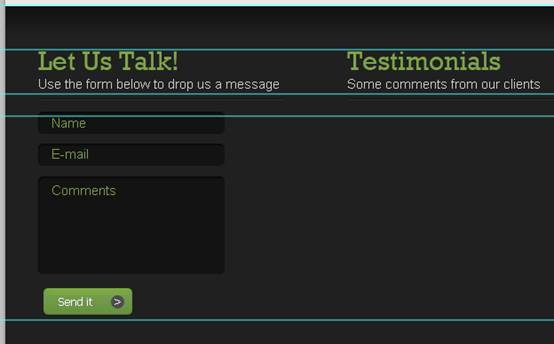
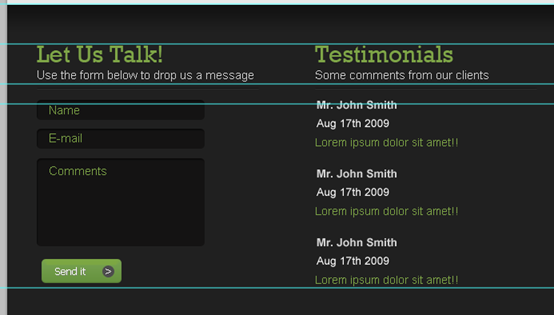 Fill the right part with a third title and some text.

 Anti-aliasing setting
Color
消除鋸齒樣式:
更多PS網頁設計教學XII-在PS中建立專業的web2.0的網頁版面相關文章請關注PHP中文網!


