Linux終端機裡面可謂是奇妙無限,很多優秀的軟體都誕生在終端裡面。相較之下,Windows本身的理念和Linux就不一致,所以,你懂得。
下面,我們不妨先思考一下,如何在終端機裡面顯示一張圖片?
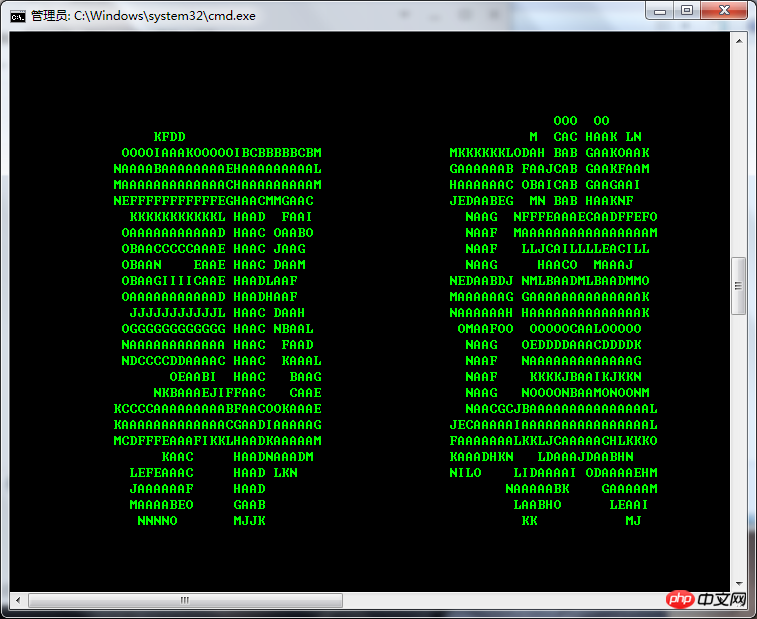
在終端機裡面顯示,肯定就不像在看圖軟體裡那樣的細膩了,我們只是以字符代替某一點的像素,把大致的輪廓顯示出來罷了。
編碼
既然思路很清晰了,下面就來編碼了。
# coding:utf-8
import sys

reload(sys)
sys.setdefaultencoding('utf8')
#  __author__ = '郭 璞'
#  __date__ = '2016/8/4'
#  __Desc__ = 一个可以将图片转换成终端字符形式的小工具

from time import *
import Image
class ImageTool():

  def __init__(self):
    print 'Initialization Completed! @',ctime()

  def getChars(self,image_pixels,image_width,image_height):
    replace_chars = 'ABCDEFGHIJKLMNO '
    terminal_chars = ''
    for h in xrange(image_height):
      for w in xrange(image_width):
        point_pixel = image_pixels[w,h]
        terminal_chars +=replace_chars[int(sum(point_pixel)/3.0/256.0*16)]
      terminal_chars+='\n'
    return terminal_chars

  def formatImage(self,imagename,image_width,image_height):
    img = Image.open(imagename,'rb')
    if img.mode != 'RGB':
      img = img.convert('RGB')
    w,h = img.size
    rw = image_width*1.0/w
    rh = image_height*1.0/h
    r = rw if rw<rh else rh
    rw = int(r*w)
    rh = int(r*h)
    img = img.resize((rw,rh),Image.ANTIALIAS)
    return img

  def entrance(self,image_path,out_width,out_height):
    image = self.formatImage(imagename=image_path,image_width=out_width,image_height=out_height)
    image_pixels = image.load()
    out_width ,out_height = image.size
    terminal_chars = self.getChars(image_pixels=image_pixels,image_width=out_width,image_height=out_height)

if __name__ == "__main__":
  tool = ImageTool()
  imagename = sys.argv[1]
  w = int(sys.argv[2])
  h = int(sys.argv[3])
tool.entrance(imagename,w,h)#執行
執行程式很簡單,我們依照命令列參數來執行即可。
python Image2Chars.py target_image_name output_width output_height
注意,圖片名稱是包含完整的路徑的圖片名稱
•素材圖片
 •終端機顯示效果
 #文字類型的看起來還湊活,細膩類型的圖片就不太好了。這就是因為我們轉換像素的時候的粒度有點大了的緣故。
以上就是本文的全部內容,希望對大家的學習有所幫助,也希望大家多多支持PHP中文網。
更多python在終端機裡面顯示一張圖片相關文章請關注PHP中文網!


