本文主要介紹了js實作滑鼠拖曳功能的實例程式碼。具有很好的參考價值。下面跟著小編一起來看下吧
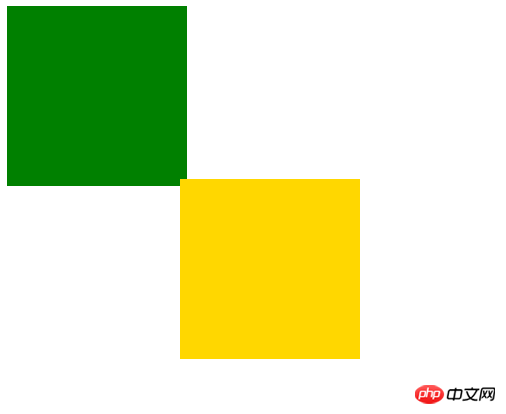
效果圖:

<!DOCTYPE html>
<html>
 <head>
 <meta charset="UTF-8">
 <title></title>
 <style type="text/css">
  #p{
  width: 200px;
  height: 200px;
  background: green;
  position: absolute;
  }
  #p2{
  width: 200px;
  height: 200px;
  background: gold;
  position: absolute;
  top: 200px;
  left: 200px;
  }
 </style>
 </head>
 <body>
 <p id="p">
 </p>
 <p id="p2"></p>
 <script>
  window.onload=function(){
  var p=document.getElementById("p");
  p.onmousedown=function(ev){
   var e=window.event || ev;
   //var Myp=document.getElementById("p");
   //获取到鼠标点击的位置距离p左侧和顶部边框的距离;
   var oX=e.clientX-p.offsetLeft;
   var oY=e.clientY-p.offsetTop;
   //当鼠标移动,把鼠标的偏移量付给p
   document.onmousemove=function(ev){
   //计算出鼠标在XY方向上移动的偏移量,把这个偏移量加给p的左边距和上边距,p就会跟着移动
   var e=window.event|| ev;
   p.style.left=e.clientX-oX+"px";
   p.style.top=e.clientY-oY+"px";
   }
   //当鼠标按键抬起,清除移动事件
   document.onmouseup=function(){
   document.onmousemove=null;
   document.onmouseup=null;
   }
  }
  var p2=document.getElementById("p2");
  p2.onmousedown=function(ev){
   var e=window.event || ev;
   //var Myp=document.getElementById("p");
   //获取到鼠标点击的位置距离p左侧和顶部边框的距离;
   var oX=e.clientX-p2.offsetLeft;
   var oY=e.clientY-p2.offsetTop;
   //当鼠标移动,把鼠标的偏移量付给p
   document.onmousemove=function(ev){
   //计算出鼠标在XY方向上移动的偏移量,把这个偏移量加给p的左边距和上边距,p就会跟着移动
   var e=window.event|| ev;
   p2.style.left=e.clientX-oX+"px";
   p2.style.top=e.clientY-oY+"px";
   }
   //当鼠标按键抬起,清除移动事件
   document.onmouseup=function(){
   document.onmousemove=null;
   document.onmouseup=null;
   }
  }
  }
 </script>
 </body>
</html>以上是js實作滑鼠拖曳功能的詳細內容。更多資訊請關注PHP中文網其他相關文章!


