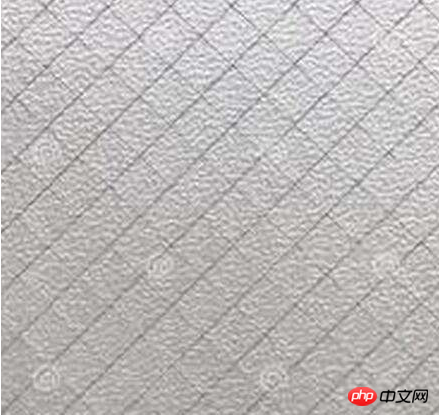
忙裡偷閒,最近又在看許多比較酷炫的效果。現在基於jquery的插件比較多,但是很多插件的兼容性不是太好,所以原生的才是王道。在日常當中,毛玻璃已經不常見了,那是很久遠年代的東西了。諾,下面就是毛玻璃:

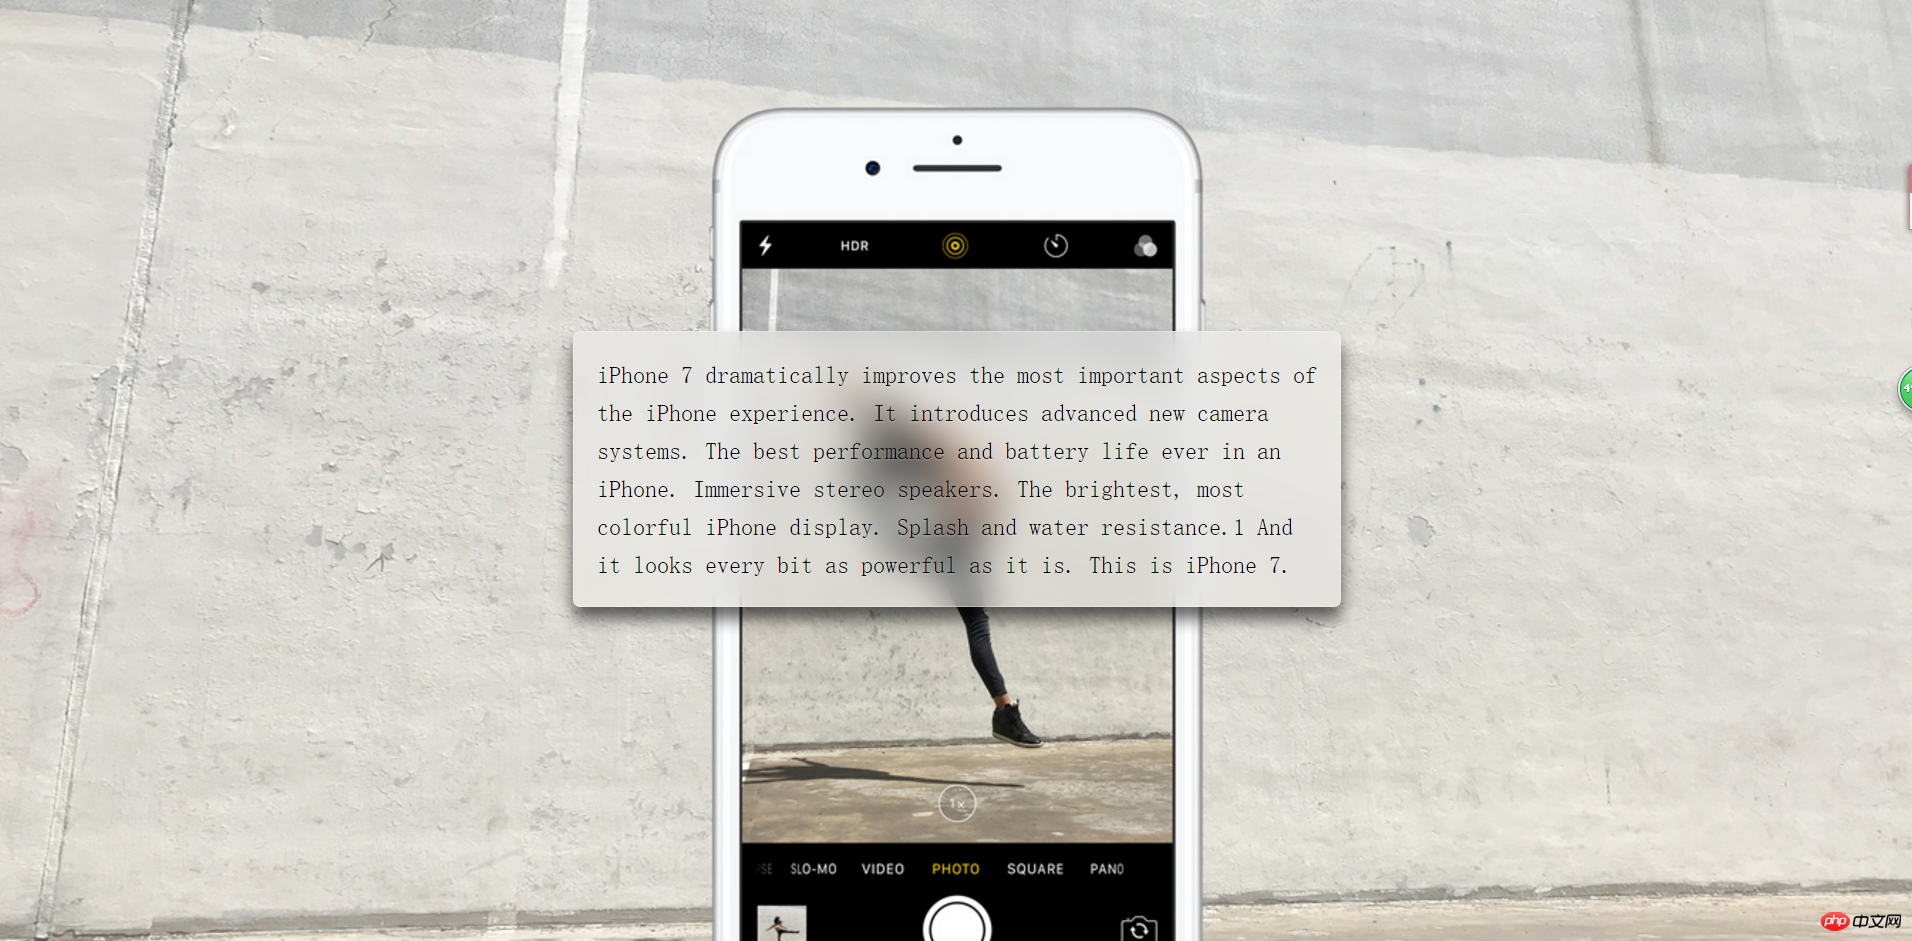
#哈哈,不閒扯了,接下來不如正題吧,先看一下終極效果:

嗯,好了,,開始我們的步驟:
第一步:進行頁面的基本建構:
我在body上設定了一張大大的背景圖,然後中間部分是p,html程式碼如下:
<body>
<p >
    iPhone 7 dramatically improves the most important aspects of the iPhone experience. It introduces advanced new camera systems. The best performance and battery life ever in an iPhone. Immersive stereo speakers. The brightest, most colorful iPhone display. Splash and water resistance.1 And it looks every bit as powerful as it is. This is iPhone 7.
</p>
</body>文字多是為了撐開p使其效果更明顯
css的程式碼如下:
   body {
            min-height: 100vh;
            box-sizing: border-box;
            margin: 0;
            padding-top: calc(50vh - 6em);
            font: 150%/1.6 serif;
            background: url("http://www.jackzxl.net/wp-content/MyFile/2016/09/iphone.jpg") fixed 0 center;
            background-size: cover;
        }
        p {
            margin: 0 auto;
            padding: 1em;
            max-width: 30em;
            border-radius: 0.3em;
            box-shadow: 0 0 0 1px hsla(0,0%,100%,.3) inset,
            0 .5em 1em rgba(0, 0, 0, 0.6);
            text-shadow: 0 1px 1px hsla(0,0%,100%,.3);
            background: hsla(0,0%,100%,.3);
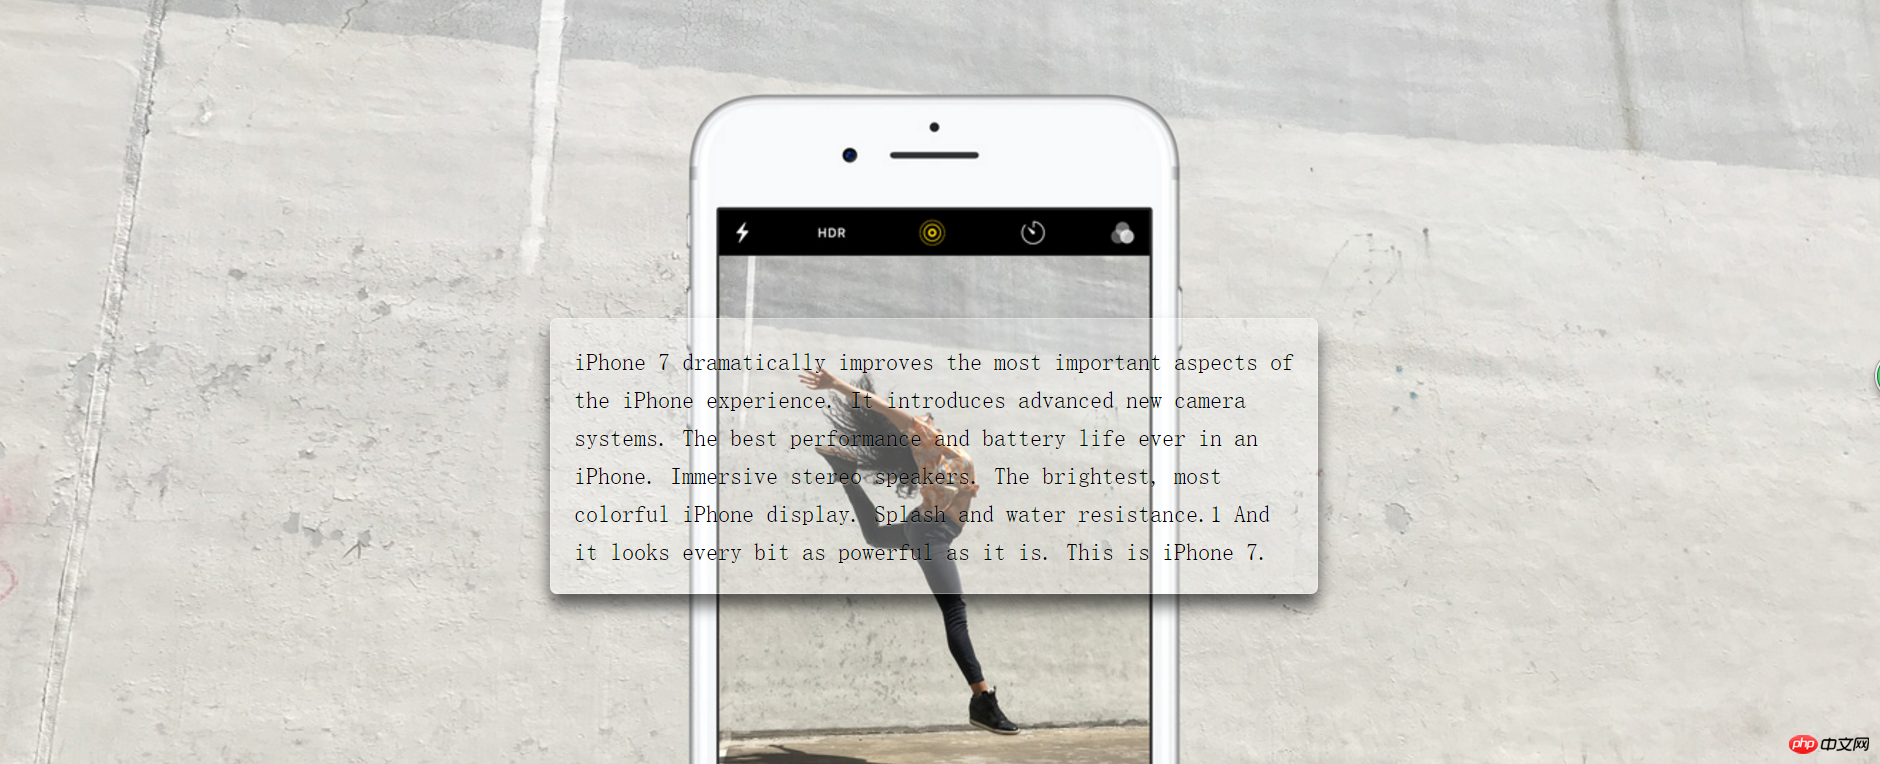
}看上面的樣式程式碼,body裡面,vh為視窗大小,100為100%,background設定的為固定位置,鋪滿整個元素;在p當中,居中設定背景色然後設定其盒子樣式;然後是這個樣子滴:

亮堂堂的小透明玻璃就這麼出來了,那麼開始我們的毛玻璃加工吧
第二步:背景模糊的毛玻璃設定
在css當中,有同一個關於模糊度的設置,為
filter: blur(20px);
後面的數值為模糊度的大小,數值越大越模糊啊,但是目前只支援px,不支援百分比;
我們直接給p加這個樣式是不行的,因為這樣會連子都變得模糊,這個時候我們可以利用偽元素,即::before;
我們使用偽元素之前,需要先為p加上相對定位,由於偽元素使用模糊度以後會溢出整個p盒子,為了美觀漂亮大氣上檔次,我們需要給p加上overflow:hidden;即:
  overflow: hidden;
  position: relative;
p的偽元素:
   p::before{
            content: '';
            position: absolute;
            top: 0; right: 0; bottom: 0; left: 0;
            z-index: -1;
            filter: blur(20px);
            margin: -20px;
            background: url("http://www.jackzxl.net/wp-content/MyFile/2016/09/iphone.jpg") fixed 0 center;
            background-size: cover;
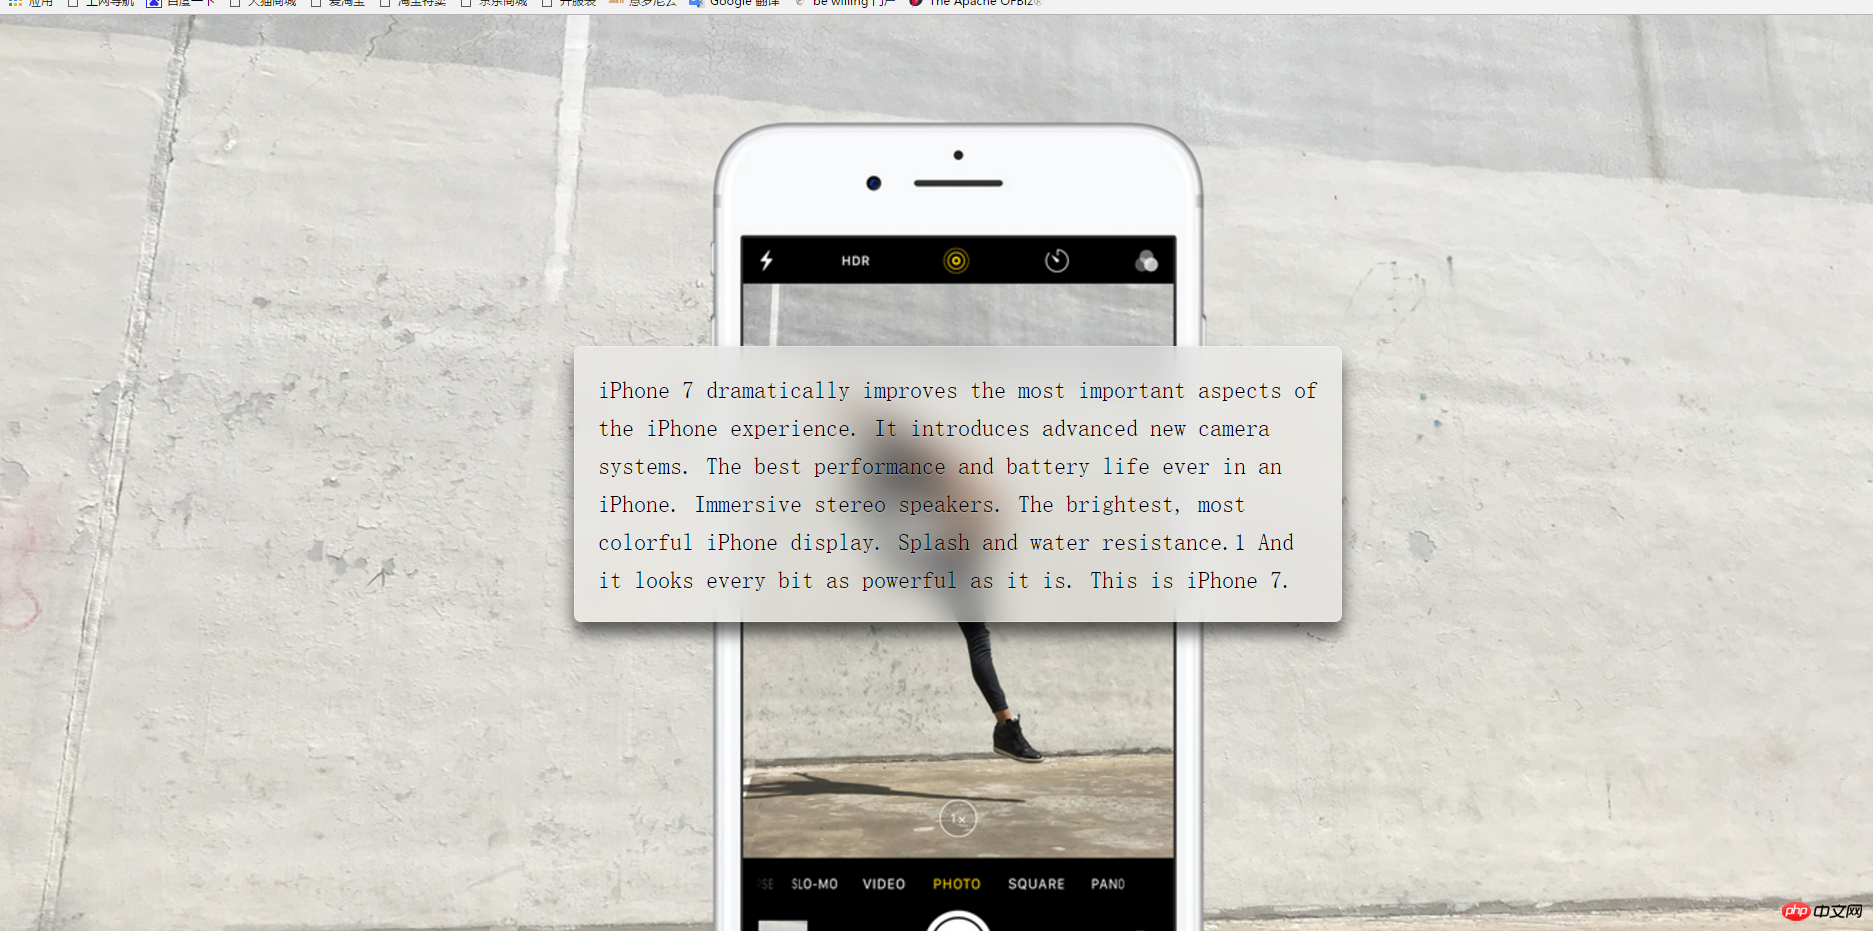
}在上面的css程式碼中我們可以看出,設定的模糊度,和p是重疊的,背景圖也是和body一樣的,最終效果如下:

以上是css3製作毛玻璃效果的範例程式碼詳解的詳細內容。更多資訊請關注PHP中文網其他相關文章!


