準備工作:
1、Intellij IDEA(ULTIMATE版):官方網站下載位址
2、JDK
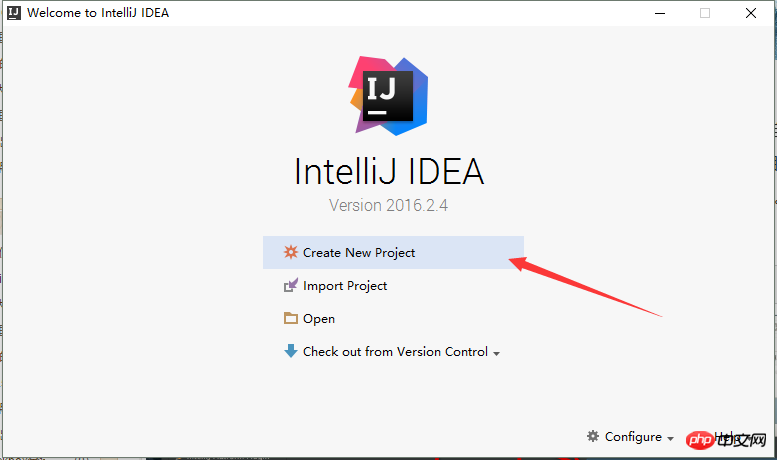
#1、建立新項目

二、左側面板選擇Spring Initializr

輸入項目名稱,專案組名稱和專案ID,點擊進入下一步

#下面的頁面是用來新增依賴的,可以根據需求,新增依賴。或是在pom.xml檔進行新增也可以。主要包括:Core(核心依賴)、SQL、NOSQL
目前測試只需勾選 Web。

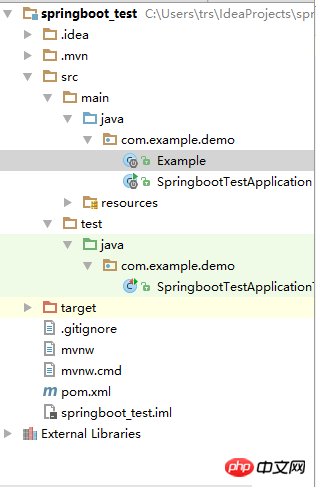
點選Next,專案建立結束。專案架構如下所示:(註:Example.java是我新增的)

#
二、在對應目錄下建立 Example.java。程式碼如下:
package com.example.demo;

import org.slf4j.Logger;
import org.slf4j.LoggerFactory;
import org.springframework.boot.autoconfigure.EnableAutoConfiguration;
import org.springframework.web.bind.annotation.PathVariable;
import org.springframework.web.bind.annotation.RequestMapping;
import org.springframework.web.bind.annotation.RestController;

@RestController
@EnableAutoConfiguration
public class Example {
    @RequestMapping("/")
    String home() {
        return "Hello World!";
    }

    @RequestMapping("/hello/{myName}")
    String index(@PathVariable String myName) {
        return "Hello "+myName+"!!!";
    }
}
三、執行項目,選取 SpringbootTestApplication.java,右鍵--Run 'SpringbootTestApplication' ,或點選如圖所示按鈕:

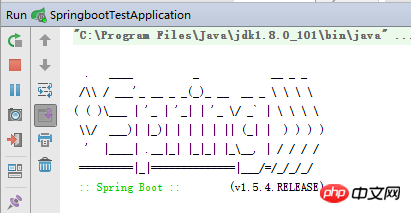
四、程式成功啟動,控制台如下圖所示(部分):


五、最後我們來測試一下:輸入 http://localhost:8080/ 和 http://localhost:8080/hello/王大陸
# 

測試成功! ! !
最後,另外附上pom.xml程式碼,僅供參考。
<?xml version="1.0" encoding="UTF-8"?>
<project xmlns="http://maven.apache.org/POM/4.0.0" xmlns:xsi="http://www.w3.org/2001/XMLSchema-instance"
   xsi:schemaLocation="http://maven.apache.org/POM/4.0.0 ">
   <modelVersion>4.0.0</modelVersion>

   <groupId>com.example</groupId>
   <artifactId>springboot_test</artifactId>
   <version>0.0.1-SNAPSHOT</version>
   <packaging>jar</packaging>

   <name>springboot_test</name>
   <description>Demo project for Spring Boot</description>

   <parent>
      <groupId>org.springframework.boot</groupId>
      <artifactId>spring-boot-starter-parent</artifactId>
      <version>1.5.4.RELEASE</version>
      <relativePath/> <!-- lookup parent from repository -->
   </parent>

   <properties>
      <project.build.sourceEncoding>UTF-8</project.build.sourceEncoding>
      <project.reporting.outputEncoding>UTF-8</project.reporting.outputEncoding>
      <java.version>1.8</java.version>
   </properties>

   <dependencies>
      <!--这个就是我们刚刚勾选依赖时选择的 Web-->
      <dependency>
         <groupId>org.springframework.boot</groupId>
         <artifactId>spring-boot-starter-web</artifactId>
      </dependency>

      <dependency>
         <groupId>org.springframework.boot</groupId>
         <artifactId>spring-boot-starter-test</artifactId>
         <scope>test</scope>
      </dependency>
   </dependencies>

   <build>
      <plugins>
         <plugin>
            <groupId>org.springframework.boot</groupId>
            <artifactId>spring-boot-maven-plugin</artifactId>
         </plugin>
      </plugins>
   </build>
</project>這是第一次接觸 SpringBoot架構,恩,先記下來,免得以後忘了
以上是SpringBoot入門第一章:Hello World的詳細內容。更多資訊請關注PHP中文網其他相關文章!


