本文主要跟大家講訴的是如何搭建redis集群的方法以及在此過程中需要注意的問題,非常不錯,推薦給大家,有需要的小伙伴可以來參考下
這裡,在一個Linux虛擬機器上搭建6個節點的redis偽集群,思路很簡單,一台虛擬機器上開啟6個redis實例,每個redis實例都有自己的連接埠。這樣的話,相當於模擬出了6台機器了,然後在以這6個實例組成redis集群就可以了。
前提:redis已經安裝,目錄為/usr/local/redis-4.0.1 如不會,可以參考一下文章 windows下安裝redis Linux下安裝redis
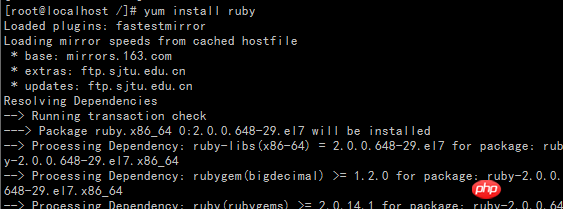
redis叢集是用的ruby腳本,所以要想執行該腳本,需要ruby環境。對應redis的源碼src目錄下的redis-trib.rb,redis-trib.rb是redis官方推出的管理redis集群的工具,是基於redis提供的集群命令封裝成簡單、便捷、實用的操作工具。 so
安裝ruby環境:
1.yum install ruby
2 .yum install rubygems

3.gem install redis
 〔 # Centos預設支援ruby到2.0.0,redis需要最低是2.2.2。解決方法是先安裝rvm 再把ruby版本升級到2.3.3
1.
sudo yum install curl 〠# install curl
##curl -L get.rvm.io | bash -s stable
source /usr/local/rvm/scripts/rvm
## 4.查看rvm庫中已知的ruby版本
rvm list known
5.安裝一個1by版本
# 5.安裝一個版本
5. ##rvm install 2.3.3
6.使用一個ruby版本
rvm use 2.3.3
#知版本
rvm remove 2.0.0
8.查看版本
ruby --version
# ruby --version
# # 9.再安裝redis
gem install redis

gem install redis
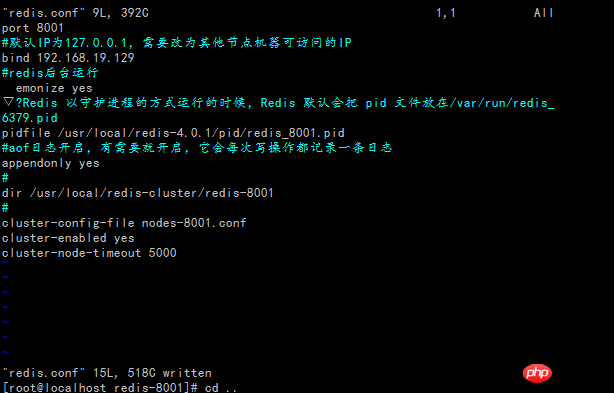
 分別修改節點下redis-conf文件,由於
在一台機器(192.16819.129)上,因此每個實例應該有不同的連接埠;同時,每個實例顯然會有自己的存放資料的地方;開啟AOF模式;開啟叢集配置;開啟後台模式;
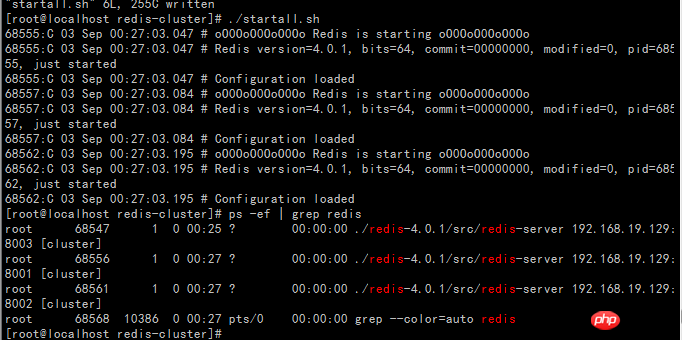
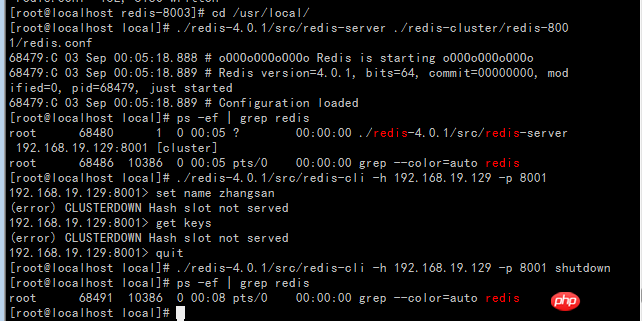
開啟redis服務,看看是否能啟動。 ok沒問題。
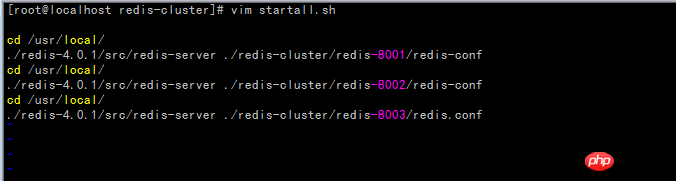
建立startall.sh腳本(提示permission denied說明權限不足,執行指令chmod 777 startall.sh修改權限)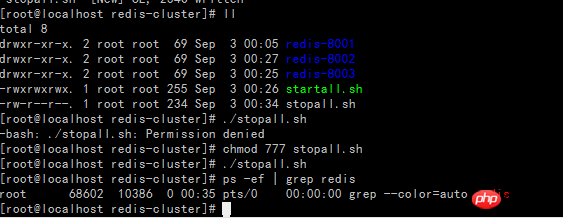
# 啟動startall.sh腳本
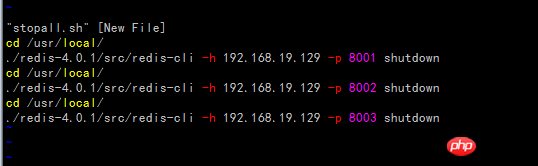
 # 建立stopall.sh腳本
redis-trib.rb mainly has two classes: ClusterNode and RedisTrib. ClusterNode saves the information of each node, RedisTrib is the implementation of each function of redis-trib.rb

Note: It prompts at least 3 master cluster nodes. It was said that 6 are created before, but in actual operation I only created 3 nodes, so it can be concluded that when we create a redis cluster, we need at least three master nodes, and it should be an odd number, so, no Be lazy and create three more.
Special note: The key here is the optional replicas parameter. --replicas 2 means to allocate 2 slaves to each master. replicas means how many slaves are needed. It can be successfully created without filling in this parameter, so there are three masters. We will introduce the replicas parameter later
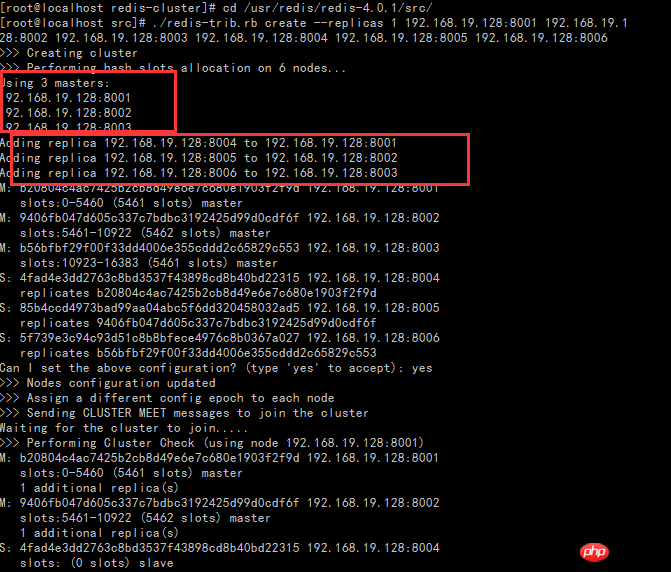
First of all, --replicas 1 1 actually represents a ratio, which is the number of master nodes/ The proportion of slave nodes. So think about it, when creating a cluster, which nodes are the master nodes? Which nodes are slave nodes? The answer is that the order of IP:PORT in the command will be followed, first 3 master nodes, then 3 slave nodes.
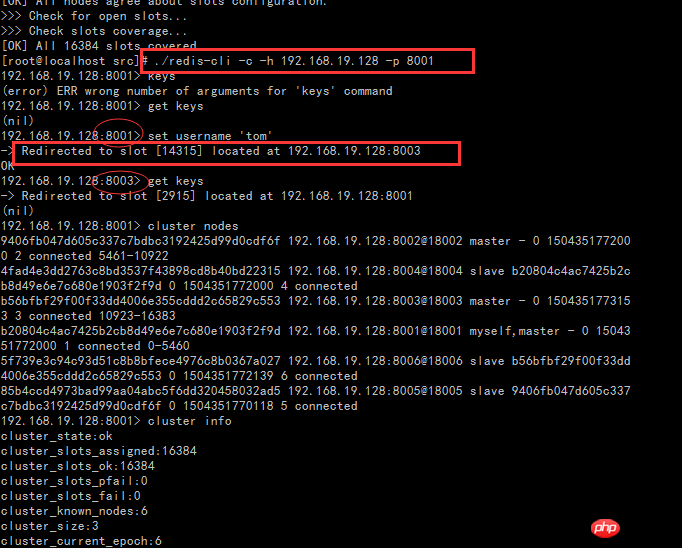
Secondly, pay attention to the concept of slot in the picture. For Redis cluster, slot is a place to store data, it is a slot. For each Master, there will be a slot range, but the Slave does not. In the Redis cluster, the Master can still read and write, while the Slave can only read. The writing of data is actually distributed and stored in slots, which is different from the previous master-slave mode of 1.X (Master/Slave data storage in master-slave mode is completely consistent), because 3 The data storage of each Master is different. This will be verified in subsequent essays.
以上是redis集群搭建教學及遇到的問題處理的詳細內容。更多資訊請關注PHP中文網其他相關文章!


