本文主要介紹了VSCode 配置React Native開發環境的方法,小編覺得挺不錯的,現在分享給大家,也給大家做個參考。一起跟著小編過來看看吧,希望能幫助大家。
1.安裝VSCode
#2.安裝外掛程式
按F1 並輸入ext install並回車, 或使用
輸入react-native安裝React Native Tools
假定你已經在裝置上安裝了react native,
#如果沒有安裝,請使用npm install -g react-native-cli安裝
#或按照官方文件操作
新建一個RN工程並使用VSCode開啟
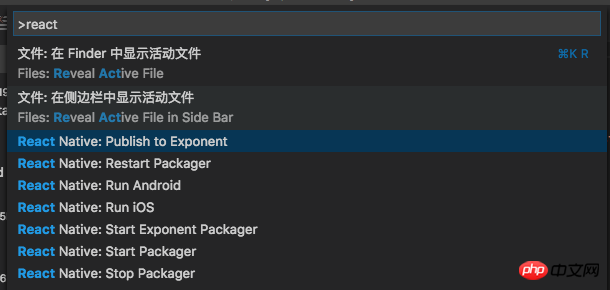
安裝完成後按F1可以看到指令裡多了很多關於React Native的選項

#React Native Command
3.設定偵錯環境
a.自動設定
鍵入shift+cmd+D或點選icon

shift+cmd+D
再點選

設定
選擇React Native:

會自動產生launch.json文件,裡面4個設定選項Debug Android、Debug iOS、Debug iOS、Debug iOS
{
  "version": "0.2.0",
  "configurations": [
    {
      "name": "Debug Android",
      "program": "${workspaceRoot}/.vscode/launchReactNative.js",
      "type": "reactnative",
      "request": "launch",
      "platform": "android",
      "sourceMaps": true,
      "outDir": "${workspaceRoot}/.vscode/.react"
    },
    {
      "name": "Debug iOS",
      "program": "${workspaceRoot}/.vscode/launchReactNative.js",
      "type": "reactnative",
      "request": "launch",
      "platform": "ios",
      "target": "iPhone 5s",
      "sourceMaps": true,
      "outDir": "${workspaceRoot}/.vscode/.react"
    },
    {
      "name": "Attach to packager",
      "program": "${workspaceRoot}/.vscode/launchReactNative.js",
      "type": "reactnative",
      "request": "attach",
      "sourceMaps": true,
      "outDir": "${workspaceRoot}/.vscode/.react"
    },
    {
      "name": "Debug in Exponent",
      "program": "${workspaceRoot}/.vscode/launchReactNative.js",
      "type": "reactnative",
      "request": "launch",
      "platform": "exponent",
      "sourceMaps": true,
      "outDir": "${workspaceRoot}/.vscode/.react"
    }
  ]
}b. 手動設定
#接下來我們清空configurations

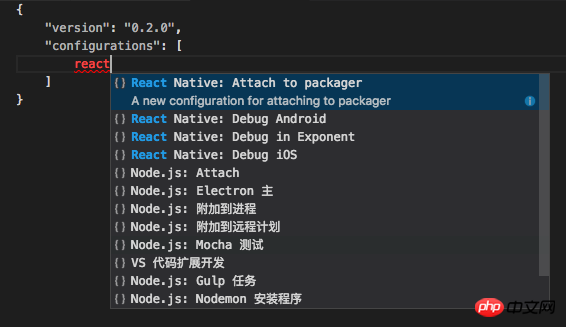
點選新增設定按鈕,選擇configuration

新增設定
#
{
  "version": "0.2.0",
  "configurations": [

  ]
}
{
  "version": "0.2.0",
  "configurations": [
    {
      "name": "Debug iOS",
      "program": "${workspaceRoot}/.vscode/launchReactNative.js",
      "type": "reactnative",
      "request": "launch",
      "platform": "ios",
      "sourceMaps": true,
      "target": "iPhone 6s",
      "outDir": "${workspaceRoot}/.vscode/.react"
    }
  ]
} ##Debug iOS
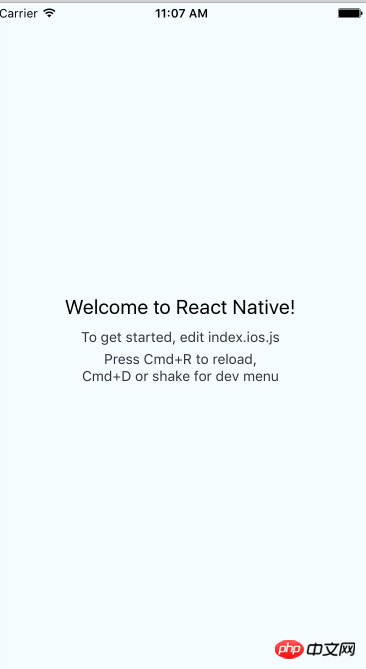
接下來就可以點選上面選項的運行按鈕,成功運行iOS啦
 #Hello world
實例詳解VSCode配置react開發環境的步驟
以上是實例詳解VSCode 配置React Native開發環境的詳細內容。更多資訊請關注PHP中文網其他相關文章!


