

WordPress建立個人博客

本文主要和大家分享WordPress搭建個人博客,主要以圖文和程式碼的形式和大家分享,希望能幫助大家。
1 LNMP組合
1.1 驗證Nginx到php的連結性
在前幾篇部落格文章中所有環境都已經配置好了,下面測試Nginx和php之間的連通
LNMP之Nginx服務搭建及三種類型虛擬主機
LNMP之二進位安裝mysql-5.5.54
LNMP之源碼編譯安裝php- 5.5.32
# 修改/application/nginx/conf/extra/blog.conf[root@web01 extra]# cat blog.conf
    server {        listen       80;
        server_name  blog.rsq.com;
        location / {
            root   html/blog;            index  index.html index.htm;
        }
        location ~ .*\.(php|php5)?$ {
            root html/blog;
        fastcgi_pass 127.0.0.1:9000;
        fastcgi_index index.php;
        include fastcgi.conf;
        }
    }# 重启nginx服务[root@web01 extra]# ../../sbin/nginx -tnginx: the configuration file /application/nginx-1.6.3//conf/nginx.conf syntax is ok
nginx: configuration file /application/nginx-1.6.3//conf/nginx.conf test is successful
[root@web01 extra]# ../../sbin/nginx -s reload# 在/application/nginx/html/blog/目录中写一个WordPress建立個人博客文件,测试连通性[root@web01 extra]# cd /application/nginx/html/blog/[root@web01 blog]# echo "<?php WordPress建立個人博客(); ?>" >test_info.php[root@web01 blog]# cat test_info.php<?php WordPress建立個人博客(); ?># windows瀏覽器中做存取測試,若出現下列頁面則測試成功 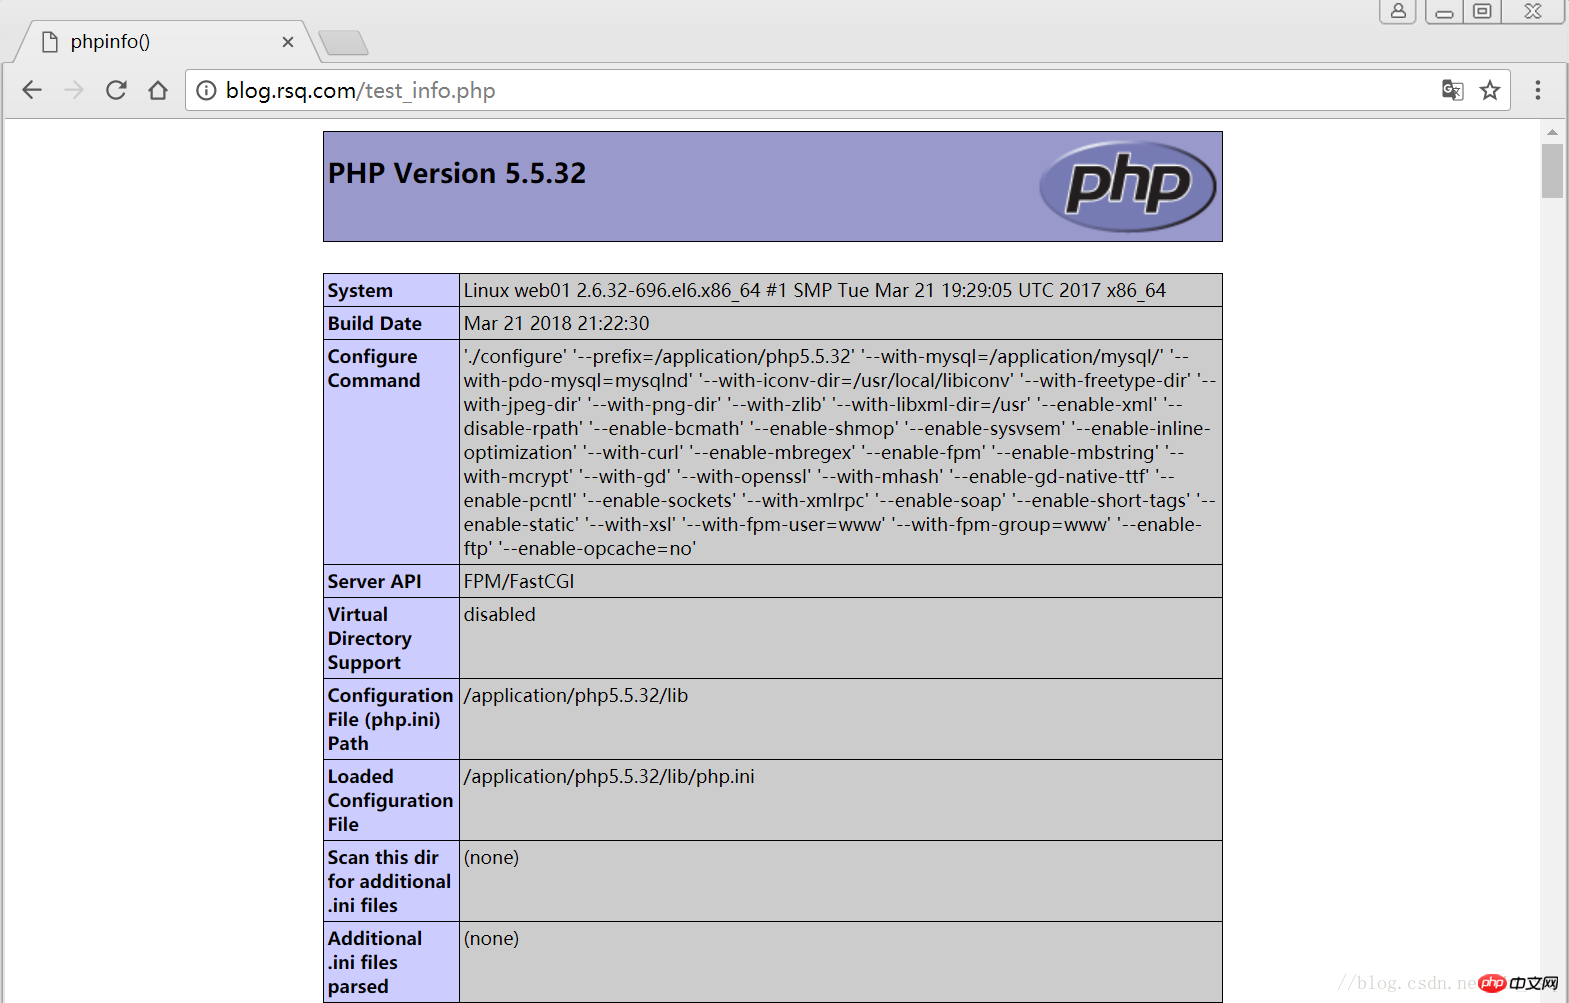
#1.2 驗證php到mysql的連通性
# 写一个简单的数据库连接脚本[root@web01 blog]# cat test_mysql.php<?php
$link_id=mysql_connect('localhost','root','oldboy123') or mysql_error(); if($link_id){ echo "Mysql successful by RSQ !";
}else{ echo mysql_error();
}?># 瀏覽器端測試 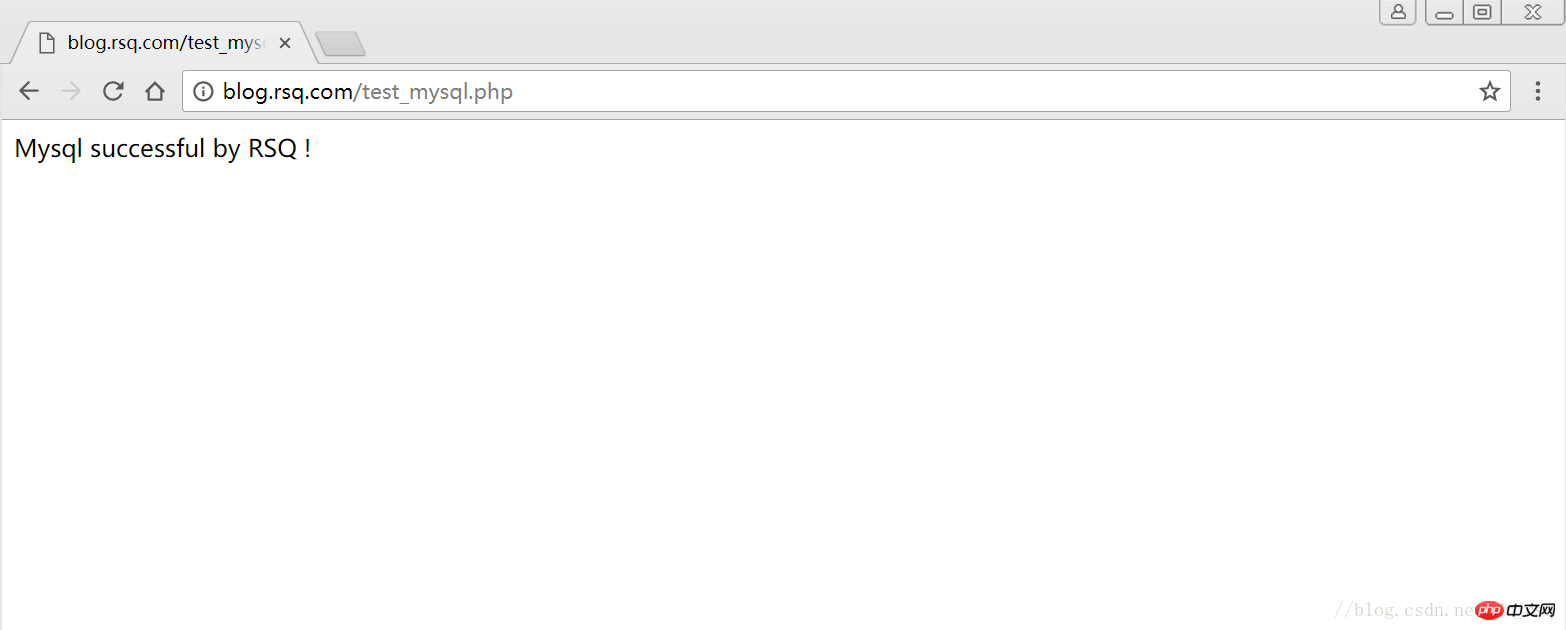
2 LNMP之wordpress個人部落格建立
#2.1 創建wordpress資料庫
# 先登录mysql,创建WordPress所需要的数据库
[root@web01 ~]# mysql -uroot -poldboy123mysql> show databases;
+--------------------+| Database           |
+--------------------+| information_schema |
| mysql              |
| performance_schema || test               |
+--------------------+4 rows in set (0.01 sec)

mysql> drop database test;          # 删除多余的test数据库
Query OK, 0 rows affected (0.02 sec)mysql> show databases;          #显示数据库
+--------------------+| Database           |
+--------------------+| information_schema |
| mysql              |
| performance_schema |+--------------------+3 rows in set (0.00 sec)

mysql> create database wordpress;           # 创建wordpress用户
Query OK, 1 row affected (0.00 sec)mysql> show databases;
+--------------------+| Database           |
+--------------------+| information_schema |
| mysql              |
| performance_schema || wordpress          |
+--------------------+4 rows in set (0.00 sec)mysql> select user();
+----------------+| user()         |
+----------------+| root@localhost |
+----------------+1 row in set (0.00 sec)mysql> select user,host from mysql.user;        #查看当前数据库用户
+------+-----------+| user | host      |
+------+-----------+| root | 127.0.0.1 |
| root | ::1       |
|      | localhost || root | localhost |
+------+-----------+4 rows in set (0.00 sec)

# 为wordpress数据库创建专门管理的wordpress用户并授予所有权限
mysql> grant all on wordpress.* to wordpress@'localhost' identified by '123456';
Query OK, 0 rows affected (0.00 sec)mysql> select user,host from mysql.user;    # 查看wordpress数据库用户是否创建
+-----------+-----------+| user      | host      |
+-----------+-----------+| root      | 127.0.0.1 |
| root      | ::1       |
|           | localhost |
| root      | localhost || wordpress | localhost |
+-----------+-----------+5 rows in set (0.00 sec)
mysql> show grants for wordpress@'localhost';   # 查看指定用户所具有的权限
mysql> flush privileges;        # 刷新一下,使用户权限生效
Query OK, 0 rows affected (0.00 sec)
2.2 修改blog.conf設定檔
# blog.conf配置文件中index新增index.html[root@web01 extra]# cat blog.conf
    server {
        listen       80;
        server_name  blog.rsq.com;
        location / {
            root   html/blog;
            index  index.php index.html index.htm;
        }
        location ~ .*\.(php|php5)?$ {
            root html/blog;
        fastcgi_pass 127.0.0.1:9000;
        fastcgi_index index.php;
        include fastcgi.conf;
        }
    }
[root@web01 tools]# /application/nginx/sbin/nginx -t nginx: the configuration file /application/nginx-1.6.3//conf/nginx.conf syntax is oknginx: configuration file /application/nginx-1.6.3//conf/nginx.conf test is successful
[root@web01 tools]# /application/nginx/sbin/nginx -s reload2.3 下載wordpress軟體套件
# 先去官網檢視所支援外掛程式的版本 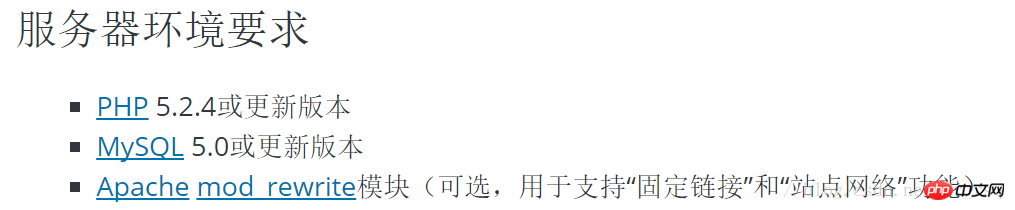
# 去官网下载最新的wordpress软件包[root@web01 extra]# cd /home/oldboy/tools/[root@web01 tools]# wget https://cn.wordpress.org/wordpress-4.9.4-zh_CN.tar.gz# 解压缩[root@web01 tools]# tar -xf wordpress-4.9.4-zh_CN.tar.gz# 拷贝wordpress目录下的所有内容到/application/nginx/html/blog/目录下[root@web01 tools]# cp -a wordpress/* /application/nginx/html/blog/[root@web01 tools]# ls /application/nginx/html/blog/index.php wp-blog-header.php wp-includes wp-settings.phplicense.txt wp-comments-post.php wp-links-opml.php wp-signup.phpreadme.html wp-config-sample.php wp-load.php wp-trackback.phpwp-activate.php wp-content wp-login.php xmlrpc.phpwp-admin wp-cron.php wp-mail.php# 授予权限,先暂时授予所有文件,以后再调整权限[root@web01 tools]# chown -R www.www /application/nginx/html/blog/
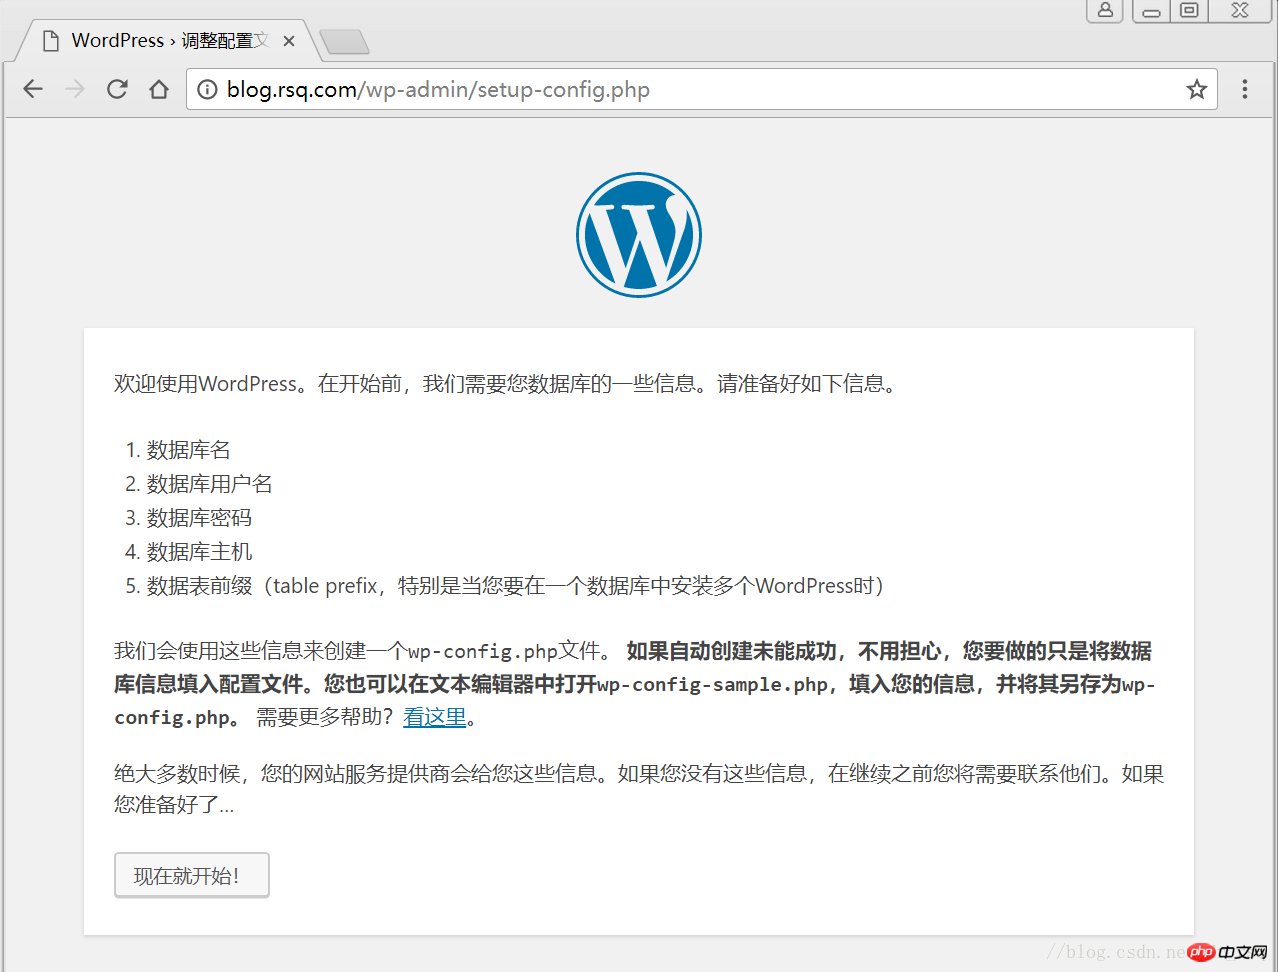
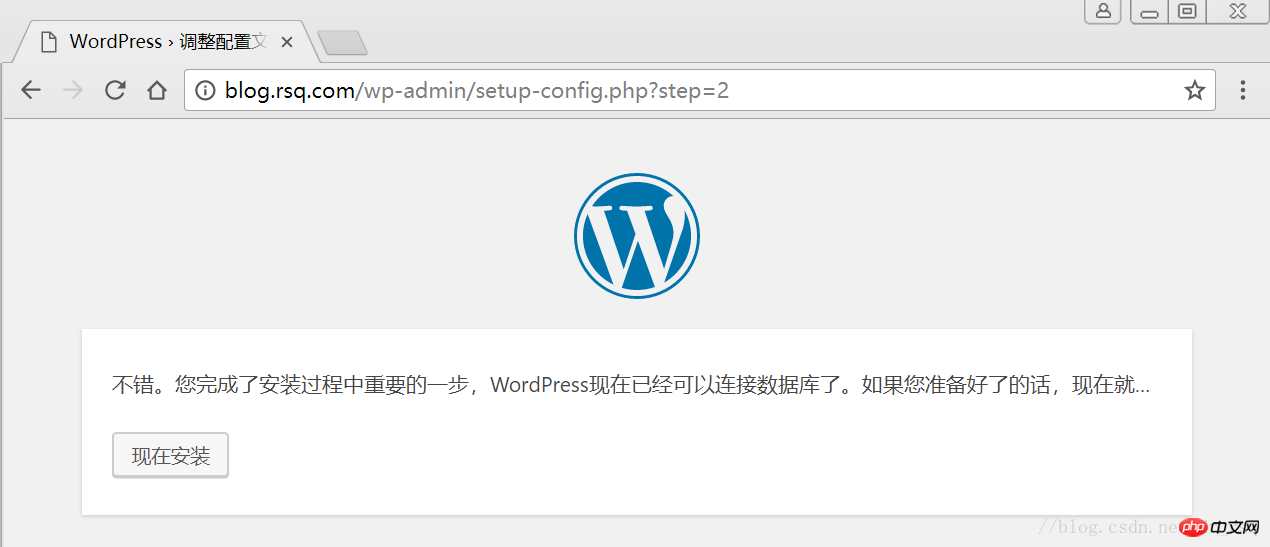
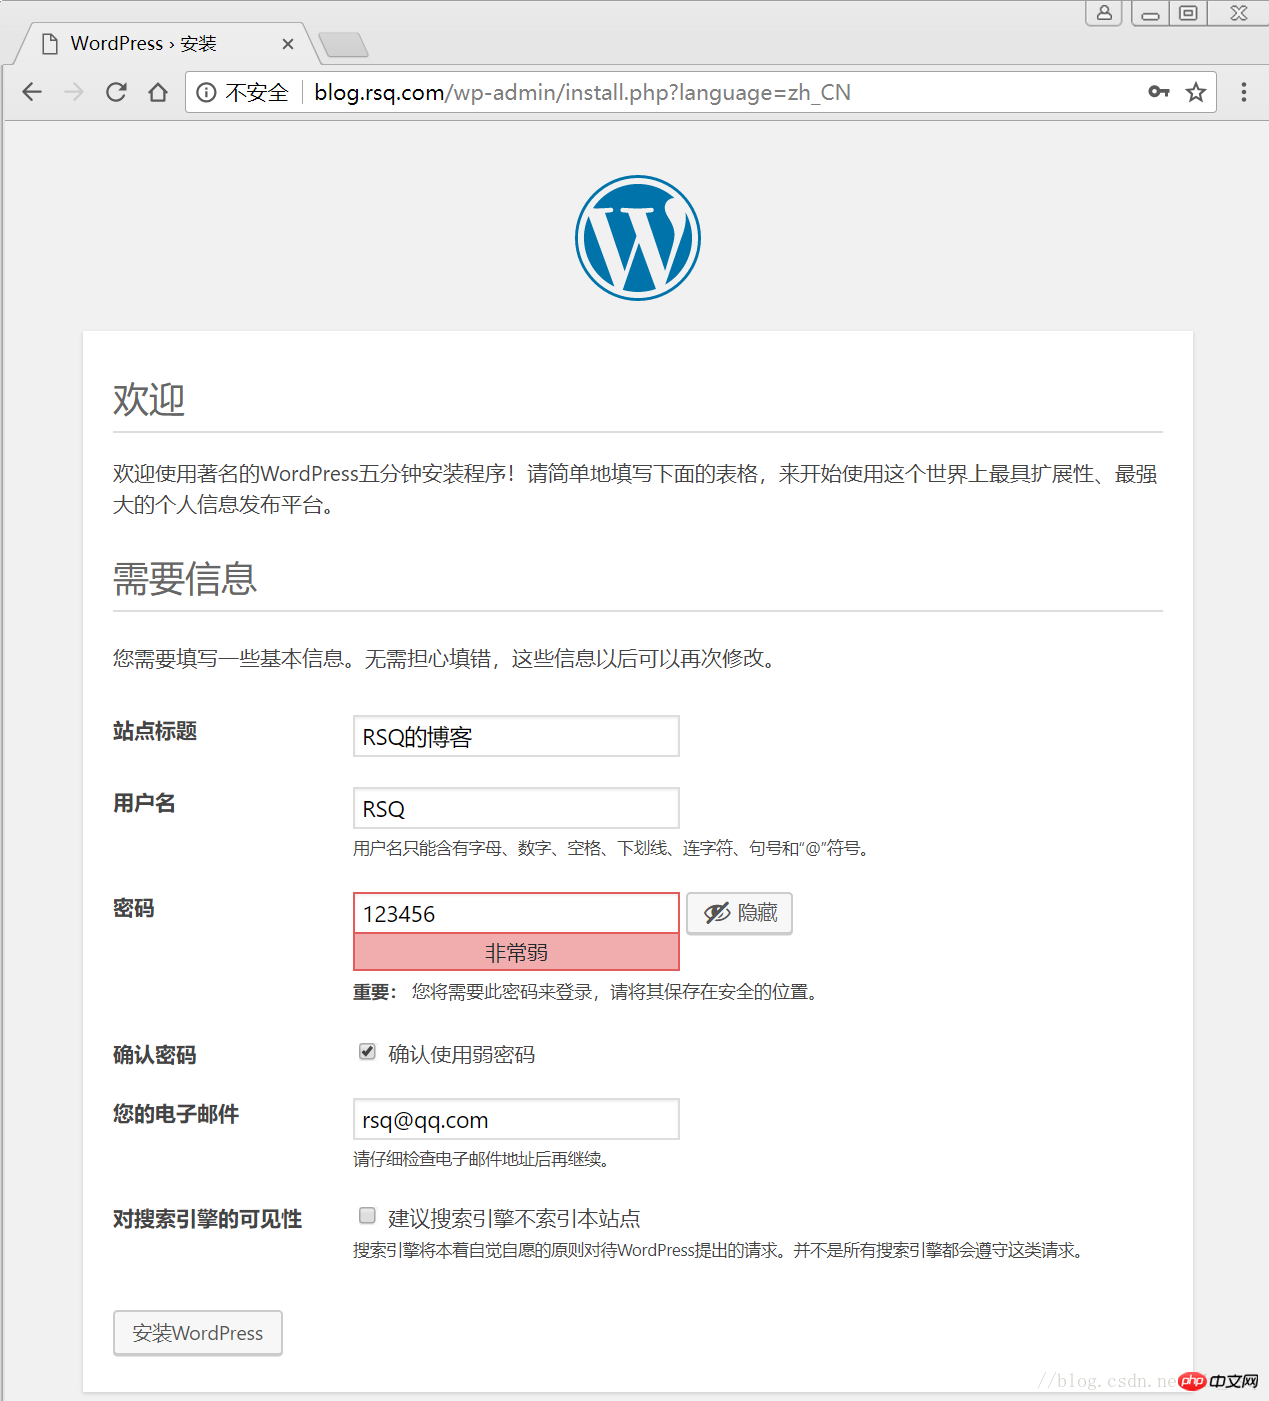
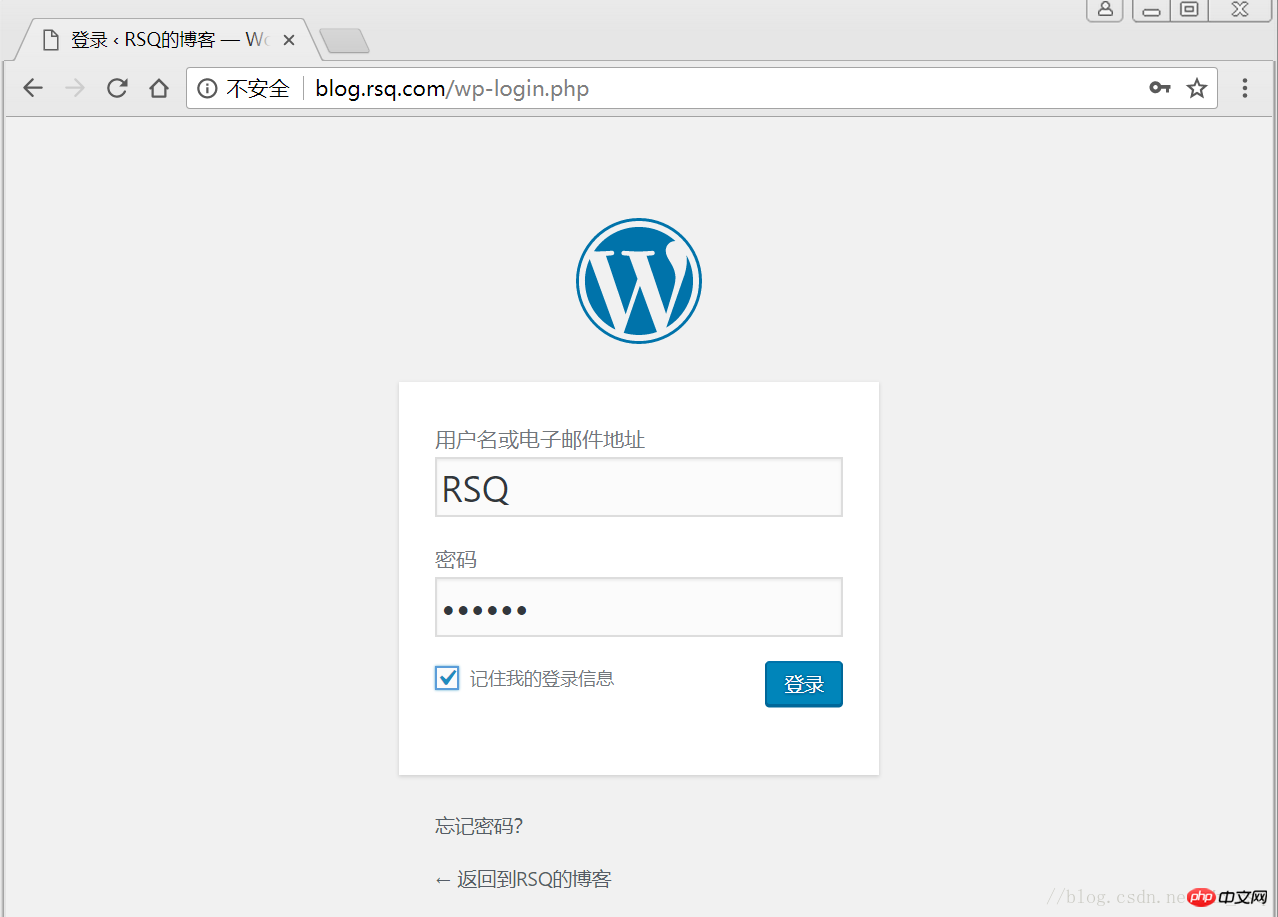
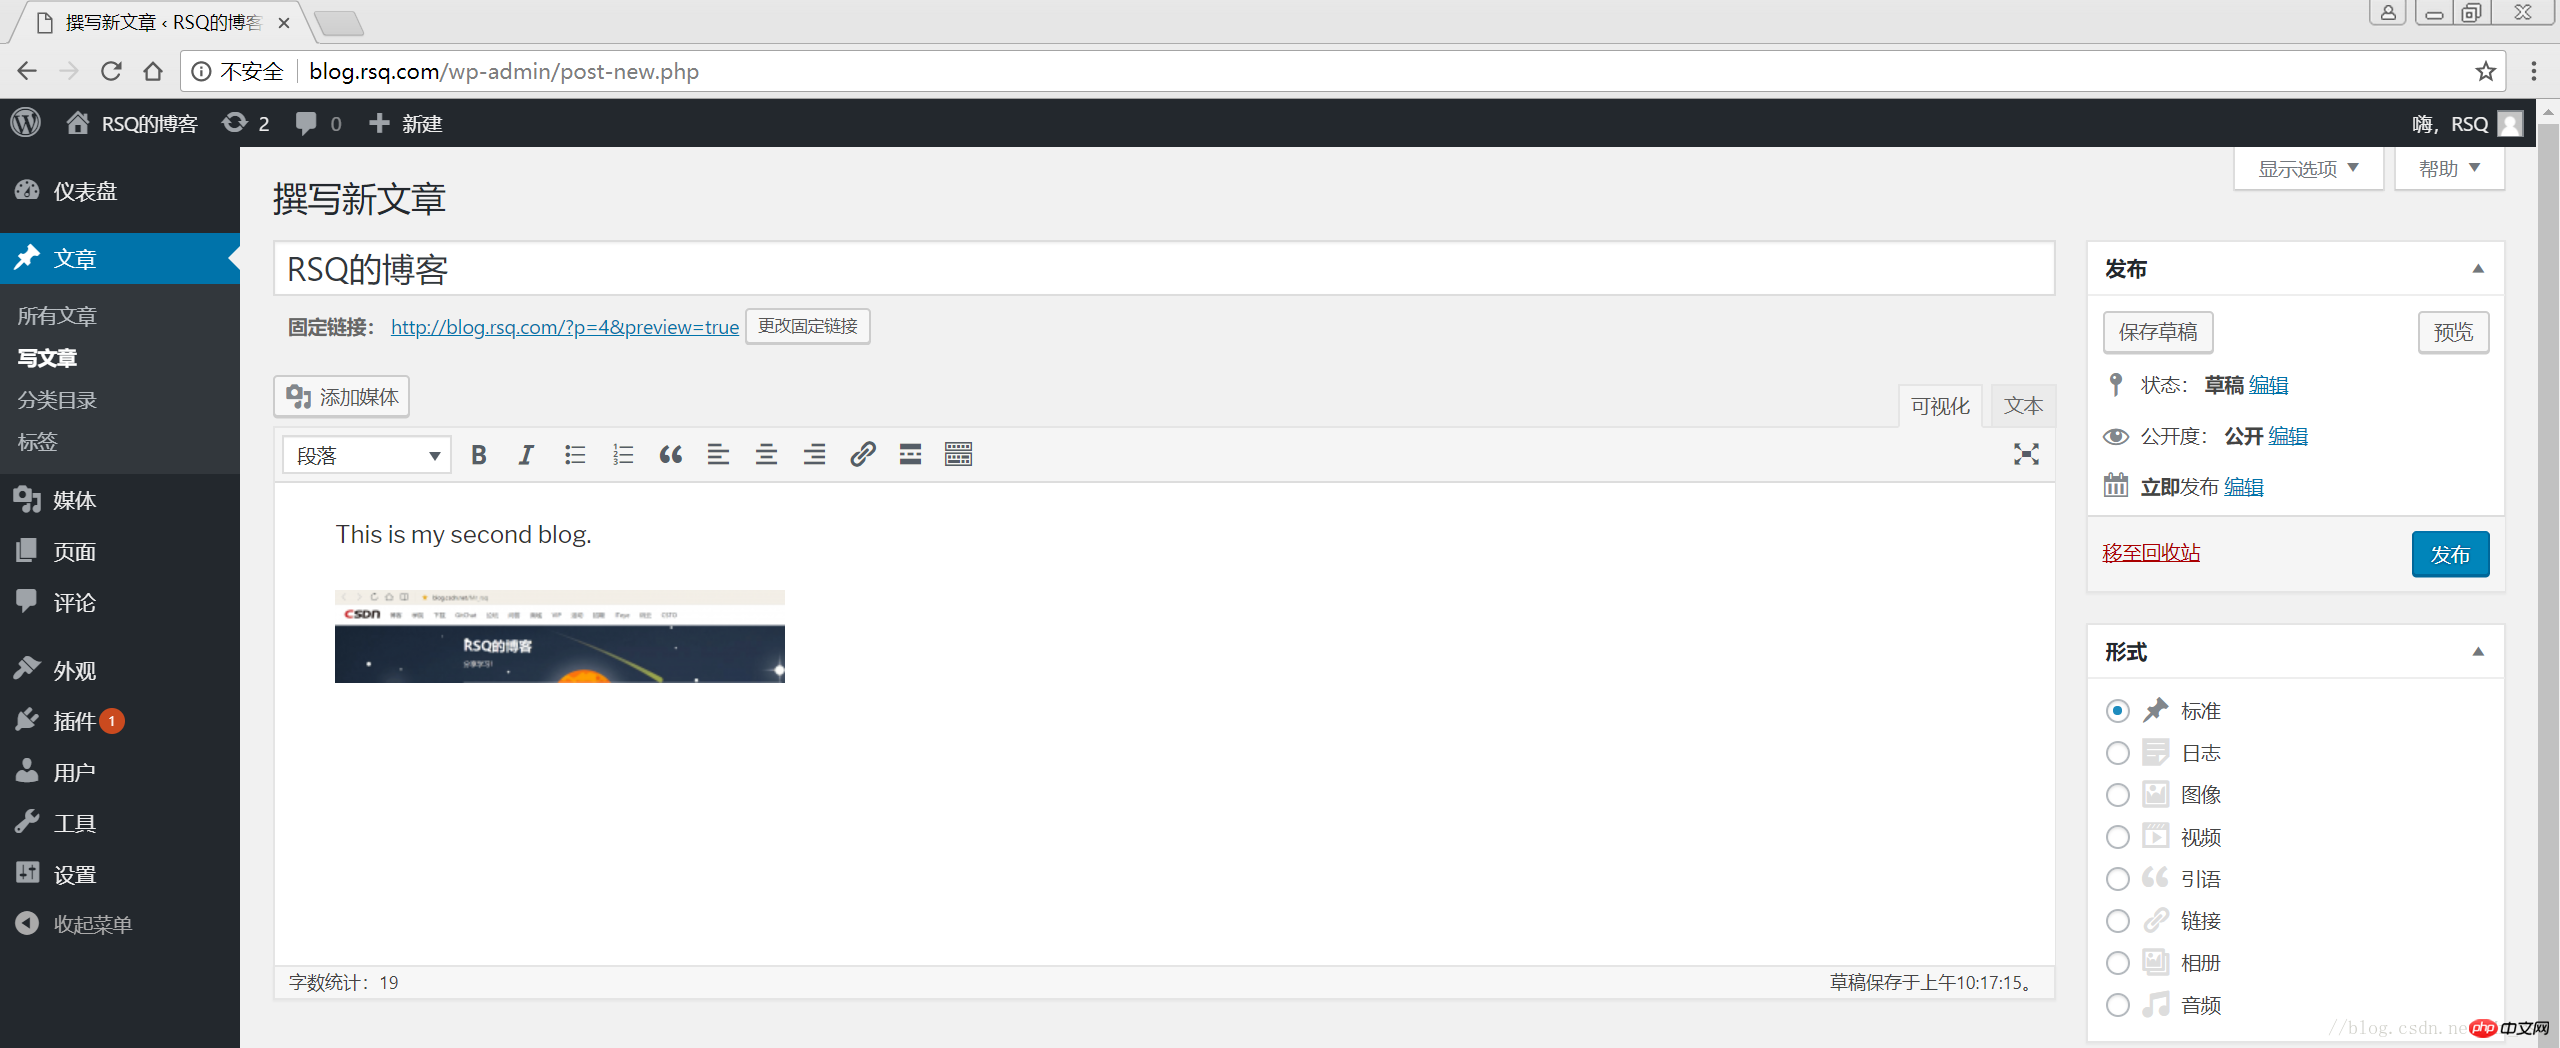
2.4 網頁安裝wordpress
## 用戶端hosts檔案要做解析


#———————————————END!
- 1.1 驗證Nginx到php的連通性
- #2.1 建立wordpress資料庫
- 2.2 修改blog.conf設定檔 ##2.3 下載wordpress軟體包
- 2.4 網頁安裝wordpress
- #1 LNMP組合
- 2 LNMP之wordpress個人部落格建立
1 LNMP組合
1.1 驗證Nginx到php的連結性
在前幾篇文章中所有環境都已經配置好了,下面測試Nginx和php之間的連通LNMP之源碼編譯安裝php-5.5.32LNMP之二進位安裝mysql-5.5.54
LNMP之Nginx服務搭建及三種類型虛擬主機
# 修改/application/nginx/conf/extra/blog.conf[root@web01 extra]# cat blog.conf
    server {        listen       80;
        server_name  blog.rsq.com;
        location / {
            root   html/blog;            index  index.html index.htm;
        }
        location ~ .*\.(php|php5)?$ {
            root html/blog;
        fastcgi_pass 127.0.0.1:9000;
        fastcgi_index index.php;
        include fastcgi.conf;
        }
    }# 重启nginx服务[root@web01 extra]# ../../sbin/nginx -tnginx: the configuration file /application/nginx-1.6.3//conf/nginx.conf syntax is ok
nginx: configuration file /application/nginx-1.6.3//conf/nginx.conf test is successful
[root@web01 extra]# ../../sbin/nginx -s reload# 在/application/nginx/html/blog/目录中写一个WordPress建立個人博客文件,测试连通性[root@web01 extra]# cd /application/nginx/html/blog/[root@web01 blog]# echo "<?php WordPress建立個人博客(); ?>" >test_info.php[root@web01 blog]# cat test_info.php<?php WordPress建立個人博客(); ?>
# windows瀏覽器中做存取測試,若出現以下頁面則測試成功
1.2 驗證php到mysql的連通性# 写一个简单的数据库连接脚本[root@web01 blog]# cat test_mysql.php<?php
$link_id=mysql_connect('localhost','root','oldboy123') or mysql_error(); if($link_id){ echo "Mysql successful by RSQ !";
}else{ echo mysql_error();
}?>
# 瀏覽器端測試
#2 LNMP之wordpress個人部落格建立
2.1 建立wordpress資料庫
# 先登录mysql,创建WordPress所需要的数据库
[root@web01 ~]# mysql -uroot -poldboy123mysql> show databases;
+--------------------+| Database           |
+--------------------+| information_schema |
| mysql              |
| performance_schema || test               |
+--------------------+4 rows in set (0.01 sec)

mysql> drop database test;          # 删除多余的test数据库
Query OK, 0 rows affected (0.02 sec)mysql> show databases;          #显示数据库
+--------------------+| Database           |
+--------------------+| information_schema |
| mysql              |
| performance_schema |+--------------------+3 rows in set (0.00 sec)

mysql> create database wordpress;           # 创建wordpress用户
Query OK, 1 row affected (0.00 sec)mysql> show databases;
+--------------------+| Database           |
+--------------------+| information_schema |
| mysql              |
| performance_schema || wordpress          |
+--------------------+4 rows in set (0.00 sec)mysql> select user();
+----------------+| user()         |
+----------------+| root@localhost |
+----------------+1 row in set (0.00 sec)mysql> select user,host from mysql.user;        #查看当前数据库用户
+------+-----------+| user | host      |
+------+-----------+| root | 127.0.0.1 |
| root | ::1       |
|      | localhost || root | localhost |
+------+-----------+4 rows in set (0.00 sec)

# 为wordpress数据库创建专门管理的wordpress用户并授予所有权限
mysql> grant all on wordpress.* to wordpress@'localhost' identified by '123456';
Query OK, 0 rows affected (0.00 sec)mysql> select user,host from mysql.user;    # 查看wordpress数据库用户是否创建
+-----------+-----------+| user      | host      |
+-----------+-----------+| root      | 127.0.0.1 |
| root      | ::1       |
|           | localhost |
| root      | localhost || wordpress | localhost |
+-----------+-----------+5 rows in set (0.00 sec)
mysql> show grants for wordpress@'localhost';   # 查看指定用户所具有的权限
mysql> flush privileges;        # 刷新一下,使用户权限生效
Query OK, 0 rows affected (0.00 sec)
2.2 修改blog.conf設定檔
# blog.conf配置文件中index新增index.html[root@web01 extra]# cat blog.conf
    server {
        listen       80;
        server_name  blog.rsq.com;
        location / {
            root   html/blog;
            index  index.php index.html index.htm;
        }
        location ~ .*\.(php|php5)?$ {
            root html/blog;
        fastcgi_pass 127.0.0.1:9000;
        fastcgi_index index.php;
        include fastcgi.conf;
        }
    }
[root@web01 tools]# /application/nginx/sbin/nginx -t nginx: the configuration file /application/nginx-1.6.3//conf/nginx.conf syntax is oknginx: configuration file /application/nginx-1.6.3//conf/nginx.conf test is successful
[root@web01 tools]# /application/nginx/sbin/nginx -s reload2.3 下載wordpress軟體套件
# 先去官網查看所支援外掛程式的版本
# 去官网下载最新的wordpress软件包[root@web01 extra]# cd /home/oldboy/tools/[root@web01 tools]# wget https://cn.wordpress.org/wordpress-4.9.4-zh_CN.tar.gz# 解压缩[root@web01 tools]# tar -xf wordpress-4.9.4-zh_CN.tar.gz# 拷贝wordpress目录下的所有内容到/application/nginx/html/blog/目录下[root@web01 tools]# cp -a wordpress/* /application/nginx/html/blog/[root@web01 tools]# ls /application/nginx/html/blog/index.php wp-blog-header.php wp-includes wp-settings.phplicense.txt wp-comments-post.php wp-links-opml.php wp-signup.phpreadme.html wp-config-sample.php wp-load.php wp-trackback.phpwp-activate.php wp-content wp-login.php xmlrpc.phpwp-admin wp-cron.php wp-mail.php# 授予权限,先暂时授予所有文件,以后再调整权限[root@web01 tools]# chown -R www.www /application/nginx/html/blog/
2.4 網頁安裝wordpress
##客戶端hosts檔案要做解析
以上是WordPress建立個人博客的詳細內容。更多資訊請關注PHP中文網其他相關文章!

熱AI工具

Undresser.AI Undress
人工智慧驅動的應用程序,用於創建逼真的裸體照片

AI Clothes Remover
用於從照片中去除衣服的線上人工智慧工具。

Undress AI Tool
免費脫衣圖片

Clothoff.io
AI脫衣器

Video Face Swap
使用我們完全免費的人工智慧換臉工具,輕鬆在任何影片中換臉!

熱門文章
熱工具

記事本++7.3.1
好用且免費的程式碼編輯器

SublimeText3漢化版
中文版,非常好用

禪工作室 13.0.1
強大的PHP整合開發環境

Dreamweaver CS6
視覺化網頁開發工具

SublimeText3 Mac版
神級程式碼編輯軟體(SublimeText3)


 wordpress文章列表怎麼調
Apr 20, 2025 am 10:48 AM
wordpress文章列表怎麼調
Apr 20, 2025 am 10:48 AM
有四種方法可以調整 WordPress 文章列表:使用主題選項、使用插件(如 Post Types Order、WP Post List、Boxy Stuff)、使用代碼(在 functions.php 文件中添加設置)或直接修改 WordPress 數據庫。
 wordpress屏蔽ip的插件有哪些
Apr 20, 2025 am 08:27 AM
wordpress屏蔽ip的插件有哪些
Apr 20, 2025 am 08:27 AM
WordPress 屏蔽 IP 的插件選擇至關重要。可考慮以下類型:基於 .htaccess:高效,但操作複雜;數據庫操作:靈活,但效率較低;基於防火牆:安全性能高,但配置複雜;自行編寫:最高控制權,但需要更多技術水平。
 wordpress主機怎麼建站
Apr 20, 2025 am 11:12 AM
wordpress主機怎麼建站
Apr 20, 2025 am 11:12 AM
要使用 WordPress 主機建站,需要:選擇一個可靠的主機提供商。購買一個域名。設置 WordPress 主機帳戶。選擇一個主題。添加頁面和文章。安裝插件。自定義您的網站。發布您的網站。
 wordpress編輯日期怎麼取消
Apr 20, 2025 am 10:54 AM
wordpress編輯日期怎麼取消
Apr 20, 2025 am 10:54 AM
WordPress 編輯日期可以通過三種方法取消:1. 安裝 Enable Post Date Disable 插件;2. 在 functions.php 文件中添加代碼;3. 手動編輯 wp_posts 表中的 post_modified 列。
 wordpress主題頭部圖片如何更換
Apr 20, 2025 am 10:00 AM
wordpress主題頭部圖片如何更換
Apr 20, 2025 am 10:00 AM
更換 WordPress 主題頭部圖片的分步指南:登錄 WordPress 儀錶盤,導航至“外觀”>“主題”。選擇要編輯的主題,然後單擊“自定義”。打開“主題選項”面板並尋找“網站標頭”或“頭部圖片”選項。單擊“選擇圖像”按鈕並上傳新的頭部圖片。裁剪圖像並單擊“保存並裁剪”。單擊“保存並發布”按鈕以更新更改。
 wordpress怎麼寫頁頭
Apr 20, 2025 pm 12:09 PM
wordpress怎麼寫頁頭
Apr 20, 2025 pm 12:09 PM
在WordPress中創建自定義頁頭的步驟如下:編輯主題文件“header.php”。添加您的網站名稱和描述。創建導航菜單。添加搜索欄。保存更改並查看您的自定義頁頭。
 wordpress出現錯誤怎麼辦
Apr 20, 2025 am 11:57 AM
wordpress出現錯誤怎麼辦
Apr 20, 2025 am 11:57 AM
WordPress 錯誤解決指南:500 內部服務器錯誤:禁用插件或檢查服務器錯誤日誌。 404 未找到頁面:檢查 permalink 並確保頁面鏈接正確。白屏死機:增加服務器 PHP 內存限制。數據庫連接錯誤:檢查數據庫服務器狀態和 WordPress 配置。其他技巧:啟用調試模式、檢查錯誤日誌和尋求支持。預防錯誤:定期更新 WordPress、僅安裝必要插件、定期備份網站和優化網站性能。
 wordpress評論怎麼顯示
Apr 20, 2025 pm 12:06 PM
wordpress評論怎麼顯示
Apr 20, 2025 pm 12:06 PM
WordPress 網站中啟用評論功能:1. 登錄管理面板,轉到 "設置"-"討論",勾選 "允許評論";2. 選擇顯示評論的位置;3. 自定義評論表單;4. 管理評論,批准、拒絕或刪除;5. 使用 <?php comments_template(); ?> 標籤顯示評論;6. 啟用嵌套評論;7. 調整評論外形;8. 使用插件和驗證碼防止垃圾評論;9. 鼓勵用戶使用 Gravatar 頭像;10. 創建評論指
