vue專案中如何映入noVNC遠端桌面
這次帶給大家vue專案中如何映入noVNC遠端桌面,vue專案中映入noVNC遠端桌面的注意事項有哪些,以下就是實戰案例,一起來看一下。
1 、首先,先簡單介紹一下概念。
VNCServer 是一個為了滿足分散式使用者共享伺服器資源,而在伺服器開啟的一項服務,對應的客戶端軟體有圖形化客戶端VNCViewer,而noVNC 則是HTML5 VNC 用戶端,它採用HTML 5 WebSocket, Canvas 和JavaScript 實作。
noVNC 普遍用在各大雲端運算、虛擬機器控制面板中。 noVNC 採用 WebSockets 實現,但目前大多 VNC 伺服器不支援 WebSocket,所以 noVNC 不能直連 VNC 伺服器,而是需要開啟一個代理程式來做 WebSockets 和 TCP sockets 之間的轉換。這個代理叫做 websockify。
2 、專案中有這樣一個需求,系統中有多個功能頁,但是功能還包括原有的在實體終端設備上的功能#(包括後來在電腦的虛擬終端客戶端),這就用到了noVNC。好處是可以將其他功能係統(或稱為頁面)嵌入新的專案中,也可以去點擊操作上面的功能等,可以暫時解決一些問題。
3 、由於專案框架是vue,所以以下都是前端實作部分
首先介紹noVNC的函式庫。有兩種引入方式,一是,直接下載源碼到自己的專案中,此方式一些問題下面進行詳細介紹;
git clone git://github.com/novnc/noVNC
二是,如果採用了webpack的方式,可以使用npm進行安裝依賴,更方便。
npm install @novnc/novnc
以下是詳細程式碼部分
#HTML
<template>
 <p class="page-home" ref="canvas">
 <canvas id="noVNC_canvas" width="800" height="600">
 Canvas not supported.
 </canvas>
 </p>
</template>
Script
import WebUtil from '../../noVNC/app/webutil.js'

import Base64 from '../../noVNC/core/base64.js'
import Websock from '../../noVNC/core/websock.js'
import '../../noVNC/core/des.js'
import '../../noVNC/core/input/keysymdef.js'
import '../../noVNC/core/input/xtscancodes.js'
import '../../noVNC/core/input/util.js'
import {Keyboard, Mouse} from '../../noVNC/core/input/devices.js'
import Display from '../../noVNC/core/display.js'
import '../../noVNC/core/inflator.js'
import RFB from '../../noVNC/core/rfb.js'
import '../../noVNC/core/input/keysym.js'由於採用的是第一種引入方式,所以在資源引入上用了import的方式。需要注意的是引入某些檔案時,專案是基於es6的語法,所以引入外部js的方式略有差異。例如引入webutil.js文件,需要增加export default,然後才能正確使用。在引入時可以稍微修改一下文件即可。文件中有對應的備註描述。
引入資源完成後接下來就是如何去使用了,其實並不複雜。話不多說,上碼。
connectVNC () {
 var
  DEFAULT_HOST = '',
  DEFAULT_PORT = '',
  DEFAULT_PASSWORD = "",
  DEFAULT_PATH = "websockify"
 ;
 var cRfb = null;
 var oTarget = document.getElementById("noVNC_canvas");
 let that = this
 if (!this.currentEquipment) {
  return
 }
 let novncPort = this.currentEquipment.novncPort
 getNovncIp().then(function (resData) {
  WebUtil.init_logging(WebUtil.getConfigVar("logging", "warn"));
  var sHost = resData.data.content.ip || DEFAULT_HOST,
  nPort = novncPort || DEFAULT_PORT,
  sPassword = DEFAULT_PASSWORD,
  sPath = DEFAULT_PATH
  ;
  cRfb = new RFB({
  "target": oTarget,<span class="space" style="white-space:pre;display:inline-block;text-indent:2em;line-height:inherit;"> // 目标</span>
  "focusContainer": top.document, // 鼠标焦点定位
  "encrypt": WebUtil.getConfigVar("encrypt", window.location.protocol === "https:"),
  "repeaterID": WebUtil.getConfigVar("repeaterID", ""),
  "true_color": WebUtil.getConfigVar("true_color", true),
  "local_cursor": WebUtil.getConfigVar("cursor", true),
  "shared": WebUtil.getConfigVar("shared", true),
  "view_only": WebUtil.getConfigVar("view_only", false),
  "onFBUComplete": that._onCompleteHandler, // 回调函数
  "onDisconnected": that._disconnected // 断开连接
  });
  // console.log('sHost:' + sHost + '--nPort:' + nPort)
  cRfb.connect(sHost, nPort, sPassword, sPath);
 })
},首先是在methods生命週期中定義了一個方法,把初始化相關的操作寫在裡面。然後再mounted生命週期中去呼叫this.connectVnc()。一定要在這個生命週期內去調用,否則canvas未初始化是不能取得dom結構的。
簡單描述一下就是,實例化一個對象,包括一些用到的方法或屬性,然後呼叫connect方法,並傳入host,port,password,path參數即可建立連線。
其中有兩個方法,一個是連結成功後的回呼_.onCompleteHandler,一個是斷開連接的回呼_disconnected
// 远程桌面连接成功后的回调函数
 _onCompleteHandler (rfb, fbu) {
 // 清除 onComplete 的回调。
 rfb.set_onFBUComplete(function () {
 });

 var oDisplay = rfb.get_display(),
  nWidth = oDisplay.get_width(),
  nHeight = oDisplay.get_height(),

  oView = oDisplay.get_target(),
  nViewWidth = oView.clientWidth,
  nViewHeight = oView.clientHeight
 ;

 // 设置当前与实际的比例。
 oDisplay.setScale(nWidth / nViewWidth, nHeight / nViewHeight);

}可以在連接成功後設定一些參數資訊或螢幕尺寸等。
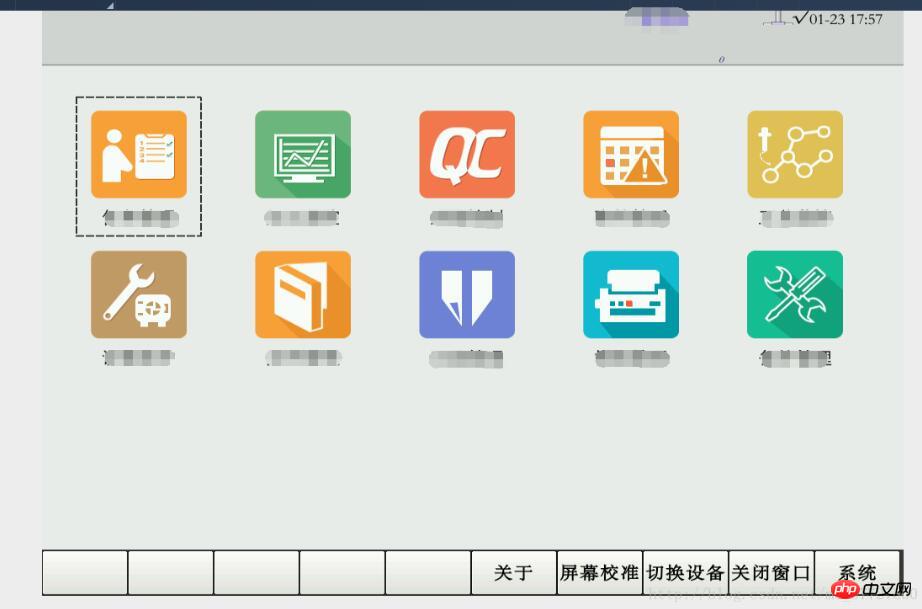
做好以上操作之後,就可以在網頁上看到一個遠端桌面螢幕了哦。

一個簡單的遠端桌面,是可以操作的。有更多其他的參數或要求的可以參考官網點選開啟連結。或聯絡我討論哦
相信看了本文案例你已經掌握了方法,更多精彩請關注php中文網其它相關文章!
推薦閱讀:
以上是vue專案中如何映入noVNC遠端桌面的詳細內容。更多資訊請關注PHP中文網其他相關文章!

熱AI工具

Undresser.AI Undress
人工智慧驅動的應用程序,用於創建逼真的裸體照片

AI Clothes Remover
用於從照片中去除衣服的線上人工智慧工具。

Undress AI Tool
免費脫衣圖片

Clothoff.io
AI脫衣器

AI Hentai Generator
免費產生 AI 無盡。

熱門文章

熱工具

記事本++7.3.1
好用且免費的程式碼編輯器

SublimeText3漢化版
中文版,非常好用

禪工作室 13.0.1
強大的PHP整合開發環境

Dreamweaver CS6
視覺化網頁開發工具

SublimeText3 Mac版
神級程式碼編輯軟體(SublimeText3)

熱門話題
 遠端桌面無法驗證遠端電腦的身份
Feb 29, 2024 pm 12:30 PM
Windows遠端桌面服務允許使用者遠端存取計算機,對於需要遠端工作的人來說非常方便。然而,當使用者無法連線到遠端電腦或遠端桌面無法驗證電腦身分時,會遇到問題。這可能是由網路連線問題或憑證驗證失敗引起的。在這種情況下,使用者可能需要檢查網路連線、確保遠端電腦是線上的,並嘗試重新連線。另外,確保遠端電腦的身份驗證選項已正確配置也是解決問題的關鍵。透過仔細檢查和調整設置,通常可以解決Windows遠端桌面服務中出現的這類問題。由於存在時間或日期差異,遠端桌面無法驗證遠端電腦的身份。請確保您的計算
 如何讓遠端桌面連線顯示對方的工作列
Jan 03, 2024 pm 12:49 PM
遠端桌面連線使用的使用者非常多,很多使用者在使用的時候都會遇到些小問題,例如沒有顯示對方的任務欄,其實很可能是對方的設定問題,下面就來看看解決方法吧。遠端桌面連線怎麼顯示對方的工作列:1、先點選「設定」。 2、然後再開啟「個人化」。 3、隨後選擇左側的「工作列」4、將圖中隱藏工作列選項關閉即可。
 六款常用遠端連線工具,你最中意哪一款?
Feb 22, 2024 pm 06:28 PM
Xshell「Xshell」是一款功能強大的安全終端模擬軟體,支援SSH1、SSH2協定以及Windows平台的TELNET協定。透過在Windows介面下使用Xshell,使用者可以輕鬆存取遠端伺服器,實現遠端控制終端的操作。此外,Xshell還提供了各種外觀配色方案和樣式選擇,使用戶能夠根據個人喜好進行客製化,提升使用體驗。 Xshell的特點和優點如下:會話管理:使用會話管理器和可繼承的會話配置可以輕鬆建立、編輯和啟動會話。綜合支援:支援多種驗證方法、協定或演算法,能夠處理各種情況。本地Shel
 學習並使用遠端連接命令的方法
Jan 12, 2024 pm 07:57 PM
對於許多從事運維工作的工程師來說,windows遠端連線是非常重要的,熟練的使用遠端命令可以大大的提高工作效率,今天小編就來說說遠端連線命令怎麼使用。微軟windows作業系統中是自帶遠端連線功能的,您可以透過遠端連線指令來連線遠端計算機,很多朋友都不知道遠端連線指令怎麼使用,下面就來看看小編是怎麼操作的吧!遠端連線指令怎麼用1.按鍵盤上的windows+R組合鍵鍵,開啟執行對話框,在運作框中輸入遠端連線指令mstsc並回車。遠端連線圖-12.接著會出現遠端桌面連線對話框,輸入電腦名稱或IP地
 深入探討Linux遠端管理協定:技術實務全面指南
Feb 24, 2024 pm 02:18 PM
《Linux遠端管理協定全面解讀:技術實務全攻略,需要具體程式碼範例》隨著網際網路的快速發展,遠端管理伺服器成為了一種高效能管理伺服器的方法,Linux系統下的遠端管理協定更是備受關注。本文將全面解讀Linux遠端管理協議,提供詳細的技術實踐攻略,並附帶具體的程式碼範例,幫助讀者深入了解並實踐遠端管理伺服器的方法。一、SSH協定SSH(SecureShell)是一
 Java遠端程式碼執行漏洞的威脅
Aug 08, 2023 pm 03:21 PM
Java遠端程式碼執行漏洞的威脅Java是一門強大且廣泛應用的程式語言,眾多企業和開發者用於建立安全且可靠的應用程式。然而,即使是Java也存在一些安全漏洞,其中之一就是遠端程式碼執行漏洞。本文將介紹Java遠端程式碼執行漏洞的威脅,並提供一個程式碼範例來說明。遠端程式碼執行漏洞是指攻擊者可以透過輸入惡意程式碼,使目標應用程式執行該程式碼的漏洞。這種漏洞通常由於應用程式
 貝銳向日葵遠端系統遇到故障,官方急修中,稱為'資料庫異常”
Jan 26, 2024 pm 09:24 PM
本站1月26日訊息,今天下午,本站小夥伴回饋向日葵遠端突然無法連接,登入顯示503伺服器錯誤。本站查詢貝銳向日葵官網發現,該公司已發布故障公告:由於資料庫異常,導致部分用戶出現設備清單加載異常,發起遠端異常情況,工程師已在緊急修復中,請將設備保持在線狀態,屆時會自動恢復。貝銳向日葵是一款遠端控制軟體,廣泛應用於IT維運與遠距辦公。據稱,它連接的遠控設備數量超過5億,服務的企業客戶數量超過70萬。
 揭秘Linux遠端管理協議:了解技術應用的各個層面
Feb 24, 2024 am 09:21 AM
Linux遠端管理協定一直以來都是網路管理中的重要組成部分,它的應用範圍廣泛,涉及伺服器管理、遠端維護、監控等多個方面。在Linux系統中,有許多種遠端管理協議,其中比較常見的包括SSH、Telnet、VNC等。本文將圍繞這些協定展開探討,深入探秘Linux遠端管理協定的技術應用,並提供具體的程式碼範例。 1.SSH協定SSH(SecureShell)是一


