

React中使用BootStrap使用者體驗框架(詳細教學)
這篇文章主要介紹了React BootStrap用戶體驗框架快速上手的相關知識,非常不錯,具有參考借鑒價值,需要的朋友可以參考下
官方文檔http://react-bootstrap. github.io/getting-started.html
安裝
#在終端機cd到你的專案目錄下執行:$ npm install react-bootstrap
然後需要我們手動引用css
<!-- Latest compiled and minified CSS -->
<link rel="stylesheet" href="https://maxcdn.bootstrapcdn.com/bootstrap/latest/css/bootstrap.min.css">
<!-- Optional theme -->
<link rel="stylesheet" href="https://maxcdn.bootstrapcdn.com/bootstrap/latest/css/bootstrap-theme.min.css">
但是我們在學習的時候使用外部的URL,太慢了。因此我們索引把bootstrap安裝到本地。
$ npm install bootstrap
然後你會發現在你的node_modules目錄下多了bootstrap。
這樣頁面上就可以引用本地的css了
<link rel="stylesheet" type="text/css" href="node_modules/bootstrap/dist/css/bootstrap.min.css" rel="external nofollow" rel="external nofollow" >
好,我們動手來使用React-BootStrap框架吧
http://react-bootstrap.github.io/components.html
我們這裡示範使用它的導航條元件
在index.js裡:
#
const React = require("react");
const ReactDOM = require("react-dom");
import {Navbar} from "react-bootstrap";
const navbarInstance = (
  <Navbar>
    <Navbar.Header>
      <Navbar.Brand>
        <a href="#" rel="external nofollow" >react-bootstrap</a>
      </Navbar.Brand>
    </Navbar.Header>
  </Navbar>
);
// 然后我们渲染到body里
ReactDOM.render(navbarInstance,document.body);html頁面上:
  es2105的写法

  <link rel="stylesheet" type="text/css" href="node_modules/bootstrap/dist/css/bootstrap.min.css" rel="external nofollow" rel="external nofollow" >
效果如下:
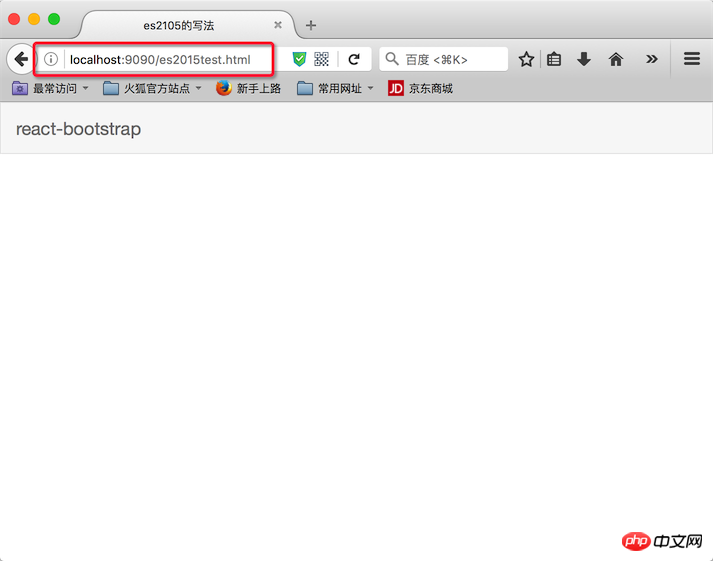
主要看瀏覽器位址,這是我們前面設定的」熱啟動」。
執行指令 $ npm start 就開啟了服務
上面是我整理給大家的,希望今後會對大家有幫助。
相關文章:
JavaScript中使用import 和require打包後實作原理分析
##
以上是React中使用BootStrap使用者體驗框架(詳細教學)的詳細內容。更多資訊請關注PHP中文網其他相關文章!

熱AI工具

Undresser.AI Undress
人工智慧驅動的應用程序,用於創建逼真的裸體照片

AI Clothes Remover
用於從照片中去除衣服的線上人工智慧工具。

Undress AI Tool
免費脫衣圖片

Clothoff.io
AI脫衣器

Video Face Swap
使用我們完全免費的人工智慧換臉工具,輕鬆在任何影片中換臉!

熱門文章
熱工具

記事本++7.3.1
好用且免費的程式碼編輯器

SublimeText3漢化版
中文版,非常好用

禪工作室 13.0.1
強大的PHP整合開發環境

Dreamweaver CS6
視覺化網頁開發工具

SublimeText3 Mac版
神級程式碼編輯軟體(SublimeText3)


 bootstrap搜索欄怎麼獲取
Apr 07, 2025 pm 03:33 PM
bootstrap搜索欄怎麼獲取
Apr 07, 2025 pm 03:33 PM
如何使用 Bootstrap 獲取搜索欄的值:確定搜索欄的 ID 或名稱。使用 JavaScript 獲取 DOM 元素。獲取元素的值。執行所需的操作。
 vue中怎麼用bootstrap
Apr 07, 2025 pm 11:33 PM
vue中怎麼用bootstrap
Apr 07, 2025 pm 11:33 PM
在 Vue.js 中使用 Bootstrap 分為五個步驟:安裝 Bootstrap。在 main.js 中導入 Bootstrap。直接在模板中使用 Bootstrap 組件。可選:自定義樣式。可選:使用插件。
 vue.js vs.反應:特定於項目的考慮因素
Apr 09, 2025 am 12:01 AM
vue.js vs.反應:特定於項目的考慮因素
Apr 09, 2025 am 12:01 AM
Vue.js適合中小型項目和快速迭代,React適用於大型複雜應用。 1)Vue.js易於上手,適用於團隊經驗不足或項目規模較小的情況。 2)React的生態系統更豐富,適合有高性能需求和復雜功能需求的項目。
 bootstrap垂直居中怎麼弄
Apr 07, 2025 pm 03:21 PM
bootstrap垂直居中怎麼弄
Apr 07, 2025 pm 03:21 PM
使用 Bootstrap 實現垂直居中:flexbox 法:使用 d-flex、justify-content-center 和 align-items-center 類,將元素置於 flexbox 容器內。 align-items-center 類法:對於不支持 flexbox 的瀏覽器,使用 align-items-center 類,前提是父元素具有已定義的高度。
 React在HTML中的作用:增強用戶體驗
Apr 09, 2025 am 12:11 AM
React在HTML中的作用:增強用戶體驗
Apr 09, 2025 am 12:11 AM
React通過JSX與HTML結合,提升用戶體驗。 1)JSX嵌入HTML,使開發更直觀。 2)虛擬DOM機制優化性能,減少DOM操作。 3)組件化管理UI,提高可維護性。 4)狀態管理和事件處理增強交互性。
 bootstrap怎麼插入圖片
Apr 07, 2025 pm 03:30 PM
bootstrap怎麼插入圖片
Apr 07, 2025 pm 03:30 PM
在 Bootstrap 中插入圖片有以下幾種方法:直接插入圖片,使用 HTML 的 img 標籤。使用 Bootstrap 圖像組件,可以提供響應式圖片和更多樣式。設置圖片大小,使用 img-fluid 類可以使圖片自適應。設置邊框,使用 img-bordered 類。設置圓角,使用 img-rounded 類。設置陰影,使用 shadow 類。調整圖片大小和位置,使用 CSS 樣式。使用背景圖片,使用 background-image CSS 屬性。
 bootstrap怎麼設置框架
Apr 07, 2025 pm 03:27 PM
bootstrap怎麼設置框架
Apr 07, 2025 pm 03:27 PM
要設置 Bootstrap 框架,需要按照以下步驟:1. 通過 CDN 引用 Bootstrap 文件;2. 下載文件並將其託管在自己的服務器上;3. 在 HTML 中包含 Bootstrap 文件;4. 根據需要編譯 Sass/Less;5. 導入定製文件(可選)。設置完成後,即可使用 Bootstrap 的網格系統、組件和样式創建響應式網站和應用程序。
 bootstrap怎麼調整大小
Apr 07, 2025 pm 03:18 PM
bootstrap怎麼調整大小
Apr 07, 2025 pm 03:18 PM
要調整 Bootstrap 中元素大小,可以使用尺寸類,具體包括:調整寬度:.col-、.w-、.mw-調整高度:.h-、.min-h-、.max-h-
