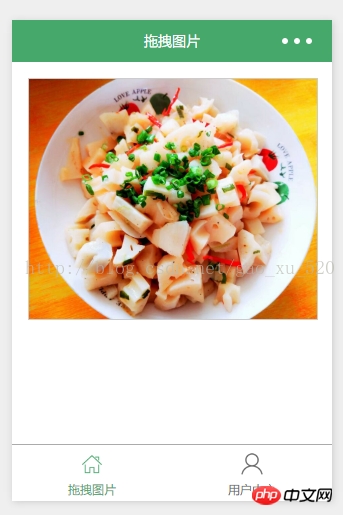
這篇文章主要介紹了微信小程式開發圖片拖曳實例詳解的相關資料,需要的朋友可以參考下
微信小程式開發圖片拖曳實例詳解

1.寫頁面結構:moveimg.wxml
<view class="container">
  <view class="cnt">
    <image class="image-style" src="../uploads/foods.jpg" style="left:{{ballleft}}px;width:{{screenWidth}}px" bindtouchmove="ballMoveEvent">
    </image>
  </view>
</view>2.寫頁面樣式:moveimg.wxss
.container {
  box-sizing:border-box;
  padding:1rem;
}
.cnt{
  width:100%;
  height:15rem;
  border: 1px solid #ccc;
  position:relative;
  overflow: hidden;
}
.image-style{
  position: absolute;
  top: 0px;
  left:0px;
  height:100%;
}3.設定資料:moveimg.js
var app = getApp()
Page({
data: {
ballleft:-20,
screenWidth: 0,
},
onLoad: function() {
var _this = this;
wx.getSystemInfo({
success: function(res) {
_this.setData({
screenHeight: res.windowHeight,
screenWidth: res.windowWidth,
});
}
});
},
ballMoveEvent: function(e) {
var touchs = e.touches[0];
var pageX = touchs.pageX;
console.log('宽度 '+this.data.screenWidth)
console.log('pageX: ' + pageX);
//这里用right和bottom.所以需要将pageX pageY转换
var x = this.data.screenWidth/2 - pageX-20;
if(this.data.screenWidth>385){
if(x>42){x=42;}
}else{
if(x>32){x=32;}
}
if(x<0){x=0;}
console.log('x:' + x)
this.setData({
ballleft: -x
});
}
}) 這幾天一直在研究圖片裁剪,思路是有,但卻遇到各種問題。可憐程式不易啊。
想了好久,決定還是簡單開始吧。如果大家有更好的方式或其他想法,歡迎提出,一起討論。
以上就是本文的全部內容,希望對大家的學習有所幫助,更多相關內容請關注PHP中文網!
相關推薦:
以上是微信小程式開發圖片拖曳的詳細內容。更多資訊請關注PHP中文網其他相關文章!


