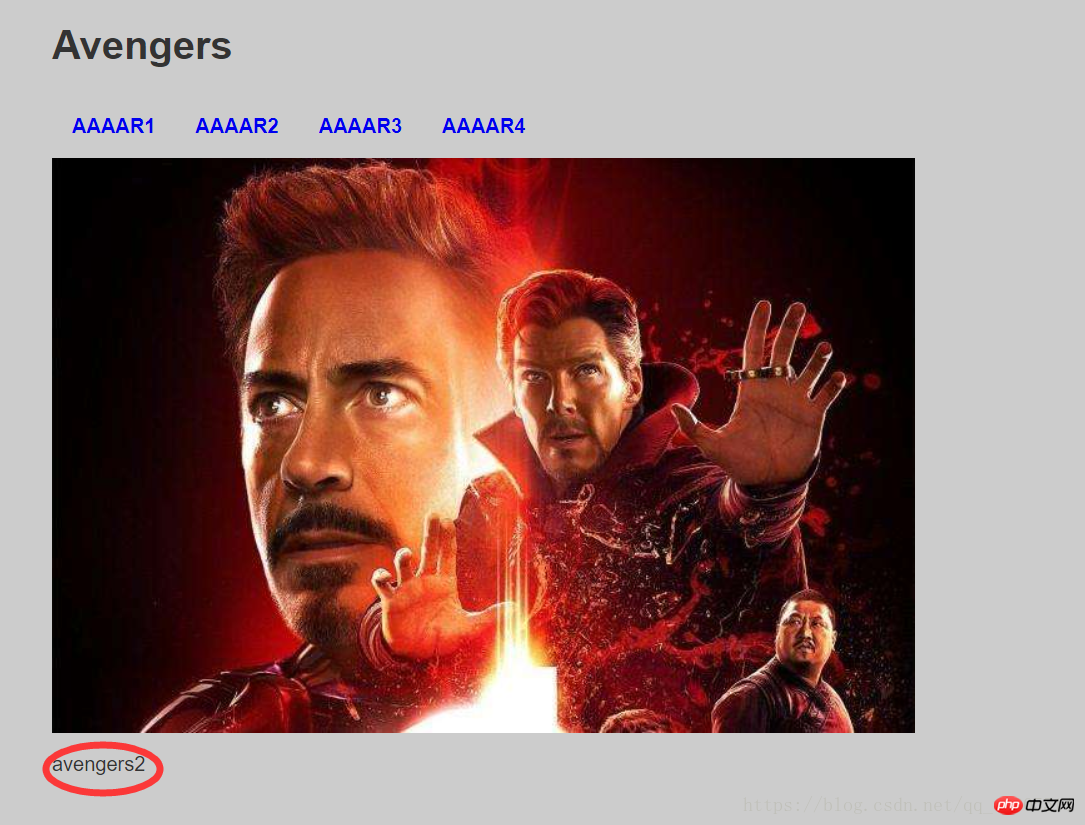
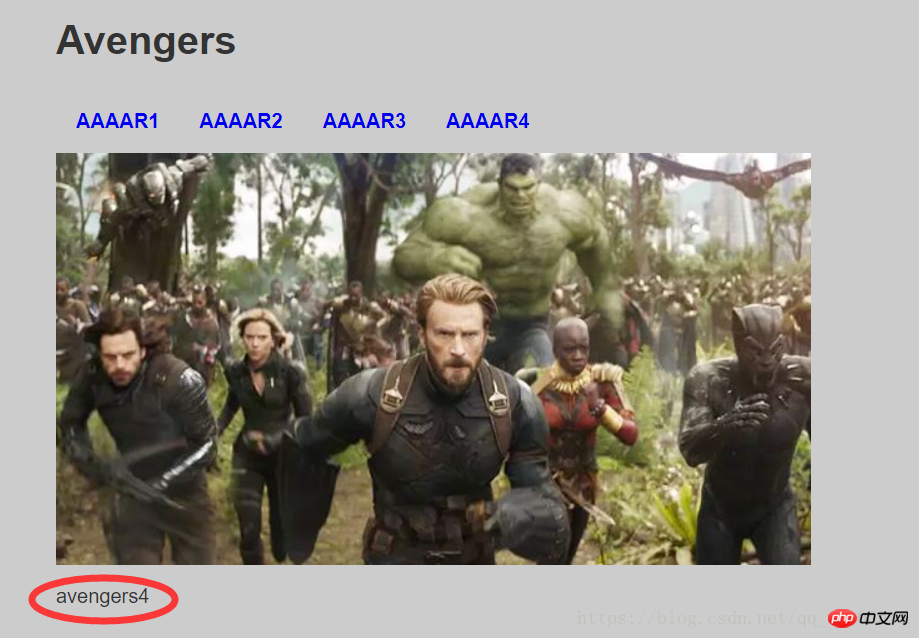
要使用js實作圖片庫的基本功能: 當點擊某個連結時,能留在這個頁面查看圖片,而不是轉到另一個視窗。 當點擊某個連結時,能在這個頁面同時看到那張圖片以及原有的圖片清單。 apache php mysql
圖片庫html:
<!DOCTYPE html>
<html lang="en">
<head>
    <meta charset="UTF-8">
    <title>Image Gallery</title>
    <link rel="stylesheet" href="static/layout.css" media="screen" />
</head>
<body>
    <h1>Avengers</h1>
    <ul>
        <li>
            <a href="./images/1.jpg" title="avengers1" onclick="showPic(this); return false;">AAAAR1</a>
        </li>
        <li>
            <a href="./images/2.jpg" title="avengers2" onclick="showPic(this); return false;">AAAAR2</a>
        </li>
        <li>
            <a href="./images/3.jpg" title="avengers3" onclick="showPic(this); return false;">AAAAR3</a>
        </li>
        <li>
            <a href="./images/4.jpg" title="avengers4" onclick="showPic(this); return false;">AAAAR4</a>
        </li>
    </ul>
    <img src="/static/imghw/default1.png"  data-src="./images/5.jpg"  class="lazy"  id="placeholder"  alt="AAAAR5" />
    <p id="description">Choose an image.</p>
    <script src="static/showPic.js"></script>
</body>
</html>css渲染檔案:
body {
	font-family: "Helvetica", "Arial", serif;
	color: #333;
	background-color: #ccc;
	margin: 1em 10%;
}
h1 {
	color:#333;
	background-color: transparent;
}
a {
	color:#60;
	background-color: transparent;
	font-weight: bold;
	text-decoration: none;
}
ul {
	padding: 0;
}
li {
	float: left;
	padding: 1em;
	list-style:none;
}
img {
	display: block;
	clear: both;
}擬定解決方法:
<img src="/static/imghw/default1.png" data-src="./images/5.jpg" class="lazy" id="placeholder" alt="AAAAR5" />
function showPic(whichpic)
var source = whichpic.getAttribute("href");var placeholder = document.getElemntById("placeholder");placeholder.setAttribute("src", source);function showPic(whichpic) {
var source = whichpic.getAttribute("href");
var placeholder = document.getElementById("placeholder");
placeholder.setAttribute("src", source);
}<a href="./images/1.jpg" title="avengers1" onclick="showPic(this); return false;">AAAAR1</a>
var text = whichpic.getAttribute("title");var body_element = document.getElementsByTagName = ("body")[0];
alert(body_element.childNodes.length);alert(body_element.nodeType);
透過這句語句來查看節點。
回到要增加的功能:先跟圖片一樣,要增加一個文字描述的佔位符,設定id屬性
<p id="description">Choose an image.</p>
將其放置在圖片的下方,接下來就要讓圖片的title取代這個文字內容:
var text = whichpic.getAttribute("title");
var description = document.getElementById("description");nodeValue屬性:想要改變一個文字節點的值,就要使用DOM方法的nodeValue屬性。
此範例中,包含在p元素中的文字節點是
元素的第一個子節點,因此,需要得到的是第一個子節點的nodeValue屬性值。
alert(description.childNodes[0].nodeValue);
firstChild和lastChild值
childNodes[0]可以使用firstChild來替換,最後一個子節點用lastChild來表示。
最後,使用nodeValue來刷新文字:
完整程式碼:
function showPic(whichpic) {
	var source = whichpic.getAttribute("href");
	var placeholder = document.getElementById("placeholder");
	placeholder.setAttribute("src", source);
	var text = whichpic.getAttribute("title");
	var description = document.getElementById("description");
	description.firstChild.nodeValue = text;
}將text的值傳給
元素的文字節點,目標達成。
頁面效果:

 #相關文章:
##使用JavaScript-李炎恢Javascript視頻教程
以上是使用javascript實作圖片庫的基本功能案例詳解(附程式碼)的詳細內容。更多資訊請關注PHP中文網其他相關文章!


