Html怎麼插入百度富文本編輯器ueditor
本篇文章的主要內容是教大家如何在Html裡插入百度富文本編輯器,有興趣的朋友可以了解一下,希望能對你有幫助。
在日常工作用,肯定有用到富文本編輯器的時候,富文本編輯器功能強大使用方便,假如你用百度富文本編輯器,首先需要下載好百度編輯器的demo,然後建立ueditor.html檔,引入百度編輯器,然後在html檔內引入,然後再用js實例化編輯器即可。程式碼如下:
<!DOCTYPE html>
<html>
<head>
<title>百度编辑器</title>
</head>
<body>
<script type="text/javascript" charset="utf-8" src="ueditor/ueditor.config.js"></script>
<script type="text/javascript" charset="utf-8" src="ueditor/ueditor.all.min.js"></script>
<script type="text/javascript" charset="utf-8" src="ueditor/lang/zh-cn/zh-cn.js"></script>
<script id="editor" type="text/plain" name="gdesc" style="width:100%;height:350px;"></script>
<script type="text/javascript">
//实例化编辑器
var ue = UE.getEditor('editor', {});
</script>
</body>
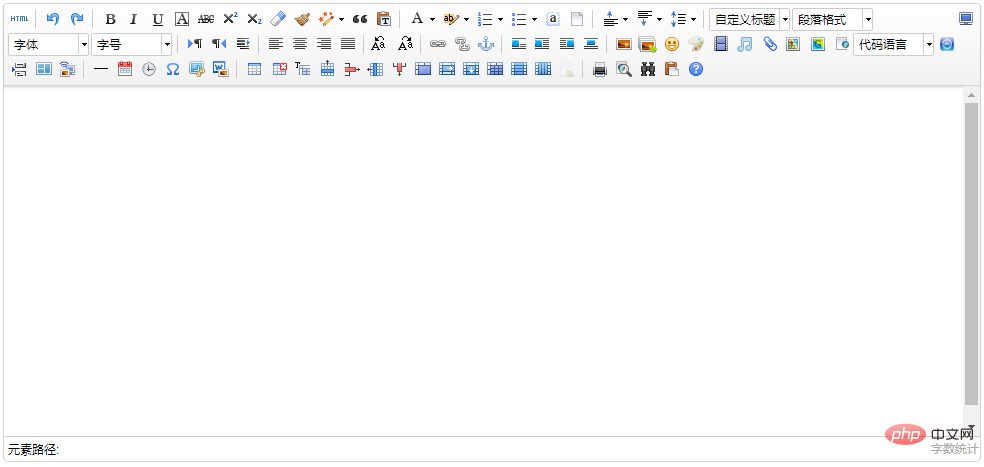
</html>到這裡在瀏覽器開啟上面的ueditor.html檔案就能看到如下圖所示:

這是實例化後的初始編輯器,裡面的功能有很多,其中有一部分可能是我們完全用不到的,想定制怎麼辦呢?別捉急,百度提供了可以定制的功能,將上面實例化編輯器的js程式碼改為以下程式碼:
<script type="text/javascript">
//实例化编辑器
var ue = UE.getEditor('editor', {
toolbars: [
[
'undo', //撤销
'bold', //加粗
'underline', //下划线
'preview', //预览
'horizontal', //分隔线
'inserttitle', //插入标题
'cleardoc', //清空文档
'fontfamily', //字体
'fontsize', //字号
'paragraph', //段落格式
'simpleupload', //单图上传
'insertimage', //多图上传
'attachment', //附件
'music', //音乐
'inserttable', //插入表格
'emotion', //表情
'insertvideo', //视频
'justifyleft', //居左对齐
'justifyright', //居右对齐
'justifycenter', //居中对
'justifyjustify', //两端对齐
'forecolor', //字体颜色
'fullscreen', //全屏
'edittip ', //编辑提示
'customstyle', //自定义标题
'template', //模板
]
]
});
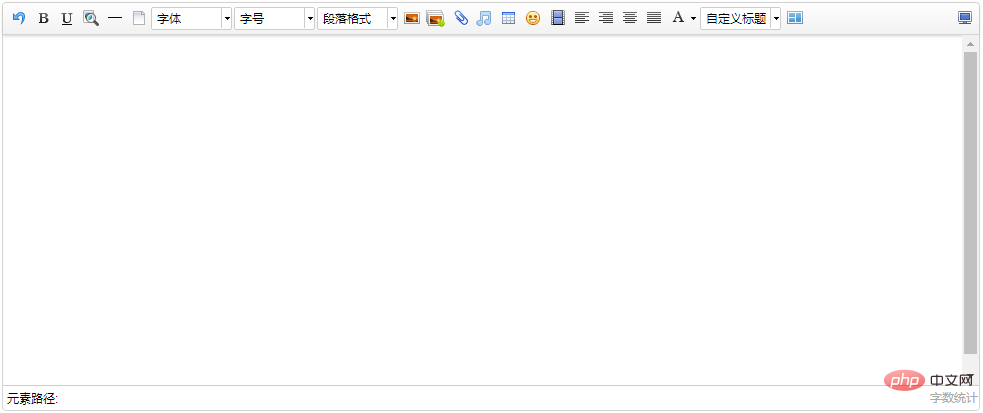
</script>刷新ueditor.html頁面你就會看到變化了:

想客製化什麼功能,只需參考上面下載的編輯器demo內的ueditor.config.js檔案中toolbars屬性,將對應的字串加入即可:
        //工具栏上的所有的功能按钮和下拉框,可以在new编辑器的实例时选择自己需要的重新定义
        , toolbars: [[
            'fullscreen', 'source', '|', 'undo', 'redo', '|',
            'bold', 'italic', 'underline', 'fontborder', 'strikethrough', 'superscript', 'subscript', 'removeformat', 'formatmatch', 'autotypeset', 'blockquote', 'pasteplain', '|', 'forecolor', 'backcolor', 'insertorderedlist', 'insertunorderedlist', 'selectall', 'cleardoc', '|',
            'rowspacingtop', 'rowspacingbottom', 'lineheight', '|',
            'customstyle', 'paragraph', 'fontfamily', 'fontsize', '|',
            'directionalityltr', 'directionalityrtl', 'indent', '|',
            'justifyleft', 'justifycenter', 'justifyright', 'justifyjustify', '|', 'touppercase', 'tolowercase', '|',
            'link', 'unlink', 'anchor', '|', 'imagenone', 'imageleft', 'imageright', 'imagecenter', '|',
            'simpleupload', 'insertimage', 'emotion', 'scrawl', 'insertvideo', 'music', 'attachment', 'map', 'gmap', 'insertframe', 'insertcode', 'webapp', 'pagebreak', 'template', 'background', '|',
            'horizontal', 'date', 'time', 'spechars', 'snapscreen', 'wordimage', '|',
            'inserttable', 'deletetable', 'insertparagraphbeforetable', 'insertrow', 'deleterow', 'insertcol', 'deletecol', 'mergecells', 'mergeright', 'mergedown', 'splittocells', 'splittorows', 'splittocols', 'charts', '|',
            'print', 'preview', 'searchreplace', 'drafts', 'help'
]]ueditor.config.js檔案可以自訂編輯器的許多功能,只需要將對應屬性前面的'//'去掉,true為開啟,false為關閉進行設定即可.例如:
        //elementPathEnabled
        //是否启用元素路径,默认是显示
        ,elementPathEnabled : false

        //wordCount
        ,wordCount:false          //是否开启字数统计
//,maximumWords:10000 //允许的最大字符数 // 是否自動長高,預設true
,autoHeightEnabled:false
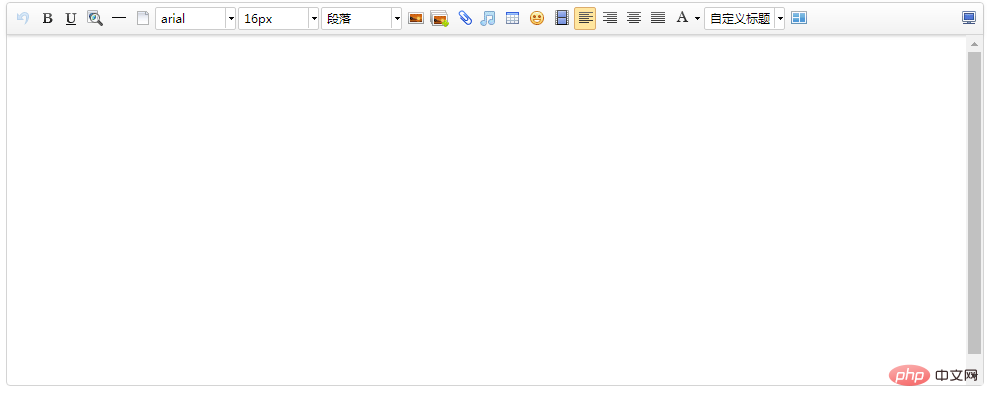
按照上面程式碼修改完ueditor.config.js檔,刷新頁面你會看到不一樣的地方:

下面的元素路徑和字數統計都消失了,是不是更加美觀了呢O(∩_∩)O~
實際應用時我們還有可能在一個域名下上傳百度編輯器編輯的內容(例如:在www.52lnamp.com網域下上傳了一張圖片),而需求不單單是要在這網域下展示,還需要可以在其它網域下展示,這時就會出現圖片不存在的情況,
這是因為百度編輯器的設定檔中預設的上傳路徑是相對路徑,也就是說上面上傳的圖片的地址是相對於當前的網域上傳的,只有在你上傳的網域下可以展示,其它網域是顯示不出來的,
如果要在另外一個網域上展示的話只需要修改設定檔為絕對路徑就可以了,打開上面下載的demo,找到php/config.json檔,打開後你會看到

要注意的是添加網域的時候必須帶上http or https,只有這樣寫出來的才能正常顯示,不加的話在你引用的時候會在前面重複加上一個域名,基本了解了這些足以應對日常的需求,有其它另類的需求可以參考百度編輯器文檔,也歡迎補充互學.
相關教程: javascript影片教學
以上是Html怎麼插入百度富文本編輯器ueditor的詳細內容。更多資訊請關注PHP中文網其他相關文章!

熱AI工具

Undresser.AI Undress
人工智慧驅動的應用程序,用於創建逼真的裸體照片

AI Clothes Remover
用於從照片中去除衣服的線上人工智慧工具。

Undress AI Tool
免費脫衣圖片

Clothoff.io
AI脫衣器

Video Face Swap
使用我們完全免費的人工智慧換臉工具,輕鬆在任何影片中換臉!

熱門文章

熱工具

記事本++7.3.1
好用且免費的程式碼編輯器

SublimeText3漢化版
中文版,非常好用

禪工作室 13.0.1
強大的PHP整合開發環境

Dreamweaver CS6
視覺化網頁開發工具

SublimeText3 Mac版
神級程式碼編輯軟體(SublimeText3)
 您如何在PHP中解析和處理HTML/XML?
Feb 07, 2025 am 11:57 AM
本教程演示瞭如何使用PHP有效地處理XML文檔。 XML(可擴展的標記語言)是一種用於人類可讀性和機器解析的多功能文本標記語言。它通常用於數據存儲


