

angular4實作tab切換的方法介紹

angular怎麼實作tab欄切換?本篇文章為大家介紹angular4實作tab欄切換的方法。有一定的參考價值,有需要的朋友可以參考一下,希望對大家有幫助。

相關教學推薦:《angular教學》
管理系統tab 切換頁,是常見的需求,大概如下:
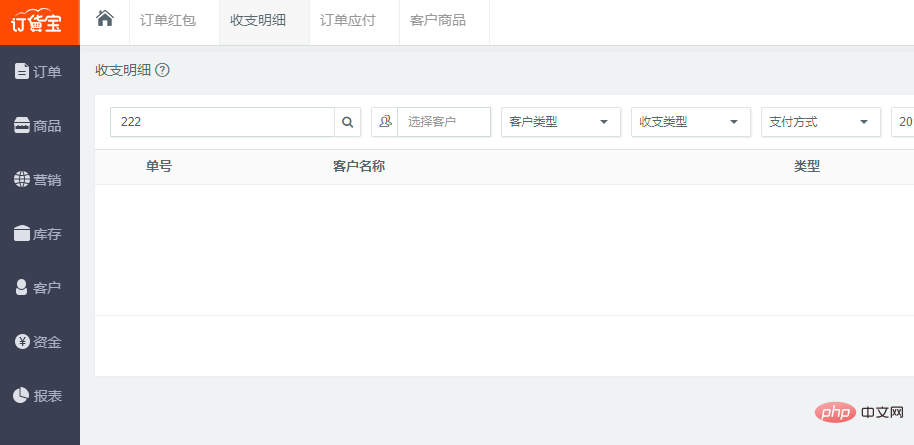
點選左邊選單,右邊顯示對應的選項卡,然後不同的選項卡面可以同時編輯,切換時資訊不掉失!
用php或.net,java的開發技術,大概是切換顯示,然後加一個ifram來做到,或者透過ajax載入資訊顯示對應的層.
但是如果用angular要如何實現呢?第一個想法,是否可以用同樣的ifarm來實現呢?
第二個想到的是路由插座大概是這樣的
但都沒能實現,於是在想一個簡單的tab頁面就這麼難嗎?
或是真的沒有簡單的方法了嗎?
很長一段時間,沒有去管這個了
因為我知道自己對angular的理解和學習還不夠,於是就放下了很長一段時間,直到在知乎看到一篇文章
Angular路由復用策略
#於是有了一個思路,花了半天的時間終於實現了anguar 4 tab切換頁大概思路實作如下:
一、實作RouteReuseStrategy 介面自訂一個路由利用策略
SimpleReuseStrategy.ts程式碼如下:
import { RouteReuseStrategy, DefaultUrlSerializer, ActivatedRouteSnapshot, DetachedRouteHandle } from '@angular/router';

export class SimpleReuseStrategy implements RouteReuseStrategy {

    public static handlers: { [key: string]: DetachedRouteHandle } = {}

    /** 表示对所有路由允许复用 如果你有路由不想利用可以在这加一些业务逻辑判断 */
    public shouldDetach(route: ActivatedRouteSnapshot): boolean {
        return true;
    }

    /** 当路由离开时会触发。按path作为key存储路由快照&组件当前实例对象 */
    public store(route: ActivatedRouteSnapshot, handle: DetachedRouteHandle): void {
        SimpleReuseStrategy.handlers[route.routeConfig.path] = handle
    }

    /** 若 path 在缓存中有的都认为允许还原路由 */
    public shouldAttach(route: ActivatedRouteSnapshot): boolean {
        return !!route.routeConfig && !!SimpleReuseStrategy.handlers[route.routeConfig.path]
    }

    /** 从缓存中获取快照,若无则返回nul */
    public retrieve(route: ActivatedRouteSnapshot): DetachedRouteHandle {
        if (!route.routeConfig) {
            return null
        }

        return SimpleReuseStrategy.handlers[route.routeConfig.path]
    }

    /** 进入路由触发,判断是否同一路由 */
    public shouldReuseRoute(future: ActivatedRouteSnapshot, curr: ActivatedRouteSnapshot): boolean {
        return future.routeConfig === curr.routeConfig
    }
}二、策略註冊到模組當中:
import { BrowserModule } from '@angular/platform-browser';
import { NgModule } from '@angular/core';
import { FormsModule } from '@angular/forms';
import { CommonModule as SystemCommonModule } from '@angular/common';
import { AppComponent } from './app.component';
import { AppRoutingModule,ComponentList } from './app.routing'
import { SimpleReuseStrategy } from './SimpleReuseStrategy';
import { RouteReuseStrategy } from '@angular/router';

@NgModule({
  declarations: [
    AppComponent,
    ComponentList
  ],
  imports: [
    BrowserModule,
    AppRoutingModule,
    FormsModule,
    SystemCommonModule
  ],
  providers: [
    { provide: RouteReuseStrategy, useClass: SimpleReuseStrategy }
  ],
  bootstrap: [AppComponent]
})
export class AppModule { }上面兩步驟基本上實現了複用策略但要實現第一張效果圖,還是要做一些其它工作
三、定義路由添加一些data資料路由代碼如下:
import { NgModule } from '@angular/core';
import { Routes, RouterModule } from '@angular/router';
import { AboutComponent } from './home/about.component'
import { HomeComponent } from './home/home.component'
import { NewsComponent } from './home/news.component'
import { ContactComponent } from './home/contact.component'


export const routes: Routes = [
  { path: '', redirectTo: 'home', pathMatch: 'full', },
  { path: 'home', component: HomeComponent,data: { title: '首页', module: 'home', power: "SHOW" } },
  { path: 'news',component: NewsComponent ,data: { title: '新闻管理', module: 'news', power: "SHOW" }},
  { path: 'contact',component: ContactComponent ,data: { title: '联系我们', module: 'contact', power: "SHOW" }},
  { path: 'about', component: AboutComponent,data: { title: '关于我们', module: 'about', power: "SHOW" } },
];

@NgModule({
  imports: [RouterModule.forRoot(routes)],
  exports: [RouterModule]
})

export class AppRoutingModule { }

export const ComponentList=[
    HomeComponent,
    NewsComponent,
    AboutComponent,
    ContactComponent
] 四、在
import { Component } from '@angular/core';
import { SimpleReuseStrategy } from './SimpleReuseStrategy';
import { ActivatedRoute, Router, NavigationEnd } from '@angular/router';
import { Title } from '@angular/platform-browser';
import 'rxjs/add/operator/filter';
import 'rxjs/add/operator/map';
import 'rxjs/add/operator/mergeMap';
@Component({
selector: 'app-root',
styleUrls:['app.css'],
templateUrl: 'app.html',
providers: [SimpleReuseStrategy]
})
export class AppComponent {
//路由列表
menuList: Array<{ title: string, module: string, power: string,isSelect:boolean }>=[];
constructor(private router: Router,
private activatedRoute: ActivatedRoute,
private titleService: Title) {
//路由事件
this.router.events.filter(event => event instanceof NavigationEnd)
.map(() => this.activatedRoute)
.map(route => {
while (route.firstChild) route = route.firstChild;
return route;
})
.filter(route => route.outlet === 'primary')
.mergeMap(route => route.data)
.subscribe((event) => {
//路由data的标题
let title = event['title'];
this.menuList.forEach(p => p.isSelect=false);
var menu = { title: title, module: event["module"], power: event["power"], isSelect:true};
this.titleService.setTitle(title);
let exitMenu=this.menuList.find(info=>info.title==title);
if(exitMenu){//如果存在不添加,当前表示选中
this.menuList.forEach(p => p.isSelect=p.title==title);
return ;
}
this.menuList.push(menu);
});
}
//关闭选项标签
closeUrl(module:string,isSelect:boolean){
//当前关闭的是第几个路由
let index=this.menuList.findIndex(p=>p.module==module);
//如果只有一个不可以关闭
if(this.menuList.length==1) return ;
this.menuList=this.menuList.filter(p=>p.module!=module);
//删除复用
delete SimpleReuseStrategy.handlers[module];
if(!isSelect) return;
//显示上一个选中
let menu=this.menuList[index-1];
if(!menu) {//如果上一个没有下一个选中
menu=this.menuList[index+1];
}
// console.log(menu);
// console.log(this.menuList);
this.menuList.forEach(p => p.isSelect=p.module==menu.module );
//显示当前路由信息
this.router.navigate(['/'+menu.module]);
}
}app.html 的程式碼如下:
<div class="row">
  <div class="col-md-4">
    <ul>
      <li><a routerLinkActive="active" routerLink="/home">首页</a></li>
      <li><a routerLinkActive="active" routerLink="/about">关于我们</a></li>
      <li><a routerLinkActive="active" routerLink="/news">新闻中心</a></li>
      <li><a routerLinkActive="active" routerLink="/contact">联系我们</a></li>
    </ul>
  </div>
  <div class="col-md-8">
    <div class="crumbs clearfix">
      <ul>
          <ng-container  *ngFor="let menu of menuList">
              <ng-container *ngIf="menu.isSelect">
                  <li class="isSelect">
                      <a routerLink="/{{ menu.module }}">{{ menu.title }}</a>
                      <span (click)="closeUrl(menu.module,menu.isSelect)">X</span>
                  </li>
              </ng-container>
              <ng-container *ngIf="!menu.isSelect">
                  <li>
                      <a routerLink="/{{ menu.module }}">{{ menu.title }}</a>
                      <span  (click)="closeUrl(menu.module,menu.isSelect)">X</span>
                  </li>
              </ng-container>
          </ng-container>
      </ul>
    </div>
    <router-outlet></router-outlet>
  </div>
</div>整體效果如下:
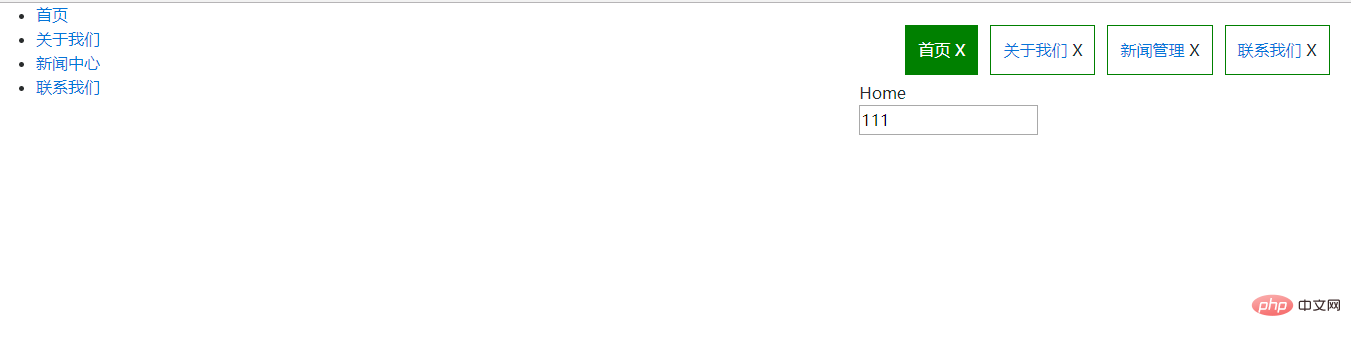
最終點擊選單顯示相應的標籤選中,可以切換編輯內容,關閉標籤時,重新點擊選單可以重新加載內容。
更多程式相關知識,請造訪:程式設計教學! !
以上是angular4實作tab切換的方法介紹的詳細內容。更多資訊請關注PHP中文網其他相關文章!

熱AI工具

Undresser.AI Undress
人工智慧驅動的應用程序,用於創建逼真的裸體照片

AI Clothes Remover
用於從照片中去除衣服的線上人工智慧工具。

Undress AI Tool
免費脫衣圖片

Clothoff.io
AI脫衣器

AI Hentai Generator
免費產生 AI 無盡。

熱門文章
熱工具

記事本++7.3.1
好用且免費的程式碼編輯器

SublimeText3漢化版
中文版,非常好用

禪工作室 13.0.1
強大的PHP整合開發環境

Dreamweaver CS6
視覺化網頁開發工具

SublimeText3 Mac版
神級程式碼編輯軟體(SublimeText3)
熱門話題


 聊聊Angular中的元資料(Metadata)和裝飾器(Decorator)
Feb 28, 2022 am 11:10 AM
聊聊Angular中的元資料(Metadata)和裝飾器(Decorator)
Feb 28, 2022 am 11:10 AM
這篇文章繼續Angular的學習,帶大家了解Angular中的元數據和裝飾器,簡單了解一下他們的用法,希望對大家有幫助!

 如何在Ubuntu 24.04上安裝Angular
Mar 23, 2024 pm 12:20 PM
如何在Ubuntu 24.04上安裝Angular
Mar 23, 2024 pm 12:20 PM
Angular.js是一種可自由存取的JavaScript平台,用於建立動態應用程式。它允許您透過擴展HTML的語法作為模板語言,以快速、清晰地表示應用程式的各個方面。 Angular.js提供了一系列工具,可協助您編寫、更新和測試程式碼。此外,它還提供了許多功能,如路由和表單管理。本指南將討論在Ubuntu24上安裝Angular的方法。首先,您需要安裝Node.js。 Node.js是一個基於ChromeV8引擎的JavaScript運行環境,可讓您在伺服器端執行JavaScript程式碼。要在Ub

 如何使用PHP和Angular進行前端開發
May 11, 2023 pm 04:04 PM
如何使用PHP和Angular進行前端開發
May 11, 2023 pm 04:04 PM
隨著網路的快速發展,前端開發技術也不斷改進與迭代。 PHP和Angular是兩種廣泛應用於前端開發的技術。 PHP是一種伺服器端腳本語言,可以處理表單、產生動態頁面和管理存取權限等任務。而Angular是一種JavaScript的框架,可以用來開發單一頁面應用程式和建構元件化的網頁應用程式。本篇文章將介紹如何使用PHP和Angular進行前端開發,以及如何將它們
 Angular + NG-ZORRO快速開發一個後台系統
Apr 21, 2022 am 10:45 AM
Angular + NG-ZORRO快速開發一個後台系統
Apr 21, 2022 am 10:45 AM
這篇文章跟大家分享一個Angular實戰,了解一下angualr 結合 ng-zorro 如何快速開發一個後台系統,希望對大家有幫助!
 淺析angular中怎麼使用monaco-editor
Oct 17, 2022 pm 08:04 PM
淺析angular中怎麼使用monaco-editor
Oct 17, 2022 pm 08:04 PM
angular中怎麼使用monaco-editor?以下這篇文章記錄下最近的一次業務中用到的 monaco-editor 在 angular 中的使用,希望對大家有幫助!
 淺析Angular中的獨立組件,看看怎麼使用
Jun 23, 2022 pm 03:49 PM
淺析Angular中的獨立組件,看看怎麼使用
Jun 23, 2022 pm 03:49 PM
這篇文章帶大家了解Angular中的獨立元件,看看怎麼在Angular中建立一個獨立元件,怎麼在獨立元件中導入已有的模組,希望對大家有幫助!
