ecs如何安裝配置php環境
設定方法:1、使用Xshell連接ECS伺服器;2、執行「yum install httpd」指令;3、設定yum來源;4、使用「yum install」指令安裝並設定PHP5.6;5、使用“yum install”指令安裝並配置mysql。

本教學操作環境:windows7系統、PHP5.6&&apache2.2&&Postgresql版,DELL G3電腦
阿里雲ECS伺服器php運行環境的設定方法
1、先用Xshell連接上伺服器
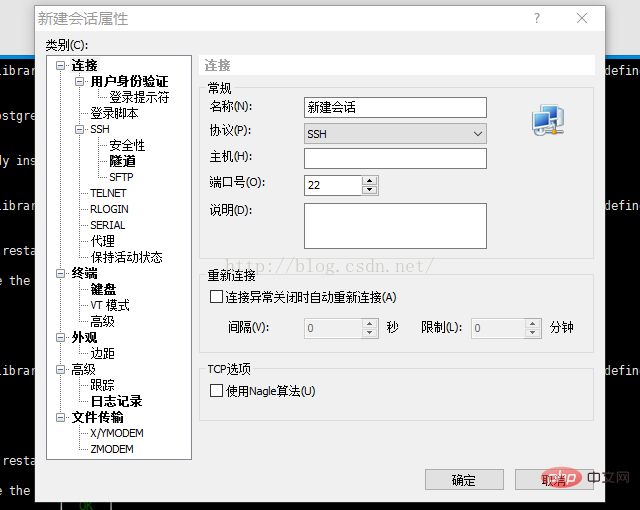
#開啟Xshell,新建一個連接,名稱隨便起一個,主機輸入你的伺服器IP位址,其他就選預設值,點選確定,接著輸入密碼,如果顯示下面的頁面,表示你已經成功連接到伺服器了。

2、在Xshell上執行yum install httpd
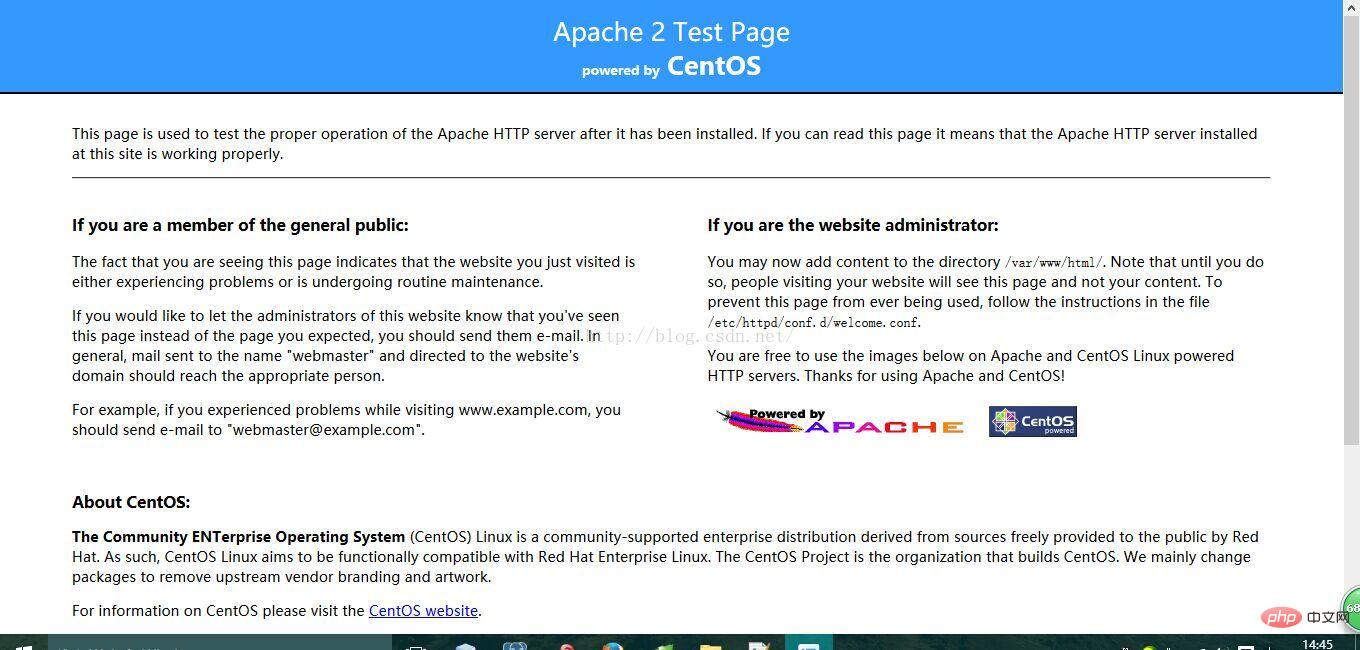
chkconfig --levels 235 httpd on,如果一切正常,apache就安裝好了,在瀏覽器視窗輸入你的伺服器IP位址,如果出現以下畫面,那就恭喜你離成功更近一步了!

yum install php 的話,系統給你安裝的php是版本比較低的5.3,如果你的程式版本要求不高,你可以直接使用這個。
3、配置yum來源
追加CentOS 6.5的epel及remi來源。
# rpm -Uvh http://ftp.iij.ad.jp/pub/linux/fedora/epel/6/x86_64/epel-release-6-8.noarch.rpm# rpm -Uvh http://rpms.famillecollet.com/enterprise/remi-release-6.rpm
CentOS 7.0的來源。
# yum install epel-release# rpm -ivh http://rpms.famillecollet.com/enterprise/remi-release-7.rpm
# yum list --enablerepo=remi --enablerepo=remi-php56 | grep php
4、安裝PHP5.6
# yum install --enablerepo=remi --enablerepo=remi-php56 php php-opcache php-devel php-mbstring php-mcrypt php-mysqlnd php-phpunit-PHPUnit php-pecl-xdebug php-pecl-xhprof
# php --versionPHP 5.6.0 (cli) (built: Sep 3 2014 19:51:31)Copyright (c) 1997-2014 The PHP GroupZend Engine v2.6.0, Copyright (c) 1998-2014 Zend Technologies with Zend OPcache v7.0.4-dev, Copyright (c) 1999-2014, by Zend Technologies with Xdebug v2.2.5, Copyright (c) 2002-2014, by Derick Rethans
ZendGuardLoader變成Zend OPcahe了。
Zend OPcache了。
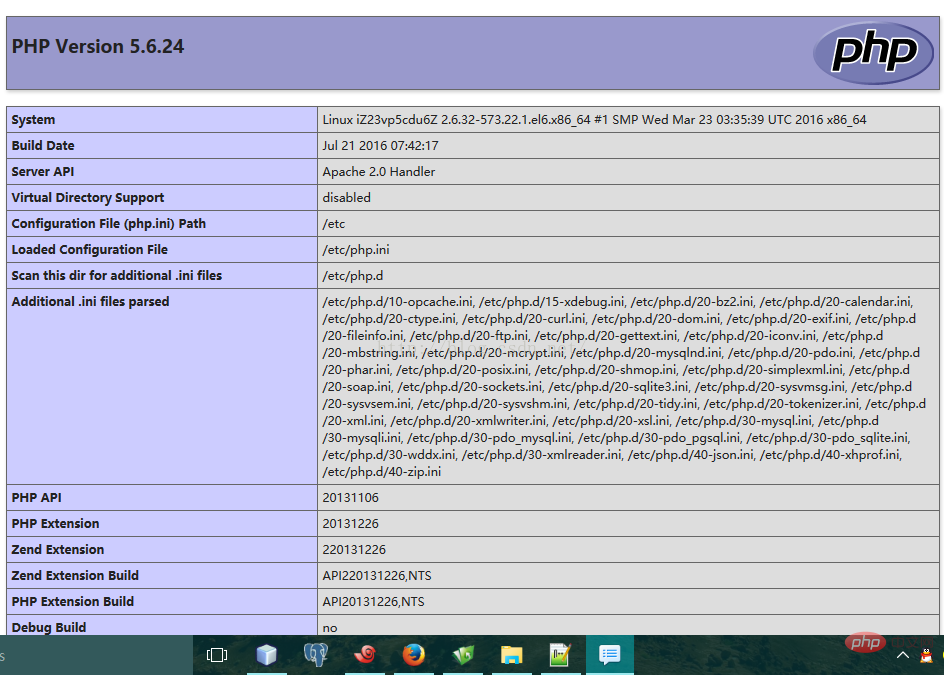
phpinfo()看下:

#5、安裝MySQL
yum install mysql mysql-server
chkconfig --levels 235 mysqld          on
/etc/init.d/mysqld start            //或者service mysqld start
mysql_secure_installation
Enter current paaword for root
以上是ecs如何安裝配置php環境的詳細內容。更多資訊請關注PHP中文網其他相關文章!

熱AI工具

Undresser.AI Undress
人工智慧驅動的應用程序,用於創建逼真的裸體照片

AI Clothes Remover
用於從照片中去除衣服的線上人工智慧工具。

Undress AI Tool
免費脫衣圖片

Clothoff.io
AI脫衣器

AI Hentai Generator
免費產生 AI 無盡。

熱門文章

熱工具

記事本++7.3.1
好用且免費的程式碼編輯器

SublimeText3漢化版
中文版,非常好用

禪工作室 13.0.1
強大的PHP整合開發環境

Dreamweaver CS6
視覺化網頁開發工具

SublimeText3 Mac版
神級程式碼編輯軟體(SublimeText3)
 適用於 Ubuntu 和 Debian 的 PHP 8.4 安裝和升級指南
Dec 24, 2024 pm 04:42 PM
適用於 Ubuntu 和 Debian 的 PHP 8.4 安裝和升級指南
 如何設定 Visual Studio Code (VS Code) 進行 PHP 開發
Dec 20, 2024 am 11:31 AM
如何設定 Visual Studio Code (VS Code) 進行 PHP 開發


