deepin v20不能直接安裝mysql所以先進行換源,更換成阿里源,這樣以後速度可以更快,今天我們就來介紹一下deepin v20安裝mysql的方法,有需要的可以參考一下。

#由於deepin v20不能直接安裝mysql所以先進行換源,更換成阿里源,這樣以後速度可以更快
修改檔案sudo vim /etc/apt/sources.list
#删除内容,并添加以下内容:
## Generated by deepin-installer
deb [by-hash=force] https://mirrors.aliyun.com/deepin/ panda main contrib non-free
執行sudo apt-get update
執行sudo apt-get upgrade指令。
1.執行安裝mysql的語句
sudo apt-get install mysql-server mysql-client
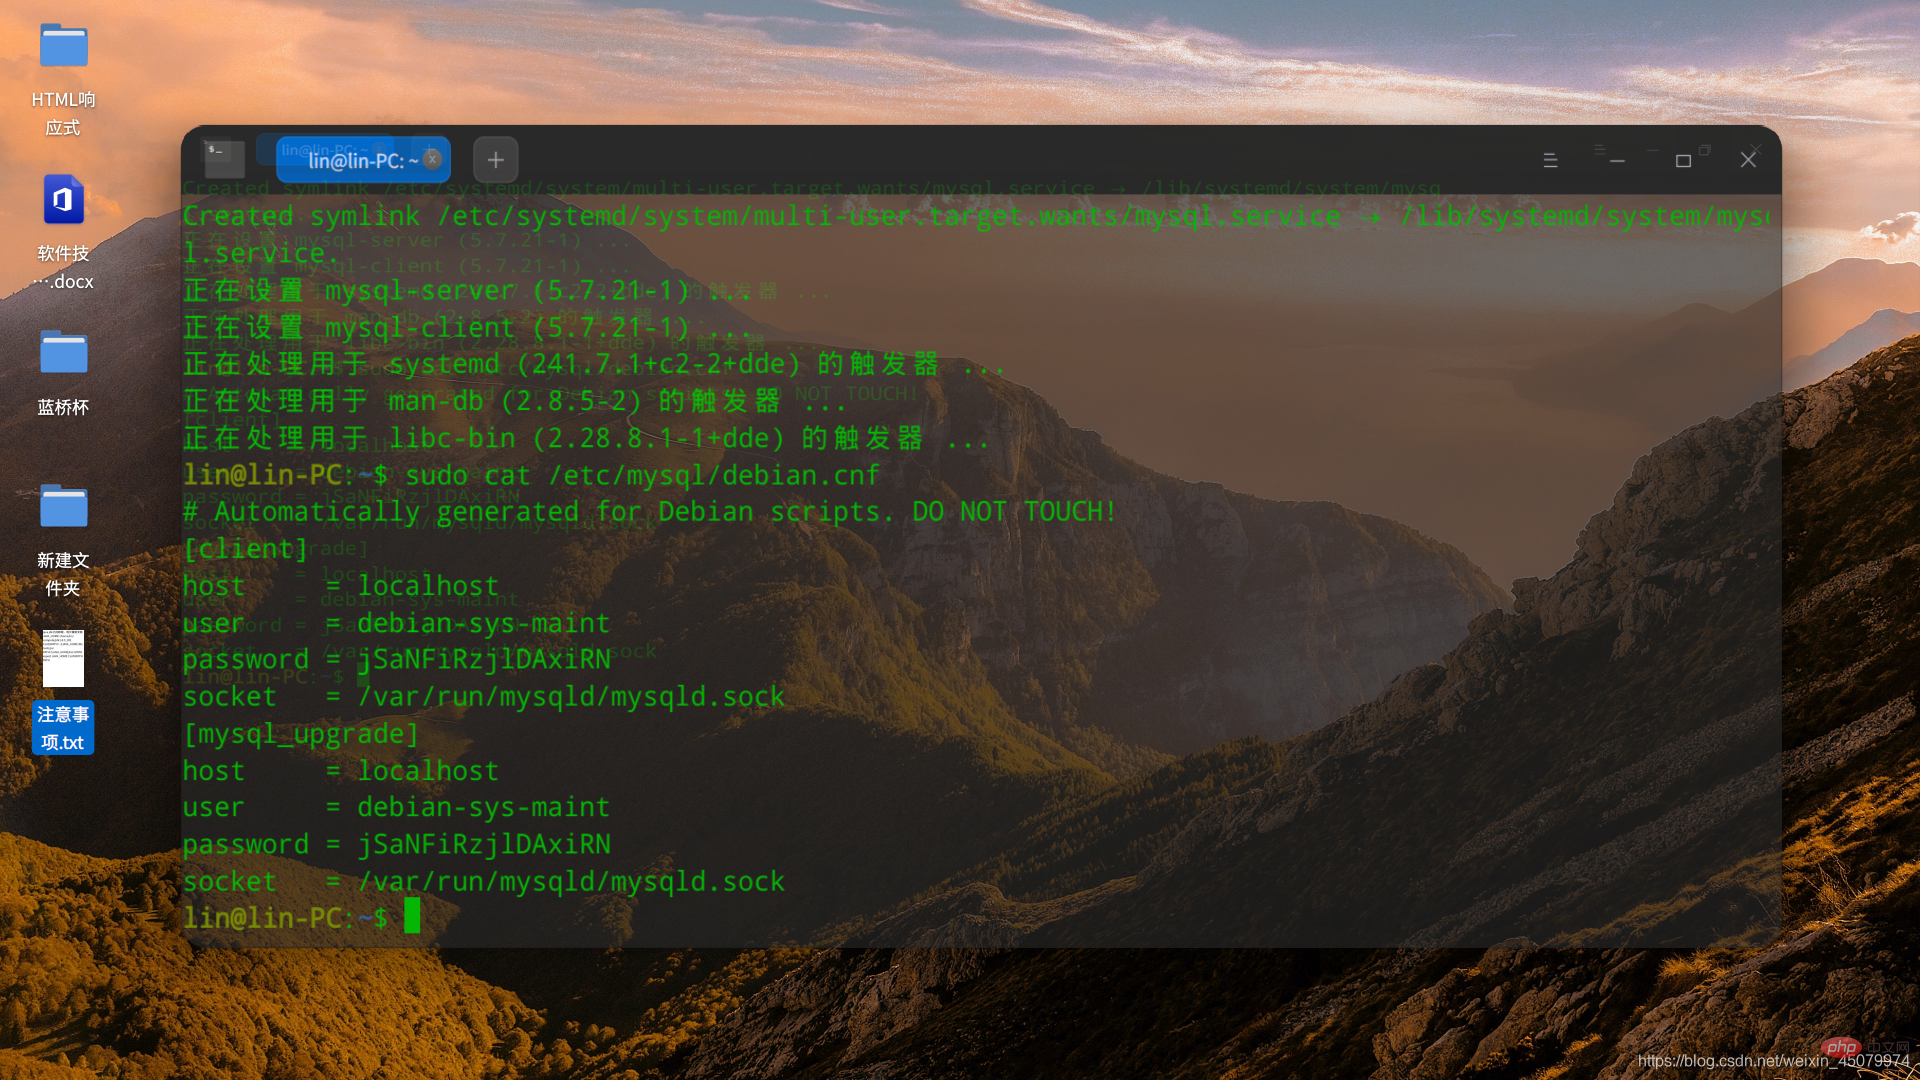
2.查看可登陸帳戶並查看密碼

3.取得到了登陸mysql的帳號密碼
lin@lin-PC:~$ mysql -udebian-sys-maint -pjSaNFiRzjlDAxiRN
mysql: [Warning] Using a password on the command line interface can be insecure.
Welcome to the MySQL monitor.  Commands end with ; or \g.
Your MySQL connection id is 2
Server version: 5.7.21-1 (Debian)

Copyright (c) 2000, 2018, Oracle and/or its affiliates. All rights reserved.

Oracle is a registered trademark of Oracle Corporation and/or its
affiliates. Other names may be trademarks of their respective
owners.

Type 'help;' or '\h' for help. Type '\c' to clear the current input statement.

mysql>
4.之後依序進入mysql資料庫,修改root密碼,刷新快取。之後就可以exit退出使用root帳號登入了:
use mysql;
update user set plugin="mysql_native_password",authentication_string=password('新密码') where user="root";
FLUSH PRIVILEGES;
5.使用修改後的帳號密碼登陸
mysql -uroot -p000000
相關推薦:《mysql教學》
以上是deepin v20如何安裝mysql的詳細內容。更多資訊請關注PHP中文網其他相關文章!


