wordpress版本:wordpress:4.9.8版本
php版本:v7.2.12
dockcer鏡像為:wordpress:4.9.8
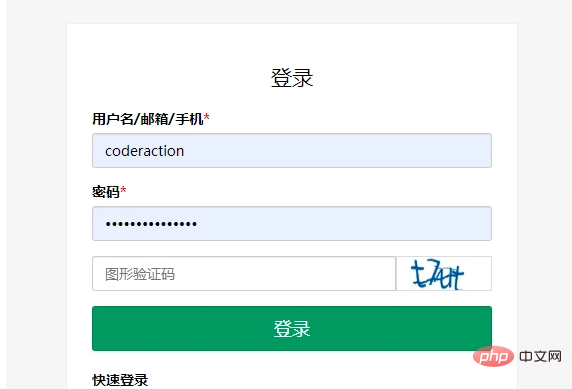
圖形驗證碼載入不出來
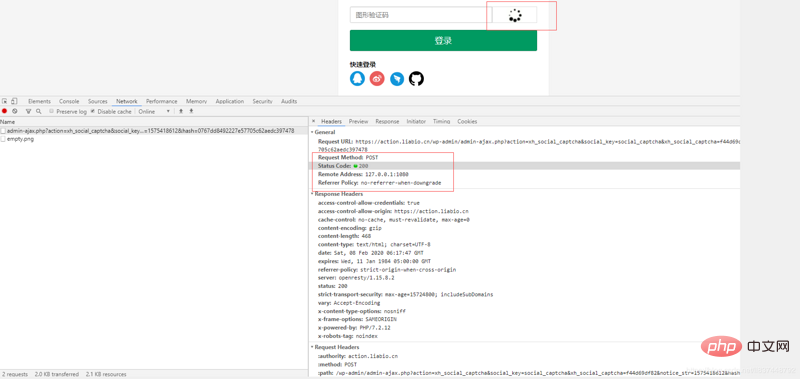
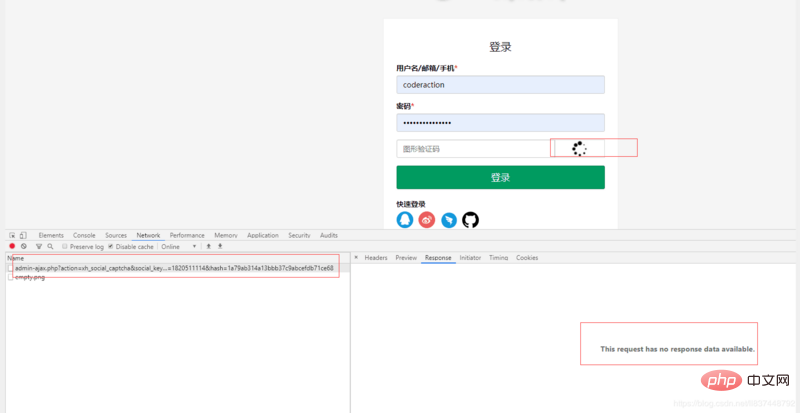
最近利用wordpress建站的時候,用到了wechat- social-login外掛實現微信、QQ、釘、Github登陸功能時,開啟圖形驗證碼功能後,看到圖形二維碼一直載入不出來,F12看到狀態碼為200,但沒有回傳值,報錯This request has no response data available
開啟wordpress日誌後,發現debug日誌檔案中報以下的錯誤。開啟debug日誌方法請移步歷史文章如何開啟WordPress調試模式(報錯提示),將日誌印到wp-content目錄下的debug.log中。 
[08-Feb-2020 07:37:42 UTC] PHP Fatal error:  Uncaught Error: Call to undefined function Gregwar\Captcha\imagettfbbox() in /var/www/html/wp-content/plugins/wechat-social-login/includes/captcha/CaptchaBuilder.php:327
Stack trace:
#0 /var/www/html/wp-content/plugins/wechat-social-login/includes/captcha/CaptchaBuilder.php(440): Gregwar\Captcha\CaptchaBuilder->writePhrase(Resource id #7, '84sx', '/var/www/html/w...', 150, 40)
#1 /var/www/html/wp-content/plugins/wechat-social-login/includes/social/class-xh-social-ajax.php(203): Gregwar\Captcha\CaptchaBuilder->build()
#2 /var/www/html/wp-content/plugins/wechat-social-login/includes/social/class-xh-social-ajax.php(209): XH_Social_Ajax::{closure}()
#3 /var/www/html/wp-includes/class-wp-hook.php(286): XH_Social_Ajax::captcha('')
#4 /var/www/html/wp-includes/class-wp-hook.php(310): WP_Hook->apply_filters('', Array)
#5 /var/www/html/wp-includes/plugin.php(453): WP_Hook->do_action(Array)
#6 /var/www/html/wp-admin/admin-ajax.php(99): do_action('wp_ajax_xh_soci...')
#7 {main}
thrown in /var/www/html/wp-content/plugins/wechat-social-login/includes/captcha/CaptchaBuilder.php on line 327網站查詢資料說:圖形驗證碼功能需要安裝gd庫和freetype等依賴,透過phpinfo()查看到詳細資料裡:gd擴充功能沒有freetype: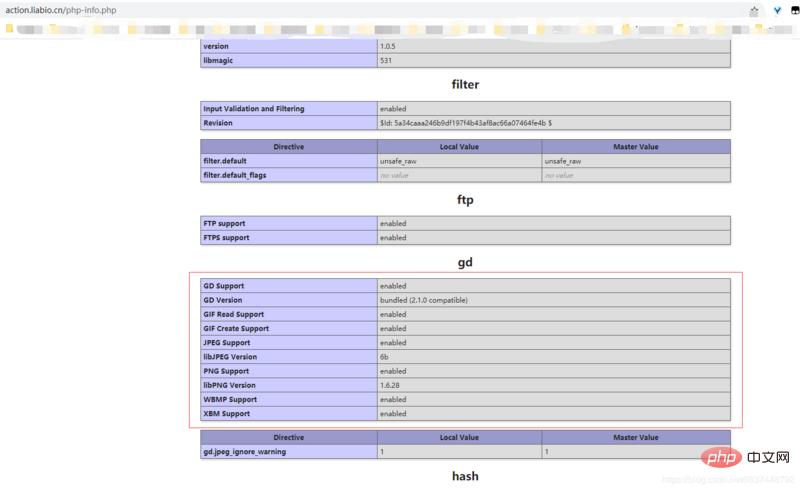
看phpinfo()的方法
在網站的根目錄下新建一個php-info.php的文件,內容為:
<?php phpinfo();
儲存後,用網域訪問,如https://action.liabio .cn/php-info.php,即可看到。
docker編譯映像
Dockerfile檔案如下:
FROM wordpress:4.9.8
RUN echo 'deb http://mirrors.163.com/debian/ stretch main contrib non-free\ndeb http://mirrors.163.com/debian/ stretch-updates main contrib non-free\ndeb http://mirrors.163.com/debian/ stretch-backports main contrib non-free' > /etc/apt/sources.list
RUN apt update \
&& apt install -y libwebp-dev libjpeg-dev libpng-dev libfreetype6-dev \
&& docker-php-source extract \
&& cd /usr/src/php/ext/gd \
&& docker-php-ext-configure gd --with-webp-dir=/usr/include/webp --with-jpeg-dir=/usr/include --with-png-dir=/usr/include --with-freetype-dir=/usr/include/freetype2 \
&& docker-php-ext-install gd \
&& php -m | grep gd
#執行以下編譯指令:
docker build -t wordpress-freetype:4.9.8 .
結果編譯報錯。
docker編譯映像報錯
OCI runtime create failed: container_linux.go:346: starting container process caused "process_linux.go:319: getting the final child's pid from pipe caused \"EOF\"": unknown
因為我使用的是19.03.5版本的docker,在網路上查了資料,大致意思是需要18版本的docker編譯才不會報錯。
果然,18版的docker編譯沒有報錯: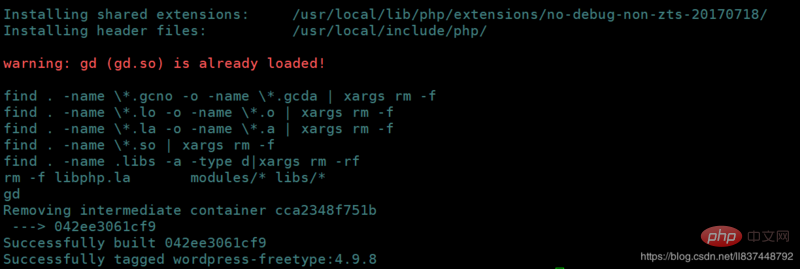
使用整合了freetype的新映像
使用新映像之後,可以看到freetype成功整合。 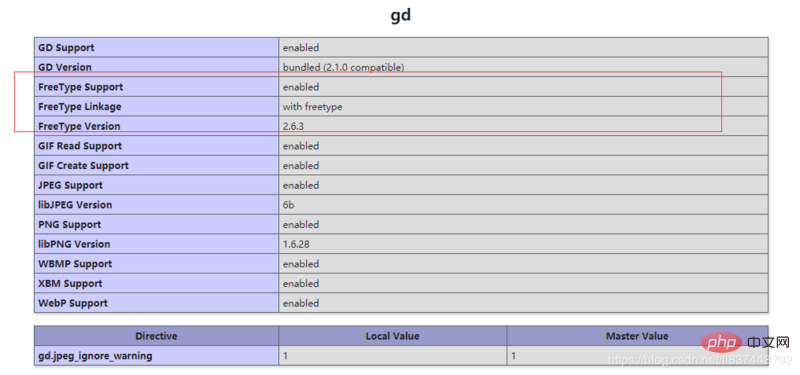
可以看到二維碼已經成功的顯示出來了。 