Django配合Bootstrap怎麼製作計算機(實戰)
這篇文章手把手帶大家使用Django Bootstrap製作一個計算器,希望對大家有幫助!

準備工作
建立一個應用程式
)
新增應用到設定
)
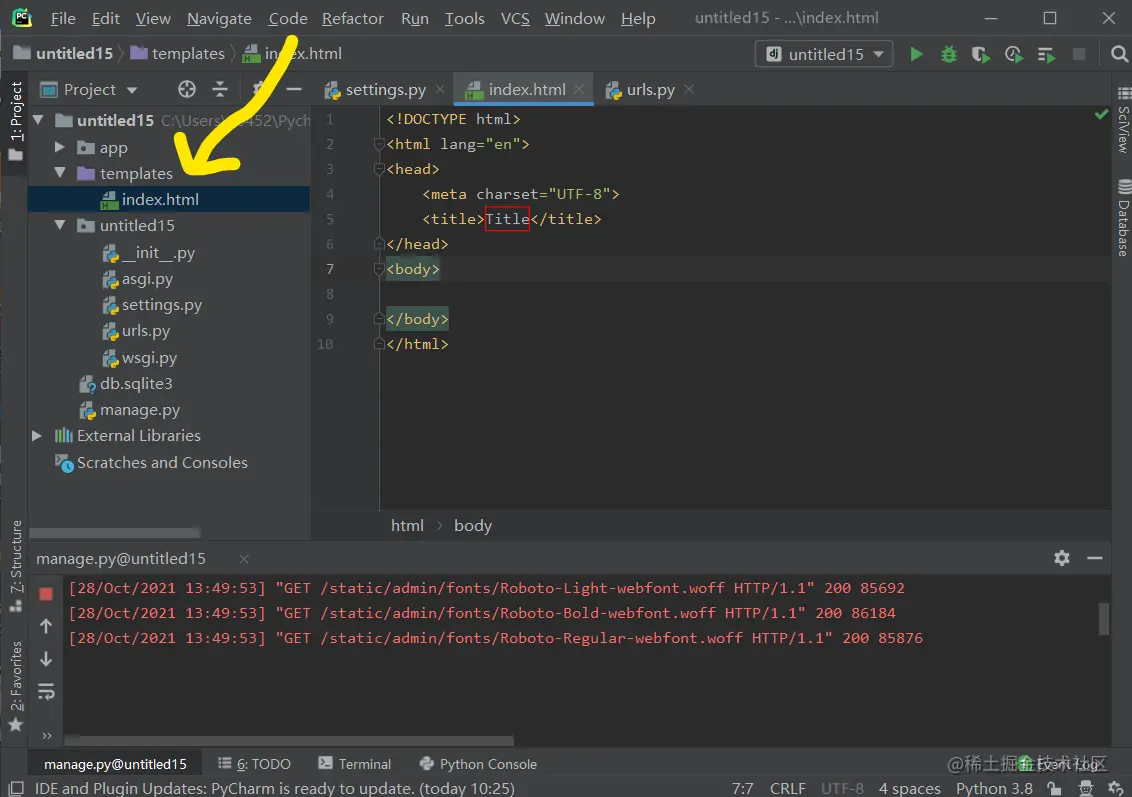
#建立一個html

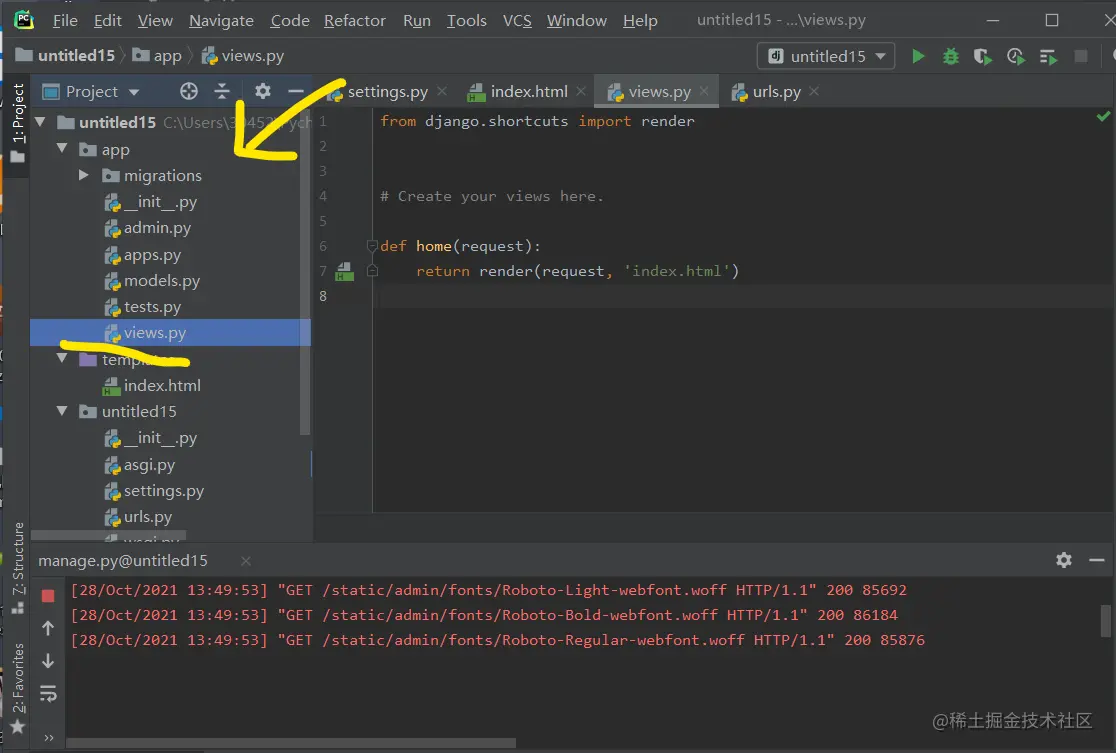
寫視圖函數
from django.shortcuts import render


# Create your views here.

def home(request):
    return render(request, 'index.html')
設定路由
from django.contrib import admin
from django.urls import path,include

from app.views import home

urlpatterns = [
    path('admin/', admin.site.urls),
    path('',home,name='hoome'),
])
導入Bootstrap前端框架
#下載位址
https://github.com/twbs/bootstrap/releases/ download/v3.4.1/bootstrap-3.4.1-dist.zip
#將css、fonts、js複製到static資料夾下方沒有則建立該資料夾。 【相關推薦:《bootstrap教學》】
)
#寫前端內容
{% load static %}
<!DOCTYPE html>
<html>
<head>
<meta charset="UTF-8">
<title>计算器</title>
<link rel="stylesheet" href="{% static 'css/bootstrap.min.css' %}">
<script src="https://cdn.jsdelivr.net/npm/jquery@1.12.4/dist/jquery.min.js"></script>
<script src="{% static 'js/bootstrap.min.js' %}"></script>
<style>
body{
background-position: center 0;
background-repeat: no-repeat;
background-attachment: fixed;
background-size: cover;
-webkit-background-size: cover;
-o-background-size: cover;
-moz-background-size: cover;
-ms-background-size:cover;
}
.input_show{
margin-top: 35px;
max-width: 280px;
height: 35px;
}
.btn_num{
margin:1px 1px 1px 1px;
width: 60px;
}
.btn_clear{
margin-left: 40px;
margin-right: 20px;
}
.extenContent{
height: 300px;
}
</style>
</head>
<body>
<div>
<div>
<div class="col-xs-1 col-sm-4"> </div>
<div id="computer" class="col-xs-1 col-sm-6">
<input type="text" id="txt_code" name="txt_code" value="" class="form-control input_show" placeholder="" disabled>
<input type="text" id="txt_result" name="txt_result" value="" class="form-control input_show" placeholder="结果" disabled>
<br>
<div>
<button type="button" class="btn btn-default btn_num" onclick="fun_7()">7</button>
<button type="button" class="btn btn-default btn_num" onclick="fun_8()">8</button>
<button type="button" class="btn btn-default btn_num" onclick="fun_9()">9</button>
<button type="button" class="btn btn-default btn_num" onclick="fun_div()">/</button>
<br>
<button type="button" class="btn btn-default btn_num" onclick="fun_4()">4</button>
<button type="button" class="btn btn-default btn_num" onclick="fun_5()">5</button>
<button type="button" class="btn btn-default btn_num" onclick="fun_6()">6</button>
<button type="button" class="btn btn-default btn_num" onclick="fun_mul()">*</button>
<br>
<button type="button" class="btn btn-default btn_num" onclick="fun_1()">1</button>
<button type="button" class="btn btn-default btn_num" onclick="fun_2()">2</button>
<button type="button" class="btn btn-default btn_num" onclick="fun_3()">3</button>
<button type="button" class="btn btn-default btn_num" onclick="fun_sub()">-</button>
<br>
<button type="button" class="btn btn-default btn_num" onclick="fun_0()">0</button>
<button type="button" class="btn btn-default btn_num" onclick="fun_00()">00</button>
<button type="button" class="btn btn-default btn_num" onclick="fun_dot()">.</button>
<button type="button" class="btn btn-default btn_num" onclick="fun_add()">+</button>
</div>
<div>
<br>
<button type="button" class="btn btn-success btn-lg btn_clear" id="lgbut_clear" onclick="fun_clear()">
清空
</button>
<button type="button" class="btn btn-primary btn-lg" id="lgbut_compute" >
计算
</button>
</div>
</div>
<div class="col-xs-1 col-sm-2"></div>
</div>
</div>
<div></div>
<script>
var x=document.getElementById("txt_code");
var y=document.getElementById("txt_result");
function fun_7() {
x.value+='7';
}
function fun_8() {
x.value+='8';
}
function fun_9() {
x.value+='9';
}
function fun_div() {
x.value+='/';
}
function fun_4() {
x.value+='4';
}
function fun_5() {
x.value+='5';
}
function fun_6() {
x.value+='6';
}
function fun_mul() {
x.value+='*';
}
function fun_1() {
x.value+='1';
}
function fun_2() {
x.value+='2';
}
function fun_3() {
x.value+='3';
}
function fun_sub() {
x.value+='-';
}
function fun_0() {
x.value+='0';
}
function fun_00() {
x.value+='00';
}
function fun_dot() {
x.value+='.';
}
function fun_add() {
x.value+='+';
}
function fun_clear() {
x.value='';
y.value='';
}
</script>
<script>
function ShowResult(data) {
var y = document.getElementById('txt_result');
y.value = data['result'];
}
</script>
<script>
$('#lgbut_compute').click(function () {
$.ajax({
url:'compute/',
type:'POST',
data:{
'code':$('#txt_code').val()
},
dataType:'json',
success:ShowResult
})
})
</script>
</body>
</html>寫視圖函數
import subprocess

from django.http import JsonResponse
from django.shortcuts import render

# Create your views here.
from django.views.decorators.csrf import csrf_exempt
from django.views.decorators.http import require_POST


def home(request):
    return render(request, 'index.html')


@csrf_exempt
def compute(request):
    code = request.POST.get('code')
    try:
        code = 'print(' + code + ')'
        result = subprocess.check_output(['python', '-c', code], universal_newlines=True, stderr=subprocess.STDOUT,timeout=30)
    except:
        result='输入错误'

return JsonResponse(data={'result': result}))
#測試
)
)
)
#更多關於bootstrap的相關知識,可訪問:bootstrap基礎教程! !
以上是Django配合Bootstrap怎麼製作計算機(實戰)的詳細內容。更多資訊請關注PHP中文網其他相關文章!

熱AI工具

Undresser.AI Undress
人工智慧驅動的應用程序,用於創建逼真的裸體照片

AI Clothes Remover
用於從照片中去除衣服的線上人工智慧工具。

Undress AI Tool
免費脫衣圖片

Clothoff.io
AI脫衣器

Video Face Swap
使用我們完全免費的人工智慧換臉工具,輕鬆在任何影片中換臉!

熱門文章

熱工具

記事本++7.3.1
好用且免費的程式碼編輯器

SublimeText3漢化版
中文版,非常好用

禪工作室 13.0.1
強大的PHP整合開發環境

Dreamweaver CS6
視覺化網頁開發工具

SublimeText3 Mac版
神級程式碼編輯軟體(SublimeText3)
 vue中怎麼用bootstrap
Apr 07, 2025 pm 11:33 PM
在 Vue.js 中使用 Bootstrap 分為五個步驟:安裝 Bootstrap。在 main.js 中導入 Bootstrap。直接在模板中使用 Bootstrap 組件。可選:自定義樣式。可選:使用插件。
 bootstrap搜索欄怎麼獲取
Apr 07, 2025 pm 03:33 PM
如何使用 Bootstrap 獲取搜索欄的值:確定搜索欄的 ID 或名稱。使用 JavaScript 獲取 DOM 元素。獲取元素的值。執行所需的操作。
 bootstrap垂直居中怎麼弄
Apr 07, 2025 pm 03:21 PM
使用 Bootstrap 實現垂直居中:flexbox 法:使用 d-flex、justify-content-center 和 align-items-center 類,將元素置於 flexbox 容器內。 align-items-center 類法:對於不支持 flexbox 的瀏覽器,使用 align-items-center 類,前提是父元素具有已定義的高度。
 bootstrap怎麼寫分割線
Apr 07, 2025 pm 03:12 PM
創建 Bootstrap 分割線有兩種方法:使用 標籤,可創建水平分割線。使用 CSS border 屬性,可創建自定義樣式的分割線。
 bootstrap怎麼設置框架
Apr 07, 2025 pm 03:27 PM
要設置 Bootstrap 框架,需要按照以下步驟:1. 通過 CDN 引用 Bootstrap 文件;2. 下載文件並將其託管在自己的服務器上;3. 在 HTML 中包含 Bootstrap 文件;4. 根據需要編譯 Sass/Less;5. 導入定製文件(可選)。設置完成後,即可使用 Bootstrap 的網格系統、組件和样式創建響應式網站和應用程序。
 bootstrap怎麼插入圖片
Apr 07, 2025 pm 03:30 PM
在 Bootstrap 中插入圖片有以下幾種方法:直接插入圖片,使用 HTML 的 img 標籤。使用 Bootstrap 圖像組件,可以提供響應式圖片和更多樣式。設置圖片大小,使用 img-fluid 類可以使圖片自適應。設置邊框,使用 img-bordered 類。設置圓角,使用 img-rounded 類。設置陰影,使用 shadow 類。調整圖片大小和位置,使用 CSS 樣式。使用背景圖片,使用 background-image CSS 屬性。
 bootstrap按鈕怎麼用
Apr 07, 2025 pm 03:09 PM
如何使用 Bootstrap 按鈕?引入 Bootstrap CSS創建按鈕元素並添加 Bootstrap 按鈕類添加按鈕文本
 bootstrap怎麼調整大小
Apr 07, 2025 pm 03:18 PM
要調整 Bootstrap 中元素大小,可以使用尺寸類,具體包括:調整寬度:.col-、.w-、.mw-調整高度:.h-、.min-h-、.max-h-


