好久沒有做php開發,由於近期要維護php項目,在部署開發環境時錯誤頻出,如果可以偵錯程式碼,解決問題就非常方便了。於是基於phpstorm xdebug配置了可以調試的開發環境,期間也查詢參考了很多別人的配置過程,發現很多不是很直觀或有遺漏。現在把我的設定步驟記錄於此。
1. 安裝php xdebug nginx
brew install php71
brew install php71-memcached #项目需要,不需要可以不安装
brew install php71-xdebug
brew install nginx
2. 設定nginx##
vim ~/homebrew/etc/nginx/servers/drone.conf
# 常规配置,可根据自己项目调整server {
    listen 80;
    # 按自己的需要配置访问的域名
    server_name drone-dev.husor.com;
    root /data/wwwroot/drone/;

    location ~* \.php {
        fastcgi_pass 127.0.0.1:9000;
        include fastcgi_params;
        fastcgi_index   index.php;
        fastcgi_split_path_info ^(.+\.php)(.*)$;
        fastcgi_param   SCRIPT_FILENAME $document_root$fastcgi_script_name;
        fastcgi_param   PATH_INFO   $fastcgi_path_info;
    }
}#3. 配置phpstorm xdebug

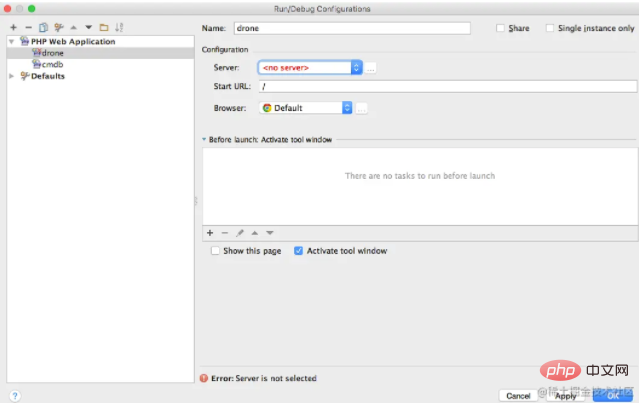
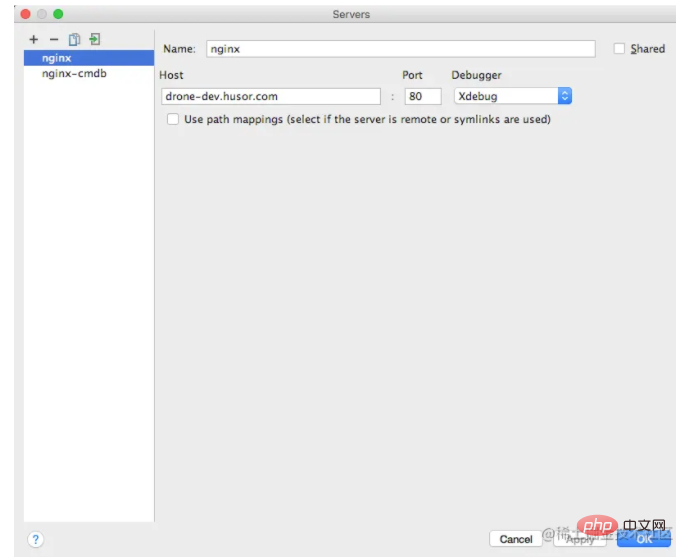
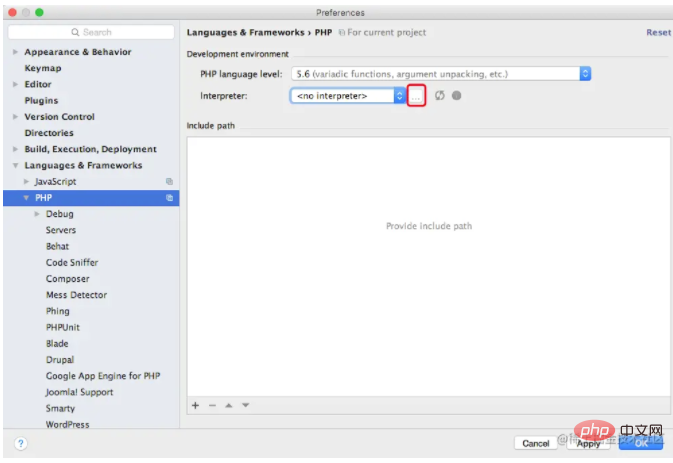
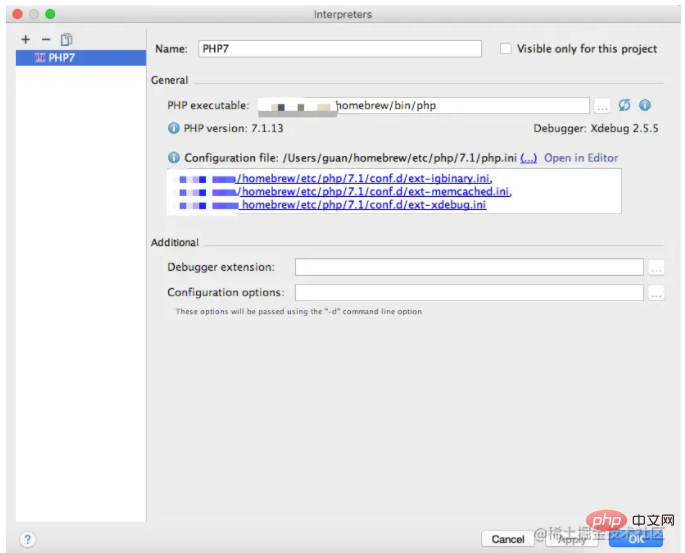 #點擊鏈接,打開xdebug.ini【相關推薦:
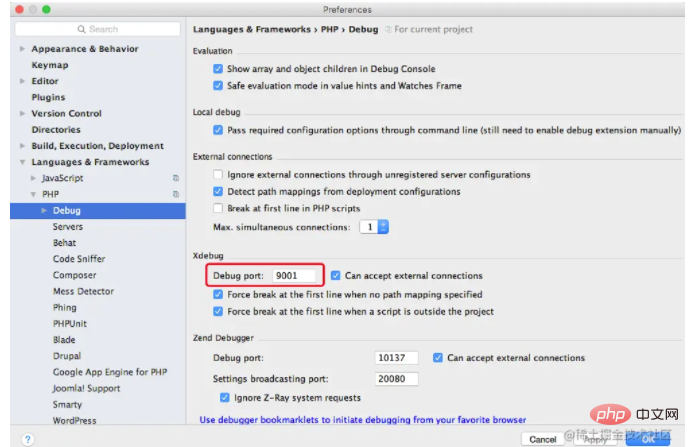
#Debug port和xdebug.ini中的remote_port一致4. 啟動php nginx
#sudo brew services start nginx
brew services start php71# 如果已经启动过的,就重启复制代码
點擊專案右上角的偵錯按鈕

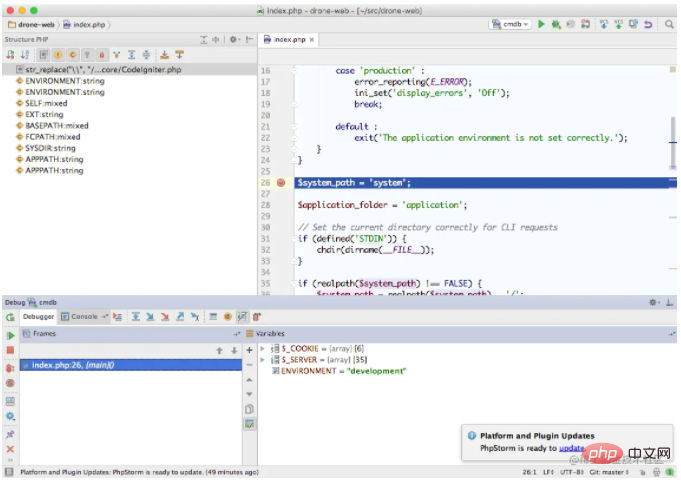 配置本身不難,我遇到的問題是沒有配置Debug port,remote_port配置錯誤。了解了這兩點,基本上可以一次成功。
 以上是圖文講解nginx+phpstorm+xdebug環境的設定方法的詳細內容。更多資訊請關注PHP中文網其他相關文章!


