一文教你怎麼在Debian上編譯安裝Nginx(步驟詳解)
Debian系統上如何編譯安裝Nginx?以下這篇文章帶大家詳解下Debian系統上編譯安裝Nginx的方法,希望對大家有幫助!

Nginx
Nginx是一款輕量級的HTTP 伺服器,時常用於服務端的反向代理與負載平衡。
手動編譯安裝Nginx比較複雜,但平常一般使用最多。原因:
- 便於管理 編譯安裝的Nginx,其安裝位址可控,如果需要卸載,執行反編譯即可。
- 模組可控制 Nginx有其豐富的模組庫,如:ngx-fancyindex。使用Docker或軟體包管理器安裝的Nginx,模組有時不方便載入。
下次給大家分享,怎麼安裝模組~~~
#環境準備
本次安裝Nginx,是在Debian發行版本的Linux上安裝,如果是CentOS發行版本Linux,需要注意:
- #編譯安裝時,需要自行安裝:
gcc、pcre、zlib以及openssl
另外,如果你覺得本文的安裝方法過於技術型。其實,也可以試試寶塔面板的一鍵操作。
本次教學使用一台Debian10 x64伺服器:
)
#安裝gcc編譯器
)
)
)
)

)
-
#首先,我們需要安裝gcc編譯器用於make 編譯,Debian可以透過安裝 - build-essential
來安裝GCC編譯器:apt install -y build-essential
登入後複製
)
#安裝正規庫
正規庫很關鍵,我們使用Nginx,在設定檔內) location
location
apt install -y libpcre3 libpcre3-dev
#安裝zlib函式庫
##當然,Nginx編譯過程和Http對應過程還需要) gzip
gzip
zlib庫用於對HTTP套件的內容做gzip格式的壓縮,可以這樣安裝:
apt install -y zlib1g-dev
apt install -y openssl libssl-dev
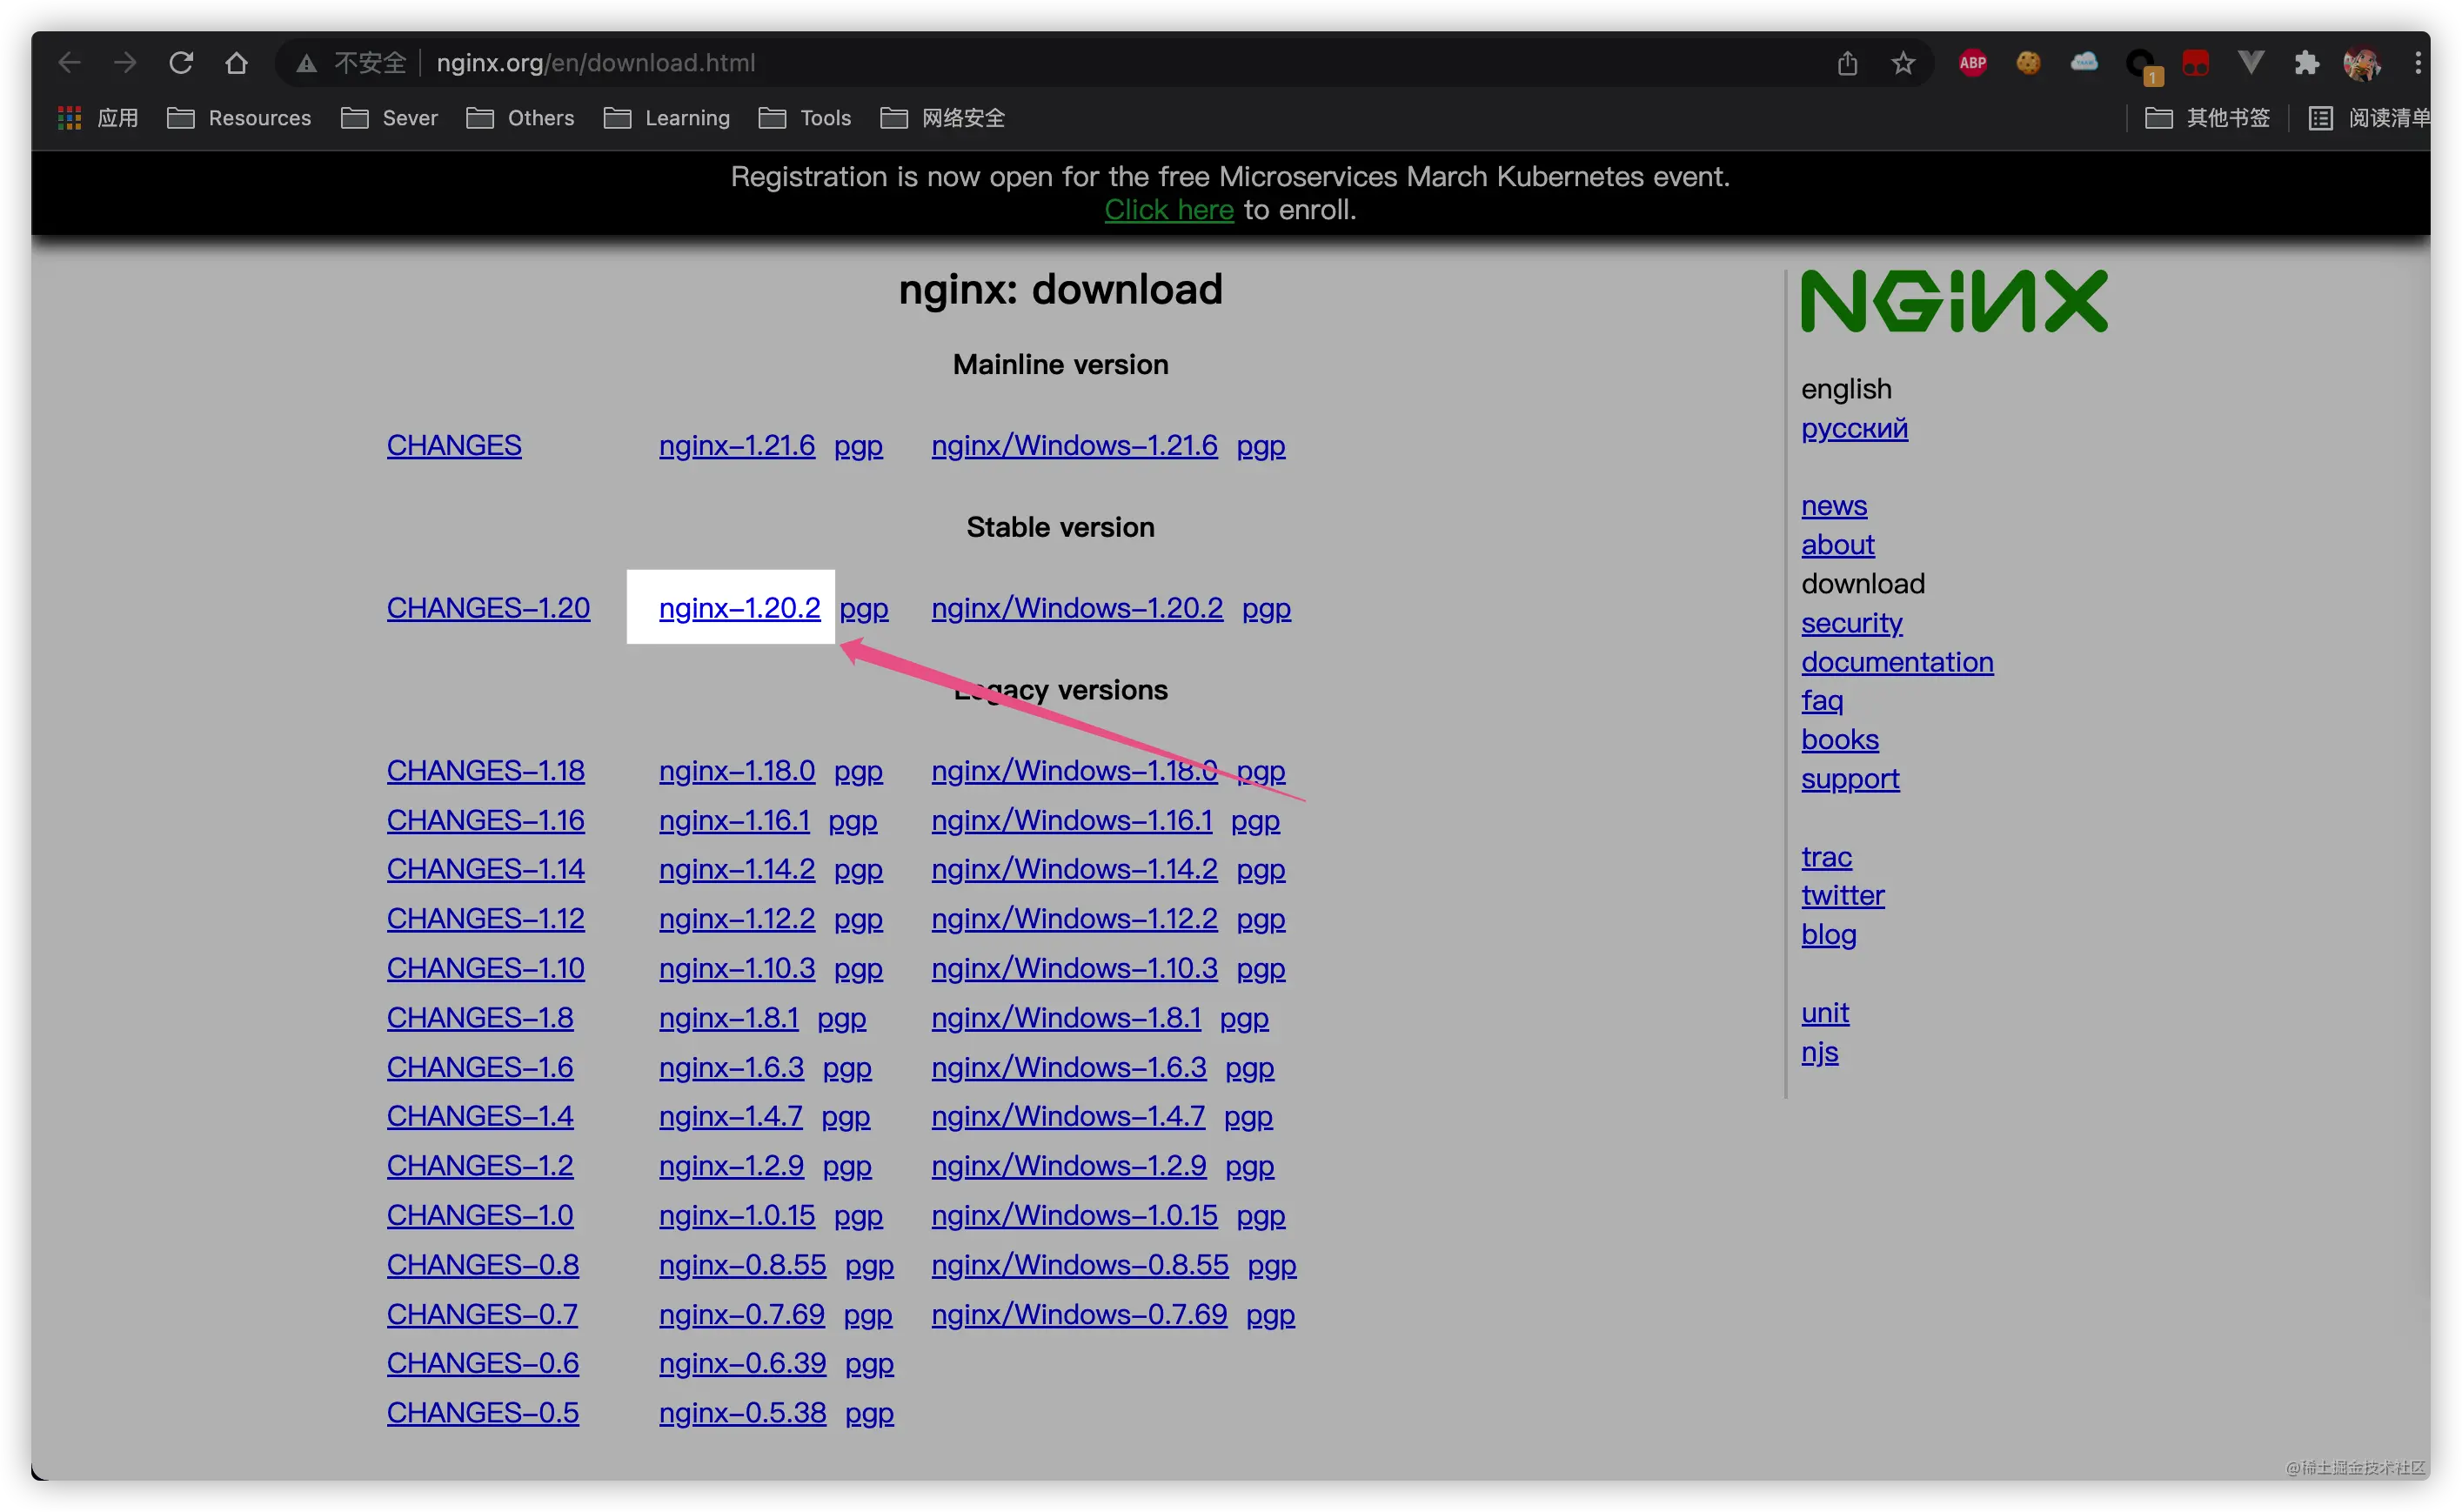
# 下载源码
wget http://nginx.org/download/nginx-1.20.2.tar.gz
# 解压源码
tar -xf nginx-1.20.2.tar.gz
# 进入源代码内
cd cd nginx-1.20.2
./configure \
--prefix=/usr/local/nginx \
--user=www \
--group=www \
--sbin-path=/usr/local/nginx/sbin/nginx \
--conf-path=/usr/local/nginx/nginx.conf \
--error-log-path=/var/log/nginx/error.log \
--http-log-path=/var/log/nginx/access.log \
--pid-path=/var/run/nginx.pid \
--lock-path=/var/run/nginx.lock \
--http-client-body-temp-path=/var/cache/nginx/client_temp \
--http-proxy-temp-path=/var/cache/nginx/proxy_temp \
--http-fastcgi-temp-path=/var/cache/nginx/fastcgi_temp \
--http-uwsgi-temp-path=/var/cache/nginx/uwsgi_temp \
--http-scgi-temp-path=/var/cache/nginx/scgi_temp \
--with-file-aio \
--with-threads \
--with-http_addition_module \
--with-http_auth_request_module \
--with-http_dav_module \
--with-http_flv_module \
--with-http_gunzip_module \
--with-http_gzip_static_module \
--with-http_mp4_module \
--with-http_random_index_module \
--with-http_realip_module \
--with-http_secure_link_module \
--with-http_slice_module \
--with-http_ssl_module \
--with-http_stub_status_module \
--with-http_sub_module \
--with-http_v2_module \
--with-mail \
--with-mail_ssl_module \
--with-stream \
--with-stream_realip_module \
--with-stream_ssl_module \
--with-stream_ssl_preread_module
Configuration summary
  + using threads
  + using system PCRE library
  + using system OpenSSL library
  + using system zlib library

  nginx path prefix: "/usr/local/nginx"
  nginx binary file: "/usr/local/nginx/sbin/nginx"
  nginx modules path: "/usr/local/nginx/modules"
  nginx configuration prefix: "/usr/local/nginx"
  nginx configuration file: "/usr/local/nginx/nginx.conf"
  nginx pid file: "/var/run/nginx.pid"
  nginx error log file: "/var/log/nginx/error.log"
  nginx http access log file: "/var/log/nginx/access.log"
  nginx http client request body temporary files: "/var/cache/nginx/client_temp"
  nginx http proxy temporary files: "/var/cache/nginx/proxy_temp"
  nginx http fastcgi temporary files: "/var/cache/nginx/fastcgi_temp"
  nginx http uwsgi temporary files: "/var/cache/nginx/uwsgi_temp"
  nginx http scgi temporary files: "/var/cache/nginx/scgi_temp"
make
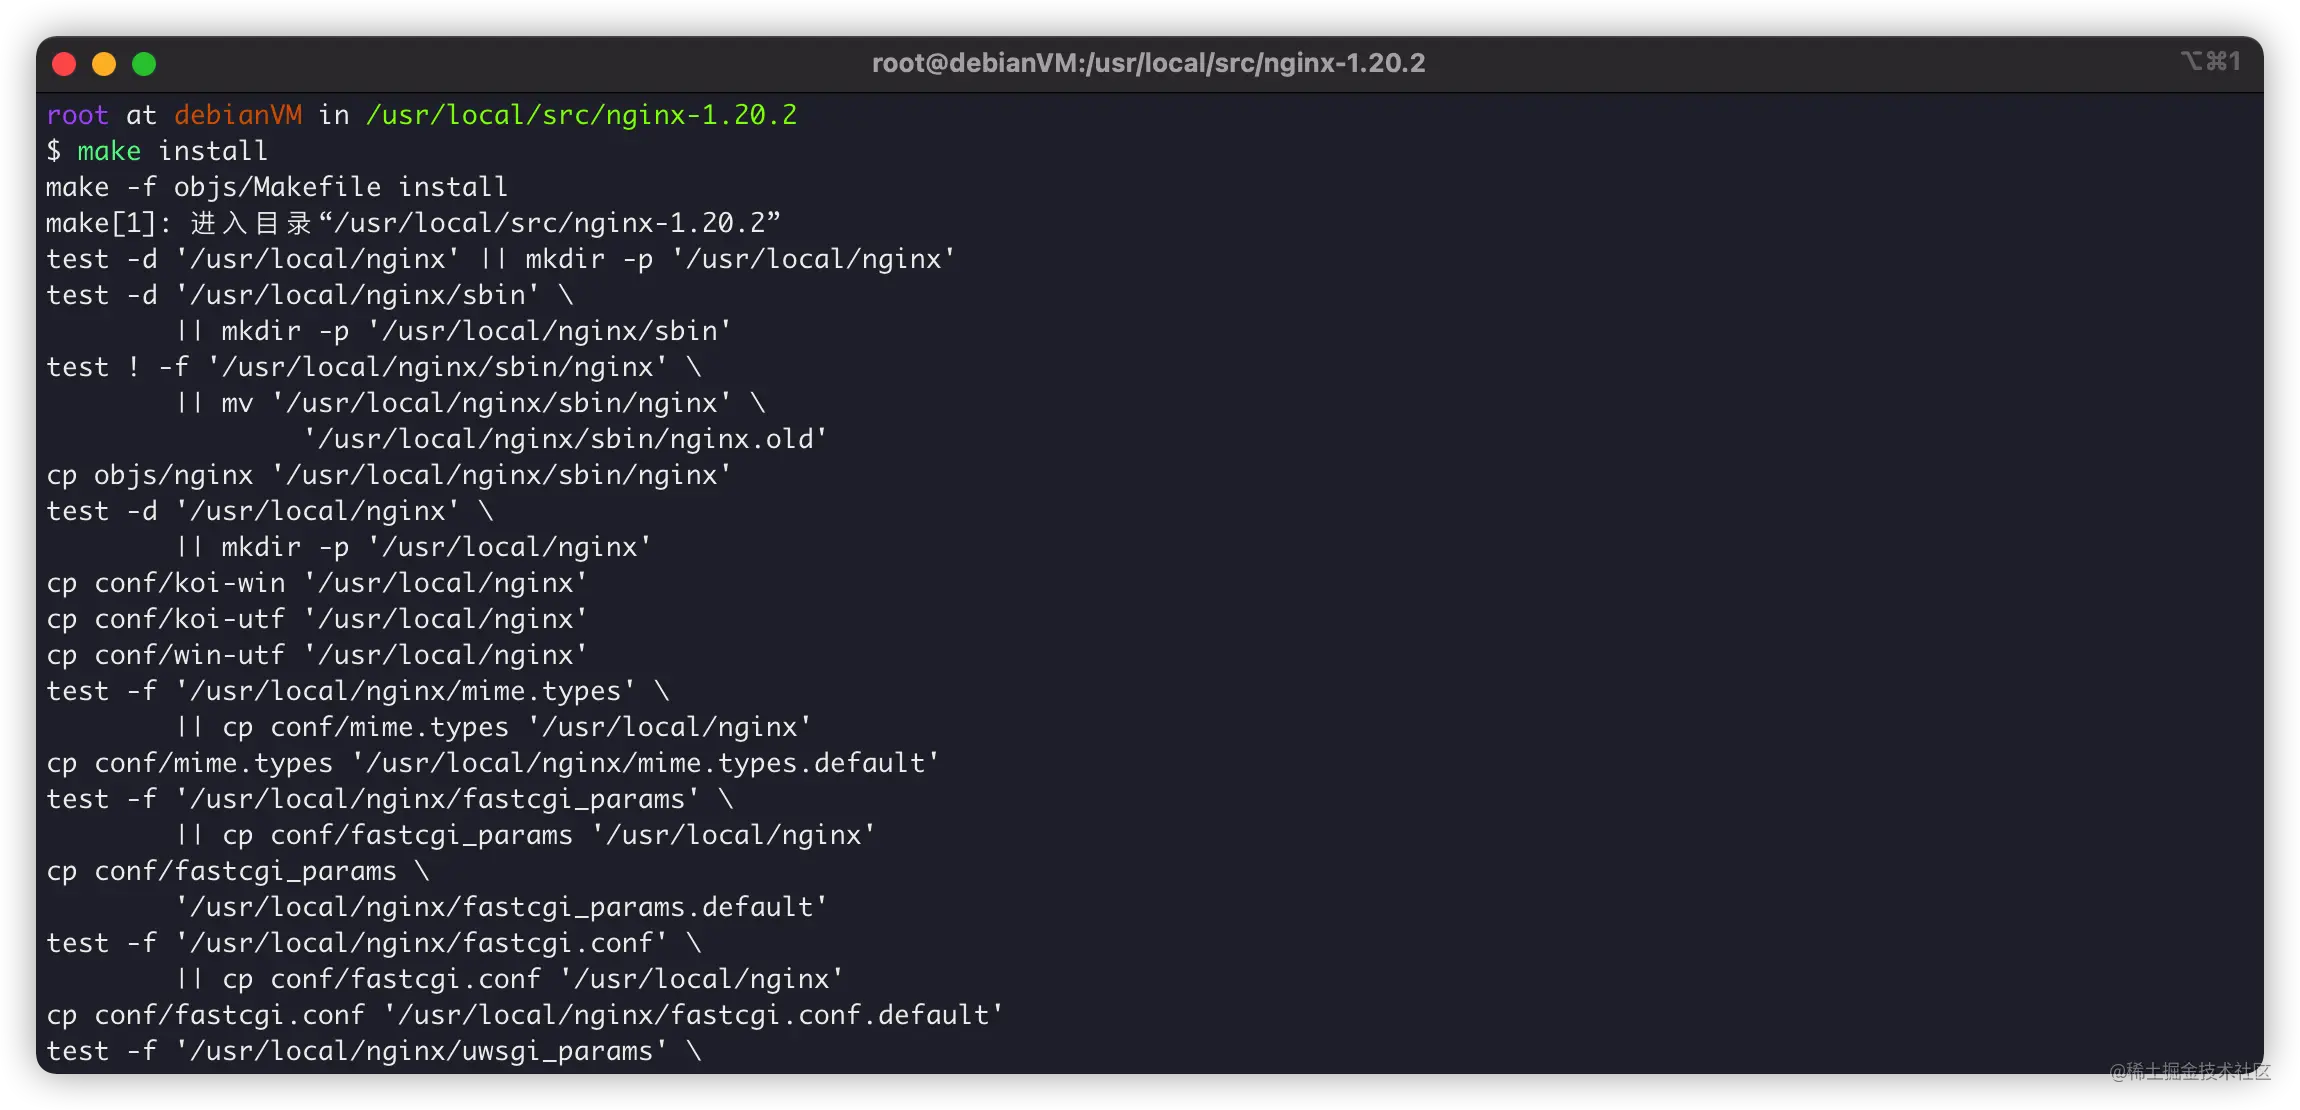
make install
vim /usr/lib/systemd/system/nginx.service
)
[Unit]
Description=nginx
After=network.target

[Service]
Type=forking
ExecStart=/usr/local/nginx/sbin/nginx
ExecReload=/usr/local/nginx/sbin/nginx -s reload
ExecStop=/usr/local/nginx/sbin/nginx -s quit
PrivateTmp=true

[Install]
WantedBy=multi-user.target
)
具体使用
如果你是按我的方法编译,那么,需要注意。
/usr/local/nginx:为Nginx编译安装的地址。/usr/local/nginx/nginx.conf:Nginx默认配置文件。
同时,我们使用systemctl对Nginx进行管理:
systemctl start nginx:启动Nginx服务。systemctl reload nginx:Nginx配置重载。systemctl stop nginx:停止Nginx服务。
更多systemctl操作,可以看这篇教程:《Linux系统服务神器:systemctl的配置与使用》
https://juejin.cn/post/7059029634922315812
最后,我们写个HelloWorld。
编辑配置文件:
)
指向目录/www:
)
cd /
mkdir /www
cd www
vim index.html
)
重载Nginx配置:
systemctl reload nginx
浏览器访问成功:

卸载
最后,如何卸载Nginx呢?其实更简单:
# 停止Nginx服务
systemctl stop nginx
# 删除Nginx服务
rm -rf /usr/lib/systemd/system/nginx.service
# 重载配置
systemctl daemon-reload
# 删除Nginx编译文件
rm -rf nginx
这样就卸载完成了。
END
其实呢?个人是喜欢编译安装Nginx。
Nginx确实是个Web服务器神器呢~~~
推荐教程:nginx教程
以上是一文教你怎麼在Debian上編譯安裝Nginx(步驟詳解)的詳細內容。更多資訊請關注PHP中文網其他相關文章!

熱AI工具

Undresser.AI Undress
人工智慧驅動的應用程序,用於創建逼真的裸體照片

AI Clothes Remover
用於從照片中去除衣服的線上人工智慧工具。

Undress AI Tool
免費脫衣圖片

Clothoff.io
AI脫衣器

AI Hentai Generator
免費產生 AI 無盡。

熱門文章

熱工具

記事本++7.3.1
好用且免費的程式碼編輯器

SublimeText3漢化版
中文版,非常好用

禪工作室 13.0.1
強大的PHP整合開發環境

Dreamweaver CS6
視覺化網頁開發工具

SublimeText3 Mac版
神級程式碼編輯軟體(SublimeText3)

熱門話題
 linux怎麼啟動nginx
Apr 14, 2025 pm 12:51 PM
在 Linux 中啟動 Nginx 的步驟:檢查 Nginx 是否已安裝。使用 systemctl start nginx 啟動 Nginx 服務。使用 systemctl enable nginx 啟用在系統啟動時自動啟動 Nginx。使用 systemctl status nginx 驗證啟動是否成功。在 Web 瀏覽器中訪問 http://localhost 查看默認歡迎頁面。
 nginx403錯誤怎麼解決
Apr 14, 2025 pm 12:54 PM
服務器無權訪問所請求的資源,導致 nginx 403 錯誤。解決方法包括:檢查文件權限。檢查 .htaccess 配置。檢查 nginx 配置。配置 SELinux 權限。檢查防火牆規則。排除其他原因,如瀏覽器問題、服務器故障或其他可能的錯誤。
 nginx怎麼關閉
Apr 14, 2025 pm 01:00 PM
要關閉 Nginx 服務,請按以下步驟操作:確定安裝類型:Red Hat/CentOS(systemctl status nginx)或 Debian/Ubuntu(service nginx status)停止服務:Red Hat/CentOS(systemctl stop nginx)或 Debian/Ubuntu(service nginx stop)禁用自動啟動(可選):Red Hat/CentOS(systemctl disable nginx)或 Debian/Ubuntu(syst
 nginx怎麼查看運行狀態
Apr 14, 2025 am 11:48 AM
查看 Nginx 運行狀態的方法有:使用 ps 命令查看進程狀態;查看 Nginx 配置文件 /etc/nginx/nginx.conf;使用 Nginx 狀態模塊啟用狀態端點;使用 Prometheus、Zabbix 或 Nagios 等監控工具。
 nginx在windows中怎麼配置
Apr 14, 2025 pm 12:57 PM
如何在 Windows 中配置 Nginx?安裝 Nginx 並創建虛擬主機配置。修改主配置文件並包含虛擬主機配置。啟動或重新加載 Nginx。測試配置並查看網站。選擇性啟用 SSL 並配置 SSL 證書。選擇性設置防火牆允許 80 和 443 端口流量。
 nginx如何配置負載均衡
Apr 14, 2025 am 08:33 AM
如何配置 Nginx 進行負載均衡?定義上游服務器池,指定服務器 IP 和端口。定義虛擬主機,監聽連接並轉發到上游池。指定位置,匹配請求並轉發到上游池。
 nginx304錯誤怎麼解決
Apr 14, 2025 pm 12:45 PM
問題的答案:304 Not Modified 錯誤表示瀏覽器已緩存客戶端請求的最新資源版本。解決方案:1. 清除瀏覽器緩存;2. 禁用瀏覽器緩存;3. 配置 Nginx 允許客戶端緩存;4. 檢查文件權限;5. 檢查文件哈希;6. 禁用 CDN 或反向代理緩存;7. 重啟 Nginx。
 怎麼查看nginx是否啟動
Apr 14, 2025 pm 01:03 PM
確認 Nginx 是否啟動的方法:1. 使用命令行:systemctl status nginx(Linux/Unix)、netstat -ano | findstr 80(Windows);2. 檢查端口 80 是否開放;3. 查看系統日誌中 Nginx 啟動消息;4. 使用第三方工具,如 Nagios、Zabbix、Icinga。


