怎麼實現ocr(光學字元辨識)?以下這篇文章跟大家介紹一下使用node實作實作ocr的方法,希望對大家有幫助!

ocr即光學字元識別,簡單的來說就是把圖片上的文字辨識出來。
很遺憾我只是一個底層的web程式設計師?,不咋會AI,要想實現ocr,只能找找第三方函式庫了。
python語言有很多ocr的第三方函式庫,找了很久nodejs實作ocr的第三方函式庫,最後發現了tesseract.js這個函式庫還是能很方便的實作ocr。 【相關教學推薦:nodejs影片教學】
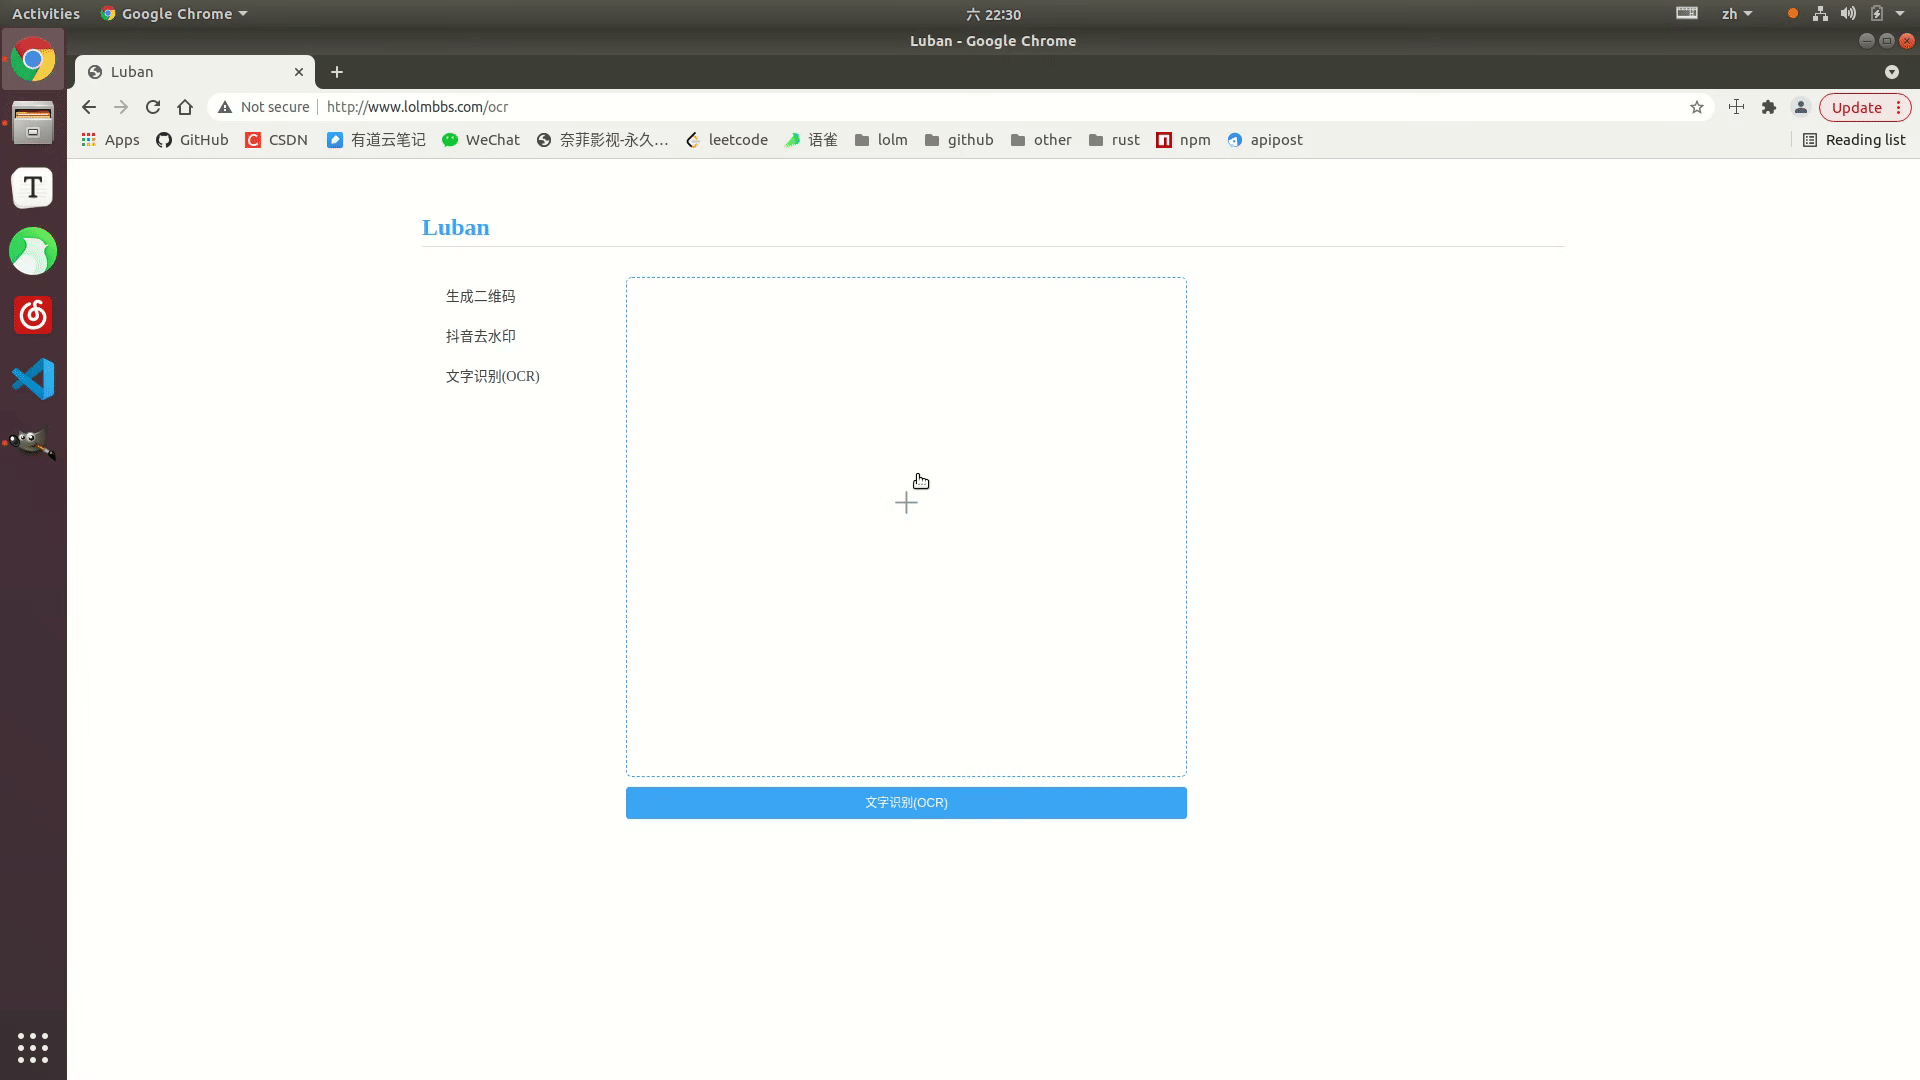
線上範例: http://www.lolmbbs.com/tool/ ocr
#tesserract.js 這個函式庫提供了多個版本可供選擇,我這裡使用的是離線的版本tesseract.js-offline,畢竟誰都由網路不好的時候。 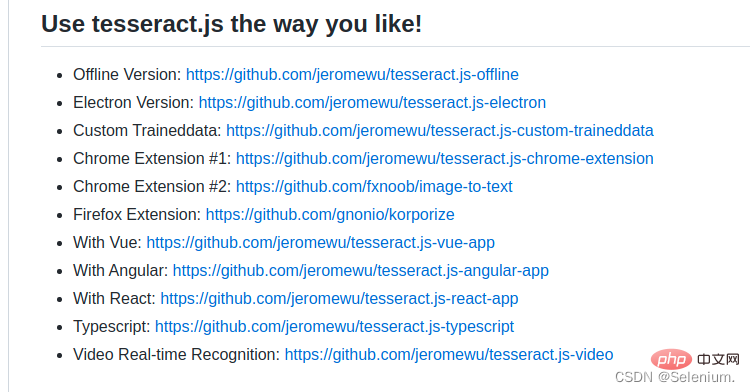
預設範例程式碼
const { createWorker } = require('tesseract.js');
const path = require('path');

const worker = createWorker({
  langPath: path.join(__dirname, '..', 'lang-data'),
  logger: m => console.log(m),
});

(async () => {
  await worker.load();
  await worker.loadLanguage('eng');
  await worker.initialize('eng');
  const { data: { text } } = await worker.recognize(path.join(__dirname, '..', 'images', 'testocr.png'));
  console.log(text);
  await worker.terminate();
})();tesseract.js 離線版本預設範例代碼只支援識別英文,如果識別中文,結果會是一堆問號。但幸運的是你可以匯入多個訓練好的語言模型,讓它支援多個語言的辨識。
從https://github.com/naptha/tessdata/tree/gh-pages/4.0.0這裡下載你需要的對應語言模型,放入根目錄下的lang-data目錄下
我這裡選擇了中(chi_sim.traineddata.gz)日(jpn.traineddata.gz)英(eng.traineddata.gz )三國語言模型。
修改程式碼中載入和初始化模型的語言項目配置,來同時支援中日英三國語言。
await worker.loadLanguage('chi_sim+jpn+eng');
await worker.initialize('chi_sim+jpn+eng');
為了方便大家的測試,我在範例的離線版本,已經放入了中日韓三國語言的訓練模型和實例程式碼以及測試圖片。
https://github.com/Selenium39/tesseract.js-offline
如果你運行了離線的版本,你會發現模型的載入和ocr的辨識有點慢。可以透過這兩個步驟優化。
web專案中,你可以在應用一啟動的時候就載入模型,這樣後續接收到ocr請求的時候就可以不用等待模型載入了。
參考Why I refactor tesseract.js v2?這篇博客,可以透過createScheduler方法添加多個worker線程來並發的處理ocr請求。
多執行緒並發處理ocr請求範例
const Koa = require('koa')
const Router = require('koa-router')
const router = new Router()
const app = new Koa()
const path = require('path')
const moment = require('moment')
const { createWorker, createScheduler } = require('tesseract.js')
;(async () => {
const scheduler = createScheduler()
for (let i = 0; i < 4; i++) {
const worker = createWorker({
langPath: path.join(__dirname, '.', 'lang-data'),
cachePath: path.join(__dirname, '.'),
logger: m => console.log(`${moment().format('YYYY-MM-DD HH:mm:ss')}-${JSON.stringify(m)}`)
})
await worker.load()
await worker.loadLanguage('chi_sim+jpn+eng')
await worker.initialize('chi_sim+jpn+eng')
scheduler.addWorker(worker)
}
app.context.scheduler = scheduler
})()
router.get('/test', async (ctx) => {
const { data: { text } } = await ctx.scheduler.addJob('recognize', path.join(__dirname, '.', 'images', 'chinese.png'))
// await ctx.scheduler.terminate()
ctx.body = text
})
app.use(router.routes(), router.allowedMethods())
app.listen(3002)發起並發請求,可以看到多個worker再並發執行ocr任務
ab -n 4 -c 4 localhost:3002/test

#效果展示中的前端程式碼主要是用了elementui元件和vue-cropper這個元件實作。
vue-cropper組件具體的使用可以參考我的這篇博客vue圖片裁剪:使用vue-cropper做圖片裁剪
ps: 上傳圖片的時候可以先在前端載入上傳圖片的base64,先看到上傳的圖片,再請後端上傳圖片,對使用者的體驗比較好
完整程式碼如下
<template>
<div>
<div style="margin-top:30px;height:500px">
<div class="show">
<vueCropper
v-if="imgBase64"
ref="cropper"
:img="imgBase64"
:output-size="option.size"
:output-type="option.outputType"
:info="true"
:full="option.full"
:can-move="option.canMove"
:can-move-box="option.canMoveBox"
:original="option.original"
:auto-crop="option.autoCrop"
:fixed="option.fixed"
:fixed-number="option.fixedNumber"
:center-box="option.centerBox"
:info-true="option.infoTrue"
:fixed-box="option.fixedBox"
:max-img-size="option.maxImgSize"
style="background-image:none"
@mouseenter.native="enter"
@mouseleave.native="leave"
></vueCropper>
<el-upload
v-else
ref="uploader"
class="avatar-uploader"
drag
multiple
action=""
:show-file-list="false"
:limit="1"
:http-request="upload"
>
<i class="el-icon-plus avatar-uploader-icon"></i>
</el-upload>
</div>
<div
class="ocr"
@mouseleave="leaveCard"
>
<el-card
v-for="(item,index) in ocrResult"
:key="index"
class="card-box"
@mouseenter.native="enterCard(item)"
>
<el-form
size="small"
label-width="100px"
label-position="left"
>
<el-form-item label="识别结果">
<el-input v-model="item.text"></el-input>
</el-form-item>
</el-form>
</el-card>
</div>
</div>
<div style="margin-top:10px">
<el-button
size="small"
type="primary"
style="width:60%"
@click="doOcr"
>
文字识别(OCR)
</el-button>
</div>
</div>
</template>
<script>
import { uploadImage, ocr } from '../utils/api'
export default {
name: 'Ocr',
data () {
return {
imgSrc: '',
imgBase64: '',
option: {
info: true, // 裁剪框的大小信息
outputSize: 0.8, // 裁剪生成图片的质量
outputType: 'jpeg', // 裁剪生成图片的格式
canScale: false, // 图片是否允许滚轮缩放
autoCrop: true, // 是否默认生成截图框
fixedBox: false, // 固定截图框大小 不允许改变
fixed: false, // 是否开启截图框宽高固定比例
fixedNumber: [7, 5], // 截图框的宽高比例
full: true, // 是否输出原图比例的截图
canMove: false, // 时候可以移动原图
canMoveBox: true, // 截图框能否拖动
original: false, // 上传图片按照原始比例渲染
centerBox: true, // 截图框是否被限制在图片里面
infoTrue: true, // true 为展示真实输出图片宽高 false 展示看到的截图框宽高
maxImgSize: 10000
},
ocrResult: []
}
},
methods: {
upload (fileObj) {
const file = fileObj.file
const reader = new FileReader()
reader.readAsDataURL(file)
reader.onload = () => {
this.imgBase64 = reader.result
}
const formData = new FormData()
formData.append('image', file)
uploadImage(formData).then(res => {
this.imgUrl = res.imgUrl
})
},
doOcr () {
const cropAxis = this.$refs.cropper.getCropAxis()
const imgAxis = this.$refs.cropper.getImgAxis()
const cropWidth = this.$refs.cropper.cropW
const cropHeight = this.$refs.cropper.cropH
const position = [
(cropAxis.x1 - imgAxis.x1) / this.$refs.cropper.scale,
(cropAxis.y1 - imgAxis.y1) / this.$refs.cropper.scale,
cropWidth / this.$refs.cropper.scale,
cropHeight / this.$refs.cropper.scale
]
const rectangle = {
top: position[1],
left: position[0],
width: position[2],
height: position[3]
}
if (this.imgUrl) {
ocr({ imgUrl: this.imgUrl, rectangle }).then(res => {
this.ocrResult.push(
{
text: res.text,
cropInfo: { //截图框显示的大小
width: cropWidth,
height: cropHeight,
left: cropAxis.x1,
top: cropAxis.y1
},
realInfo: rectangle //截图框在图片上真正的大小
})
})
}
},
enterCard (item) {
this.$refs.cropper.goAutoCrop()// 重新生成自动裁剪框
this.$nextTick(() => {
// if cropped and has position message, update crop box
// 设置自动裁剪框的宽高和位置
this.$refs.cropper.cropOffsertX = item.cropInfo.left
this.$refs.cropper.cropOffsertY = item.cropInfo.top
this.$refs.cropper.cropW = item.cropInfo.width
this.$refs.cropper.cropH = item.cropInfo.height
})
},
leaveCard () {
this.$refs.cropper.clearCrop()
},
enter () {
if (this.imgBase64 === '') {
return
}
this.$refs.cropper.startCrop() // 开始裁剪
},
leave () {
this.$refs.cropper.stopCrop()// 停止裁剪
}
}
}
</script>更多node相關知識,請訪問:nodejs 教程!
以上是淺析node怎麼實現ocr的詳細內容。更多資訊請關注PHP中文網其他相關文章!