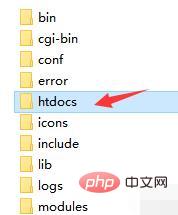
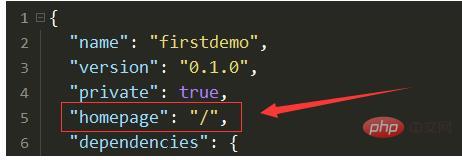
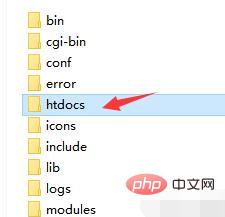
使用apache部署react的方法:1、下載Apache並解壓縮;2、修改conf資料夾下「heetd.conf」;3、用語句「httpd.exe -k install」安裝並啟動apache; 4.將請求資料的位址改為伺服器的位址;5、將產生的打包檔案放入apache根目錄, 重啟apache即可。

本教學操作環境:Windows10系統、react18.0.0版、Dell G3電腦。
Apache部署react專案(從安裝到部署完成)

解壓縮後,我放入E碟


連接埠可以改為自己需要的(不改,連接埠可能已佔用,無法啟動)( 67行
67行

httpd.exe -k install

net start Apache2.4
 附註
附註
2.設定檔(解決路由失效,即點選不跳轉)2.1修改conf資料夾下httpd.conf

<ifmodule>
    RewriteEngine On
    RewriteBase /
    RewriteRule ^index\.html$ - [L]
    RewriteCond %{REQUEST_FILENAME} !-f
    RewriteCond %{REQUEST_FILENAME} !-d
    RewriteRule . /index.html [L]
</ifmodule>npm run build
net restart Apache2.4
以上是怎麼使用apache部署react的詳細內容。更多資訊請關注PHP中文網其他相關文章!


