

SpringBoot怎麼整合Mongodb實現增刪查改

一、什麼是MongoDB
MongoDB與我們之前熟知的關係型資料庫(MySQL、Oracle)不同,MongoDB是一個文件資料庫,它具有所需的可擴展性和靈活性,以及所需的查詢和索引。
MongoDB將資料儲存在靈活的、類似JSON的文件中,這表示文件的欄位可能因文件而異,資料結構也會隨著時間的推移而改變。文檔模型映射到應用程式程式碼中的對象,使資料易於處理。 MongoDB是一個以分散式資料庫為核心的資料庫,因此高可用性、橫向擴展和地理分佈是內建的,並且易於使用。況且,MongoDB是免費的,開源的。
二、在Window10上安裝MongoDB
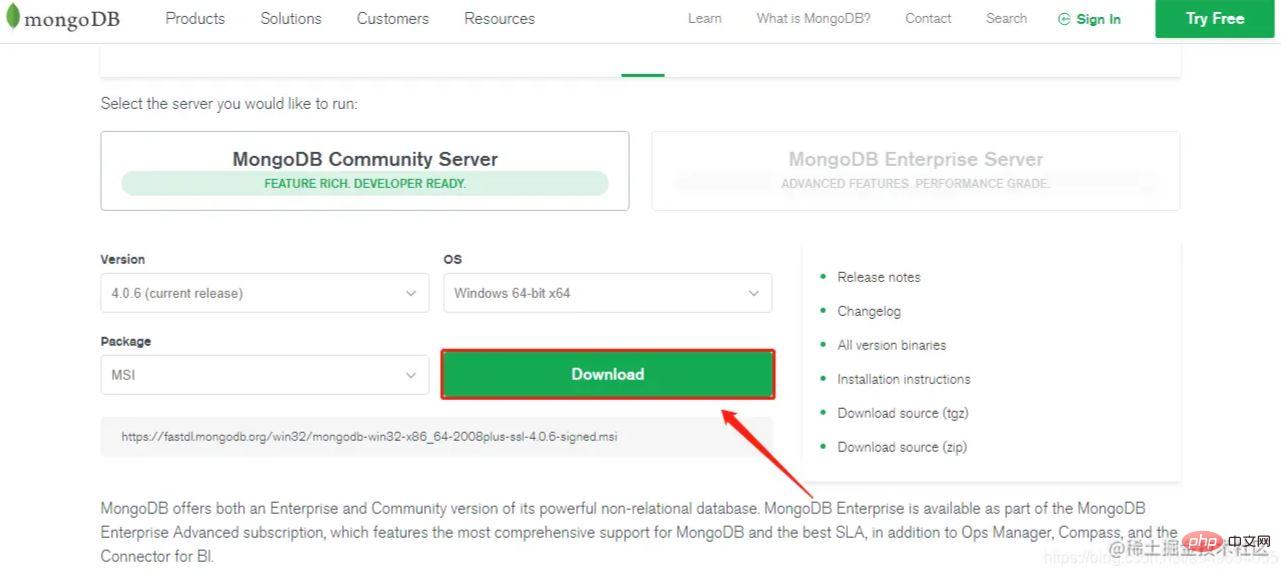
#開啟MongoDB官網
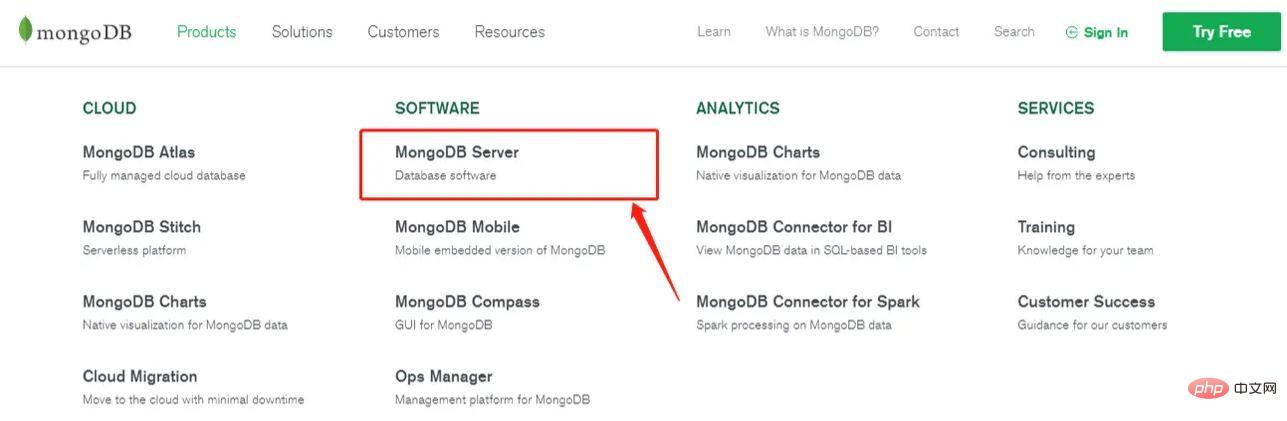
下載MSI版本(安裝版)
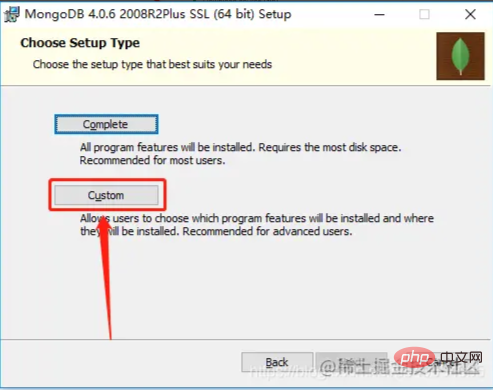
#下載的時候選擇Custom
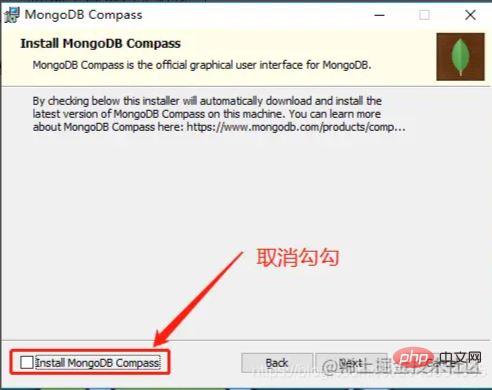
#安裝的時候,注意不要勾上安裝視覺化插件,否則安裝會非常慢(除非你網速夠快)
三、設定MongoDB服務
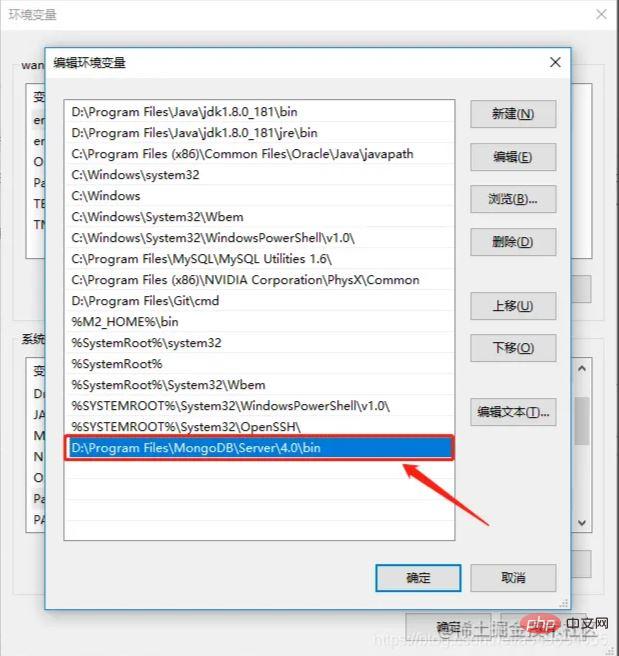
設定環境變數
複製目前路徑

我的電腦->右鍵->進階系統設定->環境變數->系統變數
在系統變數找到Path,編輯,將上面複製的路徑增加進去
#四、啟動服務
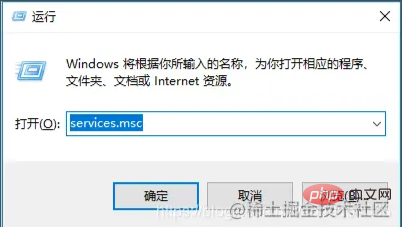
win R->輸入services.msc
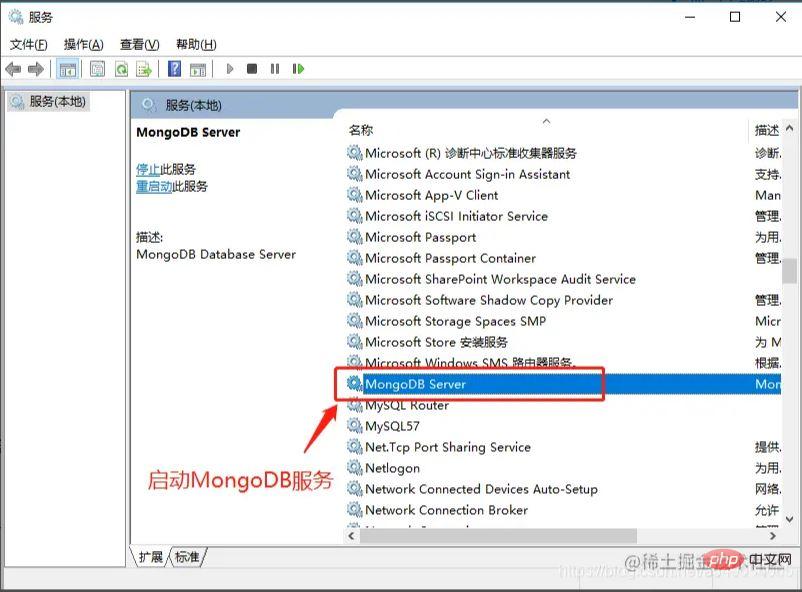
服務啟動後,在瀏覽器輸入127.0.0.1:2701
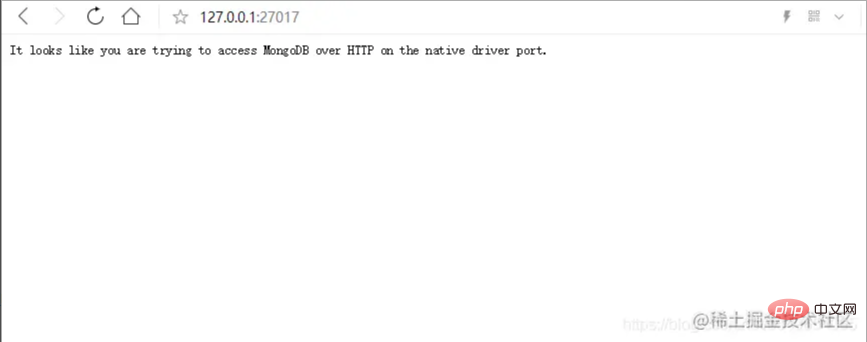
出現這行英語則代表服務啟動成功。
五、SpringBoot整合MongoDB
環境準備
作業系統:Window10
IDE:IntelliJ IDEA 2018.2.4
資料庫:MongoDB
1)引入依賴
        <dependency>
            <groupId>org.springframework.boot</groupId>
            <artifactId>spring-boot-starter-data-mongodb</artifactId>
</dependency>2)在application.yml新增如下設定
spring:
  data:
    mongodb:
uri: mongodb://localhost/test_mongodb完整的設定資訊如下:
spring:
  data:
    mongodb:
      authentication-database: # Authentication database name.
      database: # Database name.
      field-naming-strategy: # Fully qualified name of the FieldNamingStrategy to use.
      grid-fs-database: # GridFS database name.
      host: # Mongo server host. Cannot be set with URI.
      password: # Login password of the mongo server. Cannot be set with URI.
      port: # Mongo server port. Cannot be set with URI.
      repositories:
        type: # Type of Mongo repositories to enable.
      uri: # Mongo database URI. Cannot be set with host, port and credentials.
username: # Login user of the mongo server. Cannot be set with URI.3)新增實體類別UserEntity
public class UserEntity {
    @Id
    private String uid;
    private String username;
    private String password;
    public String getUid() {
        return uid;
    }
    public void setUid(String uid) {
        this.uid = uid;
    }
    public String getUsername() {
        return username;
    }
    public void setUsername(String username) {
        this.username = username;
    }
    public String getPassword() {
        return password;
    }
    public void setPassword(String password) {
        this.password = password;
    }
    @Override
    public String toString() {
        return "UserEntity{" +
                "uid='" + uid + '\'' +
                ", username='" + username + '\'' +
                ", password='" + password + '\'' +
                '}';
    }
}4)新建測試。這裡我用navicat作為MongoDB的視覺化工具來檢視。
測試一:插入操作
    @Autowired
    private MongoTemplate mongoTemplate;
    @Test
    public void saveUser(){
        UserEntity userEntity1 = new UserEntity();
        UserEntity userEntity2 = new UserEntity();
        UserEntity userEntity3 = new UserEntity();
        userEntity1.setUid("111");
        userEntity1.setUsername("用户1");
        userEntity1.setPassword("密码1");
        userEntity2.setUid("222");
        userEntity2.setUsername("用户2");
        userEntity2.setPassword("密码2");
        userEntity3.setUid("333");
        userEntity3.setUsername("用户3");
        userEntity3.setPassword("密码3");
        mongoTemplate.save(userEntity1);
        mongoTemplate.save(userEntity2);
        mongoTemplate.save(userEntity3);
}資料庫資訊:
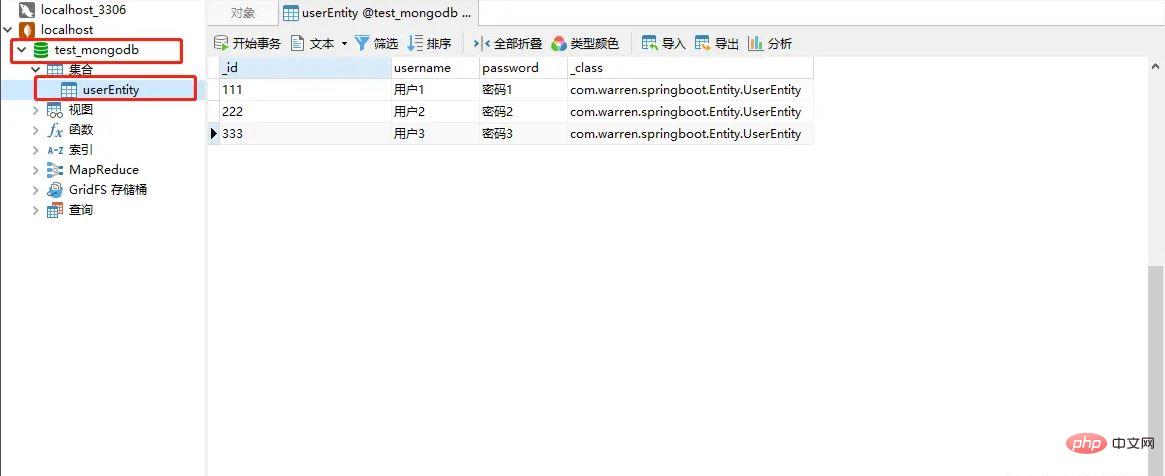
可以看到,MongoDB自動建立了資料庫以及透過實體類別生成了集合(也就是我們常說的資料表),而且我們已經透過MongoTemplate在資料庫的userEntity集合中插入了幾個文件(也就是插入了幾筆記錄)。而_id 為主鍵,_class 則為實體類別包名類別名稱
測試二:查詢動作
    @Autowired
    private MongoTemplate mongoTemplate;
	@Test
    public void findUserByUserName(){
        String username = "用户1";
        Query query=new Query(Criteria.where("username").is(username));
        UserEntity user =  mongoTemplate.findOne(query , UserEntity.class);
        System.out.println(user);
}輸出結果:
UserEntity{uid='111', username='用戶1', password='密碼1'}
測試三:更新操作
  @Autowired
    private MongoTemplate mongoTemplate;
	@Test
    public void updateUser(){
        UserEntity userEntity = new UserEntity();
        userEntity.setUid("111");
        userEntity.setUsername("更新后的用户名");
        userEntity.setPassword("更新后的密码");
        Query query = new Query(Criteria.where("_id").is(userEntity.getUid()));
        Update update = Update.update("username",userEntity.getUsername()).set("password",userEntity.getPassword());
        //更新返回结果集的第一条
        mongoTemplate.updateFirst(query,update,UserEntity.class);
        //更新返回结果集的所有
        //mongoTemplate.updateMulti(query,update,UserEntity.class);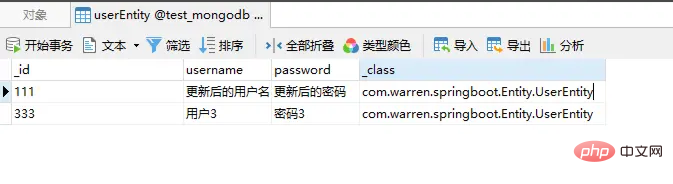
}更新後資料庫如圖所示:

測試四:刪除動作
    @Autowired
    private MongoTemplate mongoTemplate;
	@Test
    public  void DeleteByUserId(){
        String id = "222";
        Query query=new Query(Criteria.where("_id").is(id));
        mongoTemplate.remove(query,UserEntity.class);
}刪除後資料庫如圖所示:
以上是SpringBoot怎麼整合Mongodb實現增刪查改的詳細內容。更多資訊請關注PHP中文網其他相關文章!

熱AI工具

Undresser.AI Undress
人工智慧驅動的應用程序,用於創建逼真的裸體照片

AI Clothes Remover
用於從照片中去除衣服的線上人工智慧工具。

Undress AI Tool
免費脫衣圖片

Clothoff.io
AI脫衣器

Video Face Swap
使用我們完全免費的人工智慧換臉工具,輕鬆在任何影片中換臉!

熱門文章
熱工具

記事本++7.3.1
好用且免費的程式碼編輯器

SublimeText3漢化版
中文版,非常好用

禪工作室 13.0.1
強大的PHP整合開發環境

Dreamweaver CS6
視覺化網頁開發工具

SublimeText3 Mac版
神級程式碼編輯軟體(SublimeText3)


 net4.0有什麼用
May 10, 2024 am 01:09 AM
net4.0有什麼用
May 10, 2024 am 01:09 AM
.NET 4.0 用於創建各種應用程序,它為應用程式開發人員提供了豐富的功能,包括:物件導向程式設計、靈活性、強大的架構、雲端運算整合、效能最佳化、廣泛的程式庫、安全性、可擴展性、資料存取和行動開發支援。
 如何在Debian上配置MongoDB自動擴容
Apr 02, 2025 am 07:36 AM
如何在Debian上配置MongoDB自動擴容
Apr 02, 2025 am 07:36 AM
本文介紹如何在Debian系統上配置MongoDB實現自動擴容,主要步驟包括MongoDB副本集的設置和磁盤空間監控。一、MongoDB安裝首先,確保已在Debian系統上安裝MongoDB。使用以下命令安裝:sudoaptupdatesudoaptinstall-ymongodb-org二、配置MongoDB副本集MongoDB副本集確保高可用性和數據冗餘,是實現自動擴容的基礎。啟動MongoDB服務:sudosystemctlstartmongodsudosys
 MongoDB在Debian上的高可用性如何保障
Apr 02, 2025 am 07:21 AM
MongoDB在Debian上的高可用性如何保障
Apr 02, 2025 am 07:21 AM
本文介紹如何在Debian系統上構建高可用性的MongoDB數據庫。我們將探討多種方法,確保數據安全和服務持續運行。關鍵策略:副本集(ReplicaSet):利用副本集實現數據冗餘和自動故障轉移。當主節點出現故障時,副本集會自動選舉新的主節點,保證服務的持續可用性。數據備份與恢復:定期使用mongodump命令進行數據庫備份,並製定有效的恢復策略,以應對數據丟失風險。監控與報警:部署監控工具(如Prometheus、Grafana)實時監控MongoDB的運行狀態,並
 使用 Composer 解決推薦系統的困境:andres-montanez/recommendations-bundle 的實踐
Apr 18, 2025 am 11:48 AM
使用 Composer 解決推薦系統的困境:andres-montanez/recommendations-bundle 的實踐
Apr 18, 2025 am 11:48 AM
在開發一個電商網站時,我遇到了一個棘手的問題:如何為用戶提供個性化的商品推薦。最初,我嘗試了一些簡單的推薦算法,但效果並不理想,用戶的滿意度也因此受到影響。為了提升推薦系統的精度和效率,我決定採用更專業的解決方案。最終,我通過Composer安裝了andres-montanez/recommendations-bundle,這不僅解決了我的問題,還大大提升了推薦系統的性能。可以通過一下地址學習composer:學習地址
 Navicat查看MongoDB數據庫密碼的方法
Apr 08, 2025 pm 09:39 PM
Navicat查看MongoDB數據庫密碼的方法
Apr 08, 2025 pm 09:39 PM
直接通過 Navicat 查看 MongoDB 密碼是不可能的,因為它以哈希值形式存儲。取回丟失密碼的方法:1. 重置密碼;2. 檢查配置文件(可能包含哈希值);3. 檢查代碼(可能硬編碼密碼)。
 CentOS MongoDB備份策略是什麼
Apr 14, 2025 pm 04:51 PM
CentOS MongoDB備份策略是什麼
Apr 14, 2025 pm 04:51 PM
CentOS系統下MongoDB高效備份策略詳解本文將詳細介紹在CentOS系統上實施MongoDB備份的多種策略,以確保數據安全和業務連續性。我們將涵蓋手動備份、定時備份、自動化腳本備份以及Docker容器環境下的備份方法,並提供備份文件管理的最佳實踐。手動備份:利用mongodump命令進行手動全量備份,例如:mongodump-hlocalhost:27017-u用戶名-p密碼-d數據庫名稱-o/備份目錄此命令會將指定數據庫的數據及元數據導出到指定的備份目錄。
 Pi幣重大更新:Pi Bank要來了!
Mar 03, 2025 pm 06:18 PM
Pi幣重大更新:Pi Bank要來了!
Mar 03, 2025 pm 06:18 PM
PiNetwork即將推出革命性移動銀行平台PiBank! PiNetwork今日發布重大更新Elmahrosa(Face)PIMISRBank,簡稱PiBank,它將傳統銀行服務與PiNetwork加密貨幣功能完美融合,實現法幣與加密貨幣的原子交換(支持美元、歐元、印尼盾等法幣與PiCoin、USDT、USDC等加密貨幣的互換)。究竟PiBank有何魅力?讓我們一探究竟! PiBank主要功能:一站式管理銀行賬戶和加密貨幣資產。支持實時交易,並採用生物特
 Debian MongoDB如何進行數據加密
Apr 12, 2025 pm 08:03 PM
Debian MongoDB如何進行數據加密
Apr 12, 2025 pm 08:03 PM
在Debian系統上為MongoDB數據庫加密,需要遵循以下步驟:第一步:安裝MongoDB首先,確保您的Debian系統已安裝MongoDB。如果沒有,請參考MongoDB官方文檔進行安裝:https://docs.mongodb.com/manual/tutorial/install-mongodb-on-debian/第二步:生成加密密鑰文件創建一個包含加密密鑰的文件,並設置正確的權限:ddif=/dev/urandomof=/etc/mongodb-keyfilebs=512
