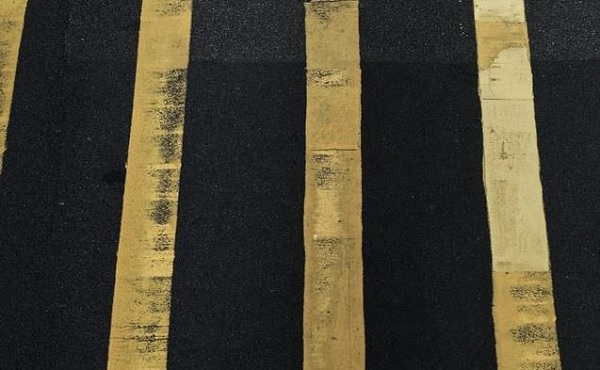
使用Hough線變換可以在給定的圖像中檢測直線。在OpenCV中有兩種可用的Hough線變換,分別是標準Hough線變換和機率Hough線變換。
您可以使用Imgproc類別的HoughLinesP()方法應用機率Hough線變換,該方法接受以下參數:
#表示來源影像和儲存線條參數(r, Φ)的向量的兩個Mat物件。
表示參數r(像素)和Φ(弧度)的解析度的兩個double變數。
表示「偵測」一條線所需的最小交點數的整數。
以下Java範例使用OpenCV的機率Hough線轉換偵測影像中的線條:
import java.awt.Image;
import java.awt.image.BufferedImage;
import java.io.IOException;
import javafx.application.Application;
import javafx.embed.swing.SwingFXUtils;
import javafx.scene.Group;
import javafx.scene.Scene;
import javafx.scene.image.ImageView;
import javafx.scene.image.WritableImage;
import javafx.stage.Stage;
import org.opencv.core.Core;
import org.opencv.core.Mat;
import org.opencv.core.Point;
import org.opencv.core.Scalar;
import org.opencv.highgui.HighGui;
import org.opencv.imgcodecs.Imgcodecs;
import org.opencv.imgproc.Imgproc;
public class HoughLineProbabilisticTransform extends Application {
   public void start(Stage stage) throws IOException {
      //Loading the OpenCV core library
      System.loadLibrary( Core.NATIVE_LIBRARY_NAME );
      String file ="D:\Images\road4.jpg";
      Mat src = Imgcodecs.imread(file);
      //Converting the image to Gray
      Mat gray = new Mat();
      Imgproc.cvtColor(src, gray, Imgproc.COLOR_RGBA2GRAY);
      //Detecting the edges
      Mat edges = new Mat();
      Imgproc.Canny(gray, edges, 60, 60*3, 3, false);
      // Changing the color of the canny
      Mat cannyColor = new Mat();
      Imgproc.cvtColor(edges, cannyColor, Imgproc.COLOR_GRAY2BGR);
      //Detecting the hough lines from (canny)
      Mat lines = new Mat();
      Imgproc.HoughLinesP(edges, lines, 1, Math.PI/180, 50, 50, 10);
      for (int i = 0; i < lines.rows(); i++) {
         double[] data = lines.get(i, 0);
         //Drawing lines on the image
         Point pt1 = new Point(data[0], data[1]);
         Point pt2 = new Point(data[2], data[3]);
         Imgproc.line(cannyColor, pt1, pt2, new Scalar(0, 0, 255), 3);
      }
      //Converting matrix to JavaFX writable image
      Image img = HighGui.toBufferedImage(cannyColor);
      WritableImage writableImage= SwingFXUtils.toFXImage((BufferedImage) img, null);
      //Setting the image view
      ImageView imageView = new ImageView(writableImage);
      imageView.setX(10);
      imageView.setY(10);
      imageView.setFitWidth(575);
      imageView.setPreserveRatio(true);
      //Setting the Scene object
      Group root = new Group(imageView);
      Scene scene = new Scene(root, 595, 400);
      stage.setTitle("Hough Line Transform");
      stage.setScene(scene);
      stage.show();
   }
   public static void main(String args[]) {
      launch(args);
   }
}
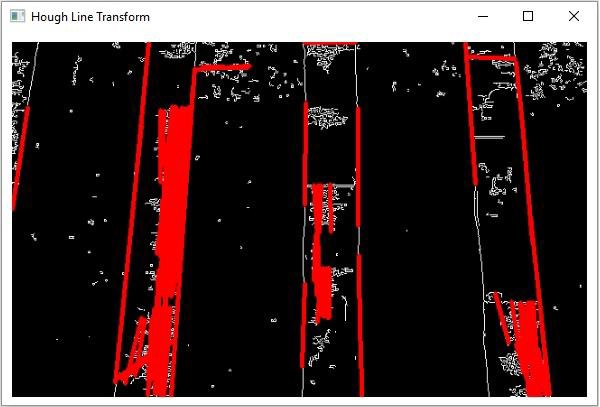
執行後,上述程式碼將產生以下輸出−

以上是在Java中實作OpenCV的機率霍夫線變換的詳細內容。更多資訊請關注PHP中文網其他相關文章!
