
目标是想让Toolbar不被DrawerLayout的NavigationView遮盖,一直显示。
以下代码运行于Android Studio 2.1.2, 手机5.1.1
<!--activity_main.xml-->

<?xml version="1.0" encoding="utf-8"?>
<android.support.v4.widget.DrawerLayout xmlns:android="http://schemas.android.com/apk/res/android"
    xmlns:app="http://schemas.android.com/apk/res-auto"
    xmlns:tools="http://schemas.android.com/tools"
    android:id="@+id/drawer_layout"
    android:layout_width="match_parent"
    android:layout_height="match_parent"
    android:fitsSystemWindows="true"
    tools:openDrawer="start">

    <include
        layout="@layout/content_main"
        android:layout_width="match_parent"
        android:layout_height="match_parent" />

    <android.support.design.widget.NavigationView
        android:id="@+id/nav_view"
        android:layout_width="wrap_content"
        android:layout_height="match_parent"
        android:layout_gravity="start"
        android:fitsSystemWindows="true"
        app:headerLayout="@layout/nav_header_main"
        app:menu="@menu/activity_main_drawer" />

</android.support.v4.widget.DrawerLayout>


<!--content_main.xml-->
<?xml version="1.0" encoding="utf-8"?>
<android.support.design.widget.CoordinatorLayout xmlns:android="http://schemas.android.com/apk/res/android"
    xmlns:app="http://schemas.android.com/apk/res-auto"
    xmlns:tools="http://schemas.android.com/tools"
    android:layout_width="match_parent"
    android:layout_height="match_parent"
    android:fitsSystemWindows="true"
    tools:showIn="@layout/activity_main"
    tools:context="com.hooking.note.MainActivity">

    <android.support.design.widget.AppBarLayout
        android:layout_width="match_parent"
        android:layout_height="wrap_content"
        android:theme="@style/AppTheme.AppBarOverlay">

        <android.support.v7.widget.Toolbar
            android:id="@+id/toolbar"
            android:layout_width="match_parent"
            android:layout_height="?attr/actionBarSize"
            android:background="?attr/colorPrimary"
            app:popupTheme="@style/AppTheme.PopupOverlay" />

    </android.support.design.widget.AppBarLayout>

    <RelativeLayout
        android:id="@+id/fg_main_list"
        android:layout_width="match_parent"
        android:layout_height="match_parent"
        app:layout_behavior="@string/appbar_scrolling_view_behavior"/>

    <android.support.design.widget.FloatingActionButton
        android:id="@+id/fab"
        android:layout_width="wrap_content"
        android:layout_height="wrap_content"
        android:layout_gravity="bottom|end"
        android:layout_margin="@dimen/fab_margin"
        android:background="?attr/colorPrimary"
        android:src="@drawable/ic_add_white_24dp"
        app:layout_behavior="@string/floating_action_button_behavior" />

</android.support.design.widget.CoordinatorLayout>
主题是android studio项目模板默认的
    <style name="AppTheme.NoActionBar">
        <item name="windowActionBar">false</item>
        <item name="windowNoTitle">true</item>
        <item name="android:windowDrawsSystemBarBackgrounds">true</item>
        <item name="android:statusBarColor">@android:color/transparent</item>
    </style>

    <activity
        android:name=".MainActivity"
        android:theme="@style/AppTheme.NoActionBar" />
运行结果如下:
<!-- activity_main_2.xml -->
<?xml version="1.0" encoding="utf-8"?>
<android.support.design.widget.CoordinatorLayout xmlns:android="http://schemas.android.com/apk/res/android"
    xmlns:app="http://schemas.android.com/apk/res-auto"
    xmlns:tools="http://schemas.android.com/tools"
    android:layout_width="match_parent"
    android:layout_height="match_parent"
    android:fitsSystemWindows="true"
    tools:context="com.hooking.note.MainActivity">

    <android.support.design.widget.AppBarLayout
        android:layout_width="match_parent"
        android:layout_height="wrap_content"
        android:theme="@style/AppTheme.AppBarOverlay">

        <android.support.v7.widget.Toolbar
            android:id="@+id/toolbar"
            android:layout_width="match_parent"
            android:layout_height="?attr/actionBarSize"
            android:background="?attr/colorPrimary"
            app:layout_scrollFlags="scroll|enterAlways"
            app:popupTheme="@style/AppTheme.PopupOverlay" />

    </android.support.design.widget.AppBarLayout>

    <include layout="@layout/content_main_2" />

    <android.support.design.widget.FloatingActionButton
        android:id="@+id/fab"
        android:layout_width="wrap_content"
        android:layout_height="wrap_content"
        android:layout_gravity="bottom|end"
        android:layout_margin="@dimen/fab_margin"
        android:background="?attr/colorPrimary"
        android:src="@drawable/ic_add_white_24dp"
        app:layout_behavior="@string/floating_action_button_behavior" />

</android.support.design.widget.CoordinatorLayout>


<!-- content_main_2.xml -->
<?xml version="1.0" encoding="utf-8"?>
<android.support.v4.widget.DrawerLayout xmlns:android="http://schemas.android.com/apk/res/android"
    xmlns:app="http://schemas.android.com/apk/res-auto"
    xmlns:tools="http://schemas.android.com/tools"
    android:id="@+id/drawer_layout"
    android:layout_width="match_parent"
    android:layout_height="match_parent"
    android:fitsSystemWindows="false"//注1
    app:layout_behavior="@string/appbar_scrolling_view_behavior"
    tools:openDrawer="start">

    <RelativeLayout
        android:id="@+id/fg_main_list"
        android:layout_width="match_parent"
        android:layout_height="match_parent"/>

    <android.support.design.widget.NavigationView
        android:id="@+id/nav_view"
        android:layout_width="wrap_content"
        android:layout_height="match_parent"
        android:layout_gravity="start"
        android:fitsSystemWindows="false"//注2
        app:headerLayout="@layout/nav_header_main"
        app:menu="@menu/activity_main_drawer" />

</android.support.v4.widget.DrawerLayout>
主题不变,运行结果如下: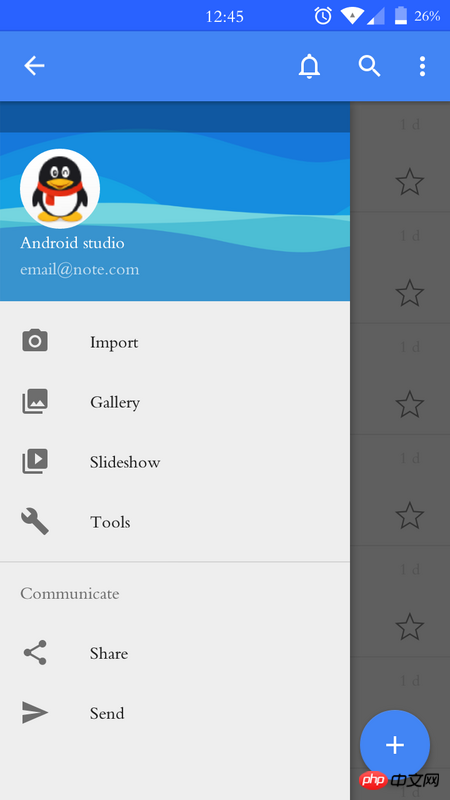
发现NavigationView的顶部有一与状态栏高度相等的遮罩层,请问怎样去掉这部分遮罩层的阴影。
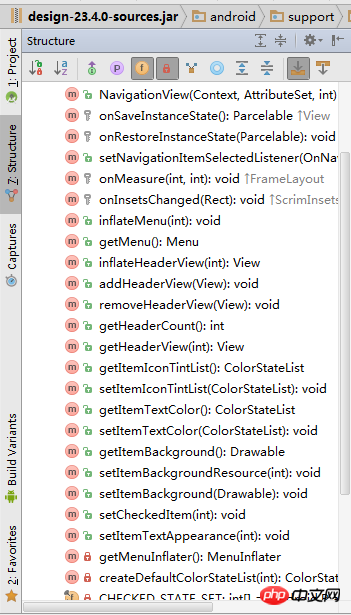
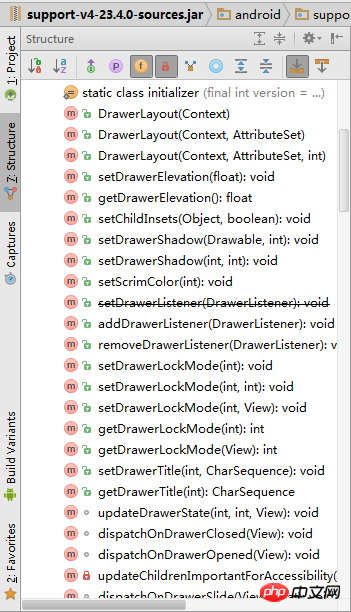
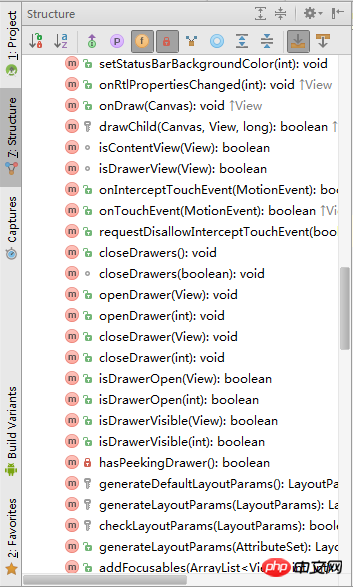
试过,修改DrawerLayout和NavigationView的布局属性;以及从以下代码涉及到颜色的函数着手修改,都没有效果

修改activity_main_2.xml、content_main_2.xml中DrawerLayout 【注1】 和NavigationView【注2】的 android:fitsSystemWindows="false"由false改为true,就出现了以下结果:可以看到内容区也多了状态栏同等高度的遮罩层阴影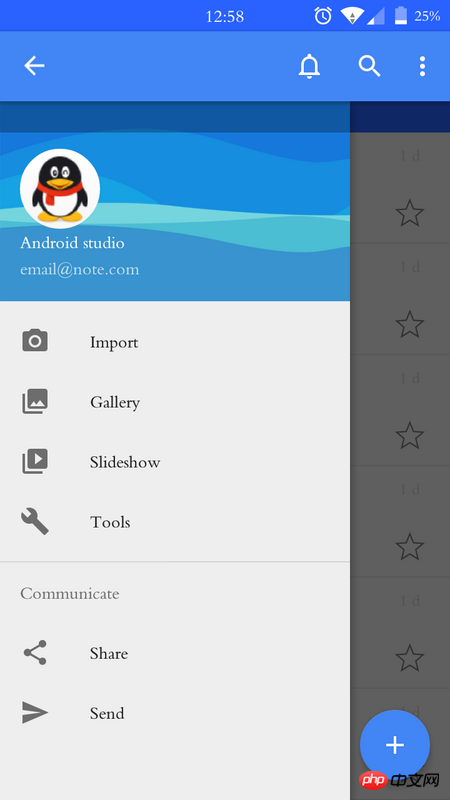


CoordinatorLayout裡面套一個LinearLayout呢
把Toolbar和DrawerLayout放進去
陰影來自於
fitsystemWindows,这个属性算的上比较奇怪,对于NavgationView这个控件fitsSystemWindows这个属性进行了特殊的处理.官方理解 但是这个控件在不同的手机上有着不同的处理 类似的情况 。对于你这个方式 我的处理是在content_main2的根布局上添加一个layout_margin="?attr/ActionBarsize"這樣的話就可以得到你想要的結果(所有的佈局都是Android Studio中生成的)。有關fitsystemWindows屬性
當android:windowDrawsSystemBarBackgrounds為true, android:statusBarColor為全透明時,
Activity裡UI的高度包含狀態欄,會嵌入到狀態列下。
fitsystemWindows這個屬性時可以再ViewGroup中傳遞的,從父View傳遞到子View。
當Activity的父佈局是CoordinatorLayout時,如果設定了fitsystemWindows=true,
會在狀態列下(高度等於狀態列高度)繪製顏色塊,顏色取決與CoordinatorLayout的systembarcolor屬性,
systembarcolor預設顏色時colorPrimaryDark的顏色。-
CoordinatorLayout設定了fitsystemWindows=true,繪不繪製狀態列也取決與CoordinatorLayout的子View,如果子View也設定fitsystemWindows=true, 會先交給子View處理狀態列繪製。
🎜可以google相關fitsystemWindows的文章🎜請問樓主,這個問題解決了嗎?我遇到了同樣的問題