Despite using a MacBook as my daily driver, I sometimes need to use Windows now and then. For that, I don't need to buy a separate laptop. Instead, I use Parallels Desktop to run Windows 11 on my Mac. I'll teach you how to do it below.

Parallels Desktop is a virtualization app. It's one of the best virtualization platforms for running a second operating system—like Windows or Linux—inside the current one. To do this, Parallels emulates a complete computer system with a so-called virtual machine (VM).
Thanks to virtualization, you can run Windows 11 in a window alongside macOS (at the expense of speed and battery life). Keep in mind that not many PC apps have native support for Windows on ARM, a version of Windows compiled for ARM64 devices like Snapdragon X Elite laptops and even Apple silicon Macs.
Using Parallels Desktop version 18 and later, you can download, install, and configure Windows 11 on your Macs in just a few clicks. Parallels also provide a virtual TPM chip and support for Windows features like BitLocker, Secure Boot, and Windows Hello. Getting these security features is one of the reasons to install Windows on a Mac.
I'll use a trial version of Parallels and a non-activated copy of Windows 11 to get Microsoft's operating system up and running on my Mac for free. If you decide the solution works for you, you can always upgrade to the full version of Parallels and purchase a Windows license later.

Grab a free trial of Parallels Desktop for macOS by visiting the Parallels Desktop website, then click the Try Free button. You can use Parallels features without restriction during your 14-day trial period. With the installer downloaded, open the Install Parallels Desktop disk image from your Downloads folder.
If macOS throws a message saying it couldn't open the installer because it wasn't downloaded from the App Store, Control-click the file icon and choose Open from the context menu, then confirm the action by clicking the Open button.
With the disk image mounted, double-click the Install Parallels Desktop button in the installer. If you see a warning that the app was downloaded from the Internet, click Open to continue. To finish installing Parallels, you must accept the terms to initiate the download process, verify your identity, and permit Parallels to access your Mac.

Launch Parallels and the Installation Assistant should take over. If it doesn't show up, click the File menu and choose New to create a fresh virtual machine.
Parallels allow you to manually install Windows 11 using an ISO. If you want to take that route, download Windows 11 ISO, and then choose the Other Options button on the setup screen. But, in this guide, we'll let Parallels download and install Windows, which is more convenient.
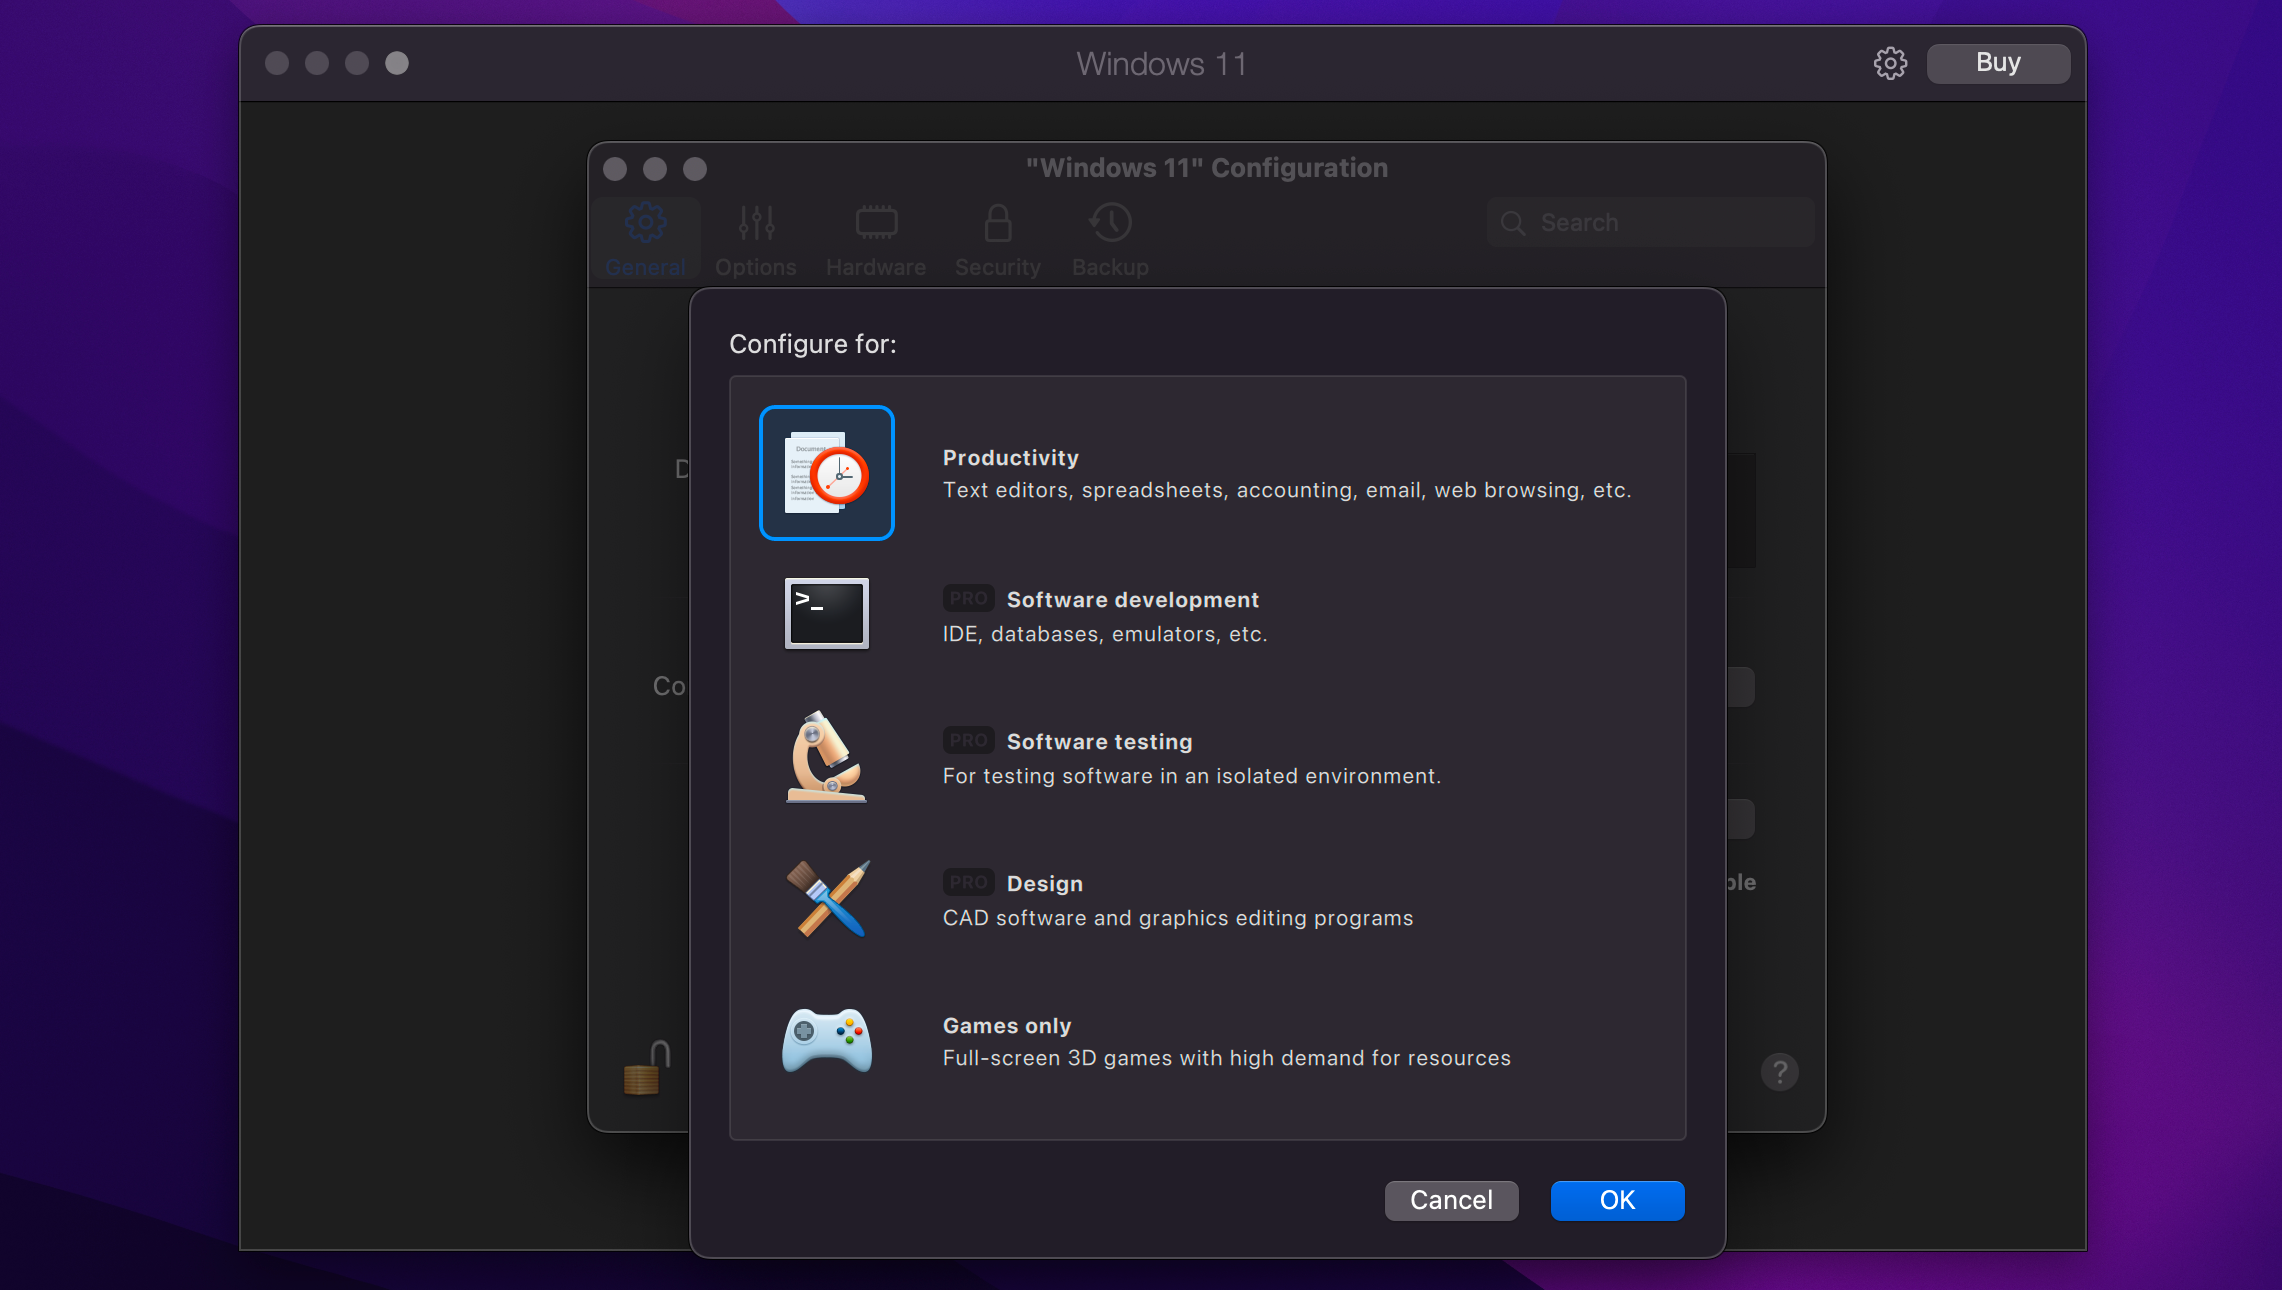
Click the Install Windows button to let Parallels download and install Windows 11. On the next page, select what you wish to use Parallels for, or simply click Continue to go with the default Productivity option. After that, Parallels will start the download process.

If Parallels requests access to your system storage after downloading Windows, click Allow. With that done, Parallels will validate and launch the installer.

It may take a while to install Windows 11—be patient as Parallels optimizes Windows 11 on your Mac. You'll see an "Installation Complete" message at the end of the process. At that point, click on the screen to continue.
You'll be prompted to create a free Parallels account or sign in to an existing one. Select I'm a new user to create a new account or I have a password to log in to an existing account.

You can Sign in with Apple and avoid sharing your real email address. Parallels Desktop includes a 14-day free trial without limitations. Once it expires, you'll need to buy a license from the Parallels website.
Parallels will now boot your VM to finish installing Windows 11. The Windows License Agreement comes up next, so click the Accept button to continue.

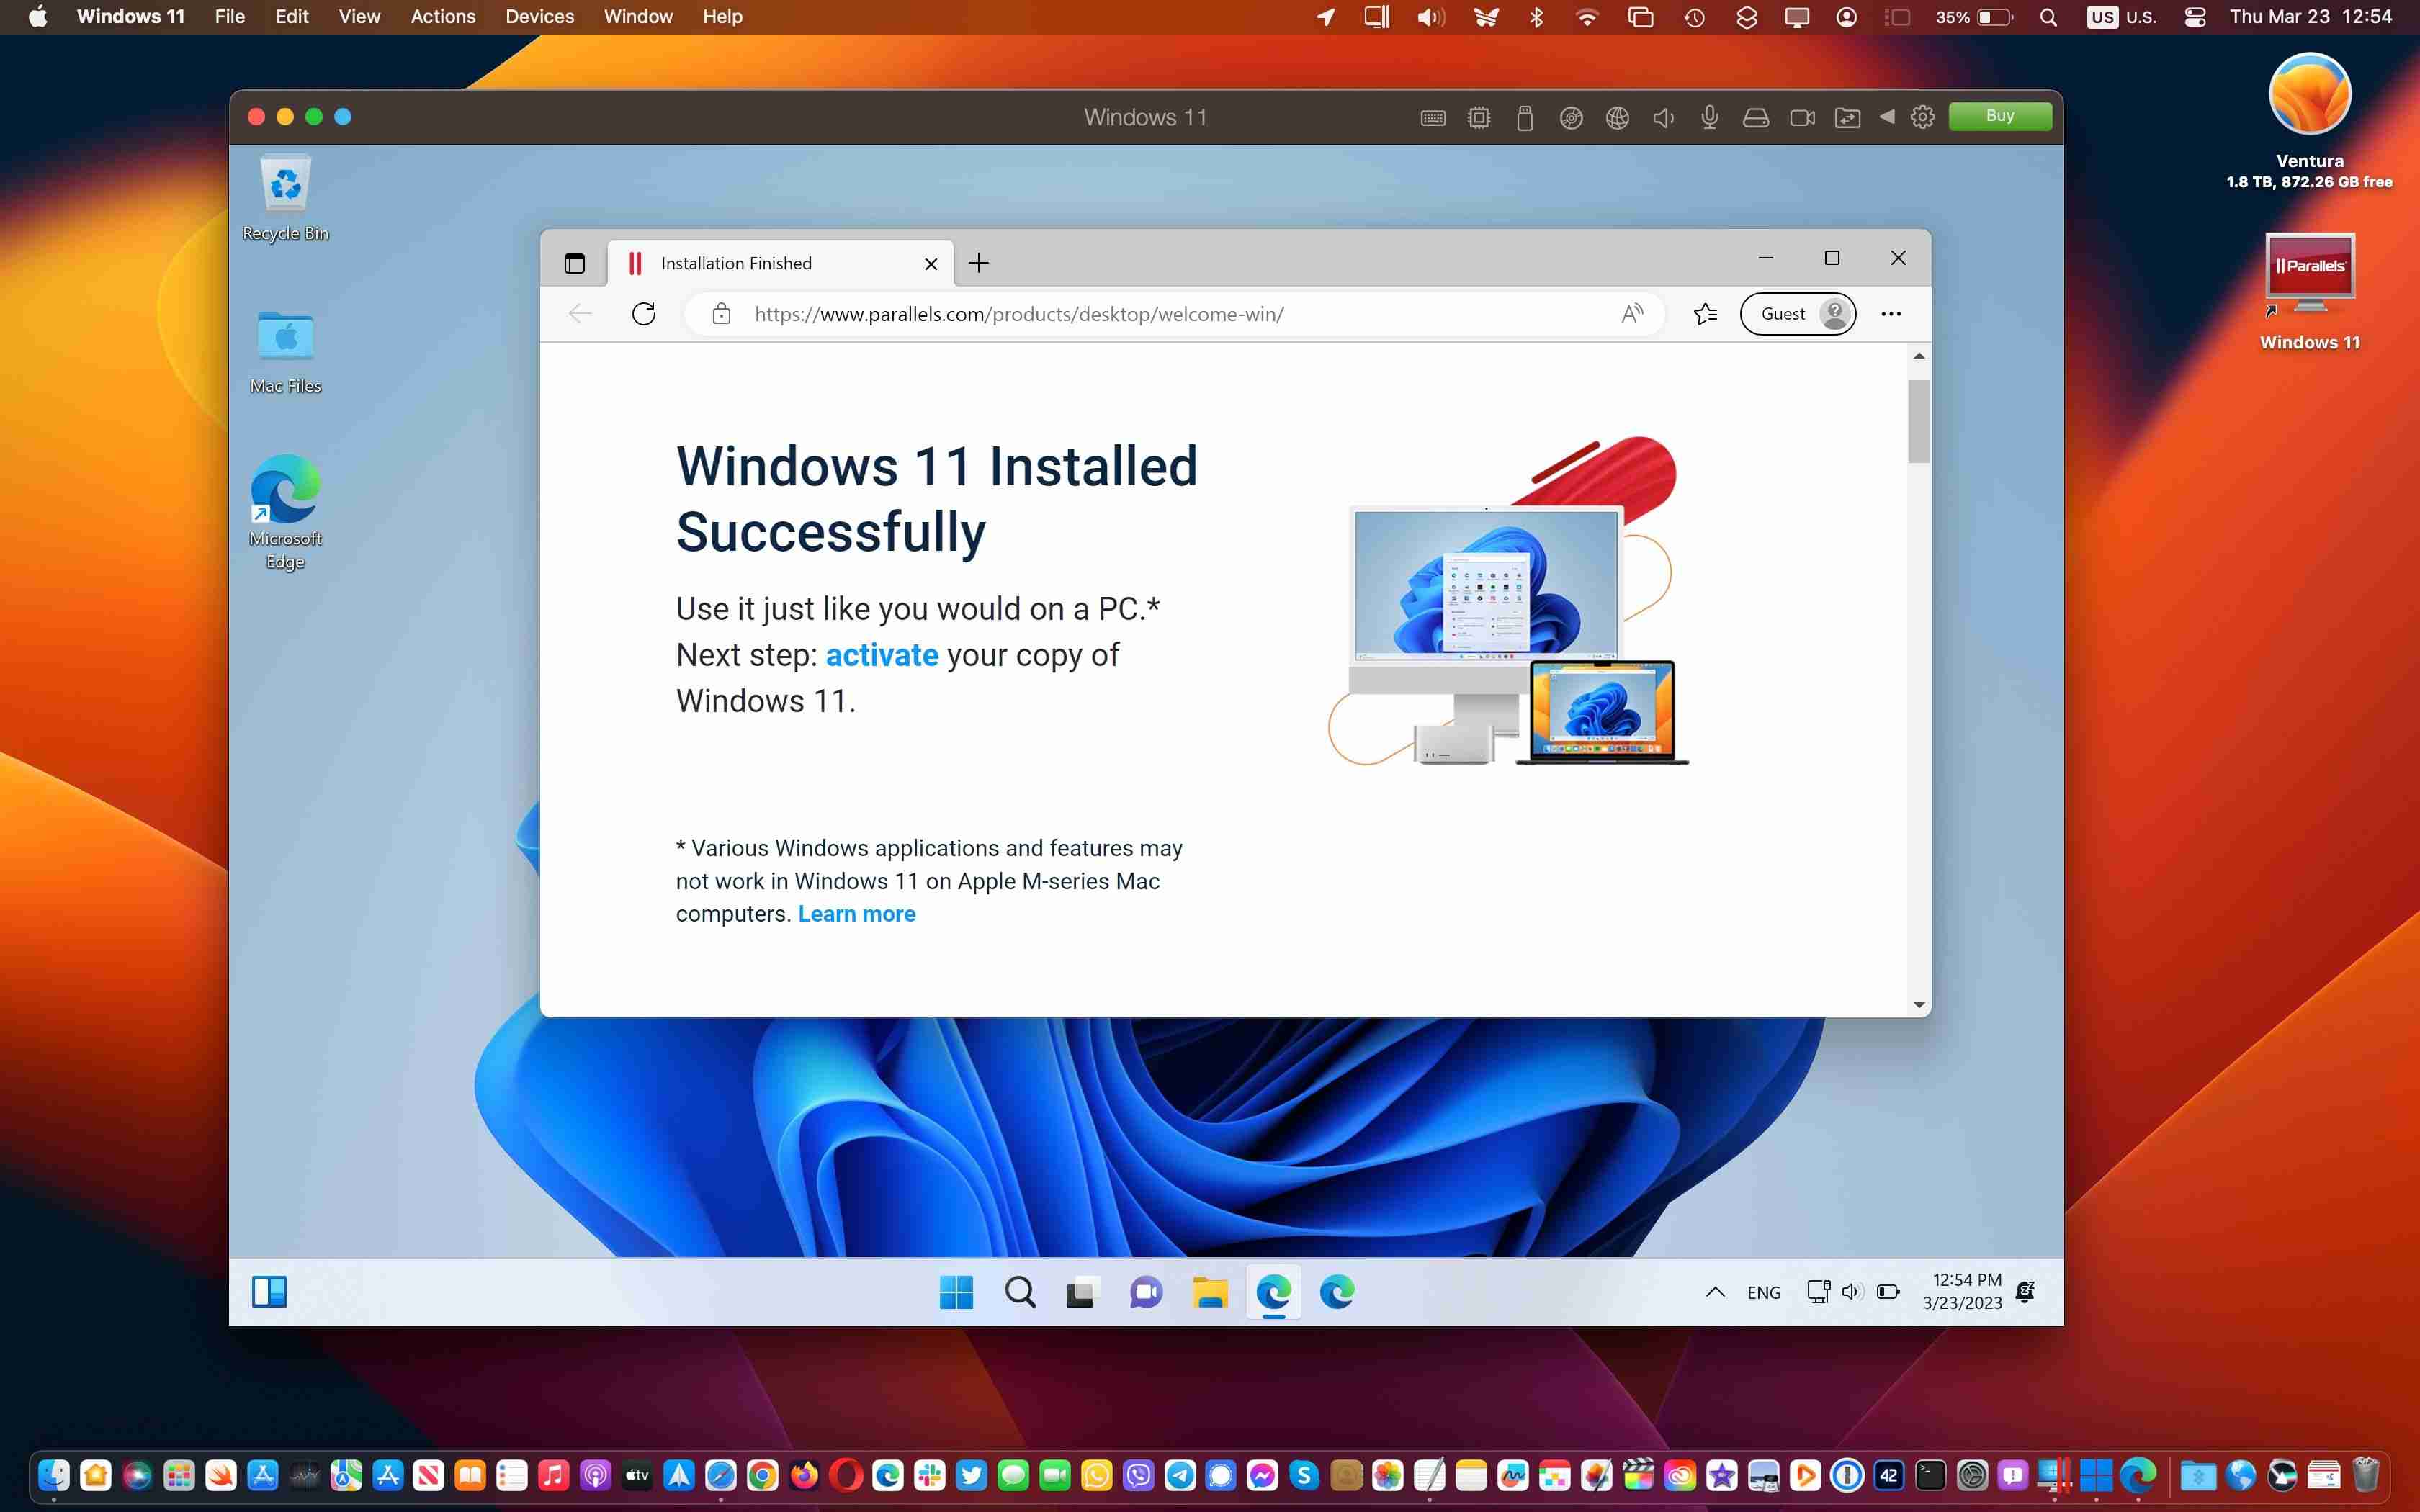
You should now land on the Windows 11 desktop in a macOS window. With everything installed and set up correctly, you can run your favorite Windows apps and games alongside macOS! You can close the VM at any time by clicking Actions in the Windows 11 menu bar and selecting Shutdown. You can then quit Windows 11 safely from there.

This step is optional, but the Parallels Toolbox includes a variety of helpful utilities for freeing up storage space, content creation, optimizing computer settings for a presentation, and more. To get them, launch Parallels Desktop, click Parallels Desktop from the menu bar, select Install Parallels Toolbox for Mac, and then click Install Now.

You can now access the various apps in the Parallels Toolbox from the macOS menu bar in the top-right corner.

Parallels Toolbox won't replace the need for multiple apps, so I recommend installing your favorite Windows apps, too.
You can get third-party Windows apps via the Microsoft Store or the developers' websites, just like on a real PC. Parallels Desktop even allows you to open a downloaded Windows app installer directly from the macOS Finder, and it'll take over and do the right thing.
For inspiration, check out our list of must-have Windows apps for any new PC.

You can adjust various settings by clicking Actions from the Windows 11 menu bar and then selecting Configure (some of the settings cannot be changed until your virtual machine is shut down).
Under the General tab, click the Change button next to Configure for to choose whether you'll primarily use Windows 11 for productivity, gaming, development, etc. You can give your Windows 11 virtual machine a custom title in the Name field.
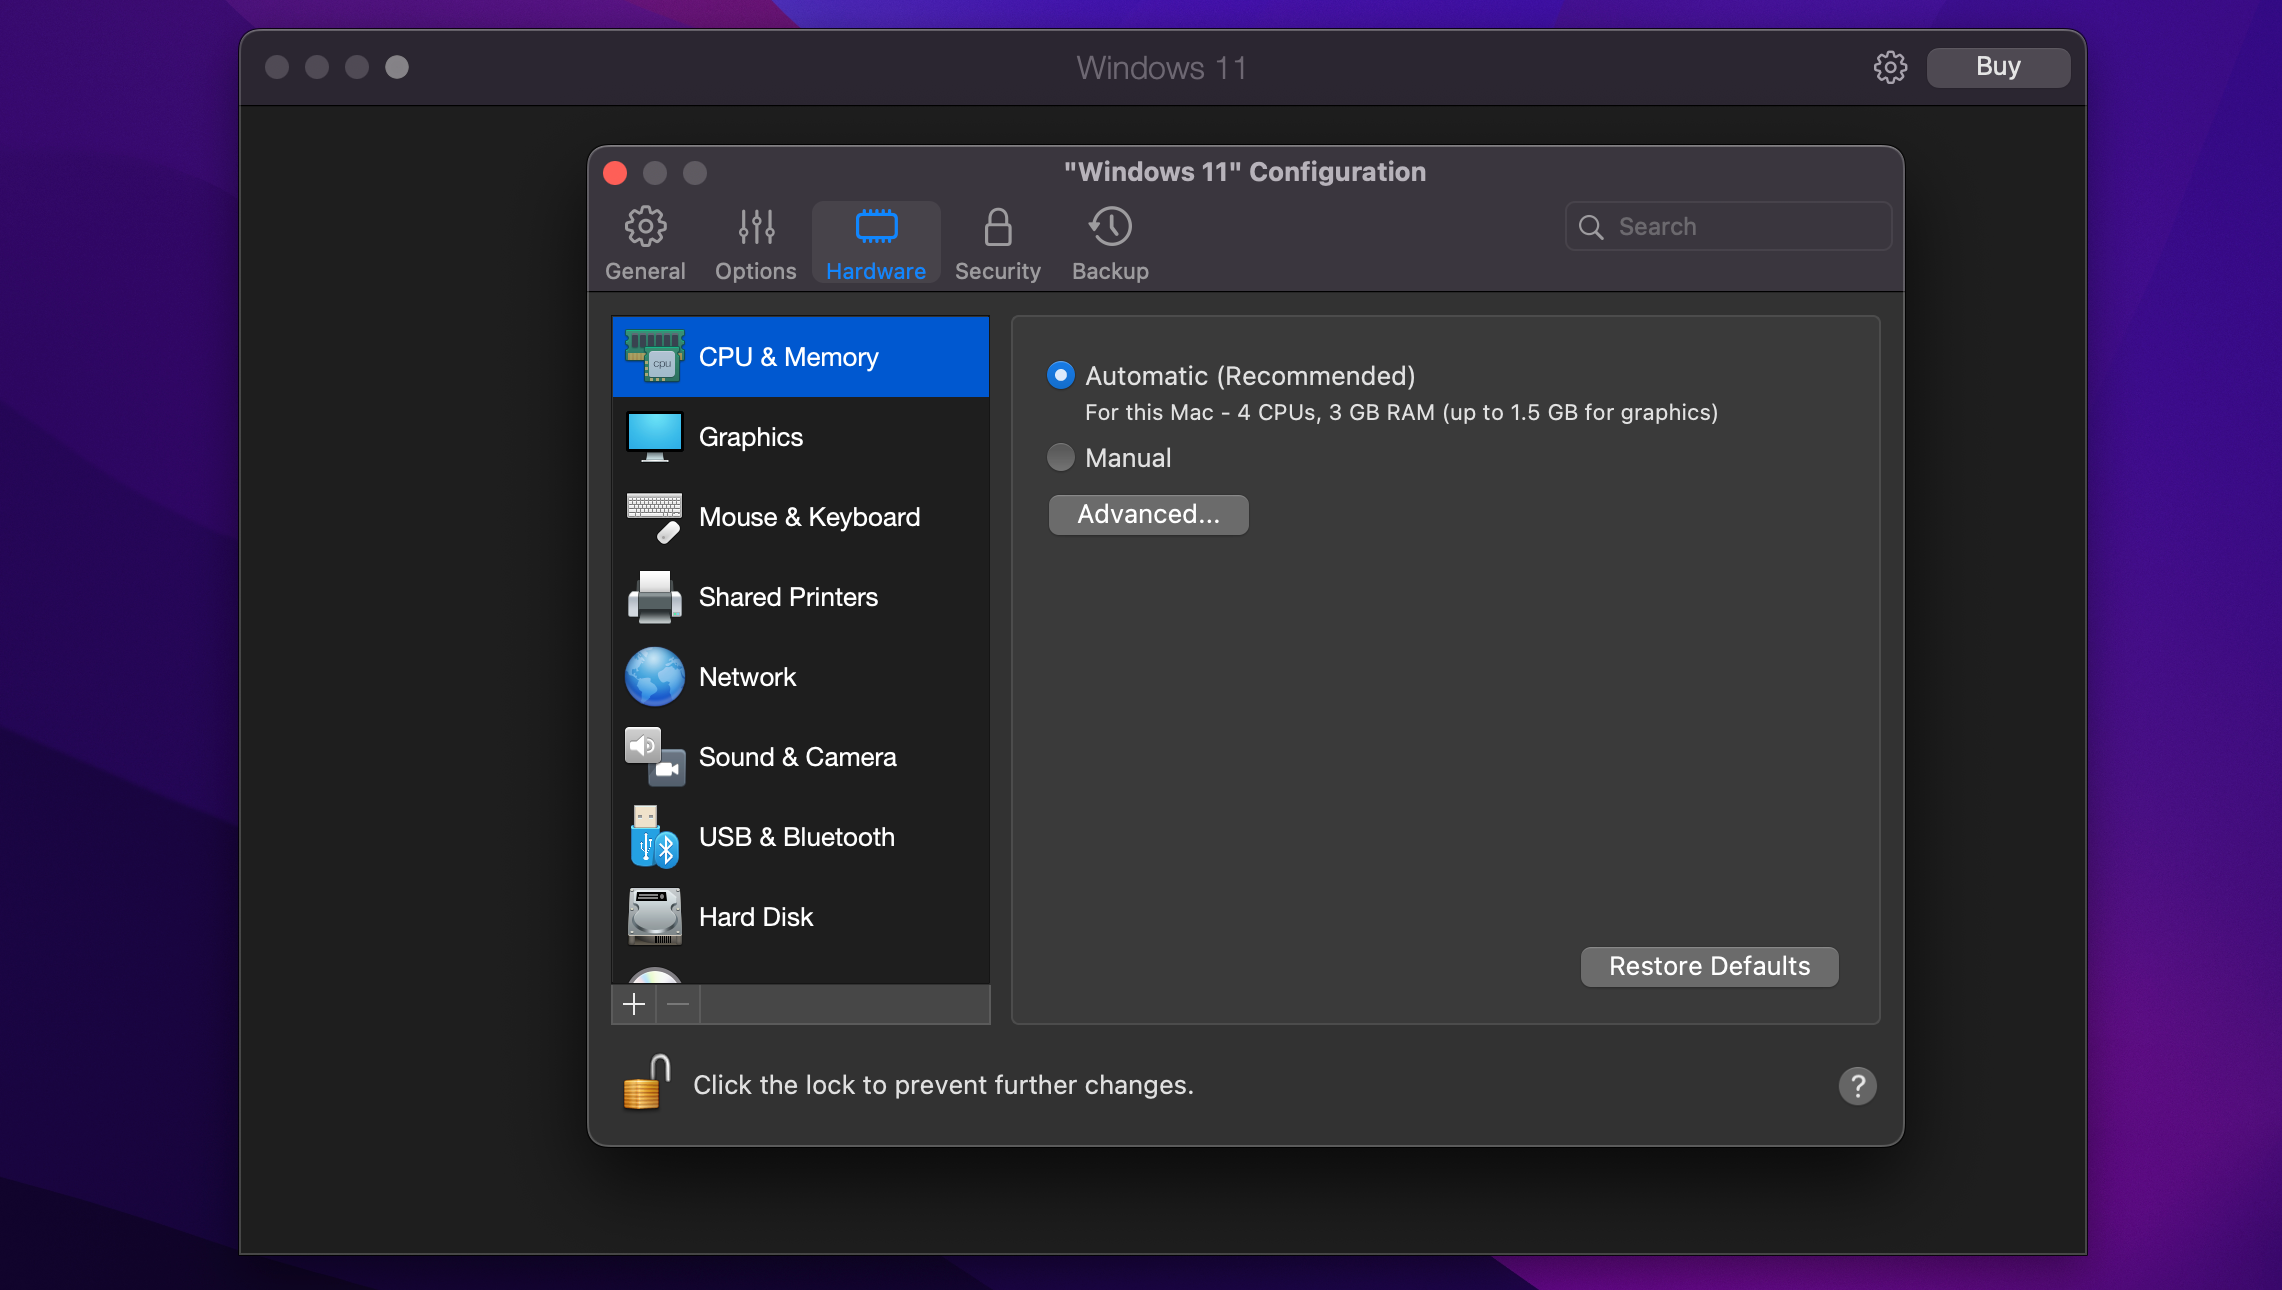
Next, click the Hardware tab to fine-tune your virtual machine by adjusting the amount of virtual RAM, processors, graphics cores, and other features available to Windows 11.

Click additional sections in the sidebar to configure other simulated hardware capabilities and how software features like sharing and picture-in-picture behave. Close the settings window to save the changes to your virtual PC.
According to Microsoft's support document, some features are unsupported in Windows on ARM:
There are some perfectly valid reasons to run Windows 11 on a Mac. Regardless of your reason, virtualization software like Parallels is a very convenient method to run Microsoft's latest and greatest operating system alongside macOS with minimal effort.
以上是I Use This App to Run Windows 11 on My Mac: Here\'s How的详细内容。更多信息请关注PHP中文网其他相关文章!


