作为编码者,美工基础是偏弱的。我们可以参考一些成熟的网页PS教程,提高自身的设计能力。套用一句话,“熟读唐诗三百首,不会作诗也会吟”。
本系列的教程来源于网上的PS教程,都是国外的,全英文的。本人尝试翻译这些优秀的教程。因为翻译能力有限,翻译的细节上还有待推敲,希望广大网友不吝赐教。
约定:
1、本文的软件是Photoshop CS5版本
2、原教程的截图是英文的,本人在重新制作的基础上,重新截了中文版的图
3、原文中有些操作没有给出参数。本人在反复测试的情况下测定了一些参数,以红色的文字显示。有些错误的参数,直接以红色文字显示正确的参数
例如:(90,22,231,77),表示矩形的左上角的坐标是(90,22),宽231,高77
例如:(90,22),表示矩形的左上角的坐标是(90,22),矩形的其他两个参数教程里已经指定
4、在教程的最后会附上本人的心得。有些是对教程中的一些步骤的优化等。
Let’s start the tutorial.
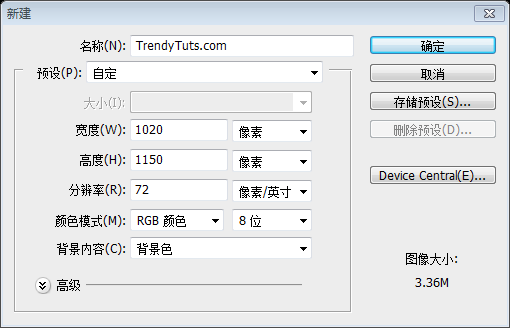
Open Photoshop and create a new document (Ctrl + N) and as a foreground color choose: #e6e5e5
让我们开始教程
打开PS新建文档(Ctrl + N),尺寸:1020px*1150px,设置背景颜色: #e6e5e5
Next select Rectangle Tool and create a shape on the top of the document. Dimensions 1020 by 268px, color: #f7f7f7
接下来选择矩形工具在文档的顶部创建一个矩形(0,0)。尺寸:1020px*268px,颜色: #f7f7f7
Step 1 Creating the top area
Having Rectangle Tool selected, create a similar shape. Color (blue) #3fadbf, dimensions: 340 by 4px.
I will duplicate this shape 2 more times and I will move them to the right. For the second shape I have used this color (green) #a3b76b and for the third one (that pinky one) #bf7678.
On the left side, a little bit down, I will add my logo. Here you should add your own logo. Here is my result:
步骤1:创建顶部区域
选择矩形工具,创建一个矩形(蓝)(0,0),颜色: #3fadbf,尺寸:340px*4px
复制这个矩形两次,并移动到右侧。第二个矩形(绿)(340,0)的颜色: #a3b76b,第三个矩形(粉)(680,0)的颜色: #bf7678
在左侧的下方一点,我要添加我的LOGO。这儿也能添加你自己的LOGO。这是我的结果

Now on the right side I will create the navigation. With rectangle tool I will create this shapes and with type tool I will add the links.
For the Home tab I have used this color: #3fadbf, dimensions: 75 by 47px. No layer styles applied
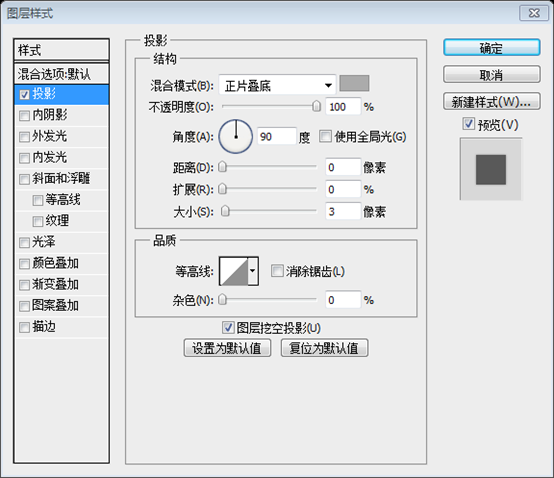
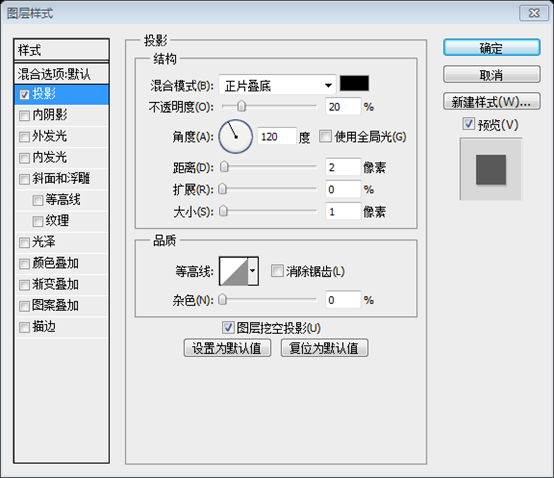
For the rest of the tabs (About Us, Services, Portfolio, Contact) I have applied this layer styles
现在在右边要创建导航菜单。用矩形工具添加一些矩形,用文字工具添加一些链接。
Home导航项(471,43),颜色: #3fadbf,尺寸:75px*47px。没有图层样式
其余的导航项(About Us(555,54,83,36), Services(648,54,83,36), Portfolio(740,54,83,36), Contact(832,54,83,36)),颜色: #a4a4a4,我将添加如下的图层样式,投影的颜色: #ababab

After you will apply this layer styles you should have something similar with me.
Next I will create a shadow at the bottom of the navigation. To create the shadow you will need to select Ellipse Tool, than create a similar shape.
在你添加和我接近的图层样式之后。
接下来,在导航栏的底部添加阴影。为了创建阴影,选择椭圆工具,添加类似的形状(424,86,254,8)

Then go to Filter>Blur>Gaussian Blur and here choose a radius of 7px.
You should have something like this now
然后,点击:滤镜 > 模糊 > 高斯模糊,选择半径7px。

Now select Rectangle Tool and create a similar shape. Color: #ebebeb, dimensions: 546 by 42px. Make sure that you cover a small partition of the navigation tabs. Here is my result:
选择矩形工具创建矩形(424,84),颜色:#ebebeb,尺寸:546px*42px,确保遮住导航栏的一小部分,这是我的结果

Step 2 Creating Featured Area
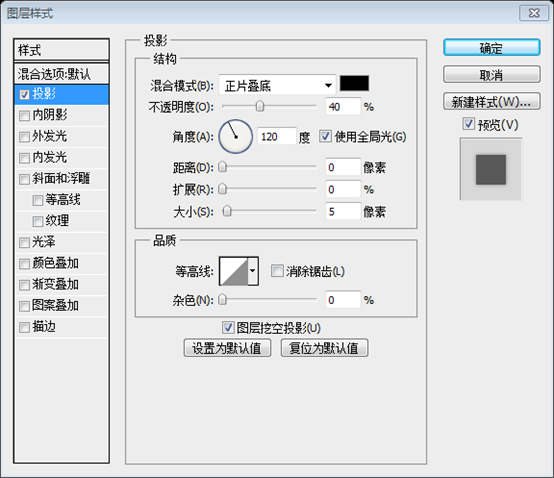
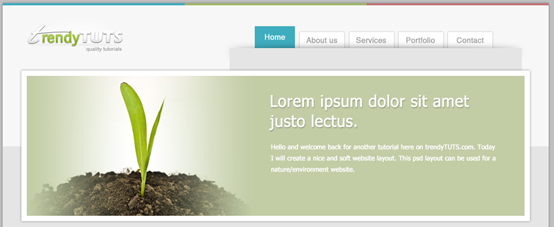
With Rectangle Tool I will create this shape. Dimensions: 951 by 282px and I will apply this layer styles:
步骤2:创建特色区域
用矩形工具创建一个矩形(35,126),尺寸:951px*282px(建议尺寸是950px*282px),颜色:白色。添加如下的图层样式:
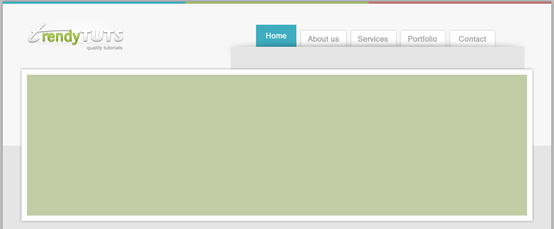
Next I will create another shape, just above the shape created on previous step. Dimensions: 930 by 262px, color: #c2cda6
接下来创建另一个矩形(45,136),在刚才的矩形的上方。尺寸:930px*262px,颜色: #c2cda6
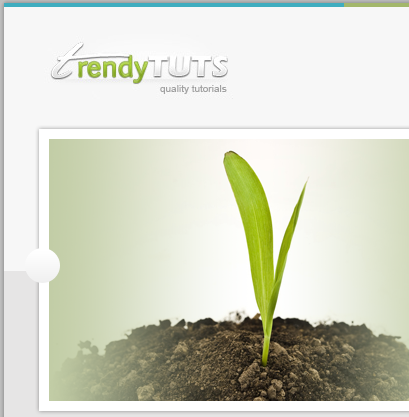
Now from my stock images, I will add this image in Photoshop:
现在从我的图库中添加下图到PS中
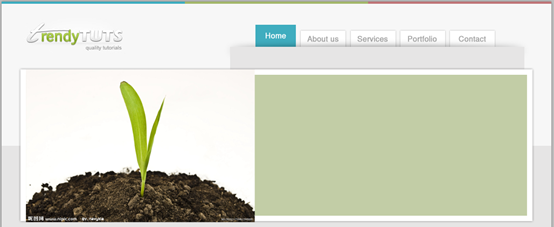
As you can see the image it has a white background. In order to make it look good we will need to work a little bit on it. First I will make sure that on my layer palette, the image layer is just above our green shape.Once you have the image layer above the green shape, right click on the image layer and choose “Create Clipping Mask”.You should have something like this now
如你所见,图片有白色的背景。为了看起来更好一点,我们还得做一些工作。首先确定在图层面板上,图片图层在绿色图层的上方。当你的图片图层在绿色图层的上方时,在图片图层上右键选择创建剪贴蒙版。看起来就像下面所示
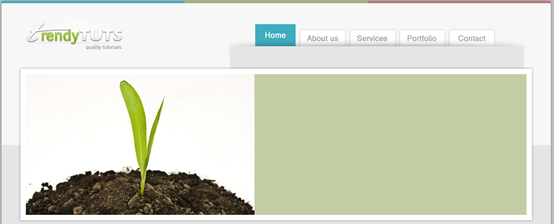
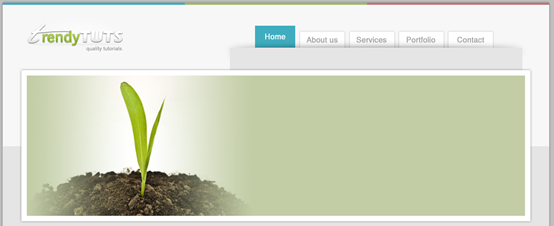
As you can see the image is perfectly integrated in our green shape, but it still does not look right. The image it has a bright white at the background it it does not look really nice on our green shape. That’s why I will apply a layer mask. To do that, make sure that you have the image layer selected on your layer palette and then go to : Layer>Layer Mask>Hide All. The image will disappear and a layer mask will be created in our layer palette. Now select Gradient Tool . Make sure that you have the default palette selected (black and white )and with your mouse drag a similar line. From left to the right.As you can see on the right side we will need to create the same thing in order to have a nice image. To repeat the same step, don’t forget to apply the layer mask. Right click on that black thumbnail and choose “Apply layer mask” Then repeat the same step once again (but this time for the right edge of the image)
如你所见,图片完整的出现中在绿色的矩形中,但还是看上去不够好。图片有亮白色的背景,在绿色的矩形中看起来有点刺眼。因此要添加图层蒙版。故此,确保图层面板上的图片图层被选中,然后点击:图层 > 图层蒙版 > 隐藏全部。图片会被隐藏,一个图层蒙版会出现在图层面板上。现在选择渐变工具。确保选中默认的渐变(黑和白),用鼠标拖动一条从左到右的直线。如你所见,在右边做同样的操作,去呈现完美的图片。重复同样的操作,别忘添加图层蒙版。在黑色的缩略图上右键,选择“应用图层蒙版”,然后再重复一次操作即可(不过这次是从图片的右侧开始)
经过测试,图片图层在第一次添加蒙版后,“应用图层蒙版”选项为灰色,是无法再添加蒙版。故此步骤改为在添加图层蒙版后,选择黑-白-黑的渐变,拖动一次渐变即可。
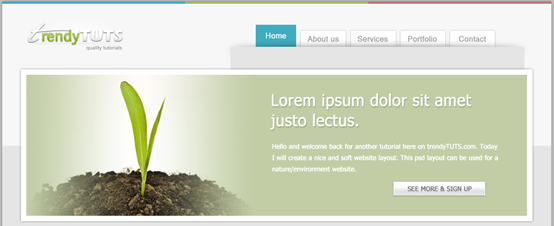
Next on the right side, with Type Tool I will add some text
在图片的右侧,用文字工具添加一些文本
右侧的标题文字添加如下的图层样式
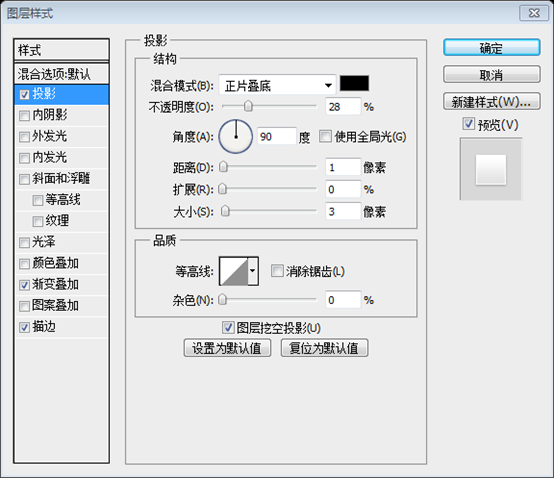
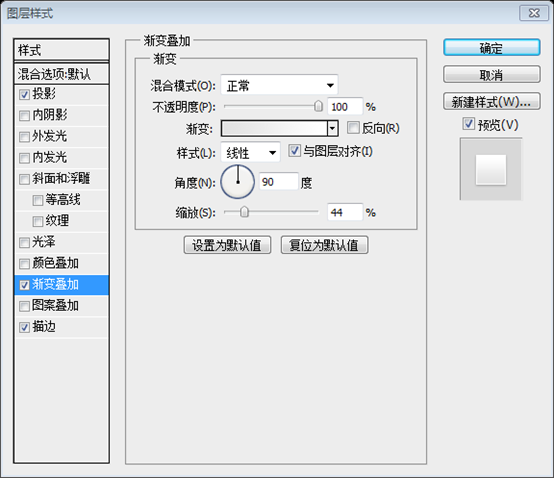
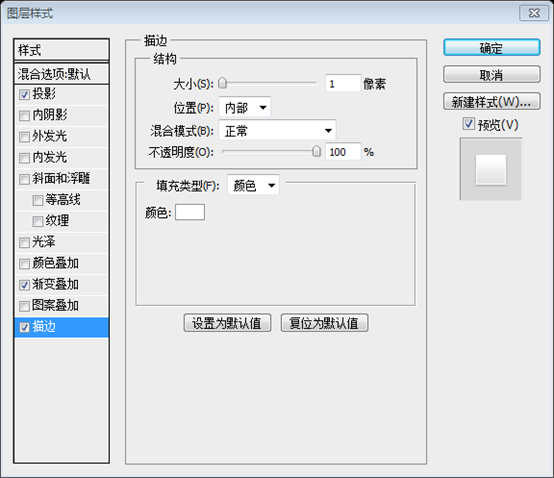
Then I will select Rectangle Tool and I will create this shape. I will apply this layer styles:
接下来用矩形工具创建一个矩形(727,335,170,25)。并添加如下的图层样式:
渐变叠加:渐变颜色为: #e2e2e2,#ffffff
And with type tool I will add some text.
并用文字工具添加一些文本
Now the final step would be to add some buttons for the featured area.
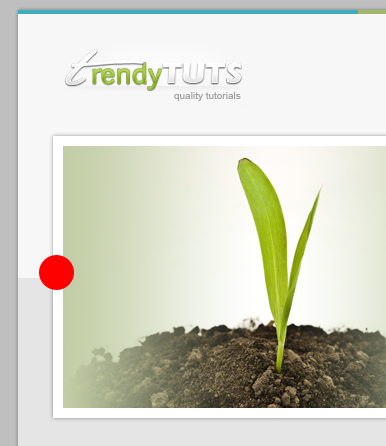
I will select Ellipse Tool and I will create this shape:
最后给特色区域添加一些按钮
用椭圆工具创建一个圆(21,245,35,35):
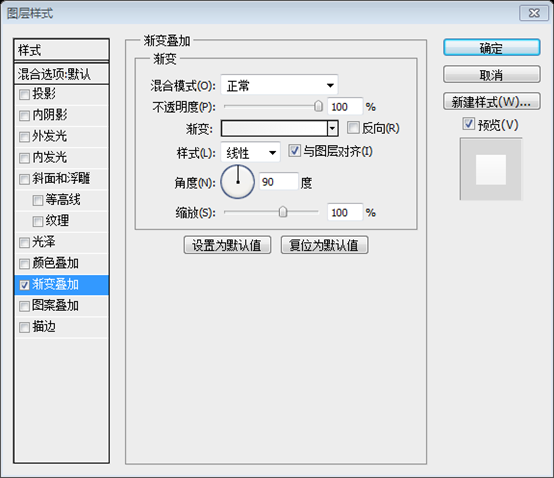
And I will apply this layer styles:
并给圆添加如下的图层样式:
渐变叠加的颜色: #f0f0f0,#ffffff
With Pen Tool I will create this triangle
When you have a triangle, right click in it (make sure that you still have Pen Tool selected) and choose “Make Selection”
Select Paint Bucket Tool, than on your keyboard click Ctrl + Shift + Alt + N (to create a new layer) and fill your selection with your desired color. Here is my result:
用钢笔工具创建三角形
当你完成三角形后,右键它(确保钢笔工具仍然选中)选择“转为选区”
用油漆桶工具,按键盘上的Ctrl+Shift+Alt+N(新建图层),然后用醒目的颜色填充选区。这是我的结果
直接用多边形工具即可,选中多边形工具,边数选择为3,然后按住Shift,画一个正三角形即可。
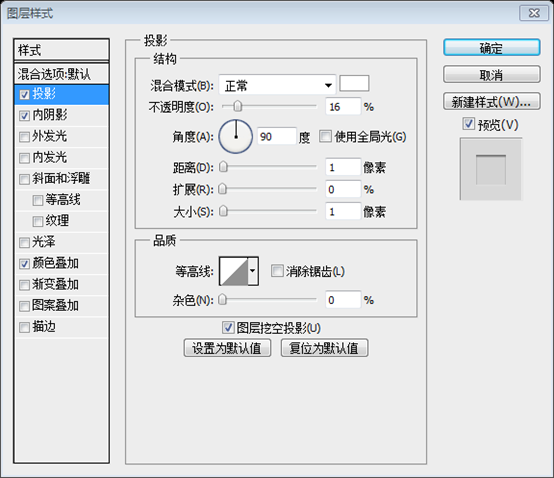
I will apply this layer styles:
添加如下的图层样式
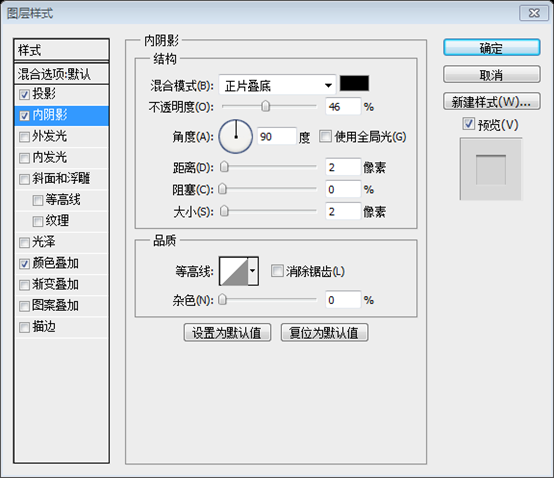
颜色叠加的颜色: #d3d3d3
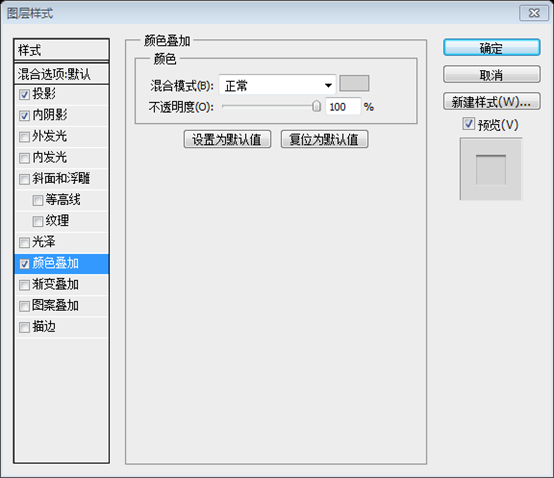
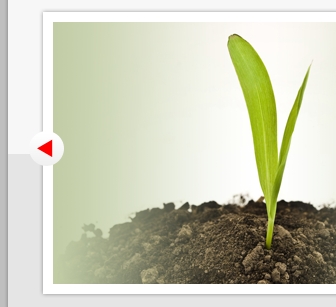
I will create another button on the right side also. Here is my result for Featured Area
在特色区域的右侧创建另一个按钮。这是我特色区域的结果
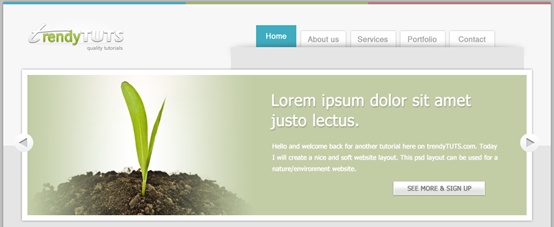
Step 3 Creating the middle area
Well, this area it’s really easy to create. First I select Rectangle Tool and I will create 3 shapes. Each shape has the following dimensions: 308 by 221px. Colors: for the first shape (soft blue) #a1b7ba, the second one (soft green) #c1c7b0, the third one (pinky) #c2afaf
步骤3:创建中部区域
很好,这部分的区域很容易制作。首先选择矩形工具创建3个矩形。每个矩形的尺寸:308px*221px。颜色:第一个矩形(36,423)(柔蓝)#a1b7ba,第二个(356,423)(柔绿)#c1c7b0,第三个(675,423)(粉色)#c2afaf
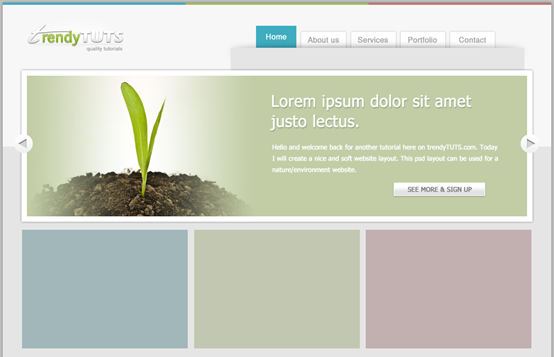
Now I will create another layer on my layer palette (to do so, press Ctrl + Shift + Alt + N on your keyboard) , then I will select a soft brush, I’ll make sure that the foreground color is set to white , I will reduce the opacity to 13% and I will increase the brush size to 200%, than I will gently push few times with the brush on each shape.
现在在我的图层面板上新建一个图层(要做此步,按键盘上的Ctrl+Shift+Alt+N),然后选择一个柔和的笔刷,确保前景色设置为白色,然后调整不透明度为13%和画刷的大小为200%(应该是200px),然后在每个矩形上点击数次
Here is my result:
这是我的结果:
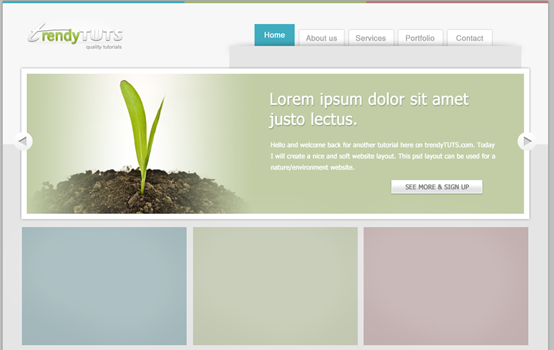
Then I will select Ellipse Tool and I will create this shape (the black one, at the bottom of the rectangle)
选择椭圆工具创建如下的椭圆(36,638,308,8)(黑色的,在矩形的底部)
and I will apply a gaussian blur (Filter>Blur>Gaussian Blur) with a radius of 7px. I will make the same thing for the next 2 shapes, and here’s my result:
对椭圆添加高斯模糊(点击:滤镜 > 模糊 > 高斯模糊),半径:7px。对右边的两个矩形做同样的步骤。这是我的结果:
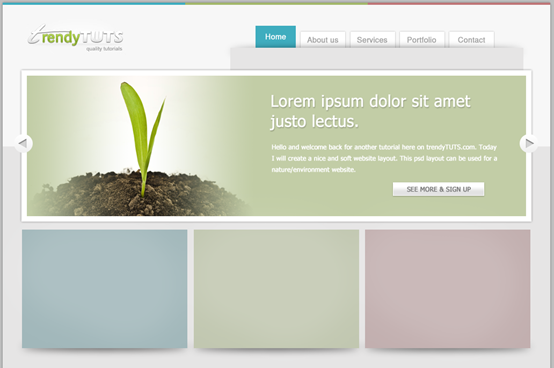
Next I will select Rectangle Line tool and I will add 2 lines on each shape. This line it will serve as a separator between the content and the title. Each line has this dimensions: 244 by 1px
接下来选择直线工具,对每个矩形添加2条直线。这直线作为标题和内容的分隔线。每条直线的尺寸:244px*1px
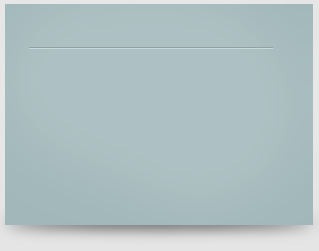
And here are the colors. For the first one: first shape (the darker one) : #b2bdbf the second one #d3dbdc
直线的颜色设置。第一个矩形:第一条直线(60,466)(深色的那个):#b2bdbf(应该是#93a1a3比较合适),第二条直线:#d3dbdc(应该是#c8d9db比较合适)
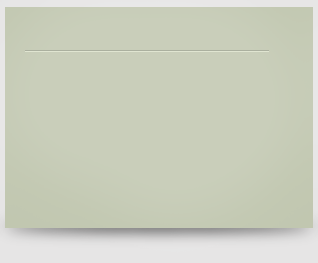
The second one : first shape (the darker one) : #abb09f the second one #e0e5d1
第二个矩形:第一条直线(380,466)(深色的那个):#abb09f,第二条直线:#e0e5d1
The third one : first shape (the darker one) : # b09fa0 the second one # e3d4d5
第三个矩形:第一条直线(699,466)(深色的那个):#b09fa0,第二条直线:#e3d4d5
这里一段题外话,为何第一个矩形的两条直线的颜色要修正?原因是原来的颜色不协调,看看下面的两个图,左边是修正后的效果,右图是原来的颜色
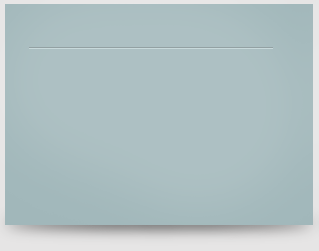
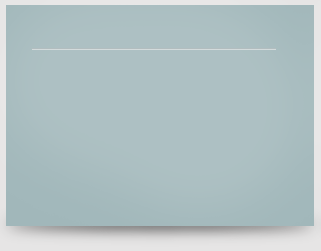
很明显,右边原来的颜色是不协调的。
那是怎么修正的呢?看下面的分析过程
首先把矩形和两条直线的颜色都转换为HSV模式,相关内容参看我的“计算机中的颜色”系列文章
第一个矩形:
矩形:#a1b7ba,HSV:(187,13,73)
深线:#b2bdbf,HSV:(189,7,75)
浅线:#d3dbdc,HSV:(187,4,86)
第二个矩形:
矩形:#c1c7b0,HSV:(76,12,78)
深线:#abb09f,HSV:(78,10,69)
浅线:#e0e5d1,HSV:(75,9,90)
第三个矩形:
矩形:#c2afaf,HSV:(0,10,76)
深线:#b09fa0,HSV:(356,10,69)
浅线:#e3d4d5,HSV:(356,7,89)
后面两个矩形的直线的颜色还是协调的,于是分析后面两条直线的颜色
可以看出
深线的H分量和矩形的H分量差不多,S分量也差不多,V的分量少了10左右
浅线的H分量和矩形的H分量差不多,S分量略微少一点,V的分量多了10左右
注:H分量表示颜色的色相,色相是环状的,0也就是360,所以0和356相差是4,也就是差不多
于是,按照上面的规律发现第一个矩形的直线的颜色是不协调的,按照上面的规律进行调整
深线的颜色调整为:#93a1a3,HSV:(189,10,64)
浅线的颜色调整为:#c8d9a6,HSV:(187,9,83)
之前看过一篇文章,出处忘记了,说是如何快速制作类似的分割线
深线基于底色,H分量和S分量不动,H分量减少10%左右
浅色基于底色,H分量个S分量不动,H分量增加10%左右
浅色紧挨着深色,浅色在深色的下方
Next with Type Tool I will add some text and from Premium Files I will use “Weather Vector Icons” and ” Vector Trees Icons” .
接下来用文字工具添加一些文本,从Premium Files中,将使用Weather Vector Icons和Vector Trees Icons。
Here’s my result
这是我的结果

Step 4 Creating the content area and the Footer
步骤4:创建内容区域和页脚
To create the content area, select first Rectangle Tool and create a similar shape:
要创建内容区域,选择矩形工具,创建一个矩形(38,658,944,426),颜色:白色:
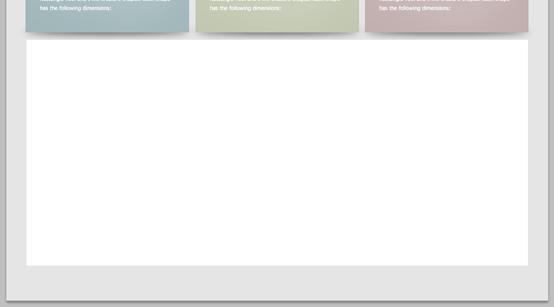
和之前的添加阴影的操作一样,先用椭圆工具创建一个椭圆(38,1076,944,8),在点击:滤镜 > 模糊 > 高斯模糊,半径:7px

Having Rectangle Tool selected create another shape at the bottom of the previous shape. This one it will be used for footer
用矩形工具在刚才的矩形的底部创建另一个矩形(0,1038,1020,112),颜色: #efefef。这个矩形就是用来做页脚部分

在底部添加三个矩形:
矩形(0,1147,340,3),颜色: #3fadbf
矩形(340,1147,340,3),颜色: #a3b76b
矩形(680,1147,340,3),颜色: #bf7678

Next I will select Ellipse Tool and I will create this shape
接下来用椭圆工具创建如下的椭圆(664,670,12,400)
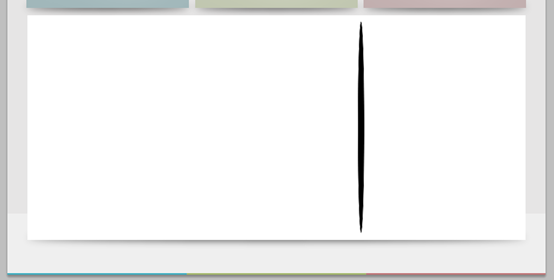
Then I will apply a gaussian blur (Filter>Blur>Gaussian Blur) with a radius of 50 px. I will select Rectangular Marque Tool and I will make this selection
添加高斯模糊(点击:滤镜 > 模糊 > 高斯模糊),半径为50px。选择矩形选择工具,创建如下的选区
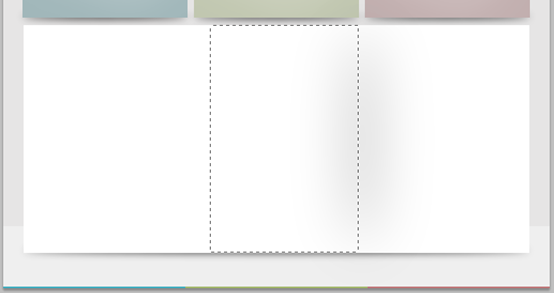
I will hit Delete on my keyboard than I will push Ctrl + D (to unload the selection)
按键盘上的Delete键,然后按Ctrl + D(取消选区)
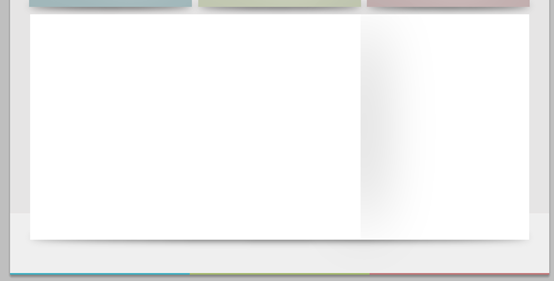
Then with Type Tool I will add some text, I will create some buttons in the same way I have do it for the Featured Area
用文字工具添加一些文本,创建一些按钮,用和在Featured Area中的按钮的方法一致。
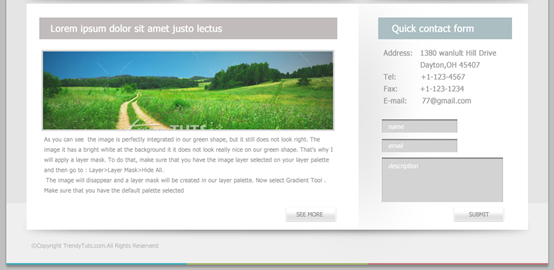
此步骤写得极为简略,故在此补充的相对完善一些
用矩形工具添加矩形(62,684,561,41),颜色: #c1bbbb,和矩形(700,684,251,41),颜色: #abbec2
并添加相应的文本
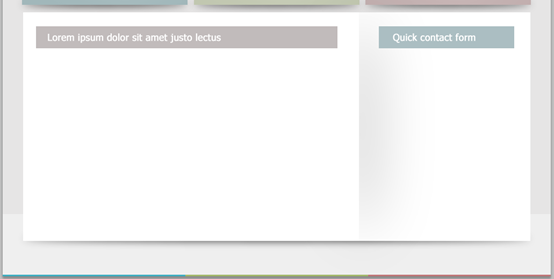
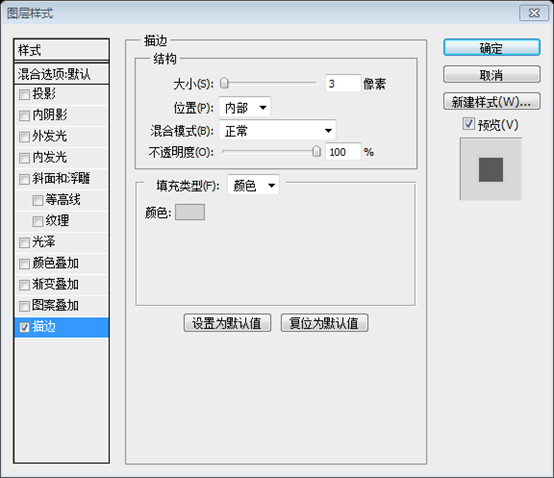
添加一张图片,添加如下的描边图层样式,描边颜色: #d4d4d4
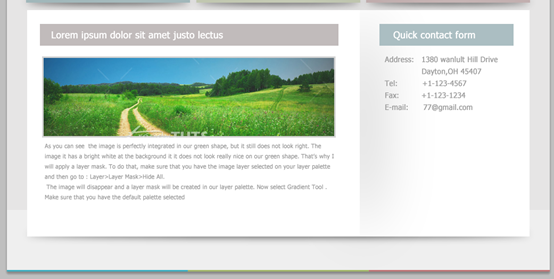
在图片的下方添加一些文字,并在右侧的矩形下方也添加一些文字
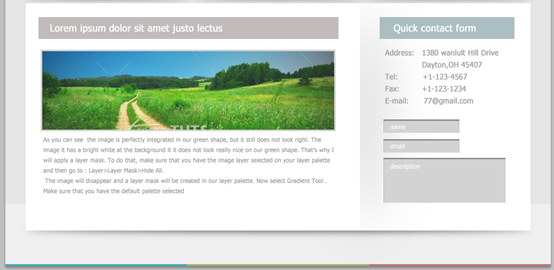
在右侧的文字下方,添加三个矩形,分别是(707,876,142,25)、(707,913,142,25)、(707,948,228,84),图层样式复制Featured Area中的的三角形的图层样式,并添加相应的文字
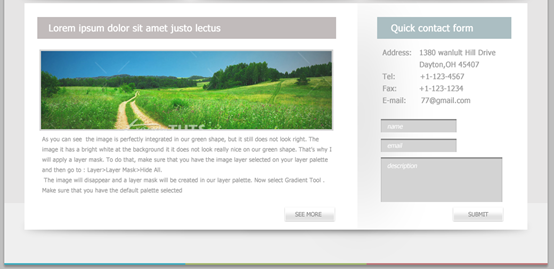
用矩形工具添加两个矩形,分别是(527,1042,93,25)、(843,1042,93,25),图层样式复制Featured Area中的按钮的图层样式,并添加相应的文字
最后,在左下角添加版权信息
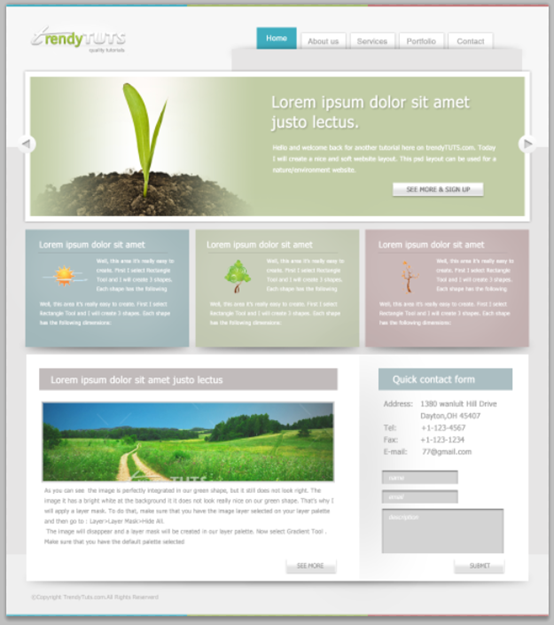
最终的结果如下:
后记:
本教程采用的是柔和的颜色,实际上选用了红绿蓝三色,三种颜色的柔和颜色都选得不错。可以为日后做个参考。
更多PS网页设计教程XI——在PS中创建柔和的绿色环保的网页布局 相关文章请关注PHP中文网!


