
本文实例讲述了PHP实现的自定义图像居中裁剪函数。分享给大家供大家参考,具体如下:
图像居中裁减的大致思路:
1.首先将图像进行缩放,使得缩放后的图像能够恰好覆盖裁减区域。(imagecopyresampled — 重采样拷贝部分图像并调整大小)
2.将缩放后的图像放置在裁减区域中间。(imagecopy — 拷贝图像的一部分)
3.裁减图像并保存。(imagejpeg | imagepng | imagegif — 输出图象到浏览器或文件)
具体代码:
1 2 3 4 5 6 7 8 9 10 11 12 13 14 15 16 17 18 19 20 21 22 23 24 25 26 27 28 29 30 31 32 33 34 35 36 37 38 39 40 41 42 43 44 45 46 47 48 49 50 51 52 53 54 55 56 57 |
|
1 2 3 4 5 6 7 8 9 10 11 12 13 |
|
运行效果:
原图1440*900为: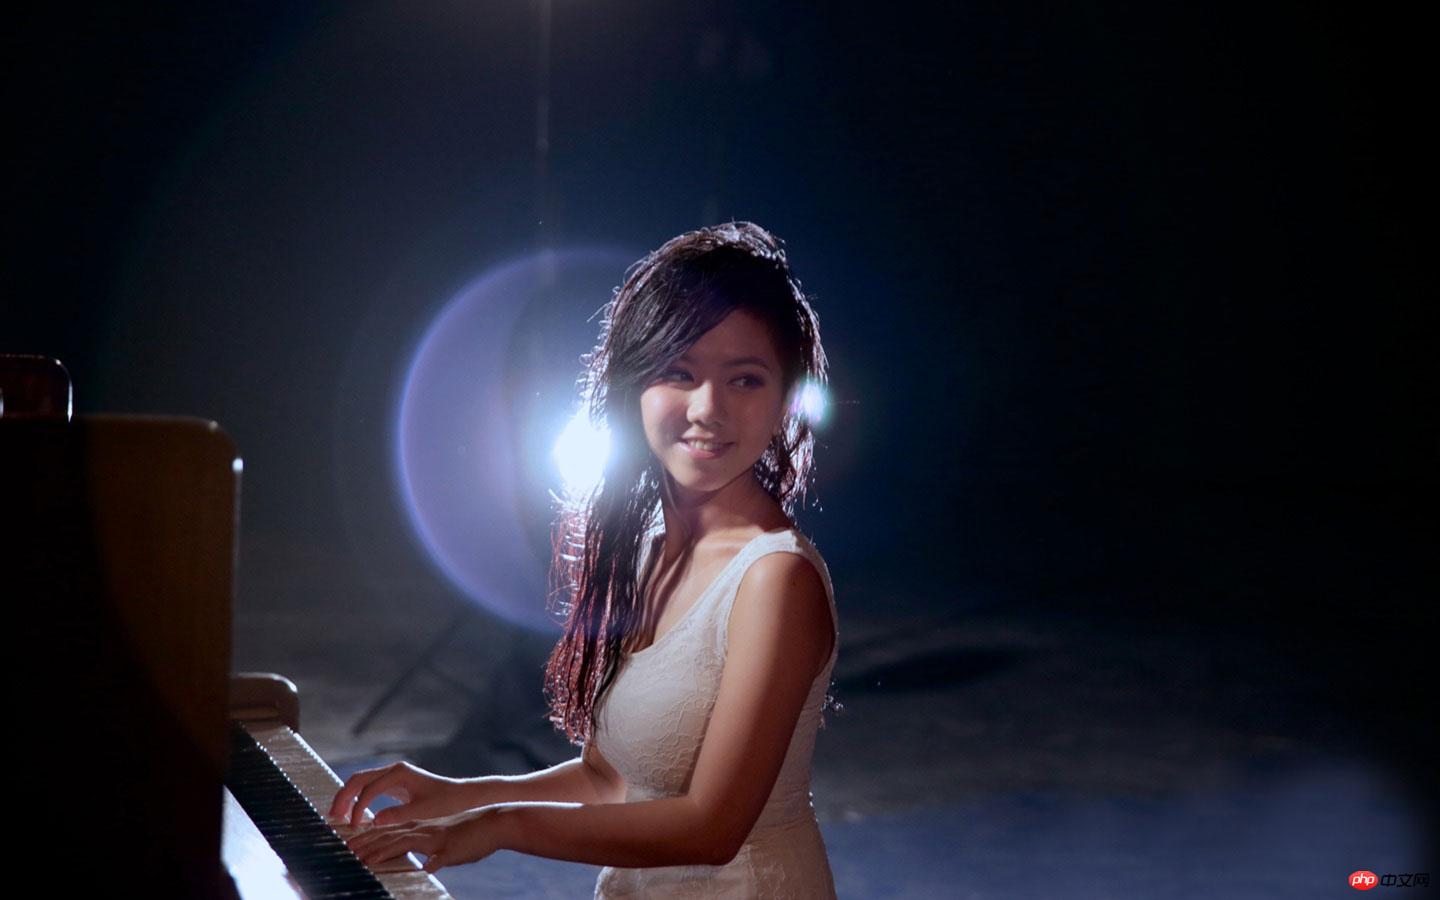
修改后图片480*480为:
同理,480*320,、800*600等尺寸的图片只需修改相应参数即可。
附:代码测试中遇到的问题
报错:call an undefined function exif_imagetype()
解决方法:
打开扩展 extension=php_exif.dll
并将extension=php_mbstring.dll ,放到extension=php_exif.dll前边
另:boolval()函数为PHP5.5版本以上才能使用的函数,本文测试代码中为兼容低版本,使用如下语句代替:
1 |
|
以上是php中自定义图像居中裁剪函数实现的代码案例的详细内容。更多信息请关注PHP中文网其他相关文章!


