利用vue移动端UI框架如何实现QQ侧边菜单(详细教程)
这篇文章主要介绍了vue移动端UI框架实现仿qq侧边菜单组件,非常不错,具有参考借鉴价值,需要的朋友可以参考下
最近面试发现很多前端程序员都从来没有写过插件的经验,基本上都是网上百度。所以打算写一系列文章,手把手的教一些没有写过组件的兄弟们如何去写插件。本系列文章都基于VUE,核心内容都一样,会了之后大家可以快速的改写成react、angular或者是小程序等组件。这篇文章是第一篇,写的是一个类似QQ的侧边菜单组件。
效果展示
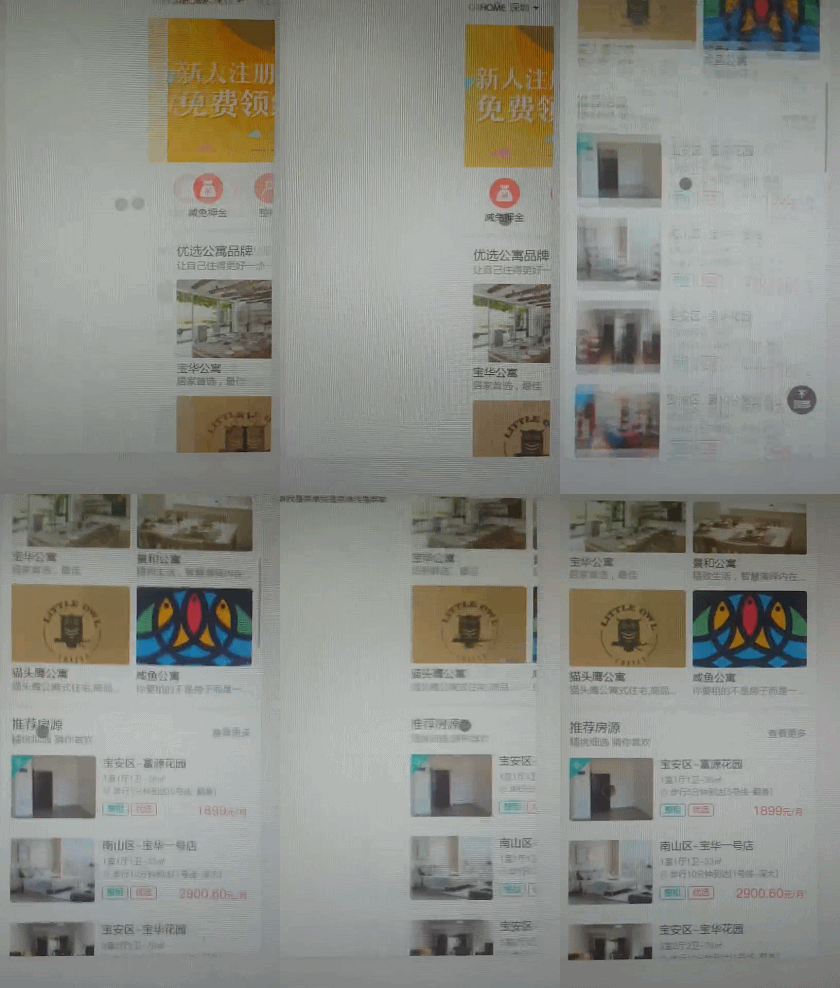
先让大家看个效果展示,知道咱们要做的东西是个怎么样的样子,图片有点模糊,大家先将就点:

开始制作
DOM结构
整体结构中应该存在两个容器:1. 菜单容器 2. 主页面容器;因此当前DOM结构如下:
<template>
 <p class="r-slide-menu">
 <p class="r-slide-menu-wrap"></p>
 <p class="r-slide-menu-content"></p>
 </p>
</template>
为了使得菜单内容和主题内容能够定制,我们再给两个容器中加入两个slot插槽:默认插槽中放置主体内容、菜单放置到menu插槽内:
<template>
 <p class="r-slide-menu">
 <p class="r-slide-menu-wrap">
  <slot name="menu"></slot>
 </p>
 <p class="r-slide-menu-content">
  <slot></slot>
 </p>
 </p>
</template>
css样式
我项目中使用了scss,代码如下:
<style lang="scss">
@mixin one-screen {
 position: absolute;
 left:0;
 top:0;
 width:100%;
 height:100%;
 overflow: hidden;
}

.r-slide-menu{
 @include one-screen;
 &-wrap, &-content{
 @include one-screen;
 }
 &-transition{
 -webkit-transition: transform .3s;
 transition: transform .3s;
 }
}
</style>此时我们就得到了两个绝对定位的容器
javascript
现在开始正式的代码编写了,首先我们理清下交互逻辑:
手指左右滑动的时候主体容器和菜单容器都跟着手指运动运动
当手指移动的距离超过菜单容器宽度的时候页面不能继续向右滑动
当手指向左移动使得菜单和页面的移动距离归零的时候页面不能继续向左移动
当手指释放离开屏幕的时候,页面滑动如果超过一定的距离(整个菜单宽度的比例)则打开整个菜单,如果小于一定距离则关闭菜单
所以现在咱们需要在使用组件的时候能够入参定制菜单宽度以及触发菜单收起关闭的临界值和菜单宽度的比例,同时需要给主体容器添加touch事件,最后我们给菜单容器和主体容器添加各自添加一个控制他们运动的style,通过控制这个style来控制容器的移动
<template>
<p class="r-slide-menu">
<p class="r-slide-menu-wrap" :style="wrapStyle">
<slot name="menu"></slot>
</p>
<p class="r-slide-menu-content" :style="contentStyle"
@touchstart="touchstart"
@touchmove="touchmove"
@touchend="touchend">
<slot></slot>
</p>
</p>
</template>
<script>
export default {
props: {
width: {
type: String,
default: '250'
},
ratio: {
type: Number,
default: 2
}
},
data () {
return {
isMoving: false,
transitionClass: '',
startPoint: {
X: 0,
y: 0
},
oldPoint: {
x: 0,
y: 0
},
move: {
x: 0,
y: 0
}
}
},
computed: {
wrapStyle () {
let style = {
width: `${this.width}px`,
left: `-${this.width / this.ratio}px`,
transform: `translate3d(${this.move.x / this.ratio}px, 0px, 0px)`
}
return style
},
contentStyle () {
let style = {
transform: `translate3d(${this.move.x}px, 0px, 0px)`
}
return style
}
},
methods: {
touchstart (e) {},
touchmove (e) {},
touchend (e) {}
}
}接下来,我们来实现我们最核心的touch事件处理函数,事件的逻辑如下:
手指按下瞬间,记录下当前手指所触摸的点,以及当前主容器的位置
手指移动的时候,获取到移动的点的位置
计算当前手指所在点移动的X、Y轴距离,如果X移动的距离大于Y移动的距离则判定为横向运动,否则为竖向运动
如果横向运动则判断当前移动的距离是在合理的移动区间(0到菜单宽度)移动,如果是则改变两个容器的位置(移动过程中阻止页面中其他的事件触发)
手指离开屏幕:如果累计移动距离超过临界值则运用动画打开菜单,否则关闭菜单
touchstart (e) {
this.oldPoint.x = e.touches[0].pageX
this.oldPoint.y = e.touches[0].pageY
this.startPoint.x = this.move.x
this.startPoint.y = this.move.y
this.setTransition()
},
touchmove (e) {
let newPoint = {
x: e.touches[0].pageX,
y: e.touches[0].pageY
}
let moveX = newPoint.x - this.oldPoint.x
let moveY = newPoint.y - this.oldPoint.y
if (Math.abs(moveX) < Math.abs(moveY)) return false
e.preventDefault()
this.isMoving = true
moveX = this.startPoint.x * 1 + moveX * 1
moveY = this.startPoint.y * 1 + moveY * 1
if (moveX >= this.width) {
this.move.x = this.width
} else if (moveX <= 0) {
this.move.x = 0
} else {
this.move.x = moveX
}
},
touchend (e) {
this.setTransition(true)
this.isMoving = false
this.move.x = (this.move.x > this.width / this.ratio) ? this.width : 0
},
setTransition (isTransition = false) {
this.transitionClass = isTransition ? 'r-slide-menu-transition' : ''
}上面,这段核心代码中有一个setTransition 函数,这个函数的作用是在手指离开的时候给容器元素添加transition属性,让容器有一个过渡动画,完成关闭或者打开动画;所以在手指按下去的瞬间需要把容器上的这个transition属性去除,避免滑动过程中出现容器和手指滑动延迟的不良体验。 最后提醒下,代码中使用translate3d而非translate的原因是为了启动移动端手机的动画3D加速,提升动画流畅度。最终代码如下:
<template>
<p class="r-slide-menu">
<p class="r-slide-menu-wrap" :class="transitionClass" :style="wrapStyle">
<slot name="menu"></slot>
</p>
<p class="r-slide-menu-content" :class="transitionClass" :style="contentStyle"
@touchstart="touchstart"
@touchmove="touchmove"
@touchend="touchend">
<slot></slot>
</p>
</p>
</template>
<script>
export default {
props: {
width: {
type: String,
default: '250'
},
ratio: {
type: Number,
default: 2
}
},
data () {
return {
isMoving: false,
transitionClass: '',
startPoint: {
X: 0,
y: 0
},
oldPoint: {
x: 0,
y: 0
},
move: {
x: 0,
y: 0
}
}
},
computed: {
wrapStyle () {
let style = {
width: `${this.width}px`,
left: `-${this.width / this.ratio}px`,
transform: `translate3d(${this.move.x / this.ratio}px, 0px, 0px)`
}
return style
},
contentStyle () {
let style = {
transform: `translate3d(${this.move.x}px, 0px, 0px)`
}
return style
}
},
methods: {
touchstart (e) {
this.oldPoint.x = e.touches[0].pageX
this.oldPoint.y = e.touches[0].pageY
this.startPoint.x = this.move.x
this.startPoint.y = this.move.y
this.setTransition()
},
touchmove (e) {
let newPoint = {
x: e.touches[0].pageX,
y: e.touches[0].pageY
}
let moveX = newPoint.x - this.oldPoint.x
let moveY = newPoint.y - this.oldPoint.y
if (Math.abs(moveX) < Math.abs(moveY)) return false
e.preventDefault()
this.isMoving = true
moveX = this.startPoint.x * 1 + moveX * 1
moveY = this.startPoint.y * 1 + moveY * 1
if (moveX >= this.width) {
this.move.x = this.width
} else if (moveX <= 0) {
this.move.x = 0
} else {
this.move.x = moveX
}
},
touchend (e) {
this.setTransition(true)
this.isMoving = false
this.move.x = (this.move.x > this.width / this.ratio) ? this.width : 0
},
// 点击切换
switch () {
this.setTransition(true)
this.move.x = (this.move.x === 0) ? this.width : 0
},
setTransition (isTransition = false) {
this.transitionClass = isTransition ? 'r-slide-menu-transition' : ''
}
}
}
</script>
<style lang="scss">
@mixin one-screen {
position: absolute;
left:0;
top:0;
width:100%;
height:100%;
overflow: hidden;
}
.r-slide-menu{
@include one-screen;
&-wrap, &-content{
@include one-screen;
}
&-transition{
-webkit-transition: transform .3s;
transition: transform .3s;
}
}
</style>上面是我整理给大家的,希望今后会对大家有帮助。
相关文章:
以上是利用vue移动端UI框架如何实现QQ侧边菜单(详细教程)的详细内容。更多信息请关注PHP中文网其他相关文章!

热AI工具

Undresser.AI Undress
人工智能驱动的应用程序,用于创建逼真的裸体照片

AI Clothes Remover
用于从照片中去除衣服的在线人工智能工具。

Undress AI Tool
免费脱衣服图片

Clothoff.io
AI脱衣机

AI Hentai Generator
免费生成ai无尽的。

热门文章

热工具

记事本++7.3.1
好用且免费的代码编辑器

SublimeText3汉化版
中文版,非常好用

禅工作室 13.0.1
功能强大的PHP集成开发环境

Dreamweaver CS6
视觉化网页开发工具

SublimeText3 Mac版
神级代码编辑软件(SublimeText3)

热门话题
 如何评估Java框架商业支持的性价比
Jun 05, 2024 pm 05:25 PM
评估Java框架商业支持的性价比涉及以下步骤:确定所需的保障级别和服务水平协议(SLA)保证。研究支持团队的经验和专业知识。考虑附加服务,如升级、故障排除和性能优化。权衡商业支持成本与风险缓解和提高效率。
 PHP 框架的学习曲线与其他语言框架相比如何?
Jun 06, 2024 pm 12:41 PM
PHP框架的学习曲线取决于语言熟练度、框架复杂性、文档质量和社区支持。与Python框架相比,PHP框架的学习曲线更高,而与Ruby框架相比,则较低。与Java框架相比,PHP框架的学习曲线中等,但入门时间较短。
 PHP 框架的轻量级选项如何影响应用程序性能?
Jun 06, 2024 am 10:53 AM
轻量级PHP框架通过小体积和低资源消耗提升应用程序性能。其特点包括:体积小,启动快,内存占用低提升响应速度和吞吐量,降低资源消耗实战案例:SlimFramework创建RESTAPI,仅500KB,高响应性、高吞吐量
 Java框架的性能比较
Jun 04, 2024 pm 03:56 PM
根据基准测试,对于小型、高性能应用程序,Quarkus(快速启动、低内存)或Micronaut(TechEmpower优异)是理想选择。SpringBoot适用于大型、全栈应用程序,但启动时间和内存占用稍慢。
 golang框架文档最佳实践
Jun 04, 2024 pm 05:00 PM
编写清晰全面的文档对于Golang框架至关重要。最佳实践包括:遵循既定文档风格,例如Google的Go编码风格指南。使用清晰的组织结构,包括标题、子标题和列表,并提供导航。提供全面准确的信息,包括入门指南、API参考和概念。使用代码示例说明概念和使用方法。保持文档更新,跟踪更改并记录新功能。提供支持和社区资源,例如GitHub问题和论坛。创建实际案例,如API文档。
 如何为不同的应用场景选择最佳的golang框架
Jun 05, 2024 pm 04:05 PM
根据应用场景选择最佳Go框架:考虑应用类型、语言特性、性能需求、生态系统。常见Go框架:Gin(Web应用)、Echo(Web服务)、Fiber(高吞吐量)、gorm(ORM)、fasthttp(速度)。实战案例:构建RESTAPI(Fiber),与数据库交互(gorm)。选择框架:性能关键选fasthttp,灵活Web应用选Gin/Echo,数据库交互选gorm。
 golang框架开发实战详解:问题答疑
Jun 06, 2024 am 10:57 AM
在Go框架开发中,常见的挑战及其解决方案是:错误处理:利用errors包进行管理,并使用中间件集中处理错误。身份验证和授权:集成第三方库并创建自定义中间件来检查凭据。并发处理:利用goroutine、互斥锁和通道来控制资源访问。单元测试:使用gotest包,模拟和存根进行隔离,并使用代码覆盖率工具确保充分性。部署和监控:使用Docker容器打包部署,设置数据备份,通过日志记录和监控工具跟踪性能和错误。
 Golang框架学习过程中常见的误区有哪些?
Jun 05, 2024 pm 09:59 PM
Go框架学习的误区有以下5种:过度依赖框架,限制灵活性。不遵循框架约定,代码难维护。使用过时库,带来安全和兼容性问题。过度使用包,混淆代码结构。忽视错误处理,导致意外行为和崩溃。


