本篇文章给大家带来的内容是关于css实现凸字形状的代码实例,有一定的参考价值,有需要的朋友可以参考一下,希望对你有所帮助。
昨天看到有人想做凸字型框,今天用几分钟做了一下,发现还蛮巧妙的,分享一下
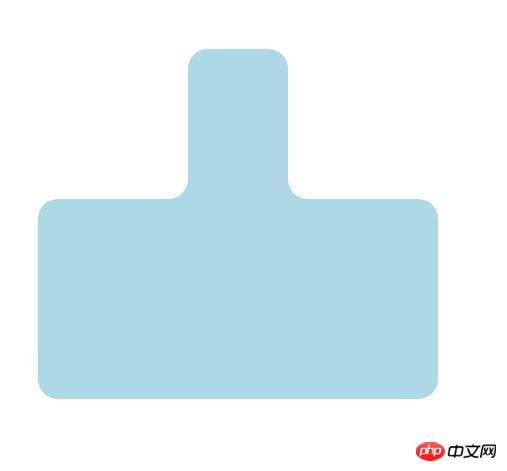
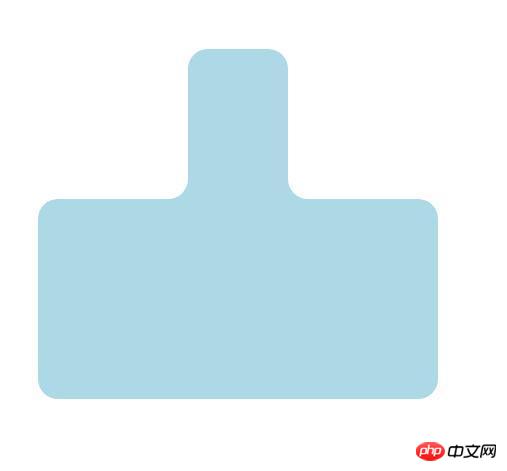
最终效果如下所示

代码在这儿:
   <div class="box">
        <span class="big"></span>
        <span class="top"></span>
        <span class="topR"></span>
</div>body {
display: flex;
justify-content: center;
align-items: center;
.box {
position: relative;
width: 400px;
height: 400px;
top: 200px;
color: lightblue;
.big {
position: absolute;
width: 400px;
height: 200px;
border-radius: 20px;
background-color: currentColor;
bottom: 0;
}
.top {
position: absolute;
width: 100px;
left: calc((400px - 100px)/2);
height: 150px;
border-radius: 20px 20px 0 0;
background-color: currentColor;
top: 50px;
}
.top::before {
content: "";
position: absolute;
background-color: lightblue;
height: 48px;
width: 100px;
left: -100px;
top: 102px;
}
.top::before {
content: "";
position: absolute;
background-color: lightblue;
height: 48px;
width: 100px;
left: -100px;
top: 102px;
}
.top::after {
content: "";
position: absolute;
background-color: #fff;
border-radius: 0 0 20px 0;
height: 48px;
width: 100px;
left: -100px;
top: 102px;
}
.topR {
position: absolute;
background-color: lightblue;
height: 48px;
width: 100px;
right: 50px;
top: 152px;
}
.topR::after {
content: "";
position: absolute;
background-color: #fff;
border-radius: 0 0 0 20px;
height: 48px;
width: 100px;
left: 0;
top: 0;
}
}
}一开始我以为只要上下两个圆角矩形拼接就行,NO NO NO,其实两个圆角相交处还有圆角,一看这个圆角就知道,可以使用白色的圆角矩形覆盖,那么问题来了:
白色的圆角矩形覆盖之后,中间会形成空隙,这个空隙需要蓝色填满。所以思路是这样的:
一、先建立上下两个圆角矩形:
HTML:
 <span class="big"></span>
 <span class="top"></span>
二:在上面的圆角矩形左右各加一个蓝色色的圆角矩形,与上下两个矩形相切,但是长度和宽度都不能超过上下两个大矩形

三:再在后来添加的小蓝色矩形块儿上,各增加一个大小一致的白色矩形覆盖,分别设置右下圆角与左下圆角,代码如下:
border-radius: 0 0 20px 0;
border-radius: 0 0 0 20px;
OK,大功告成!一个凸型框就制作好啦。
相关推荐:
以上是css实现凸字形状的代码实例的详细内容。更多信息请关注PHP中文网其他相关文章!


